Simple Fleece Slouchy Beanie DIY (Free Pattern)
This content contains affiliate links or sponsored elements, read our Disclosure Policy.


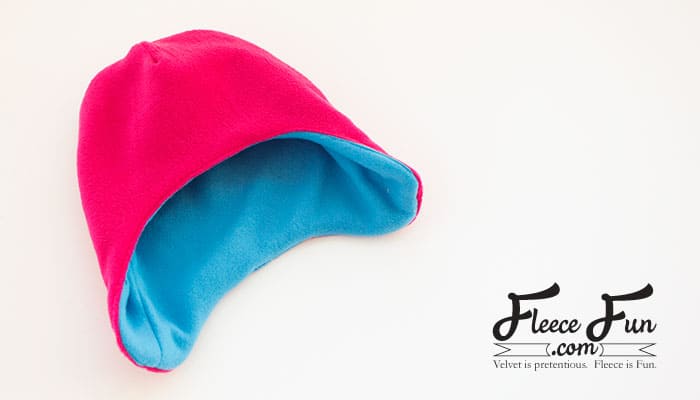
Free Sewing Pattern: This Fleece Slouchy Beanie DIY comes with a FREE Pattern sizes baby to adult. Beginner friendly with clear step by step photos to make it easy. This fleece hat sew up quickly and makes wonderful gifts and keeps heads warm. Wonderful fleece sewing project.

This Simple Fleece Slouchy Beanie DIY (Free Pattern) sews up quickly and can be made in sizes baby to adult. Just a Few simple seams and you can have a hat in the fleece material that you like!
Hate The Ads?
This pattern with video and printable instructions is available to members of the Maker’s Studio. The Maker’s Studio is an ad free experience, no video ads, no forms, no zip files, just creating.

The measurements on the pattern are for the circumference of the head. So the measurement you would get if you too a measuring tape and wrapped in around a person’s head. Please note that fleece can have varying amounts of stretch to it.
YOU WILL NEED:
- 1/3 yard fleece (check the remnant bin for great deals)
- Sewing Machine
- Sewing Essentials (scissors, pins, etc.)
- Fleece Fun’s free pdf sewing pattern (fill out the form at the end of the post)
Simple Fleece Slouchy Beanie DIY (Free Pattern):

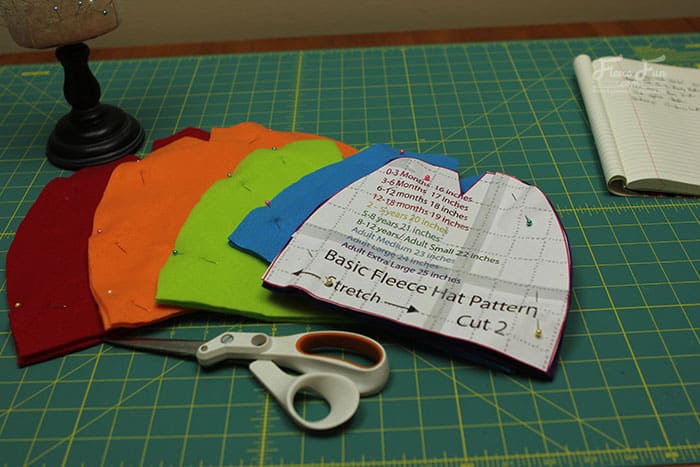
Step 1 – Assemble the free pattern and cut out the pieces
You will need to assemble the free fleece Beanie pattern. For instructions on how to assemble the sewing pattern click here.
Decide on the size of slouchy beanie you’re making and cut to that line.
On folded cloth pin pattern and cut out. So you have two of the pattern pieces cut out.
Step 2 – Sew the Side Seams for Your Slouchy Beanie
Pin right sides together. Using a 1/2 inch seam allowance sew each side of the hat (the long curved side to the point before it dips into a V. Be sure to leave the bottom (the brim) open.
Quick Tip
For a smoother hat, stop the seam a finger’s width before the “v”.
Step 3 – Sew the “V” shut
Now that you’ve sewn the sides of the fleece hat it’s time to close the top.
Fold the hat in half so the seams you just sewed are touching.
Pin the “v” on each side closed. Sew one seam along the top of the hat closing the v on both sides. (This will make a rounded top.)
Step 4 – sew the Brim and finish the Fleece Slouchy Beanie DIY
Turn the brim edge under 1 inch (or more/less if you like)
pin to hold and
sew a zig-zag stitch over the edge of the fabric.
Snip any loose threads and turn right side out.
Enjoy your new DIY Fleece Slouchy Beanie!
Get the Free Fleece Slouchy Beanie DIY Sewing Pattern Below:
Adobe reader is the ONLY reader I recommend. By downloading you are agreeing to pattern terms of use. Fill out this form to have it sent directly to your inbox!

More Fleece Hat Projects:
- Basic Fleece Hat (Adult, Child, and Baby)
- Fleece Winter Hat
- Basic Hat with Ribbon
- Scraper Mitts
- Trapper Hat
- Basic Hat with Top Knot
- Baby Hat with Chin Strap
More Fleece Projects!
- Basic Hat with Horns
- Basic Hat with Bear Ears
- Fleece Unicorn Hat
- Fleece Frog Hat
- Washable Duster
- Warm Mittens
- Fun Facts about Fleece
- All Warm Fleece Hat Sewing Patterns!
The Basic fleece hat – a fitted beanie version.