
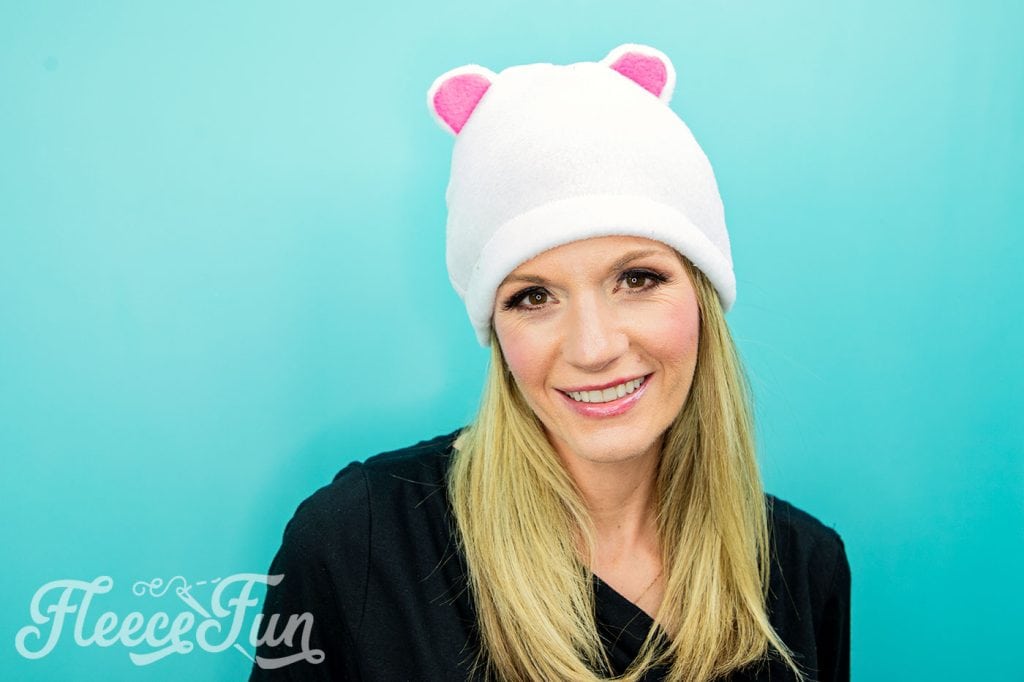
Basic Fleece Hat With Bear Ears how to
This content contains affiliate links or sponsored elements, read our Disclosure Policy.


Welcome to the coziest corner of the internet! As winter approaches and the temperature drops, there’s no better way to stay warm and utterly adorable than with a DIY fleece hat featuring cute bear ears.
Whether you’re a seasoned crafter or just starting out on your creative journey, this beginner-friendly tutorial is here to guide you step by step. So grab your favorite hot beverage, snuggle up in a cozy blanket, and let’s embark on a crafty adventure that will have you looking stylishly snug all winter long!
Fleece hats are a winter essential, keeping you warm and cozy during the chilly months. But why settle for a plain, boring hat when you can have one with cute bear ears? These DIY fleece hats with bear ears are not only functional but also incredibly adorable.
If you’re just looking for the basics of how to make a fleece hat – you can check out this tutorial here.
In this tutorial, we will guide you through all the steps of making your very own fleece hat featuring bear ears. This project is perfect for beginners as it requires minimal materials and sewing skills. So gather your supplies and get ready to stay warm and stylish this winter!
YOU WILL NEED:
Please make sure that you’re using fleece. As this pattern is designed for fleece. This pattern WILL NOT work for cotton or other woven fabrics that do not have a stretch to them.
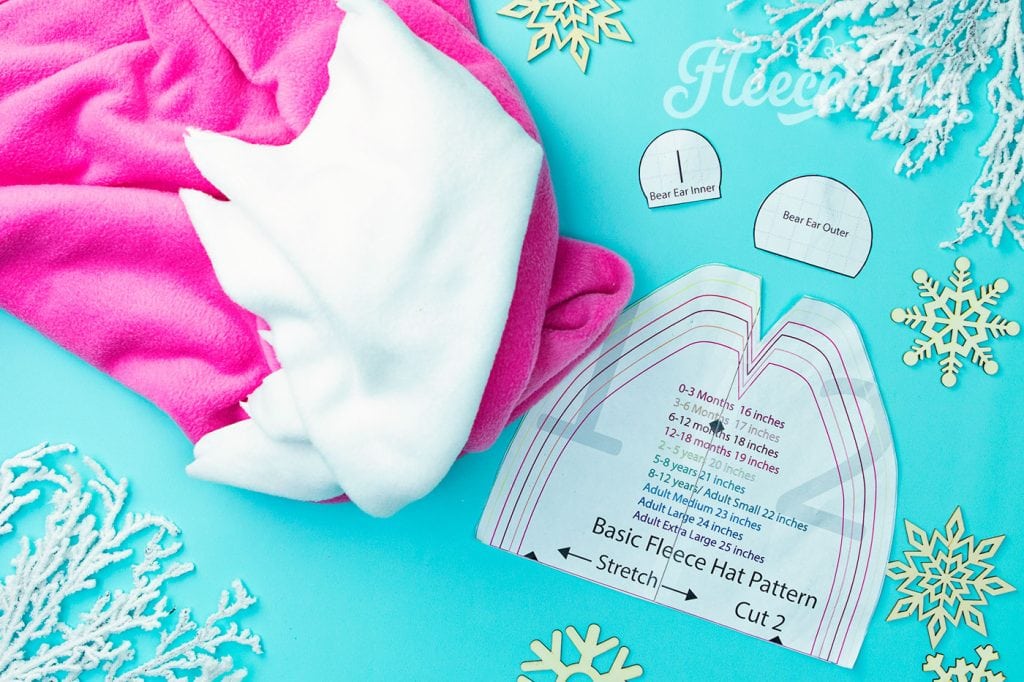
- A printed out version of the Free Fleece Fun Basic hat pattern PDF.

- A print out of the Bear Ears Pattern (available at the end of the post)
- Contrasting fleece fabric, 1/3 yard for main color, scraps for contrasting inner ear (you could actually make several from this)
- Sewing Essentials (thread, scissors, pins, etc.)
- Get the free pattern here.
Video Basic Hat With Bear Ears how to (for ears begins at 1:15)

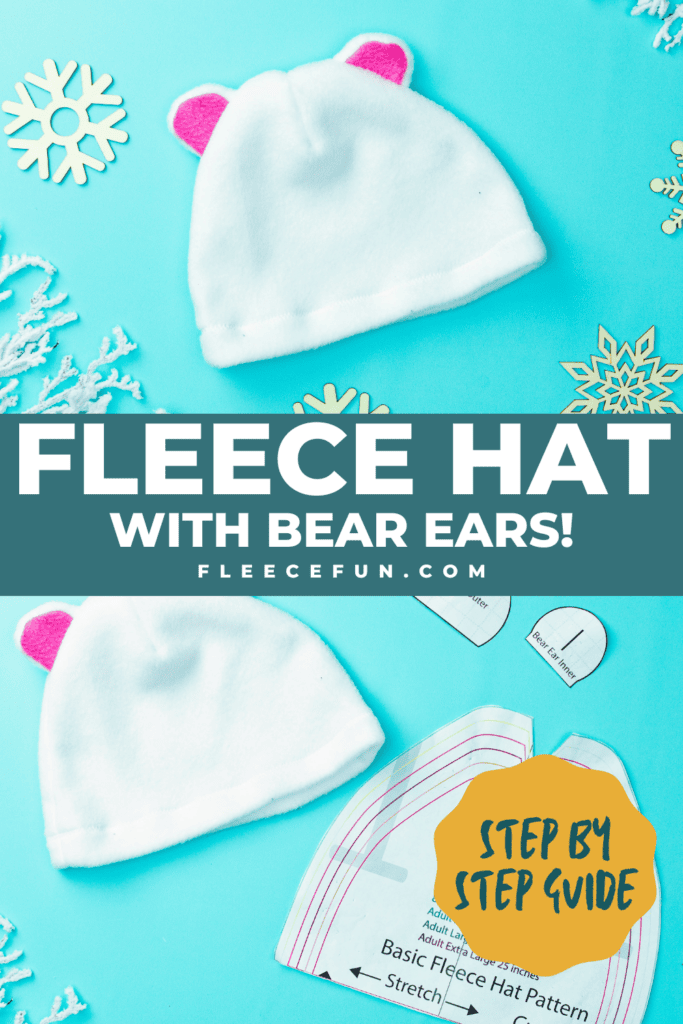
Basic Hat With Bear Ears how to – free fleece hat pattern
Step 1- Cut out the pattern
You will need to assemble the pattern. For instructions on how to assemble the sewing pattern click here.
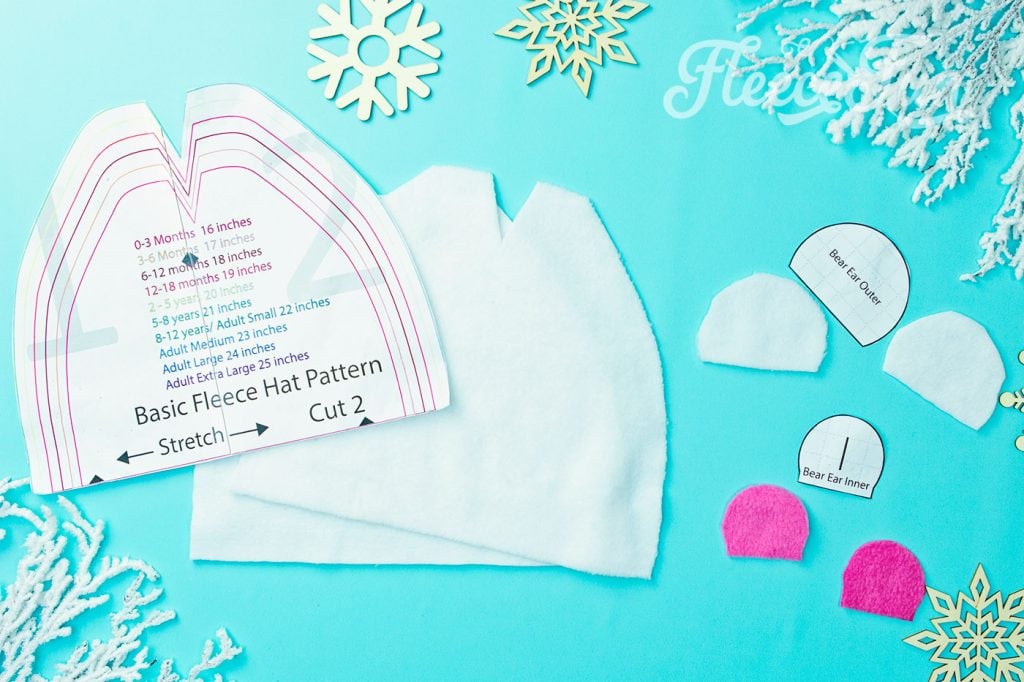
Cut out two of each the patterns. For contrast I recommend cutting out the ear interior (the smaller piece) with a contrasting fabric (it’s pink in the example). If you want the ear to have a dent make the top and bottom of the line on the interior ear pieces on the right side of the fabric.
Step 2 – Pin and Sew the bear Ears
This is the trickiest part of the pattern.
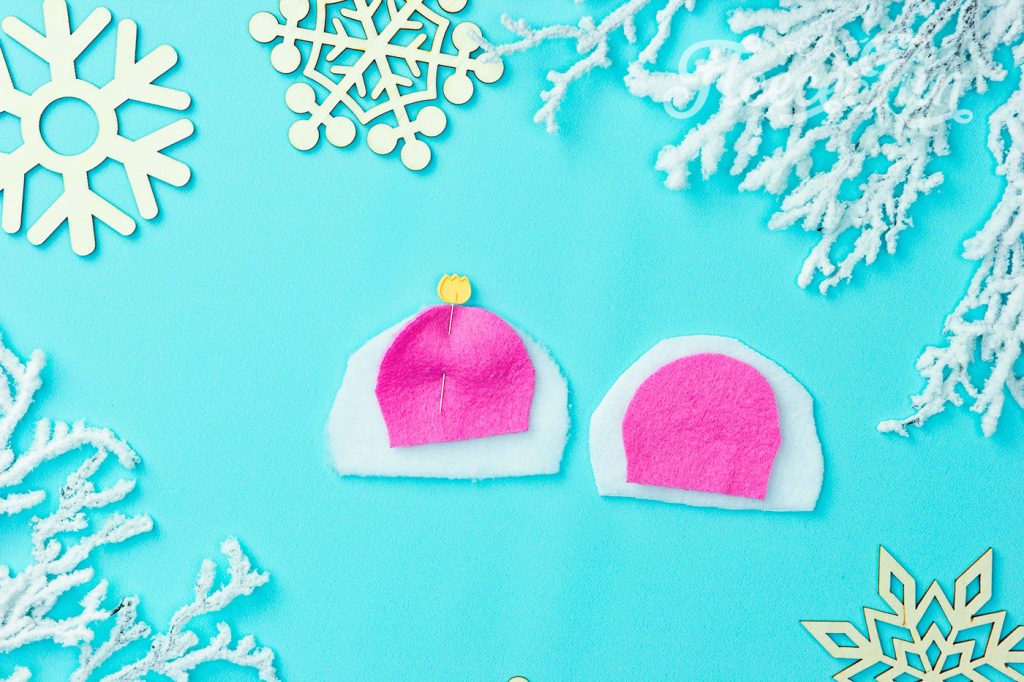
Taking an exterior and interior ear piece, put right sides together and line up the top center of each piece. Pin.. The exterior is larger than the interior so your ear will have a nice outline.
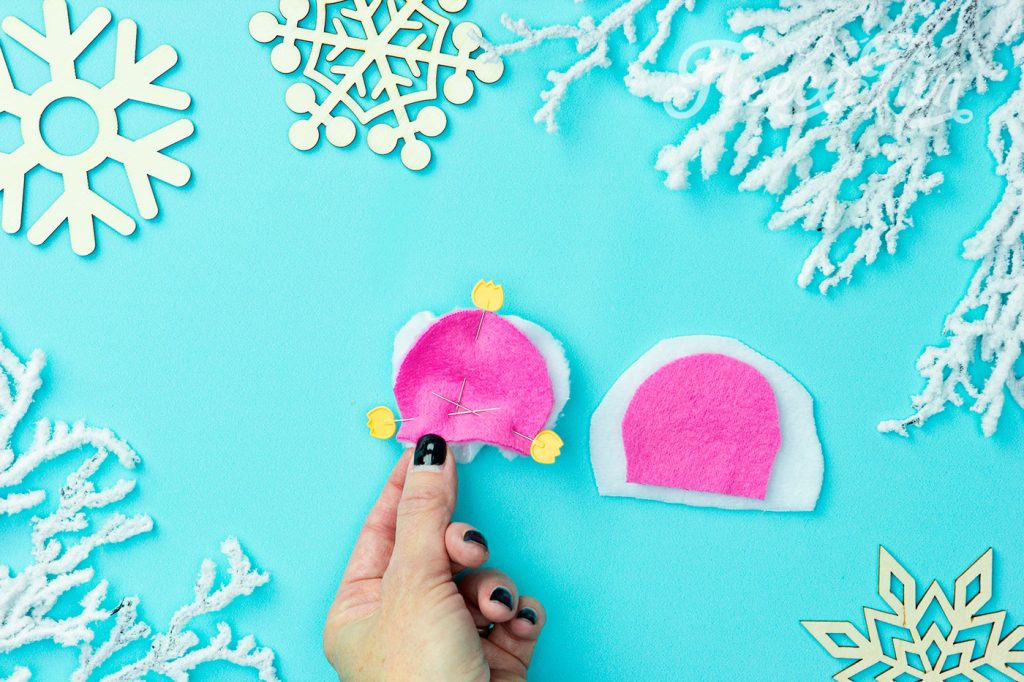
Next, line up all the bottom corners of the ear pieces and pin (this will cause the back to bubble).
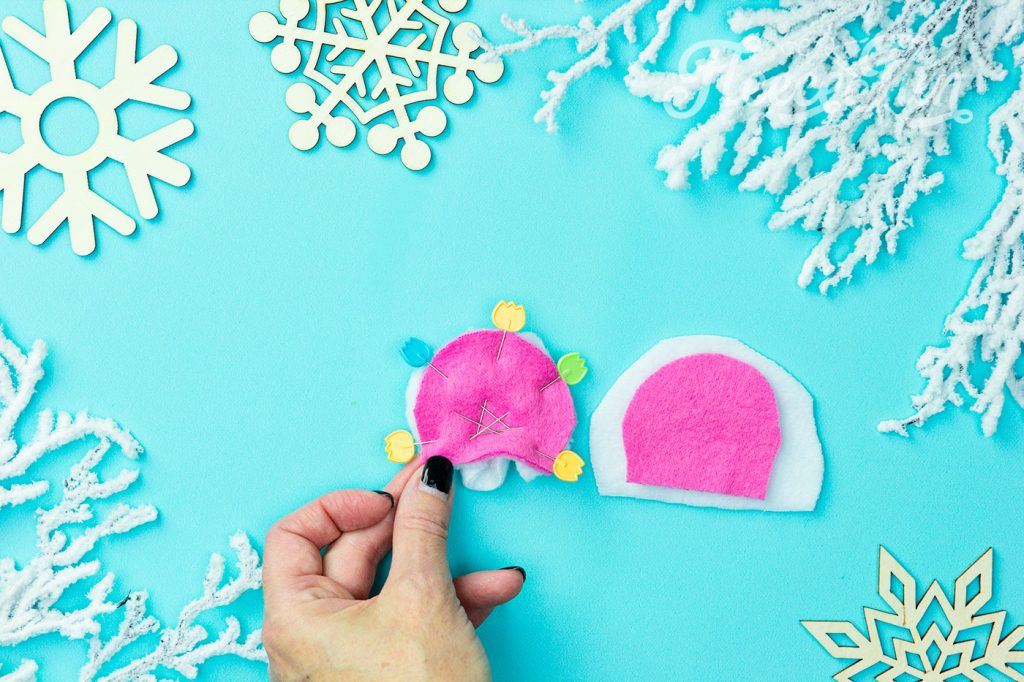
Finally pin halfway between the top pin and the bottom pin on each side leaving the bottom of the ear open.
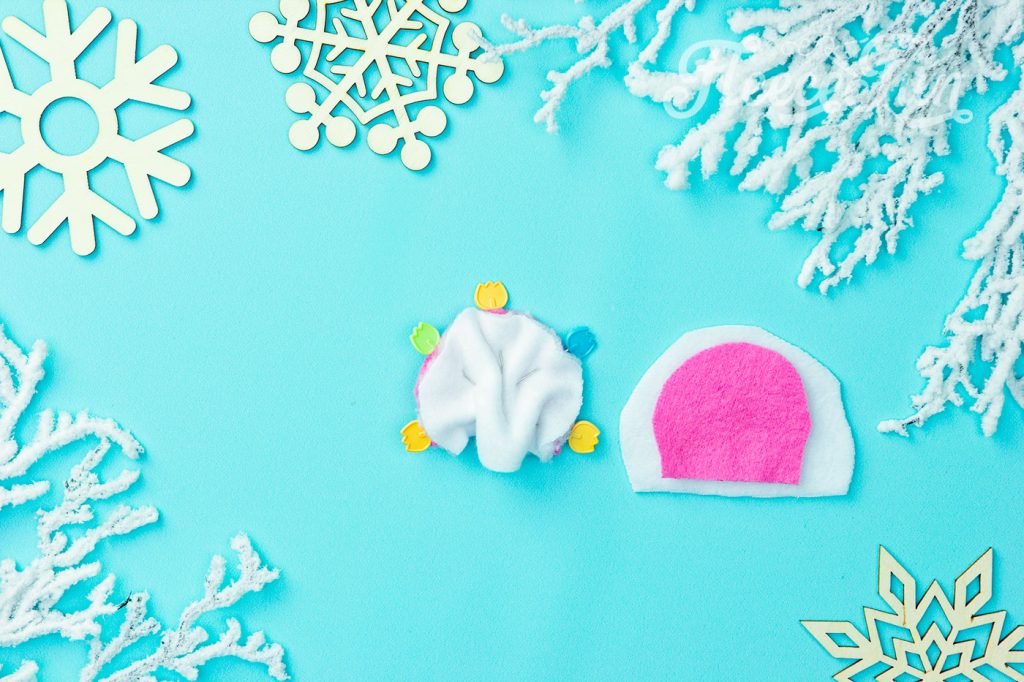
I like to use a lot of pins to get this right. Here is what it looks like from the back.
For a baby hat use a .5 inch seam, for a child /adult hat use a .25 inch seam.
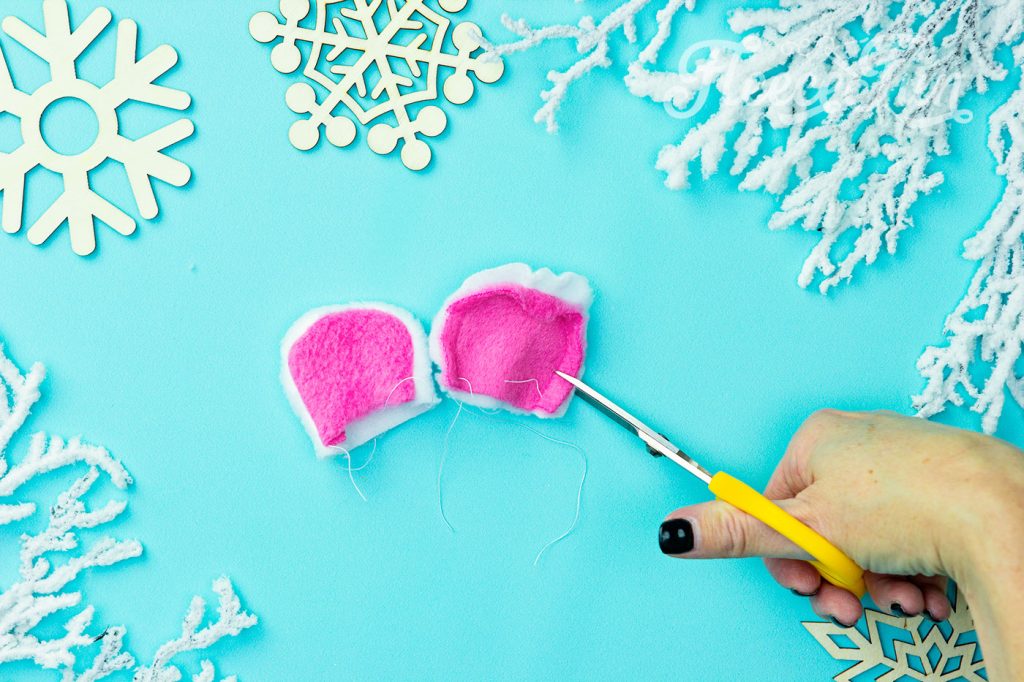
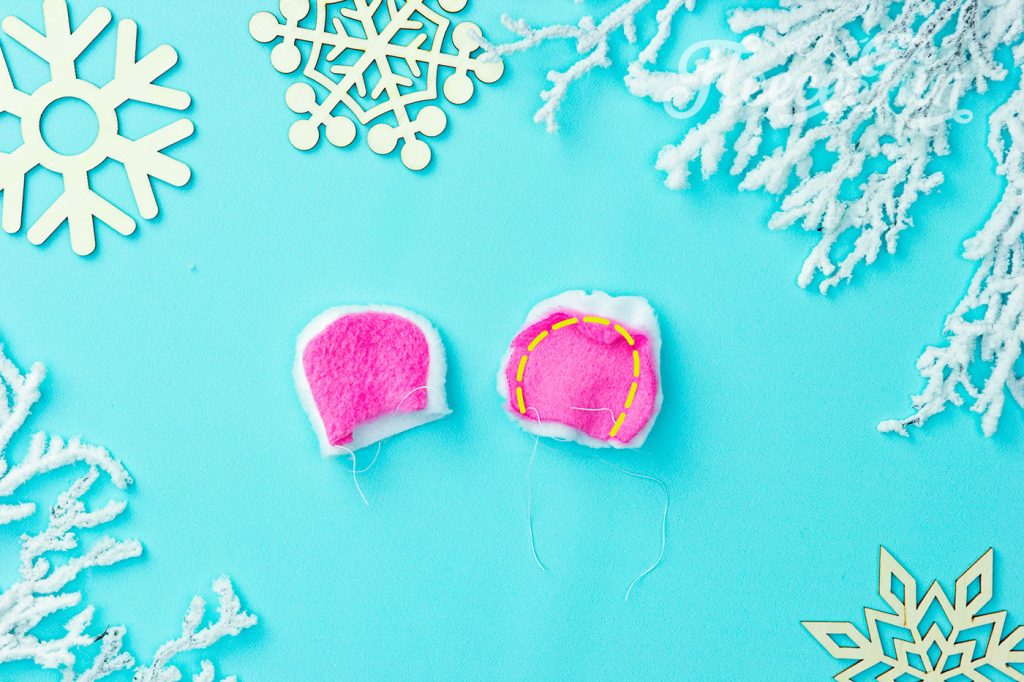
Snip the curves and turn right side out. Sew top stitch seam in center of the ear if desired.
Step 3 – Place bear Ears and Sew fleece Hat
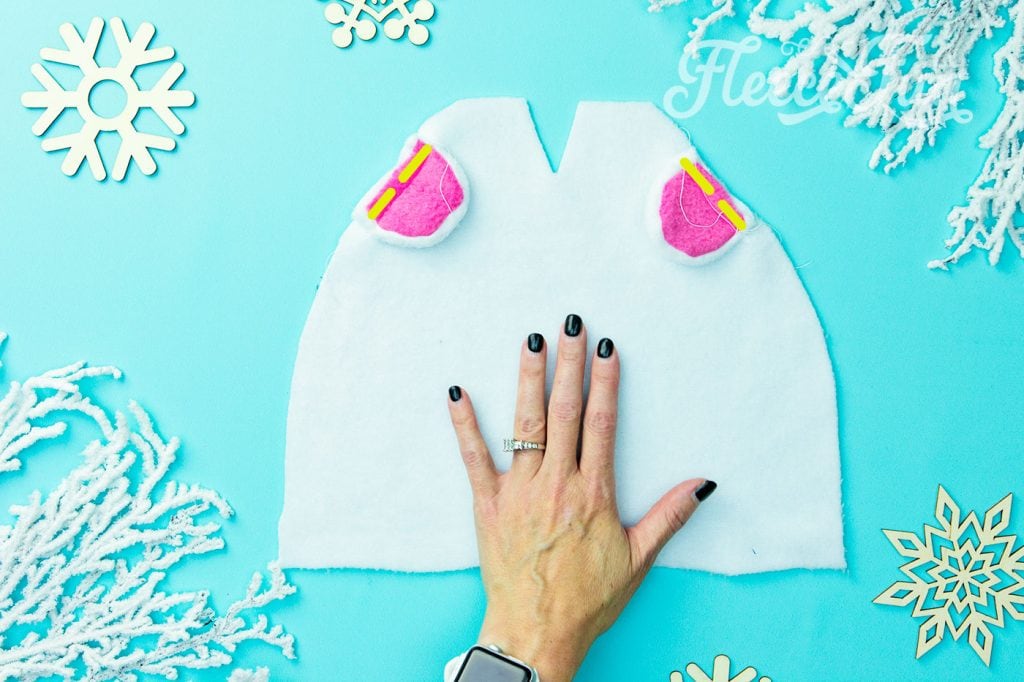
Place and pin the ears where you would like them to be on the hat (a quarter to a third of the way down seams to work well). You want the tops of the ears facing out, sitting on the right side of the fabric. Because it’s a lot of layers it’s best to stitch the ears on in place before we sew the hat together.
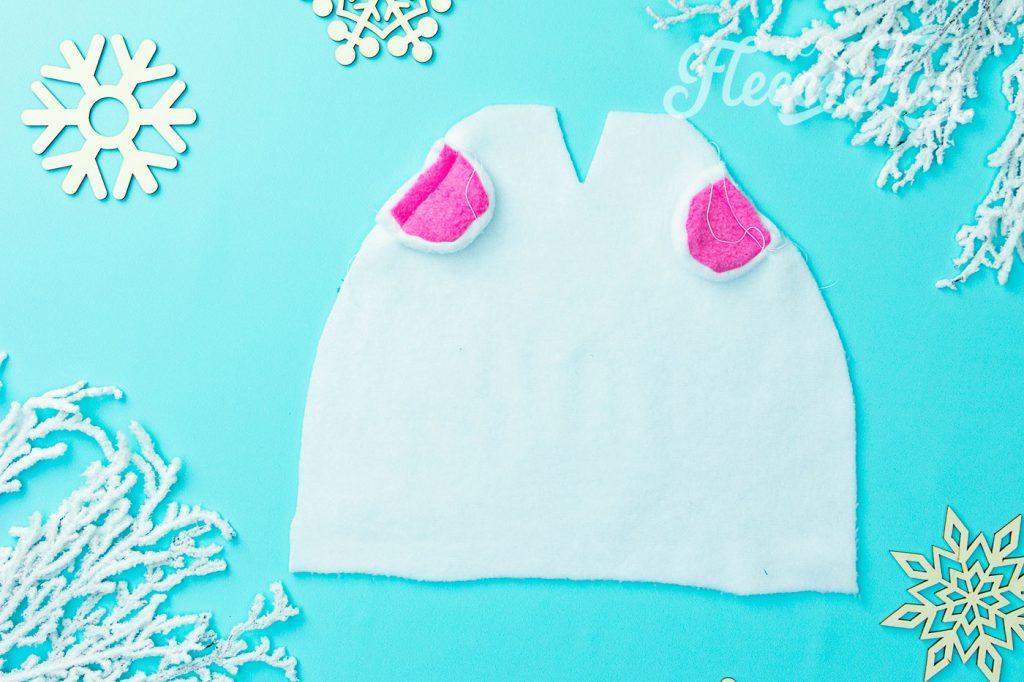
This will make it much easier to sew the hat with out the ears shifting out of place. It also make it easier to sew through all the layers of fabric.
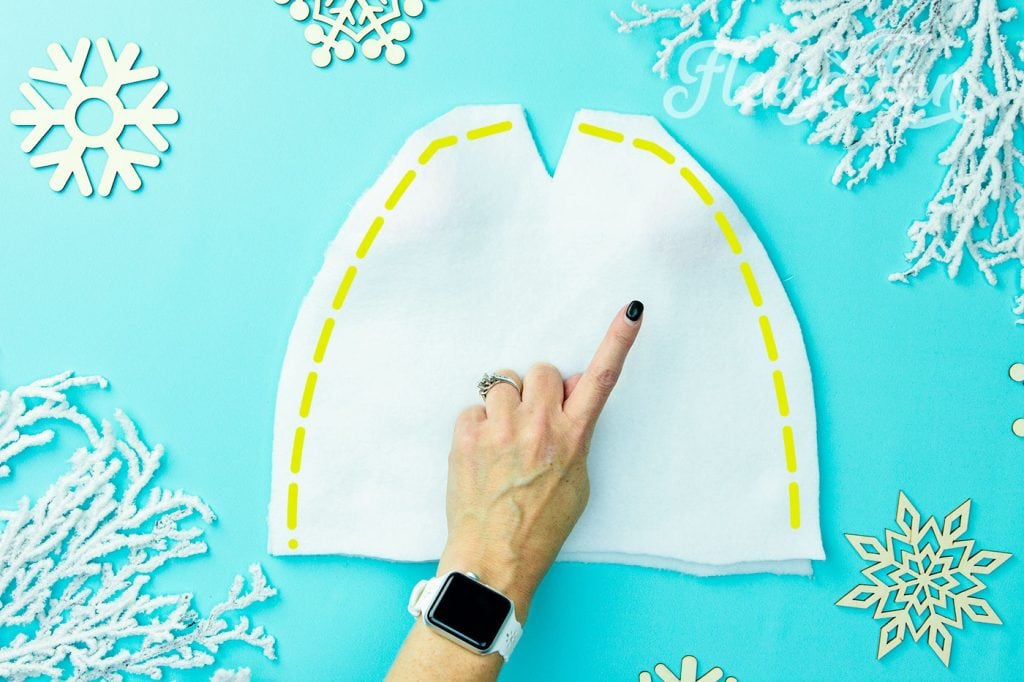
Now place the other half of the hat (right side down) on top. Sew each side together using a half inch seam allowance.
Just so you know…
Because of the multiple layers sew slowly over the sections with the ears and lengthen the stitch a little – it will keep the stitches more even.
Step 4 – Finish the Fleece Bear Hat
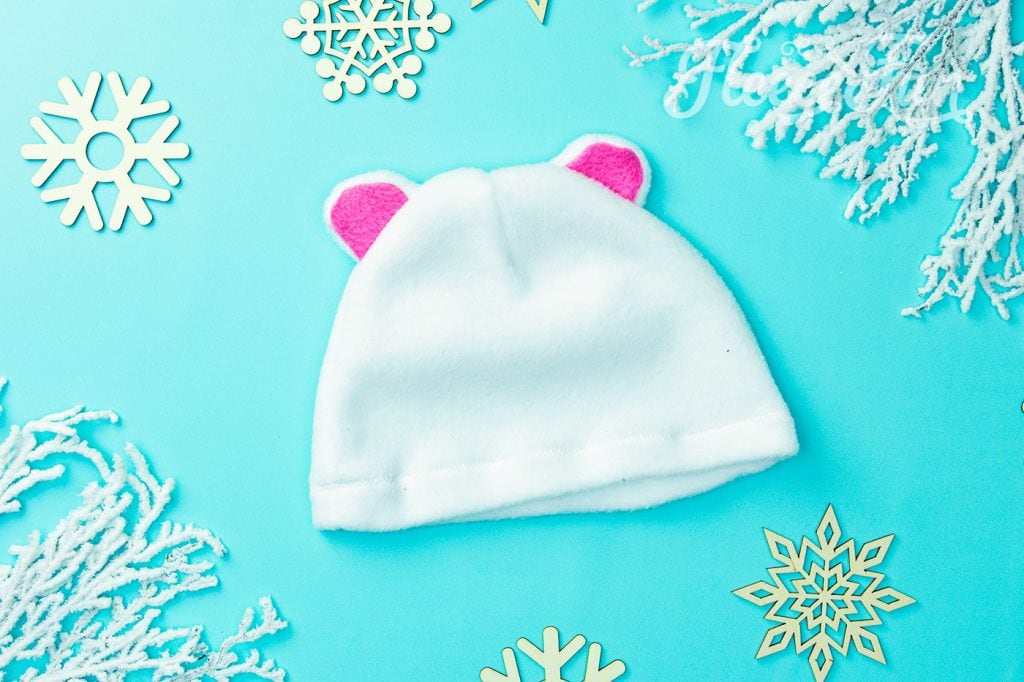
Sew the V shut using a .5 inch seam allowance. Turn the brim under 1 inch hand sew down along the edge using a zig zag stitch. snip a couple of slits along the seams and turn right side out. For more detailed instructions please see the basic hat and you’re finished!
Get the Free Sewing Pattern Below:
You can get a free copy of adobe pdf here. By downloading you are agreeing to the patterns terms of use. Click the picture to go to the download form. Or click here to go to the form.
More Winter/Halloween Fleece Hats:
- Halloween Hat Pack – Dragon, Viking, Apple, Pumpkin
- Monster Mash Fleece Hat
- Fleece Bunny Hat
- Fleece Dog Hat
- Basic Hat with Horns
- Fleece Unicorn Hat
- Fleece Frog Hat
- Ladybug Hat
- Monkey Hat
- Fleece Owl Hat
More Fleece Projects!
- Simple Fleece Slouchy Beanie
- Children’s Boutique Style Pants
- Fast Fleece Tie
- Basic Hat with Ribbon
- Washable Duster
- Warm Mittens
- How to Make a No Sew Fleece Tie Blanket
- Fun Facts about Fleece

The hat looks great. I’m begging sew. I would like try it. thanks again for . I have been trying to get some things like this to make for my grand children. thanks. I would like to share with my friend.