
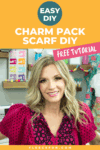
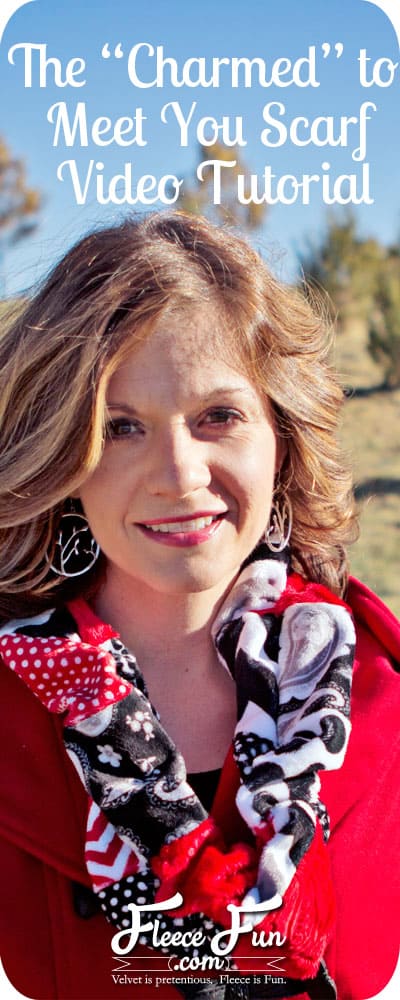
Easy Charm Pack Scarf DIY
This content contains affiliate links or sponsored elements, read our Disclosure Policy.


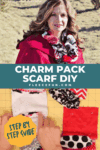


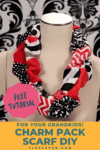
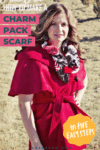
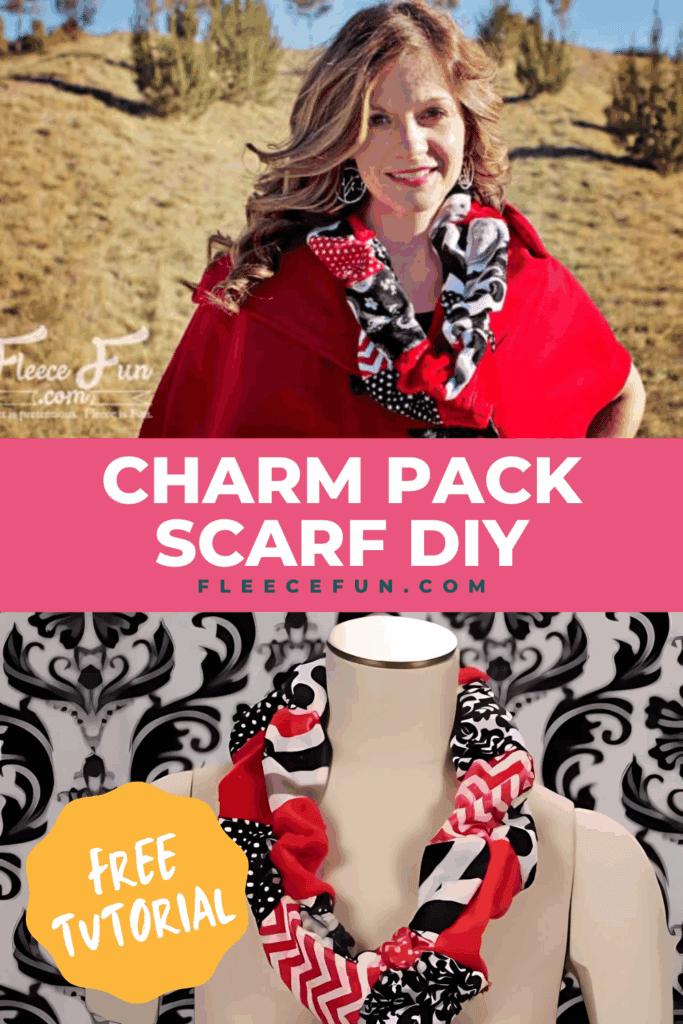
A wonderful combination of cuddle textures, this charm pack scarf is warm and feels wonderful around the neck. The gathered pieces give the scarf dimension and shape. Make it from one kit for a single loop, or use two to wrap it around twice.
YOU WILL NEED:
- Shannon Fabric’s Cuddle Charm kit (1 or 2 depending on length of scarf you desire to make)
- Needle
- Thread
- Scissors
- Walking foot (optional)
- Ruffle foot (optional)
- Sewing Essentials (pins, scissors, etc.)
Charm Pack Scarf diy Video tutorial

Charm Pack Scarf diy tutorial
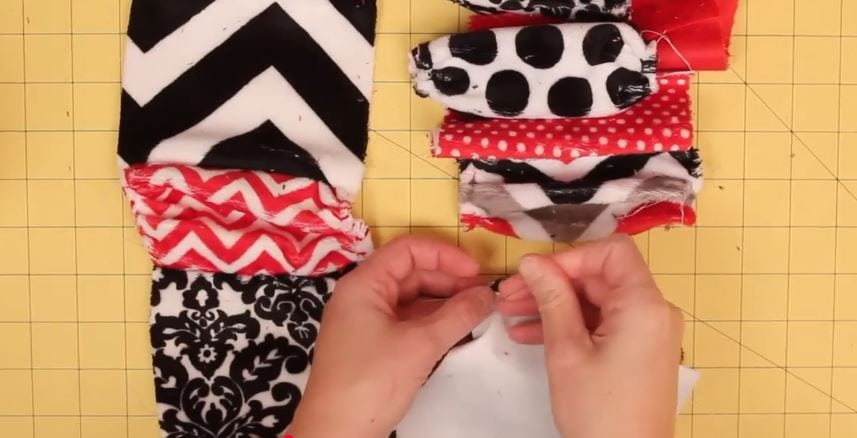
Step 1- Lay out the scarf how you desire
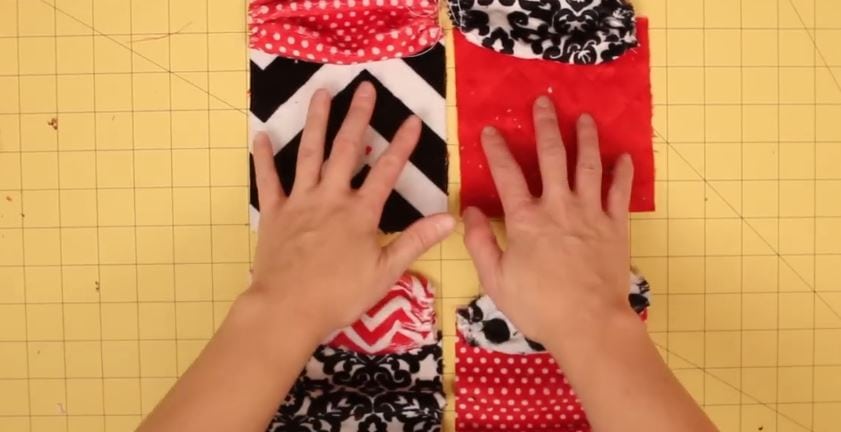
Lay out the scarf how you want it to look. It should be two blocks wide by whatever length you desire. Make sure the nap of the blocks all run in the same direction. In the pattern example, I opted for a black-and-red alternate look.
Step 2 – The ruched sections
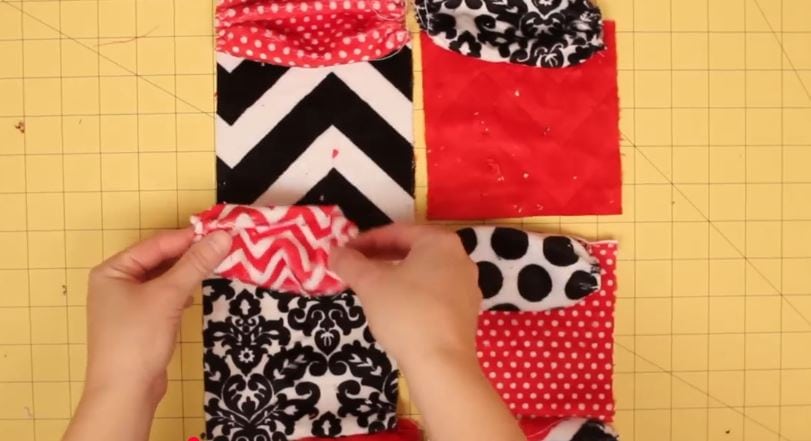
Take every other row and gather the two opposite sides. This can be done either with a ruffler foot or gathered by hand. Continue gathering every other row as described above for the entire length of your charm pack scarf.
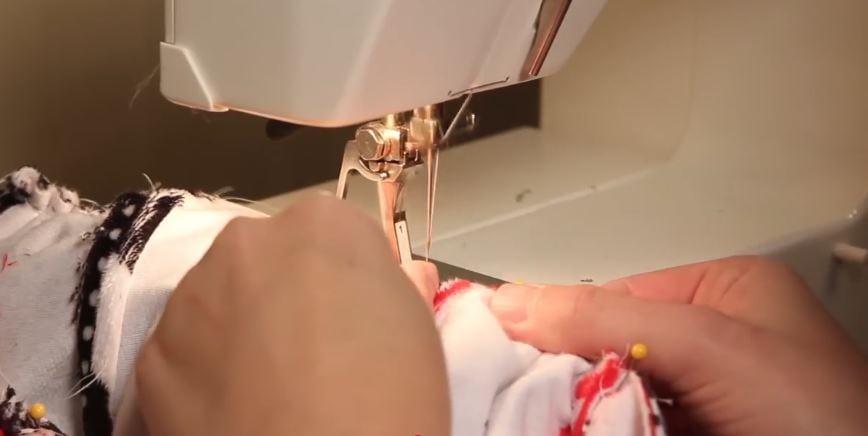
Step 3 – Sew the columns together
With right sides touching, pin each column of blocks together.

Then sew blocks together using a ¼ seam allowance. You can use a walking foot for this part, but since the blocks are so small, a standard foot will work as well. Repeat with the other column. You are halfway done with your charm pack scarf.
Step 4 – Bring the two columns together

Take each long column, and with right sides together, pin them together lengthwise.
Sew each side with a .25 inch seam allowance. Then, turn them right side out.
Step 5 – Finish your charm pack scarf
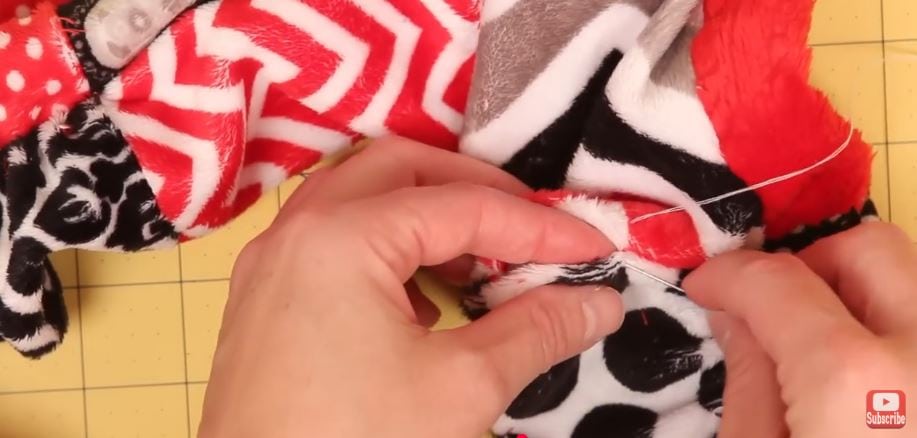
Take the ends of the scarf and pin right sides of fabric together. Using a .25 inch seam allowance, machine stitch as much of the scarf as you can (you will be sewing around the scarf on the inside until it’s impossible to continue – there will be a gap). Then finish the scarf by hand-stitching the gap shut. Trim your threads.

love this charm pack scarf? see More Fleece Scarf Tutorials
- The Lucet Scarf (cute braided scarf)
- The shirred scarf
- The Fast Fashion scarf (warmth meets a feminine touch)
- Fleece Scarf with Fur Pockets
- Candy stripe scrunch scarf
- Chevron Scarf
- Color Block Scarf
- Saturday Morning Scarf; Fleece and Jersey knit combine for the perfect scarf)
- Bow Infinity Wrap
- The Bubble Scarf
- Want to learn how to Hand Stamp your Scarves?
- You can see all of the Scarf Tutorials Here
I have a ton of fleece on hand and am making all my xmas gifts from.fleece this year and stumbled upon ur site from pinterest!! I would really like to make this charmed scarf without purchasing a kit since i already have my material. Can u post the measurements of the pieces?
They are just 5 by 5 squares. 🙂