
Bow Infinity Wrap
This content contains affiliate links or sponsored elements, read our Disclosure Policy.

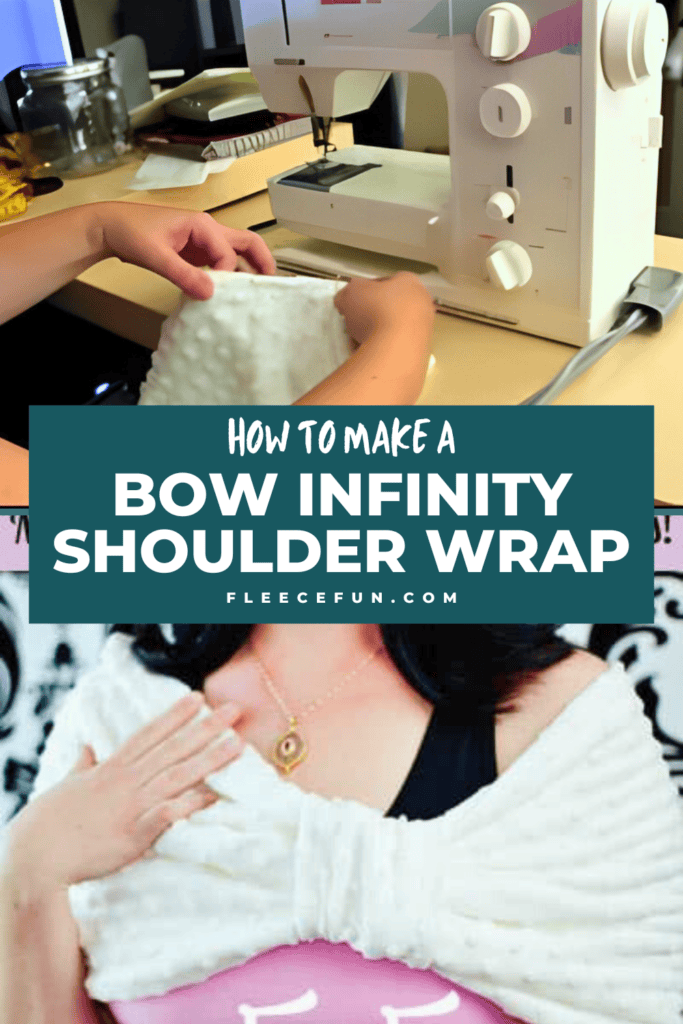
Bows are back and in vogue. You can make this cute bow infinity wrap that will keep your shoulders warm and when made out of minky feels oh-so-good against the skin.
This project can be completed from start to finish in under a half hour
Hate The Ads?
This pattern with video and printable instructions is available to members of the Maker’s Studio. The Maker’s Studio is an ad free experience, no video ads, no forms, no zip files, just creating.

YOU WILL NEED:
Note: if you are making this in an extra-large size you may need more fabric.
- ¾ yard of minky or micro-fleece (can substitute regular polar fleece or Jersey knit)
- jersey ball point needle,
- rotary cutter,
- mat,
- measuring tape,
- Sewing Essentials (pins, scissors, etc.)
bow infinity wrap Video tutorial here, written/ picture tutorial below:

step 1 – Take a quick rough measurement
Unfold the cloth so it is its full width (approx. 58 to 60 inches) and wrap around your shoulders. You want the wrap to be snug, so it won’t droop off the shoulders, but not so snug it completely restricts your movement. Mark with a pin.

Take to your rotary cutter and matt and cut off the excess. Now taking this excess cut a strip that is 5 inches wide and 9 inches long.
step 2 – Begin to Sew
Taking the large piece of fabric (the part of the bow infinity wrap that goes around your shoulders) – fold it in over on itself right sides together (so it’s the same length, just half the width) and sew, using a .5 seam allowance all the way down the fabric length.

This will make a large tube turn right side out (so all the soft goodness in on the outside).
step 3 – Gather part of each end
To help with the “bow” look, we’re going to make some pleats (folds) on each end of the scarf. Looking at the end of the scarf mark about 1/3 in of the width.
Then (and this doesn’t have to be perfect) make three pleats by folding over the fabric and pinning using 2/3 of the width.

Repeat on the other side taking care that you do this on the opposite side. You should have the folds on the top on one side and on the bottom on the other.
Once you have pinned each side sew the fold in place using a straight stitch about .5 from the end of each side. Sew all the way down completely closing the wrap ends.
step 4 – Join the ends
Taking the each end of the bow infinity wrap and bringing it together, the one side should have pleats and the other should be straight. Pin the pleats on top, each side (you will “twist the fabric in the middle to make this happen). The overlap should be about 1 inch.

Then sew, together, through all the layers of cloth (be careful and go slow). This should make the wrap one large circle.
step 5 – finishing the bow infinity wrap
Taking the 5×9 piece of fabric turn under the edges .5 inches and using a zig zag stitch sew the ends down. Then take the piece and with right sides together wrap it around the wrap – pin the ends together and sew using a .5 seam allowance, taking care to keep all the other fabric out of the way.

Turn right side out, slide so that if covers the seam where the wrap ends join and hand stitch a few stitches in the back to make the loop stay in place.
Finished! You now have a cute wrap, that feels as good as it looks!
love this bow infinity wrap? see More Fleece Scarf Tutorials:
- The Lucet Scarf (cute braided scarf)
- The shirred scarf
- The Fast Fashion scarf (warmth meets a feminine touch)
- The Charmed to meet you Scarf (scrunched scarf)
- Fleece Scarf with Fur Pockets
- Candy stripe scrunch scarf
- Chevron Scarf
- Color Block Scarf
- Saturday Morning Scarf; Fleece and Jersey knit combine for the perfect scarf)
- The Bubble Scarf
- Want to learn how to Hand Stamp your Scarves?
- You can see all of the Scarf Tutorials Here

This is soooooooooooooo adorable!!!!!!!!! Thank you so much for showing me how! 🙂
This pattern is very nice.thanks