
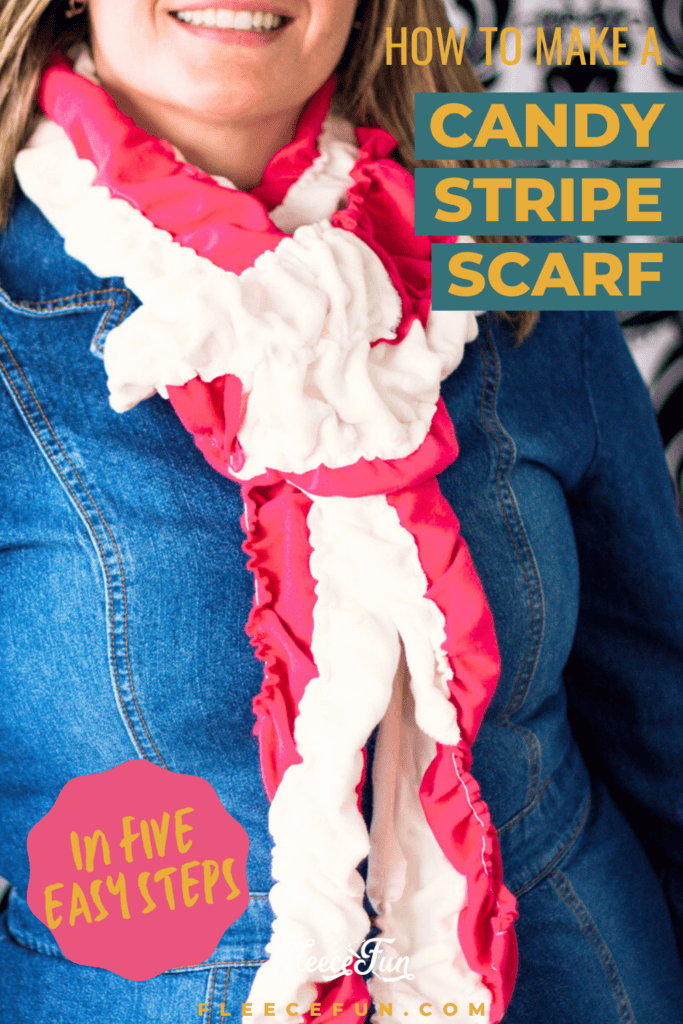
Candy Stripe Scrunch Scarf – scarf tutorial
This content contains affiliate links or sponsored elements, read our Disclosure Policy.
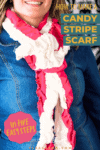


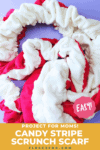


This Candy Stripe Scrunch Scarf tutorial uses strips of fabric ads shirring to make a yummy scarf! This DIY uses a fun combination of minky and jersey knit for a fun contrast in texture.
YOU WILL NEED:
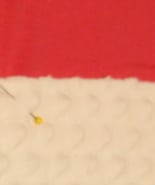
- 1/4 yard fleece (or bubble minky like I use in the example)
- 1/4 yard Jersey knit (t-shirt knit – you could upcycle a t-shirt also)
- elastic thread
- thread
- rotary cutter, ruler and mat
- Sewing Essentials (scissors, pins, etc.)
- Get the free pattern here.
Candy Stripe Scrunch Scarf Step by Step Tutorial:
step 1 – Cut out the pattern
Print up the pattern (you can get assembly instructions here – but there is not need for this pattern.)
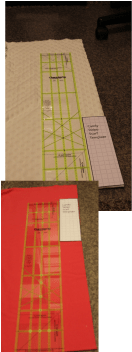
Cut out pattern pieces. Using the template provided cut three strips of each fabric of the entire length of fabric (approximately 60 inches). I like using the template because I can never get my ruler straight – this way you can quickly check the top and the bottom to see that your strip of fabric is consistently the same width.
Upcycle – Take a t-shirt and Cut horizontally across the body to get the strips, cut one side – sew together to make 3 strips 60 inches in length.
Quick Tip
Fleece fabrics are typically wide and I don’t have a large cutting mat. I just use the plastic mat under my computer chair. It’s wide, soft plastic, takes abuse and odds are you already have one!
Step 2 – Start Sewing the Candy Stripe Scarf
Because you are working with fleece and jersey, finishing the edges is not necessary – we won’t do that with this scarf.
Take one of each strip one of Minky and one of Jersey) and sew them together at on end, by over lapping them 1 inch – right side to wrong side.
Do this with each strip. Now you should have three long strips.
step 3- Build the scarf pin and sew.
Now that you have three long strips it’s time to lay out your scarf. Now I know that you’re thinking “Wow, this scarf is long!” Don’t worry it will scrunch to the right length.
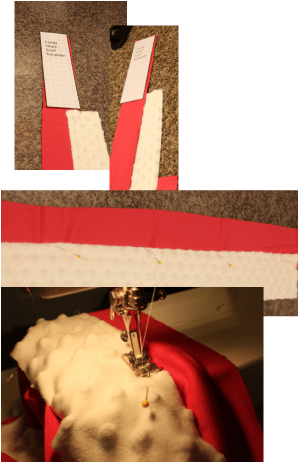
Using your spiffy template stagger each strips, alternating color/fabric. Overlap each piece (right side to wrong side) half an inch and pin.
Using a straight stitch sew all the way down the scarf, using the edge of your presser foot to the edge of the fabric as a guide.
step 4 – Scrunching (Shirring) the Candy Stripe Scarf – the fun part!
Next, shirring! You will need to take your elastic thread and HAND WIND it around your lower bobbin, lengthen your stitch and loosen your tension. I STRONGLY recommend testing this out on a fleece scrap before you try this on your scarf.
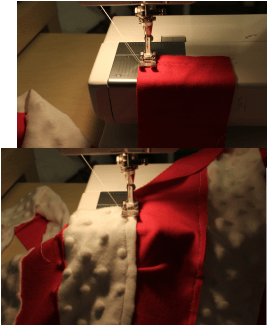
Beginning with the outside edge of your scarf and using the outside of your presser foot as a guide – start at the very end and sew all the way down. Repeat 3 more times (two on the seams and the last on the other outside edge. Trim all your threads.
step 5 – Wash it.
I know. It looks great. You want to put it on… but if you just do this last step your scarf will look even better.
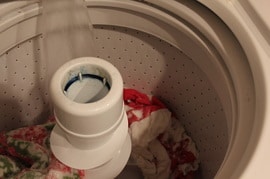
Wash it warm (but not hot) and dry it warm (but not hot). By washing it you will get the jersey to scrunch up more, as well as the thread giving it a great look. Don’t wash it hot or the mink/or velour won’t stay soft. Enjoy!
Get the Free Candy Stripe Scarf Pattern Here – Tutorial Included
You can get a free copy of Adobe reader here. By downloading you are agreeing to pattern terms of use. Click the picture below and fill up the form to download the .pdf !

More Fleece Scarf Tutorials:
- The Lucet Scarf (cute braided scarf)
- The shirred scarf
- The Fast Fashion scarf (warmth meets a feminine touch)
- The Charmed to meet you Scarf (scrunched scarf)
- Fleece Scarf with Fur Pockets
- Chevron Scarf
- The Bubble Scarf
- Color Block Scarf
- Saturday Morning Scarf; Fleece and Jersey knit combine for the perfect scarf)
- Bow Infinity Wrap
- Want to learn how to Hand Stamp your Scarves?
- You can see all of the Scarf Tutorials Here
