
Easy Fleece Hat tutorial {free pattern} Monster Mash up
This content contains affiliate links or sponsored elements, read our Disclosure Policy.
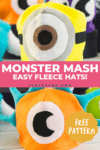


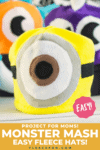
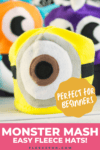


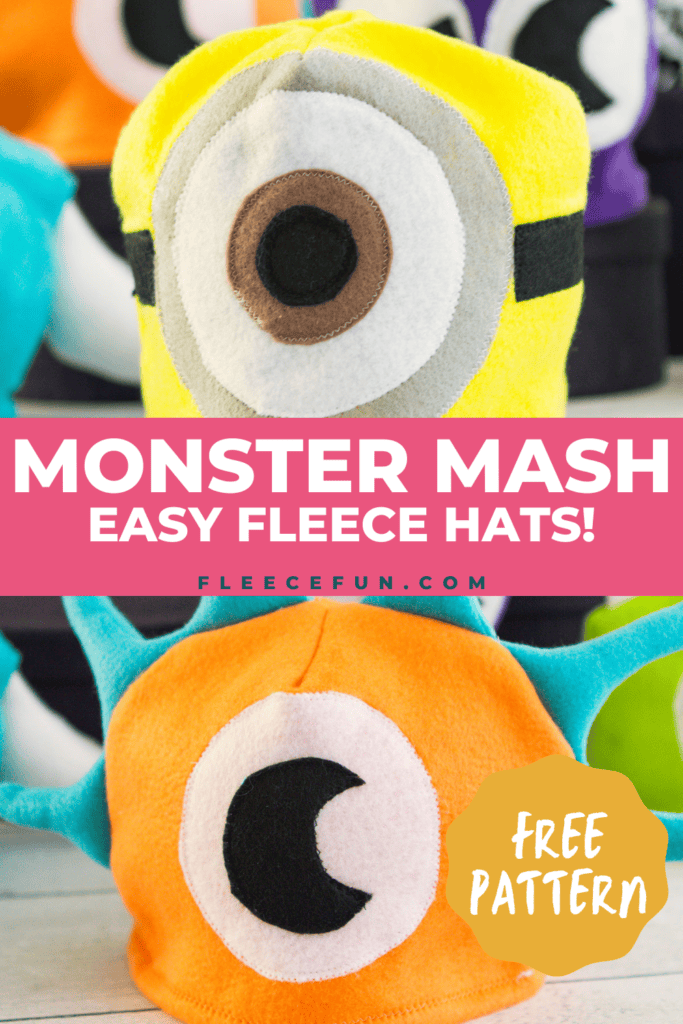
You can use this easy fleece hat tutorial to make several fun (and warm) wearable monsters for your little monster! This Monster Mashup comes with free PDF pattern!
YOU WILL NEED:
- 1/3 yard fleece
- 1/8 yard contrasting materials for pieces (might need 2 colors, can use felt)
- Thread
- Assembled printed pattern
- scissors
- 505 Temporary Adhesive
- Sewing Essentials (pins, scissors, etc.)
- Get the free pattern here.
Easy Fleece Hat tutorial (free pattern) – Monster Mash up
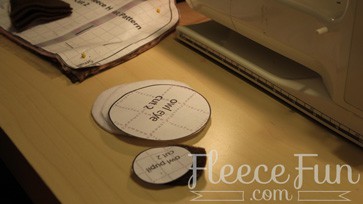
step 1 – Cut out easy fleece pattern pieces and pin
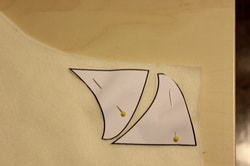
You can find instructions on how to assemble the Easy fleece hat pattern here. The fun thing about this hat pack is that you get to “build” your own monster! Take your time and decide on what eyes, horns, mouth (optional) you want your monster fleece hat to have. Make sure that you don’t select too big of an eye for the size of hat you are doing.
step 2 – Begin to assemble the fleece eyes and mouth
We’re going to do some basic and quick applique for the eyes and mouth. First we’re going to assemble the eyes.
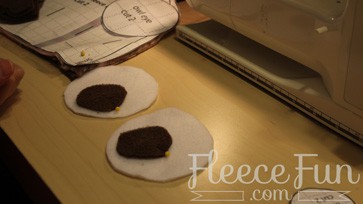
Layout the eyes and place the pupils where you want them. Pin – or better yet use some 505 Temporary adhesive.
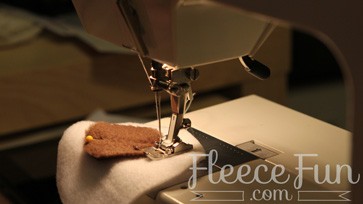
Then using a zig zag stitch along the edge of the pupil, sew on. Continue to build the eye until it looks like you want it to. Then place the eyes on the right side of one of the hat pieces. Pin.
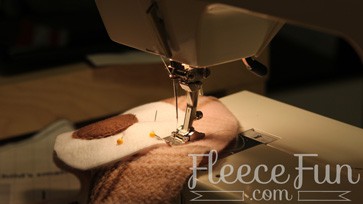
Pin. Sew on using zig zag stitch along the edge of the fabric of the eyes. Repeat with the mouth.
Please note that for demonstration reasons, I’ve used contrasting thread in this easy fleece hat tutorial – but I recommend you use a thread that matched the pupil color.
step 3 – Sew the monster Horns
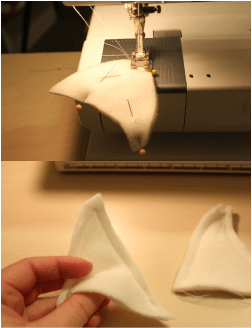
Sew each horn together. For the horns a .5 inch seam. For the “hair” use a .25 inch seam. Sew two sides of the horn, leaving the straight side open for turning.
Trim with scissors close to the top point of the horn (this will give it a nice point when turned). Turn horn right side out, pushing the fabric so you will have a nice point at the top of your horn.
Stuff each horn with a little bit of poly fill or fleece scraps, making sure that there is a finger width’s of space at the bottom with no filling.
step 4 – Place the ears/horns/hair and make the monster easy fleece hat.
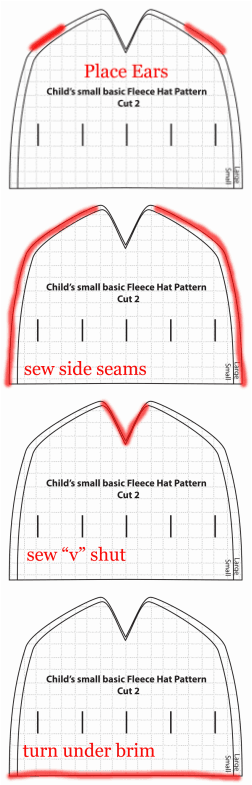
Place and pin the ears where you would like them to be on the easy fleece hat tutorial (a third of the way down seams to work well). You want the tops of the ears facing in, sitting on the right side of the fabric, you will then place the other half of the easy fleece hat (right side down) on top.
Using a 1/2 inch seam allowance, sew each side of the hat (the long curved side to the point before it dips into a “V”. Be sure to leave the bottom (the brim) open.
Now that you’ve sewn the sides of the fleece hat it’s time to close the top. Fold the hat in half so the seams you just sewed are touching. Pin the “v” on each side closed. Sew one seam along the top of the hat closing the v on both sides. (This will make a rounded top.)
Turn the brim edge under 1 inch (or more/less if you like) pin and sew a zig-zag stitch over the edge of the fabric. Snip any loose threads and turn right side out.
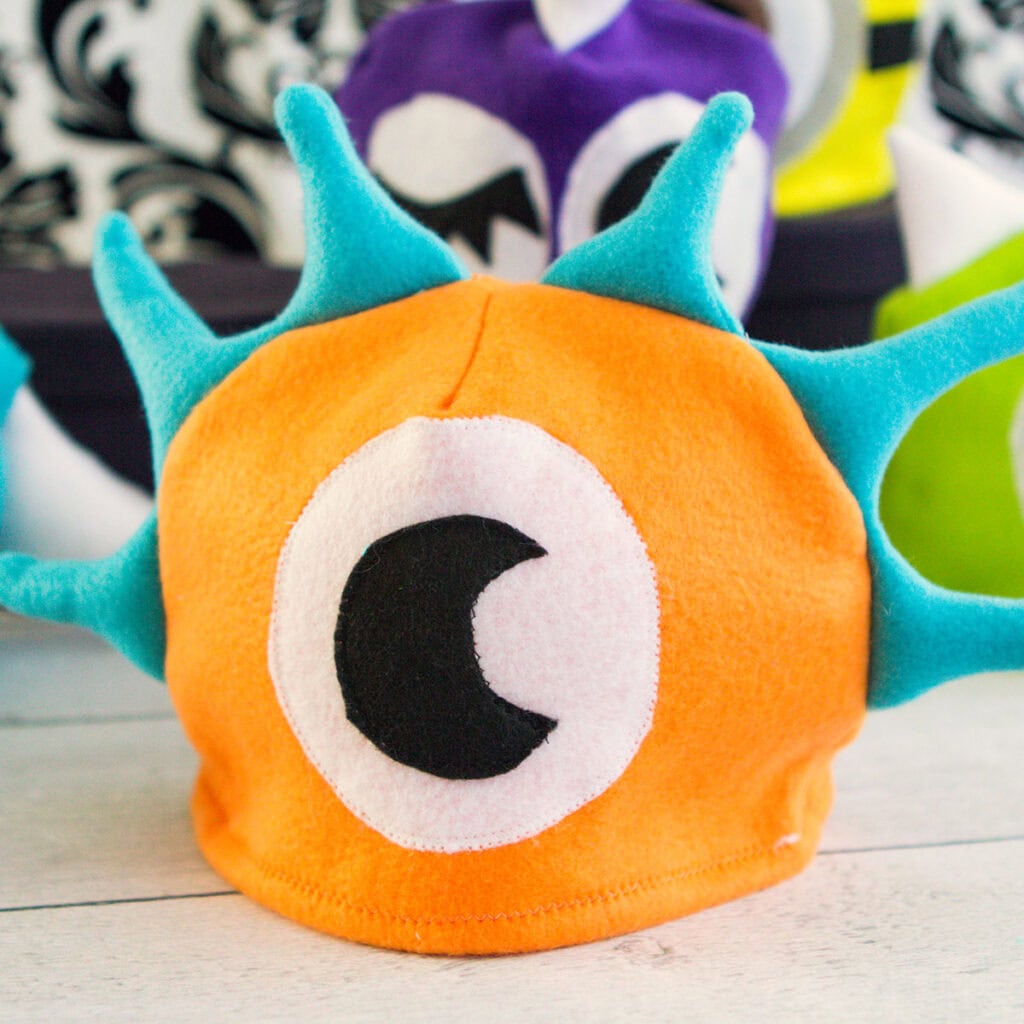
Tada! Your monster hat is finished. You have now completed the easy fleece hat tutorial!
QUICK TIP
Because of the layers, sew slowly over the sections with the ears – it will keep the stitches more even.
note:
The measurements are for the circumference of the head. So the measurement you would get if you use a measuring tape and wrapped in around a person’s head. Please note that fleece can have varying amounts of stretch to it.
- Baby
- Small – 16 inches or 40.64 cm
- Large – 17 inches or 43.18 cm
- Child
- Small – 17.5 inches or 44.45 cm
- Large – 19 inches or 48.26 cm
- Adult
- Small 20 inches or 50.8 cm
- Medium 22 inches or 55.88 cm
- Large 24 inches or 60.96 cm
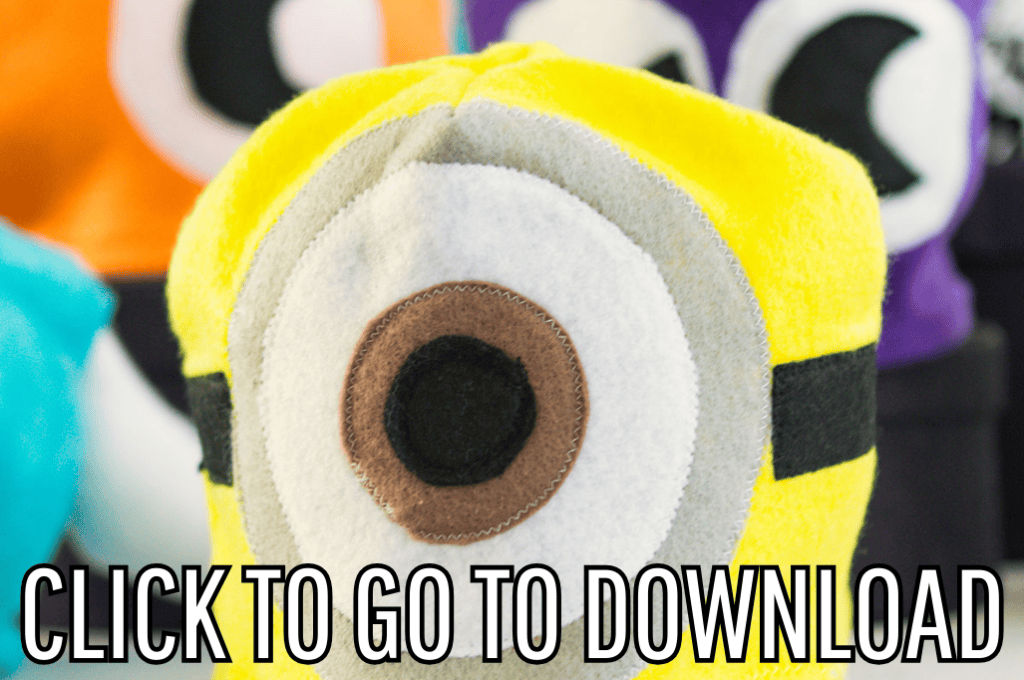
Download the free easy fleece hat pattern below:
You can get a free copy of Adobe reader here. By downloading you are agreeing to pattern terms of use. Click the picture and fill up the form to download the .pdf !
More Winter/Halloween Fleece Hats:
- Halloween Hat Pack – Dragon, Viking, Apple, Pumpkin
- Fleece Bunny Hat
- Fleece Dog Hat
- Basic Hat with Horns
- Basic Hat with Bear Ears
- Fleece Unicorn Hat
- Fleece Frog Hat
- Ladybug Hat
- Monkey Hat
- Fleece Owl Hat
More Fleece Projects!
- Basic Hat (Adult, Child, and Baby)
- Fleece Winter Hat
- Fleece Hat with Ear Flaps
- Bow Ear Warmer Headband
- Fleece Scarf with Pockets
- Fleece Vest Tummies and Tails
- Fleece Vest Monster Legs
- How to Make a No Sew Fleece Tie Blanket
- Fun Facts about Fleece
- All Warm Fleece Hat Sewing Patterns!

these are just fabulous, such good fun. thank you for the tutorial
Perfect! I needed to make 7 minion hats for Disney’s not so scary halloween, and these are perfect! Easy to follow and look great! THANK YOU!
aHHHHHHHHHHHHHHHHHHHH!!!! So adorable!!! Thank you!!!!
These are so sweet. I have just started sewing hats for ‘Headhuggers”
https://www.facebook.com/pages/Northwest-Headhuggers/1376391469290795
I am hoping that you will allow me to make some hats from your sweet patterns for donation to kids/adults going through chemo?
Thank you for the inspiration!
Louise
Hi Louise,
Yes my patterns are free to use – especially for charities! All I ask is that if you post anything on a site or Facebook page that you link to my tutorial to get directions – not copy and repost them. =) So yes please use this pattern and make as many hats as you wish to donate! Thank you for giving you time to charity!
– Angel
What stage and how do you sew the horn in? Thanks
Step 4 – where is says sew in the horns/ ear/ etc. Follow the directions there.