
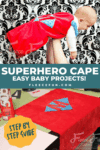
Easy Superhero Cape Tutorial
This content contains affiliate links or sponsored elements, read our Disclosure Policy.


This easy superhero cape tutorial can be adjusted for any size! With a few quick measurements, sewing and imagination your super hero will be saving the day in no time! Plus this cape has an amazing super power of it’s own – turn it around and if works as a comfortable blanket over safety restraints in the car!
Hate The Ads?
This pattern with video and printable instructions is available to members of the Maker’s Studio. The Maker’s Studio is an ad free experience, no video ads, no forms, no zip files, just creating.

YOU WILL NEED:
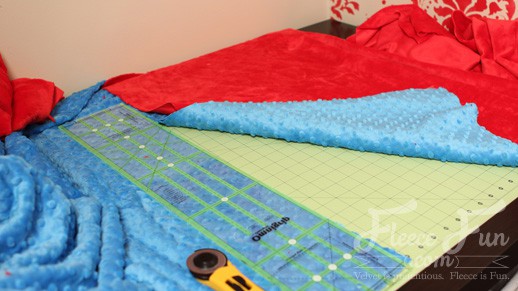
- Fleece in 2 colors (measurements will vary depending on size of cape – in the pattern example I used cuddle fabric, this is optional)
- Quarter inch elastic
- 1 inch elastic
- thread
- rotary cutter, ruler and mat
- measuring tape
- 505 temporary adhesive (optional)
- Sewing Essentials (pins, scissors, etc.)
- Get the free pattern here.
Easy Superhero Cape Tutorial
step 1 – Design the dimensions of your cape
For this tutorial you’re going to be designing the basic dimensions to the cape. Measure the width of the shoulders and then add 1/2. (so if the shoulder width is 12 inches the final width would be 18) plus 1 inch for seam allowance.
For the length of the cape measure from the shoulder to wear you wan the cape to fall (above the ankle or to the chin is a good length)plus 1 inch for seam allowance.
Next measure around the top of the arm for your strap length. This subtract 2 inches for stretch and this will be the length of your elastic – cut two pieces of quarter inch elastic that length. Double the length for the length for the fabric for the strap, by 4 inches in width. Cut two straps 4 inches by double the arm length.

Now measure just outside the shoulder blades – cut your 1 inch elastic to this length.
Optional – if you want to add a basic monogram to your child’s cape cut out the shield shape that’s been provided. Use a basic document program (like Microsoft word) to make the letter the size and shape you want. Print it up and then use it as a pattern to cut out the letter.
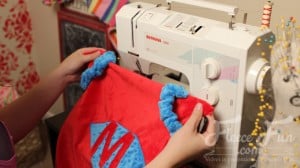
step 2 – Build the superhero cape logo (optional)
This part is completely optional (but really fun!)
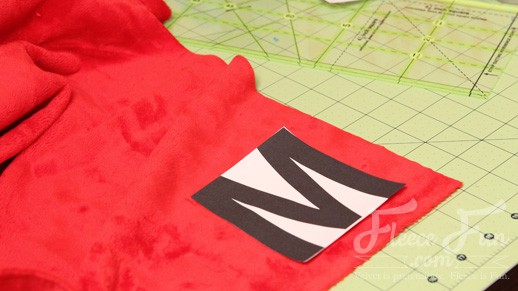
Take your letter and the shield cut out.
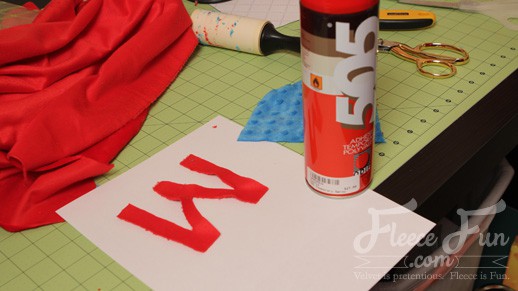
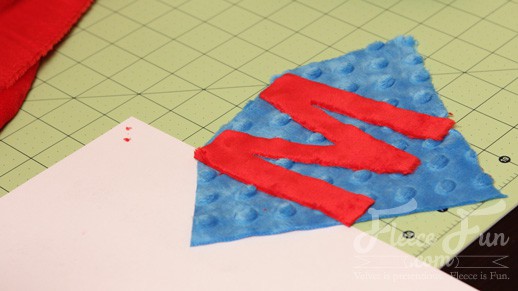
Spray temporary adhesive to the wrong side of the letter and glue it to the shield.
Then using a medium zig zag stitch sew the letter onto the shield (you can also use a satin stitch if you like).

Then spray the back of the shield (wrong side) and place on the right side of the fabric you want to be the outside of the cape.
Quick Tip
You’ll want this to be in the upper third of the cape.
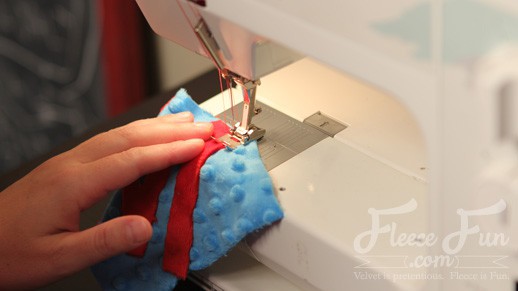
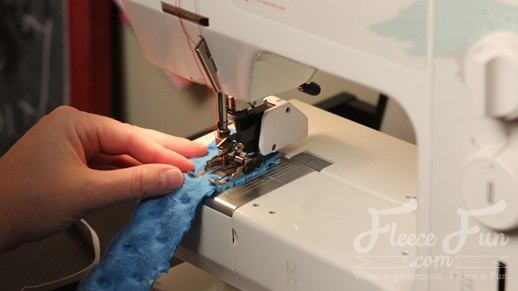
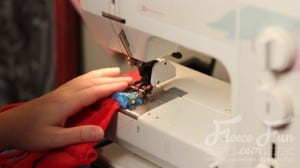
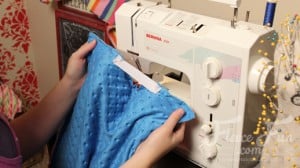
step 3 – Make the straps
Take one of the two fabric straps you cut and fold it in half length wise with right side touching.

Sew using a .5 inch seam allowance. making a long tube. Turn Right side out.
Take one of your quarter inch pieces of elastic that you cut, and pin a safety pin to one end. put into shoulder strap.
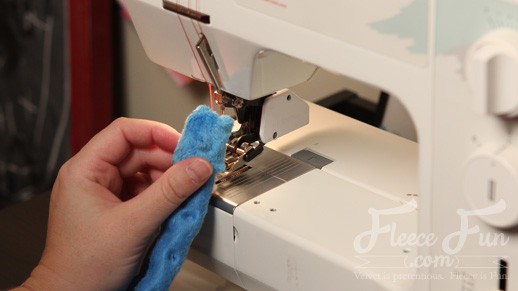
Sew end of tube shut, catching sandwiched elastic into the end using a quarter inch seam allowance.

Then using the safety pin gather the strap fabric so the elastic reach the other end.

Remove safety pin and sew close the other end of the strap with the elastic sandwiched in between.
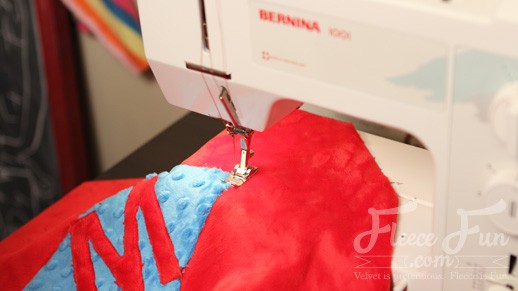
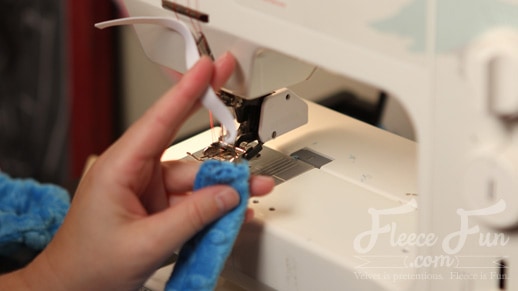
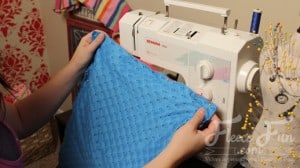
step 4 – Attach and reinforce the straps
Because straps get tugged on a lot, I like to sew them onto one side of the cape first and then sew over them again when I sew the two pieces together for extra reinforcement.
Pin the straps on the top of the cape at an angle (see picture). Sew on suing a .5 inch seam allowance.
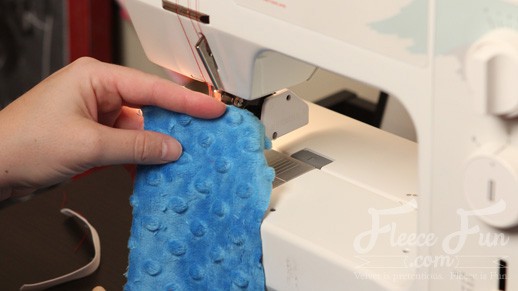
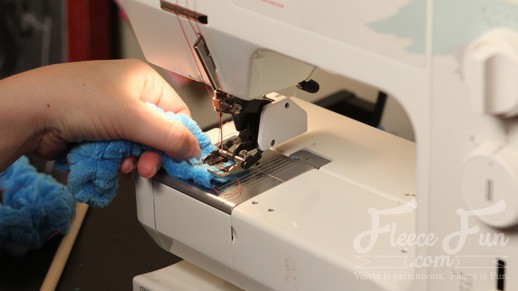
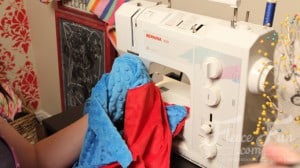
step 5 – Sew the lining to the Superhero Cape.
Pin the back side of the cape to the front (the straps should be sandwiched in between) be sure to leave a 4 inch gap in the bottom for turning).
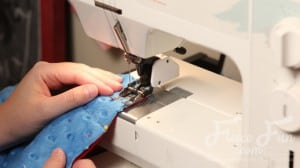
Sew all the way around the cape using a .5 inch seam allowance (be sure to leave your turning gap open).
step 6 – Add elastic to the top
To make the cape come in at the top We’re going to add elastic.

Take the 1 inch elastic piece you cut and pin one side to just inside one strap and pin the other side to just inside the other strap. Sew each end.
step 7 – Finish up the Easy Superhero Cape
Flip cape right side out.
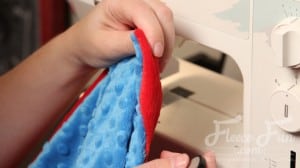
Sew the turning gap shut.

Let your little superhero were their fun cape!
Download the free easy superhero cape pattern here
You can get a free copy of Adobe reader here. By downloading you are agreeing to pattern terms of use. Click photo below and fill out the form to download the .pdf !

More Superhero Costumes:
More Costume Tutorials you might like!
- Halloween Dress Up Vest
- How to Make a Birthday Crown Free PDF and SVG File
- Aladdin Magic Carpet Costume DIY Free Pattern
- Bonus Craft Tutorial Fall Fairy Costume
- DIY Tiara Free Pattern and SVG File
- DIY Mini Top Hat
YOU MIGHT LIKE THESE CAPES/CLOAKS TUTORIALS:
- Long Hooded Cloak Pattern (Free)
- Fast Hooded Cape (with video)
- Easy Long Cape (Sew or No Sew)
- How to Make a Cloak in 20 Minutes
- The High Low Cape with Pixie Hood
- How to Make a Child Cape or Car Seat Poncho
- Cowl Capelet Free Pattern
- The Amazing Cape Secret on Fleece Fun
- See more of our Cape Patterns here
MORE CAPES FOR YOUR HALLOWEEN COSTUMES:
- The Best Free Cape Tutorials for Halloween
- Harry Potter Inspired Wizard Cloak
- The Red Riding Hood Cape (with video)
- Batman Cape Costume Tutorial
- Queen Elsa Cape Tutorial (Includes Jacket Warmth)
- The Snow Princess Cape (with video)
