
How to Make a Cloak (free pattern and easy instructions)
This content contains affiliate links or sponsored elements, read our Disclosure Policy.


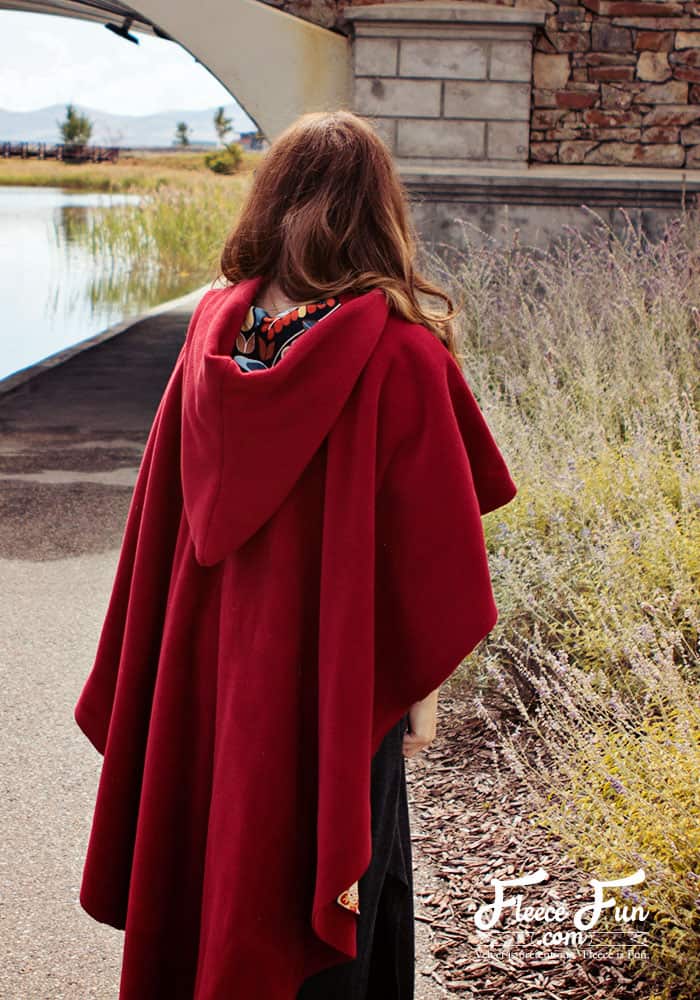
Learn how to make a cloak with this easy step-by-step tutorial. This cloak has a lining for added interest but can also be made without it. With its curved hem and high-low styling, this cloak has style and function (no tripping over the front!).

Hate The Ads?
This pattern with video and printable instructions is available to members of the Maker’s Studio. The Maker’s Studio is an ad free experience, no video ads, no forms, no zip files, just creating.

YOU WILL NEED:
- 2.5 yards of 60-inch-wide Fleece, Felt, or Jersey Knit for exterior
- 2.5 yards of 60-inch-wide Duck Cloth or Home Decor Fabric for lining
- Sew-On Buckle or Clasp
- Sewing Essentials (Scissors, Pins, etc.)
- Get the free pattern here
How to Make a Cloak Video Tutorial

How to Make a Cloak Tutorial
Step 1 – Assemble the Pattern and cut out
You will need to assemble the pattern. For instructions on how to assemble the pattern click here.
Normally, I would just have this be a little blurb and then tell you what to cut out, but I need you to understand that this pattern is a little different—and so you REALLY need to pay attention to this part.
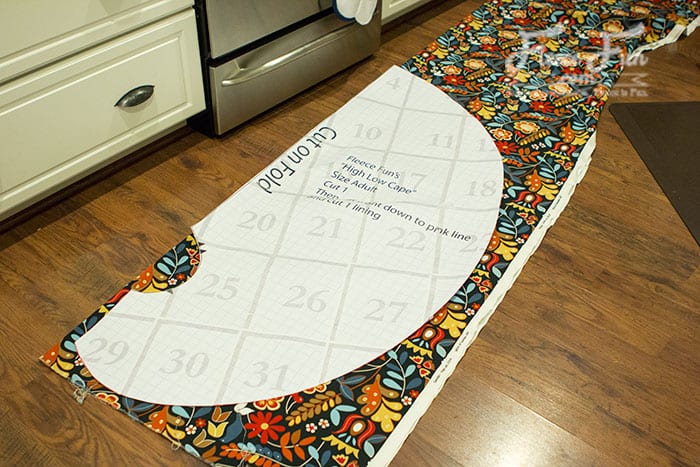
On folded fabric, place the pattern on the fold and cut out one exterior piece along the outer black line.
When you cut out the neck, be sure to cut notches to make lining up the hood easier later.
On the shorter front, cut the cloth on the fold to create a slit that will become the opening between the two front sides.
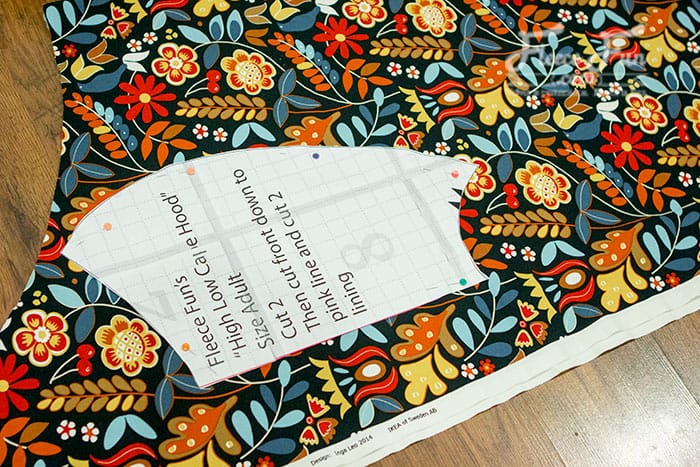
Cut two of the hood exterior.
Again, be sure to cut the notches to make lining up easier.
Now, cut down the cape piece to the pink line.
Cut one lining piece as you did the exterior—again, make sure to add the notches at the neckline.
Then, cut down the hood pattern along the pink line.
Cut two of the hood lining of the cloak.
Step 2 – Begin to Sew the Cloak.
Using a turning foot or by making a baby hem, finish the edge of the lining fabric (except for the neckline and the straight sections in the front). (Unfamiliar with baby hems? You can learn about them here.)
Set aside.
Step 3 – Make the Cloak Hood
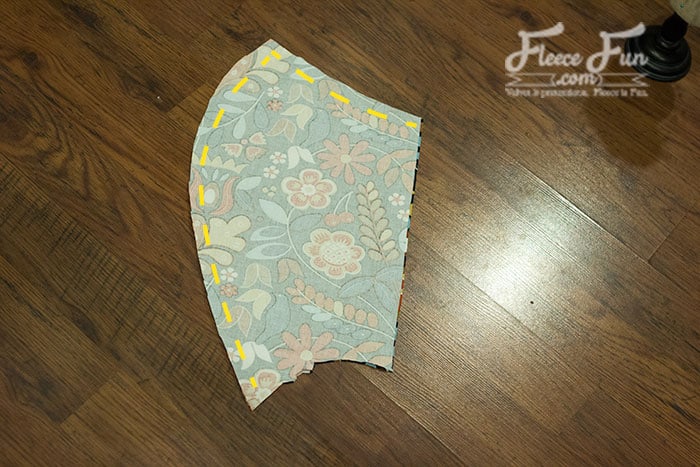
With right sides together, sew the top and back of the hood lining using a 1/2-inch seam allowance. Be sure to leave the front and neck open.
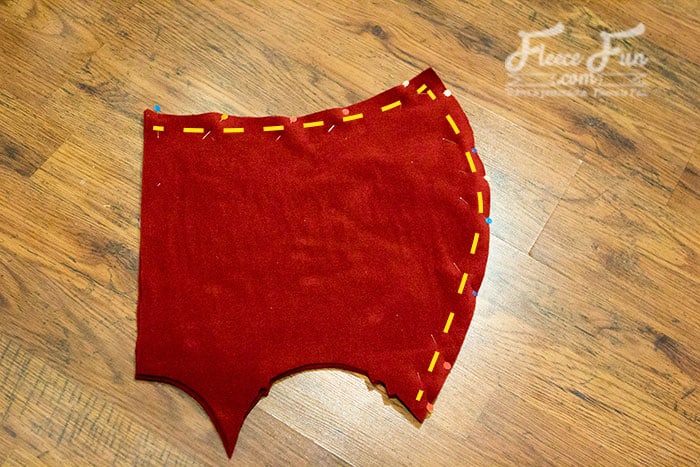
With right sides together, sew the top and back of the hood exterior using a 1/2-inch seam allowance. Be sure to leave the front and neck open.
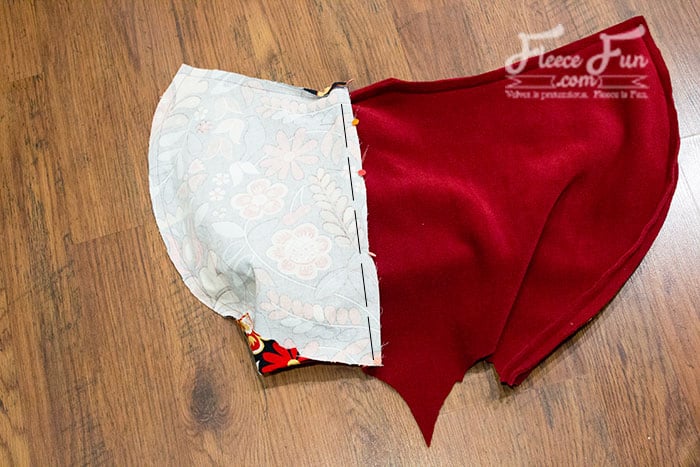
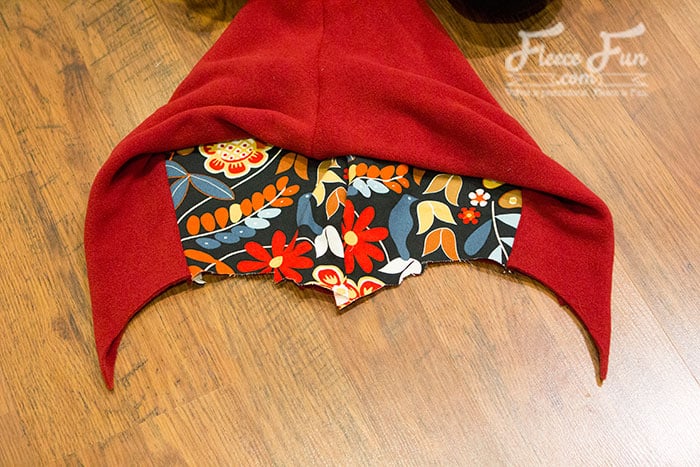
Now it’s time to bring the lining and the exterior of the cloak hood together. With right sides together, pin the hood lining and the exterior together at the front.
And sew using a 1/2-inch seam allowance.
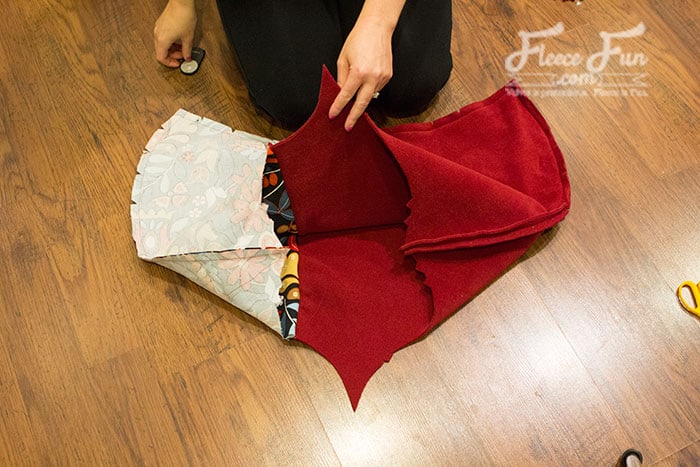
Note
This is easier to do when you tuck the lining into the hood, but to make it clear how the two pieces come together, I have it pulled out so you can see.
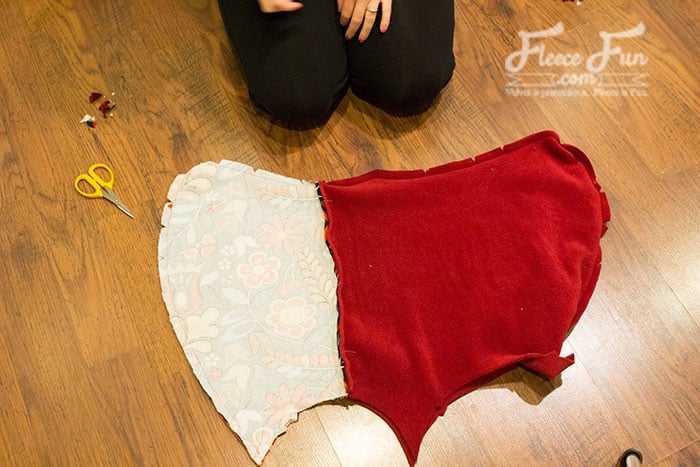
Clip the curves on the lining and the exterior of the hood so it lays smoothly.
Flip the cloak hood right side out.
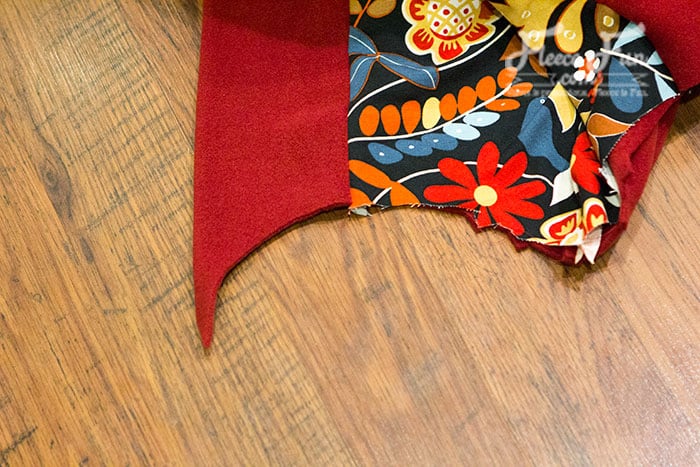
Tuck the lining back into the cloak hood and line up the notches.
See how the exterior comes into the lining a little? The notches should line up.

Step 4 – Add the hood to the cloak
There is an interior of the hood and an exterior of the hood, and we will add a cape to each side.
Pin the lining to the interior of the hood, right sides together, lining up the notches. Sew together along the interior neckline using a 1/2-inch seam allowance. Clip the curves.
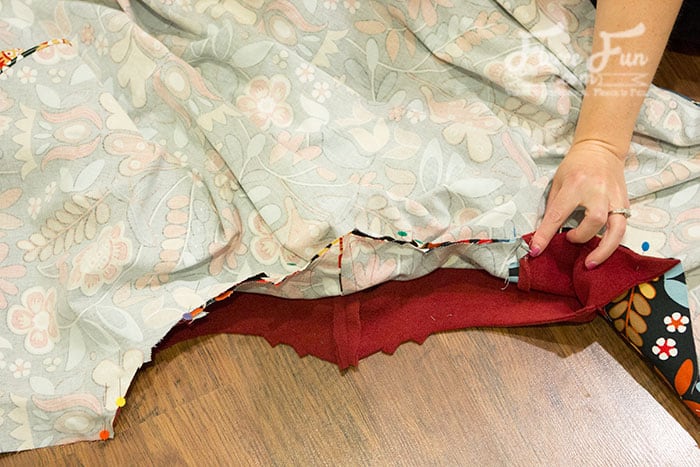
Now it’s time to add the cloak exterior.
Now, with right sides together, pin the exterior cape to the exterior of the hood. Sew together along the neckline using a 1/2-inch seam allowance.
Clip the curves on the neckline. Flip the cloak so the lining is tucked into the cloak and the exterior is on the outside.
Step 5 – Finish up the cloak
Remember those front sides that we didn’t finish? Now it’s time to finish them. Fold the exterior fabric over toward the lining so it covers the raw edge of the lining. Pin.
Using a zigzag stitch, sew along the edge of the exterior that is folded inward along the front.
Place the clasp or buckle where you want it to be on the front and sew it in place. You’re finished with the high-low cloak with pixie hood!

Get the Free Sewing Cloak with pixie Hood Pattern Below:
You can get a free copy of Adobe reader here. By downloading you are agreeing to pattern terms of use. Click on the image below or fill out the form and a link to the pattern will be sent to you.

YOU MIGHT LIKE THESE CAPES/CLOAKS TUTORIALS:
- Long Hooded Cloak Pattern (Free)
- Fast Hooded Cape (with video)
- Easy Long Cape (Sew or No Sew)
- How to Make a Cloak in 20 Minutes
- How to Make a Child Cape or Car Seat Poncho
- Cowl Capelet Free Pattern
- The Amazing Cape Secret on Fleece Fun
- See more of our Cape Patterns here
MORE CAPES FOR YOUR HALLOWEEN COSTUMES:
- Harry Potter Inspired Wizard Cloak
- The Red Riding Hood Cape (with video)
- Batman Cape Costume Tutorial
- Queen Elsa Cape Tutorial (Includes Jacket Warmth)
- The Snow Princess Cape (with video)
- Easy Superhero Cape Tutorial
Do you have any tips if i don’t want to add a lining? I’m trying to make these quick and am thinking I might be able to just line the hoods. Any thoughts?
Yes, just skip the lining on the cape, and just do the lining on the hood. That should work.
Hi! Any tips on making just h back part longer, like to the floor?
You’ll have to dar on the fabric and adjust the curve to be longer to hit the length you want.