
Harry Potter Robe Pattern Free (DIY)
This content contains affiliate links or sponsored elements, read our Disclosure Policy.

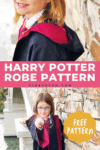
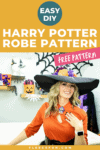


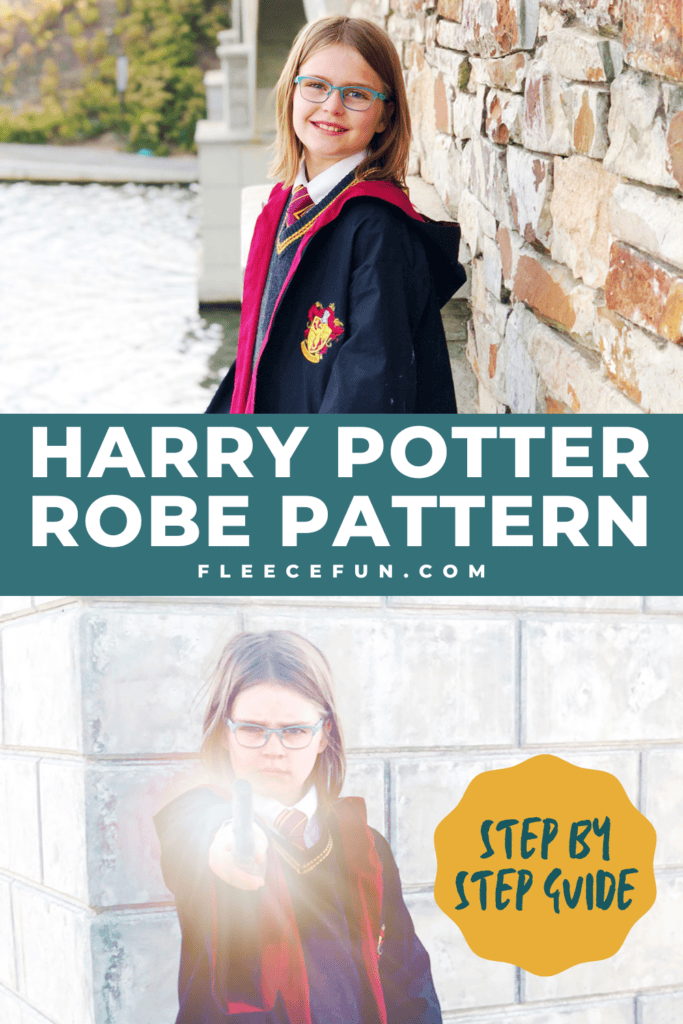
Free Sewing Pattern: This Harry Potter Robe Pattern Free is perfect for your little Hogwarts Student. With step by step instructions and pictures so easy, even a muggle could understand them. Download the free sewing pdf pattern so your little wizard or witch can be ready for the sorting hat.
This inspired by Harry Potter Robe Pattern is perfect for your little Hogwarts Student. Designed so you can make it work for whatever house you’re sorted into, this robe is a classic item to add to your costume box. With a few simple materials and Fleece Fun’s free pattern this robe will be the perfect addition to complete your wizard school look.
YOU WILL NEED:
Please note depending on the size of robe you are making you will need a different width of fabric. ![]()
- 44″ Black Cotton ( 3 yards for sizes 7 to 9, 3 1/2 yards for sizes 10 to 12) or 58″ Black Poly Cotton broadcloth (3 5/8 for adult small/ medium, 4 yards for large)
- 1 and 1/3 yards cotton in your house color for children’s sizes (Maroon for Gryffindor, Green for Slytherin, Yellow for Hufflepuff, Blue for Ravenclaw) or 58″ Poly cotton broadcloth 1.5 yards for adult sizes
- House Patch (I found mine here)
- 3 yards hem tape
- Thread in black and the house color
- Sewing Essentials
- Iron
- Sew on Toggle Clasp
- Get the free pattern here.
Harry Potter Robe Video Tutorial:

Harry Potter Robe Pattern Tutorial:
Step 1 – Cut Out the robe pattern
Assemble the pattern you can find detailed instructions here.
Attention
For speed’s sake I’ve designed the pattern so one piece doubles as the front and the back. Essentially you will cut out the back and then cut down the pattern so you can cut out the front.
On folded fabric, Place the back on the fold and cut out 1.
When you unfold the back it should be one large piece.
Next it’s time to cut out the Hood: here you can see how it should be placed on the fabric in relation to the robe back to get the most out of your fabric.
Get the wizard hood and on folded fabric cut 2.
You’ll notice on the Harry Potter Wizard robe pattern piece that there is a red line.
Cut down the pattern to the red line to make out the shape of the front.
Place pattern on folded fabric and cut 2. Notice that this pattern piece DOES NOT sit on the fold, Be sure to mark the notches.
so you will have TWO separate pattern pieces when you are finished.
For the sleeves of the Harry Potter Robe Pattern, with the remaining fabric adjust the fold so it’s NOT in the center of the fabric.
Make it wide enough to cut out a sleeve, cut one and adjust the fold again to cut out the other sleeve.
Here’s a visual reference of how to cut out all the pieces from the fabric:
For the house color lining cut out the following:
Cut two of the sleeve lining on the fold.
Cut two of the wizard cloak lining.
and cut two of the wizard cloak hood lining.
note
To get the most out of your fabric, you’ll flip the pattern piece so the printed side is face down on the fabric. Make sure you include the notches for reference later.
Here’s a visual reference of how to cut out all the pieces of the Harry Potter Robe Pattern lining.
![]()
Step 2 – Sew the Harry Potter Robe
All seam allowances are .5 inch unless otherwise stated. Let’s begin with the exterior of the robe.
Take the back and the robe and the two front pieces. Pin right sides together
Sew the shoulder seams.
Next take the sleeves and pin to each side, right sides together.
Sew the sleeves to robe.
Right sides together, Pin the side seams of the robe all the to the ends of the sleeves.
Sew the sides. Set the robe aside
Step 3 – Sew the Wizard Robe Hood
With right sides together, sew the top of the hood exterior.
Then following the red line on the pattern as a guide sew to the notch at the base of the neck.
Repeat this process with the hood lining in the house color. Trim notches in to curves so it will lay nicely.
Turn the hoods so fronts ( the long straight edge) are facing each other and pin right sides together.
Sew together.
Turn right side out.
Stuff the lining into the hooded robe exterior.
Line up the notches and
Pin the hood to the robe neck, right sides of the exterior touching.
Sew to the robe. Set the robe aside.
Step 4 – Prepare the Robe Lining
To create that flash of house color inside the robe, we need to prep and insert the lining to it. There are a couple of ways to do it.
You need to finish the raw edge of the lining, ( this is the side of the lining that comes to a point at the top). You can either turn it under a quarter of and inch, press and then zig zag stitch along the edge in a thread that is the same color to finish the edge. Or you can use a turning foot to turn that raw edge under and finish it (this is how I did it).
Quick Tip
Make sure that they are mirror images and you don’t finish them on the same side.
Once that edge is finished you can attach it to the Hogwart’s robe. Line up the top of the lining to the hood/ neck line right sides together.
Pin the lining and sew onto the wizard’s robe.
Trim the seam at the angle.
Turn the lining to the inside. repeat on the other side.

Step 5 – Attach the Lining to the Sleeves
Now it’s time to add that flash of color to the sleeves.
The the straight side finish the edge like you did the lining. Either with a turned edge ( like I did or fold it under and to the wrong side and zig zag stitch it down.)
Take the sleeve lining, and on the small side pin it right sides together and sew, to make it a loop.
Add it to the sleeves. With the Harry Potter Robe sleeve turned right side out, pin the wizard cloak sleeve lining to the sleeve so right sides are touching (sleeve lining seam should be facing out).
note
The seams on the sleeve and the lining DO NOT match up, the curves do. This is to hide the seams for a more pleasing appearance.
Pin each side to the sleeves right sides together. Sew on, for this seam use a .25 inch seam allowance. trim curves.
Flip The lining out.
Then tuck it into the inside.
Optional, but recommended. Top stitch along the out edge of the sleeve to keep the lining inside and the look neat. Hand tack the edge of the robe sleeve lining on the inside of the sleeve with glue or a few stitches to keep it in place.
Step 6 – Hem the Harry Potter Robe
Again there are a few different methods you can use.
You can turn the hem under an inch and sew it along the edge with a zig zag stitch
or you can use hem tape and iron up the hem,
or you can hand sew the hem up too. It’s your costume so you can finish it as nicely ( or as quickly) as you would like.
Step 7 – Finishing Touches for the Wizard Robe
Add the house patch to the left side of the robe.
If desired add a frog clasp where the front v comes to a point on the wizard robe.
Top stitch around the front, and the hood so the robe will lay nicely.
You’re finished with the Harry Potter Robe DIY!
GET THE FREE Harry Potter Robe Pattern PATTERN BELOW:
I only approve of Adobe reader. By downloading you are agreeing to pattern terms of use. Fill out the form here to have it delivered to your inbox or get to it by clicking the picture.

Make a wand to complete the look – check out that tutorial here.
Free Witch’s hat pattern – sizes child and adult
Mini Witch hat ( PDF and SVG files)
Looking for more costume ideas? You can see all my free costume patterns here.
Tips and tricks for customizing the harry potter robe to your child’s needs
When it comes to customizing your child’s Harry Potter robe, the possibilities are endless! One fun idea is to add patches or embroidery with their initials or favorite Hogwarts house crest. This personal touch will make the robe even more special and unique to them.
Another tip is to adjust the length of the robe based on your child’s height for a perfect fit. You can also play around with different fabrics and colors to create a one-of-a-kind look that suits their style. Adding decorative elements like lace trim or sequins can elevate the overall design and add a touch of magic.
If your child has a favorite character from the series, consider incorporating subtle references in the form of buttons, charms, or fabric accents. Don’t forget about comfort – choose soft, breathable fabrics that won’t irritate their skin during long hours of imaginative play at Hogwarts!
By tailoring the robe to your child’s preferences and needs, you’ll be creating a costume they’ll love wearing time and time again.
Fun ways to personalize the robe pattern, such as adding house colors or a wand pocket
When it comes to personalizing your DIY Harry Potter robe, the options are truly magical! One fun way to make the robe uniquely yours is by incorporating the colors of your favorite Hogwarts house. Whether you’re a brave Gryffindor, a cunning Slytherin, a wise Ravenclaw, or a loyal Hufflepuff, adding these signature hues can instantly bring an extra touch of authenticity to your robe.
Another creative idea is to sew on a wand pocket for easy access during all your wizarding adventures. This little detail not only adds practicality but also enhances the overall enchanted look of the robe. Imagine strolling through Diagon Alley with your wand always at the ready!
For those who enjoy crafting and adding details, consider embroidering symbols or motifs that represent elements from the Wizarding World onto your robe. From lightning bolts for Harry Potter fans to intricate animal emblems for followers of Newt Scamander’s adventures, these subtle touches can elevate your DIY creation into something truly special.
Remember, when it comes to personalizing your Harry Potter robe, let your imagination soar like a Firebolt across Quidditch pitch!
Additional accessories to complete the Hogwarts student look
Now that you’ve mastered sewing your DIY Harry Potter robe, it’s time to add those finishing touches to complete the authentic Hogwarts student look. Accessories play a crucial role in bringing magic to life! Consider adding a scarf in your house colors – whether Gryffindor red and gold, Slytherin green and silver, Ravenclaw blue and bronze, or Hufflepuff yellow and black.
Don’t forget about a wand pocket for easy access during those Charms classes or Defense Against the Dark Arts lessons. A simple addition but oh so practical! You can either sew one onto the inside of your robe or create a detachable one for versatility.
To really immerse yourself in the Wizarding World, grab a pair of round glasses like Harry’s iconic ones. They instantly scream “Hogwarts.”
And lastly, no Hogwarts student is fully prepared without their magical pet companion. Consider crafting a little owl plushie or even wearing an animal-themed accessory representing Hedwig or Crookshanks.
Accessories truly enhance the overall enchantment of your Hogwarts ensemble – have fun getting creative with them!
Trying out the Harry Potter Robe Pattern
Get ready to bring a touch of magic into your child’s wardrobe with this DIY Harry Potter robe project. By following the step-by-step instructions and adding your creative flair, you can create a personalized Hogwarts student look that will surely delight any young wizard or witch.
Sewing your own Harry Potter robe is not only fun but also allows you to tailor it to fit your little one perfectly. Whether you choose to add house colors, a wand pocket, or other customizations, this project offers endless possibilities for creativity.
So gather your materials, dust off that sewing machine, and embark on this enchanting DIY journey. Your little Hogwarts student will thank you as they proudly don their handmade robe and immerse themselves in the magical world of Harry Potter!
More Harry Potter Projects:
- Harry Potter Spell Book DIY Perfect for Hogwarts
- DIY Harry Potter Wand Made from Real Wood
- DIY Witch Hat
- Hedge Witch Hat
YOU MIGHT LIKE THESE CAPES/CLOAKS TUTORIALS:
- Long Hooded Cloak Pattern (Free)
- Fast Hooded Cape (with video)
- Easy Long Cape (Sew or No Sew)
- How to Make a Cloak in 20 Minutes
- The High Low Cape with Pixie Hood
- How to Make a Child Cape or Car Seat Poncho
- Cowl Capelet Free Pattern
- The Amazing Cape Secret on Fleece Fun
- See more of our Cape Patterns here
MORE HALLOWEEN COSTUMES:
- The Red Riding Hood Cape (with video)
- Mini Pirate Hat or Mini Tricorn Hat
- Batman Cape Costume Tutorial
- Queen Elsa Cape Tutorial (Includes Jacket Warmth)
- The Snow Princess Cape (with video)
- Easy Superhero Cape Tutorial
More Teen Costume Ideas: