
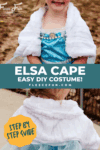
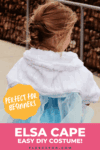
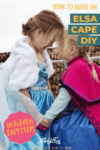
Elsa Cape tutorial inspired by Disney’s Frozen (free)
This content contains affiliate links or sponsored elements, read our Disclosure Policy.

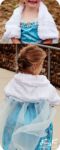


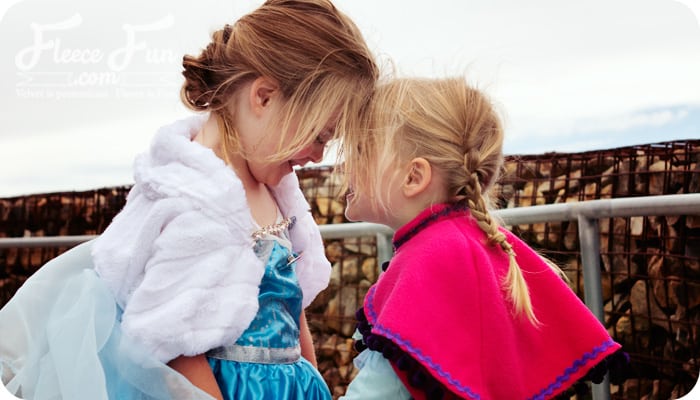
While many costumes can be beautiful, they can also be extremely impractical. While the cold might not have bothered Elsa – it will surely both my six year old! Inspired by Disney’s Frozen, This Elsa cape tutorial or Snow Queen jacket and cape are a perfect (and practical) way to wear the costume.

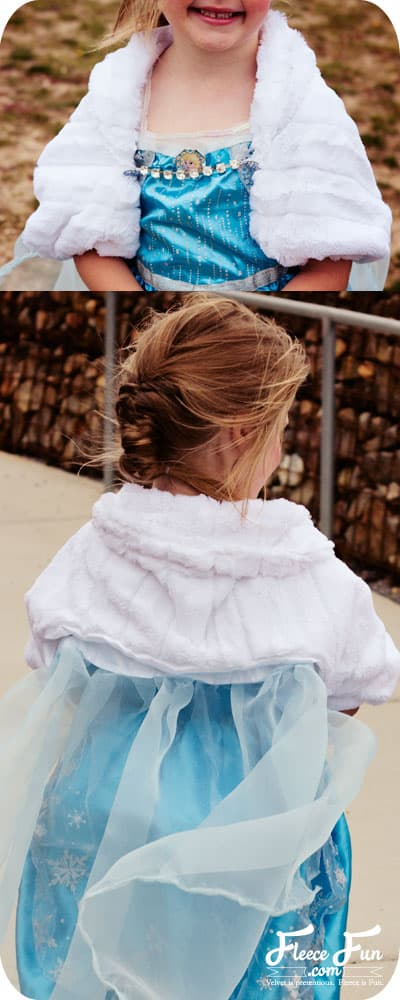
The jacket is a short shrug – designed to have an open front so you can still see the costume beneath. The flowing cape in the back can be removed (it’s attached with snaps) so you have options on how to wear it.
YOU WILL NEED:
The jacket is only three pattern pieces. You can find more pictures of the completed jacket here.
- 3/4 yard of Faux fur, minky or fleece for jacket exterior and collar. (In the example I used Shannon Fabric’s Chinchilla Cuddle in white. Fabric was provided to me for free by Shannon Fabrics.)
- 5/8 yard satin for lining
- Two buttons, jewelry chain, elastic thread (can replace this with ribbon to save $)
- 1 yard Organza in blue
- 1/2 yard of 1/4 elastic
- 5/8 yard of satin binding ( you could use wide ribbon ironed in half as a replacement)
- 5 sew on snaps (medium)
- Safety pins
- Thread
- Needle
- Scissors
- Walking foot (optional, but recommended if using cuddle, fur or minky.)
- Rotary cutter, ruler and mat
- Marking Pen
- Get the free sewing pattern here.
Elsa Cape tutorial with jacket inspired by Disney’s Frozen
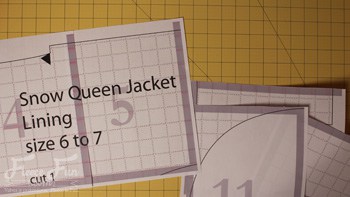
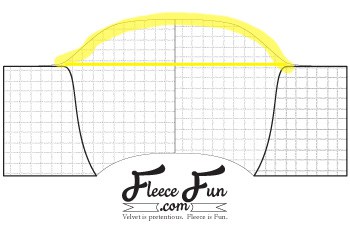
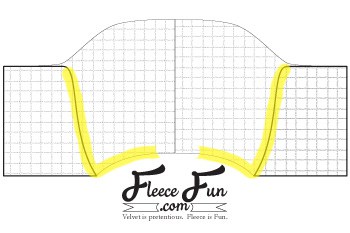
step 1- Assemble and cut out the pattern
You can find instructions on how to assemble the pattern here.

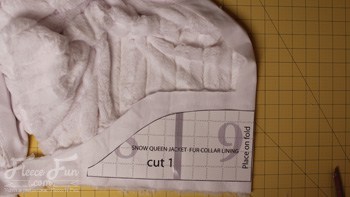
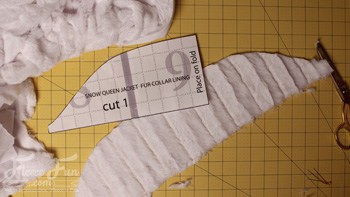
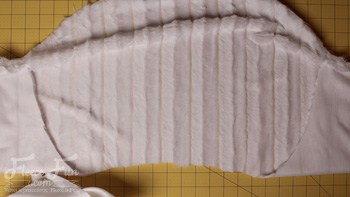
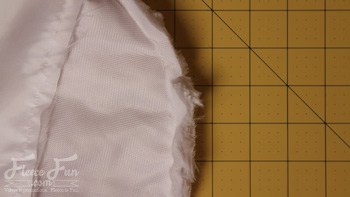
For the jacket exterior and collar place on fold and cut 1 each out of cuddle fabric.
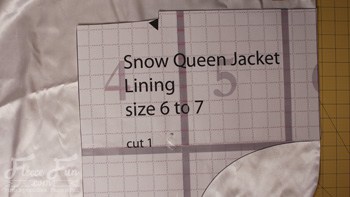
For the jacket lining place on fold and cut 1 of the interior from satin.

Cut off the selvage from the organza, if desired cut bottom at and angle to make cap come a to a gentle point.
step 2 – Begin to make the elsa jacket
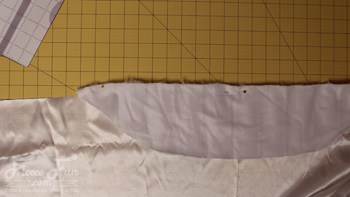
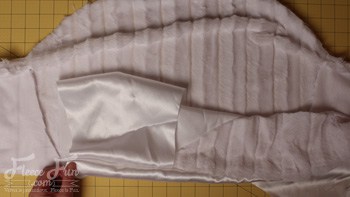
Take the collar and the interior lining. With right sides touching, pin together. With a .5 inch seam allowance, sew using a straight stitch.
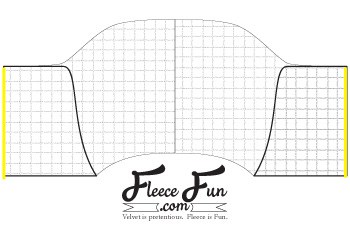
Then fold up bottom of sleeve to the top on either side of interior ( line up triangles) with right sides together. Pin. Sew sleeves together suing a half seam allowance. Set lining aside.
step 3 – Make sleeves on exterior of jacket


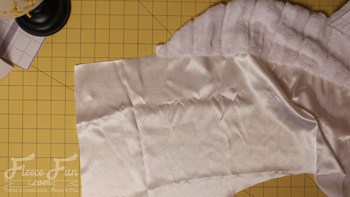
Taking the jacket exterior repeat what you just did with the sleeves of the lining.
Fold up bottom of sleeve to the top with right sides together, pin.
Sew each sleeve seam using a .5 inch seam allowance.
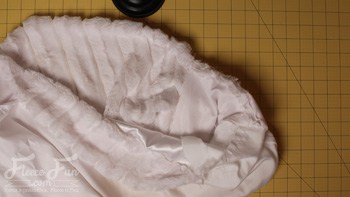
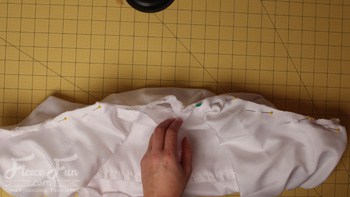
step 4 – Bring exterior and interior together.
We are lining the jacket. The directions might seem a little odd – but trust me this is how you need to do it for it to properly be sewn together.
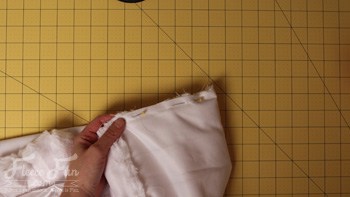
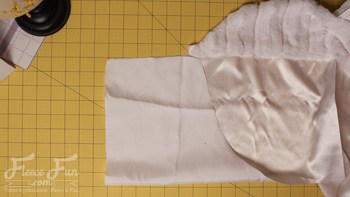
Take interior lining and turn sleeves to the satin sleeve is right side out. Place lining of jacket right down on to the jacket exterior that is right side up – so right side are touching.
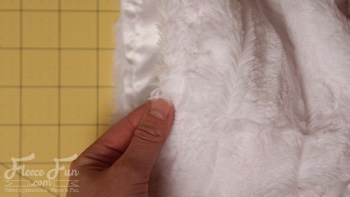
Put the interior (satin) sleeve (that is on your left) inside the sleeve of the exterior jacket, lining up the seams, pin ends together. Sew together using a .5 inch seam allowance.

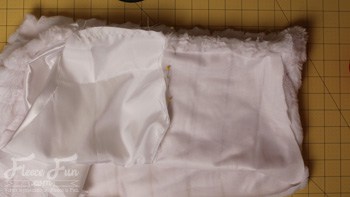
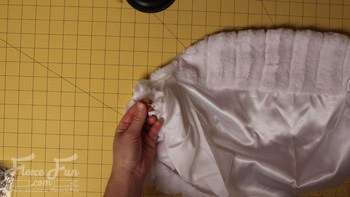
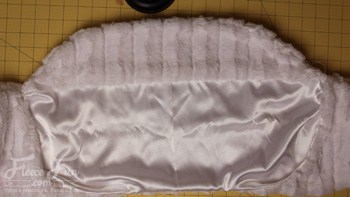
Now follow me here. This is where it gets funky. I’m including some rough cut video because pictures don’t do a good job of showing this. Once one sleeve is sewn, pull sleeve and jacket right side out so the seam you just sewed is in the middle with the lining right side out on once side and the exterior is right side out on the other.
Then stuff sleeve and the rest of the interior lining into and through the sleeve. Then lay out jacket making sure everything is straight and there are no twists in the lining. Taking the sleeve that is not sewn of the exterior of the jacket, pull it in on itself and lining up the seams pin right sides together. Sew together using a half inch seam allowance.
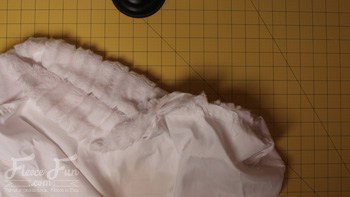
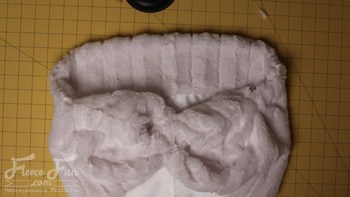
Stuff interior of sleeve into exterior and check lining and exterior to make sure that it looks good. The two sleeves should be sewn while the top and bottom of jacket are open. (Watch the Elsa cape tutorial video, few times to make sure you have this right).
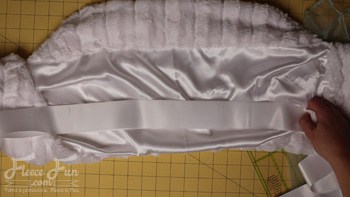
step 5 – Sew top of jacket closed.
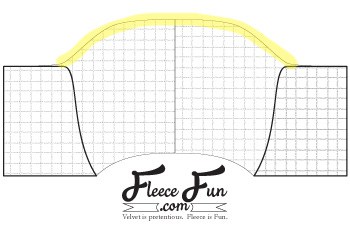
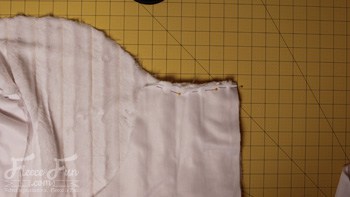
Flip jacket inside out so right sides of interior and exterior are touching.
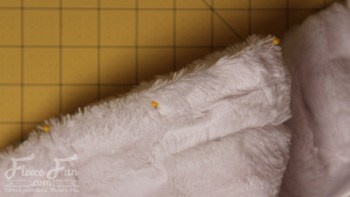
Pin along the top of the jacket (where the collar is) from the sleeve seam from one sleeve to other sleeve seam on the other side. Sew together using a .5 inch seam allowance.
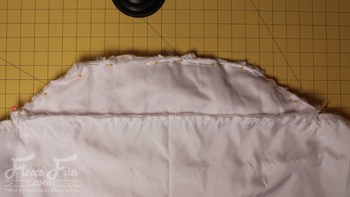
Cut slits in curve to lay better (make sure not to cut through seam) Turn right side out.

Optional (but recommended) – top stitch along the edge of the collar ( about a 1/4 from the edge) to help it stay. In the lining Stitch in the ditch where the collar meets the lining to help it lay better.
step 6 – Finish the sleeves
Take a sleeve and pin along out edge to help seam lay flat.
Top stitch around the edge of the sleeve ( .5 away from edge) all the way around, stopping short from finishing seam leaving a 1.5 inch gap.
Taking your elastic (I like to thread it through a safety pin to make it easier). Reaching in between the lining and the exterior through the open bottom, thread the elastic through he casing you just made.
Sew end of the elastic together and sew the casing shit. Repeat on the other sleeve.
note
On my daughter’s sleeves the elastic was 8 inches long with a .5 overlap when I sewed it together. To make it the most comfortable for your child – just take the elastic and measure around their arm. – Be sure to stretch it so it be a little taught – but not too tight around the arm.
step 7 – Sew the bottom of the jacket
Turn jacket inside out so right sides of the jacket are touching.
Pin the bottom together (leaving a 4 inch gap in the center for turning).

Sew using a .5 inch seam allowance.
Turn right side out. Set aside.
step 8 – Make the cape section. (This part of the elsa cape tutorial is optional)
Finish the raw edges of the organza ( a fabric that I really don’t like sewing on, there’s a reason why I use fleece). You can do a rolled or baby hem. You can even use fray check ( but it can discolor the fabric) You can also finish it with bias tape.
No matter how you decide to finish it – the edges of this cloth much be finished or it will fray into oblivion. Once those edges are finished sew a basting stitch along the top.

Cut Satin binding ( or wide ribbon ironed in half ) to 22 inches, finishing the ends with stitching or a lighter. Gather cape to be the length of the ribbon.
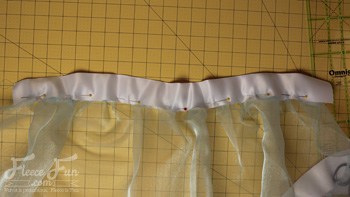
Pin ribbon so cape top is sandwiched in between the ribbon. Sew 1/4 away from edge through all the layers.
step 9 – Add the buttons (or ribbon)

This is where you can be the designer. The jacket is purposefully designed to have a gap in the front so you can still see the costume. So no matter how you decide to tie the sides together be aware that there’s a gap. You can use ribbon, or something with two clips on either end.
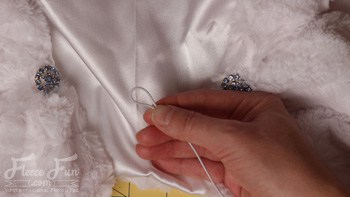
Here are the instructions for what I did – Taking the jacket piece sew buttons at the base of collar on either side.
Prep the jewelry chain ( have kiddo try on the jacket to make it the right length) and add an elastic loop on each end to fit over the buttons.
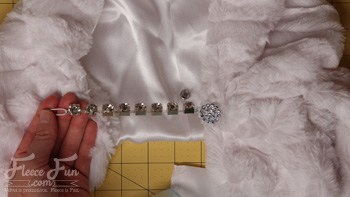
step 10 – Add the snaps (optional if adding elsa cape)
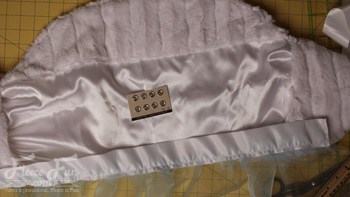
Using the open turning gap, sew on the snaps to the jacket and the top of the cape. Center the cape on the jacket, about 2 to 3 inches from the edge (you can change this – its a personal preference) and using your marking mark the center of the jack and the ribbon top of cape.
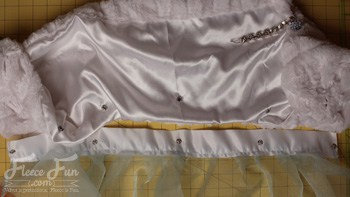
Then make four more marks two on each side for the additional snaps. Hand sew snaps on.
step 11 – Sew the gap close and finish the elsa cape tutorial!
Hand or machine stitch the gap closed. Trim our threads. Good job!
Like this tutorial? Then you’d also like the Snow Princess Cape ( inspired by Princess Anna’s Cape) free pattern and tutorial. You can find that here. I also have a Snow Princess hat to match the cape here.
Planning a Disney Vacation? Use the code “FLEECEFUN” to get get an extra $10 off any 2-night or longer Southern California package (hotel and 2 ticket minimum) when you book here.
Download the free elsa cape pattern below, tutorial below.
You can get a free copy of Adobe reader here. By downloading you are agreeing to pattern terms of use. Click the picture below and fill out the form to download the free sewing pattern .pdf!

More Frozen Costumes!:
love this elsa cape tutorial? YOU MIGHT LIKE THESE CAPES/CLOAKS TUTORIALS:
- Long Hooded Cloak Pattern (Free)
- Fast Hooded Cape (with video)
- Easy Long Cape (Sew or No Sew)
- How to Make a Cloak in 20 Minutes
- The High Low Cape with Pixie Hood
- How to Make a Child Cape or Car Seat Poncho
- Cowl Capelet Free Pattern
- The Amazing Cape Secret on Fleece Fun
- See more of our Cape Patterns here
I have printed out the free pattern (thank you!), but I need to make one cape for a biggish 4year old and one for a very dainty 2 year old. Could you suggest how I could grade the pattern -do I just make it a couple of inches smaller all round? Incidentally. My email address is all lower case but I couldn’t persuade the box to accept lower case!
Hmmm. It will need to be smaller all over – but mostly the width would need to be taken in .
Angel
Is the style of the jacket similar to a bolero? That’s the kind of pattern I’m looking for. Thank you in advance for your help.
Yes it is similar to a bolero.