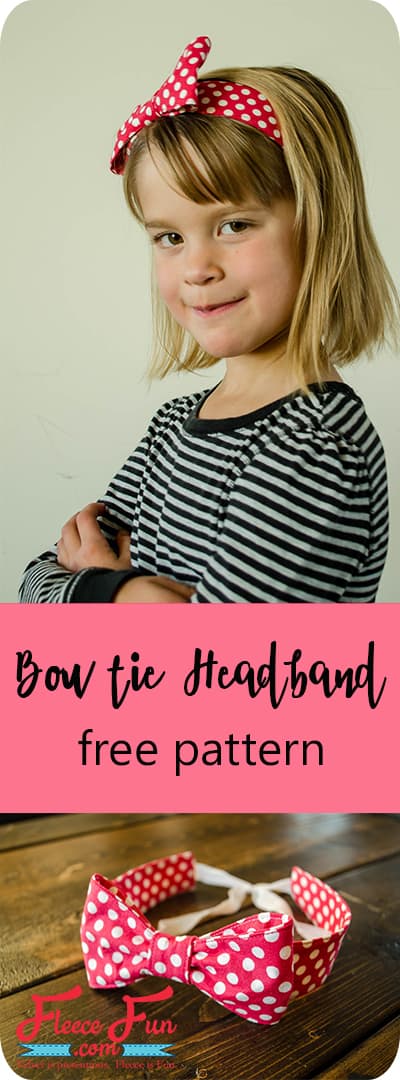
Holiday Bow Tie Headband Free Pattern Handmade Gift Idea
This content contains affiliate links or sponsored elements, read our Disclosure Policy.


This holiday bow tie headband tutorial is a great handmade gift idea. It only takes about 20 minutes to sew an adorable holiday accessory or sweet gift for someone special.

It can be difficult to sew a gift for someone if you aren’t sure about their size, but this sweet little bow tie headband is the right size for everyone! The classic men’s wear bow tie is sewn in one piece with a headband. I’ve added some fold over elastic to the back, and since it is tied once the headband is completed, this accessory will fit everyone from babies to adults.
The headband comes together very quickly, approximately 30 minutes from start to finish, and even faster if you do the finishing with a glue gun rather than with hand stitching. The headband is a great scrap buster too, it uses less than a 1/4″ and is a fun way to use up novelty or special prints.

The bow tie is contoured for the best shape; no rectangles here! I’ve created full size printable pattern pieces for you as well as a complete photo tutorial.

YOU WILL NEED:
- 1/4 yard quilting cotton
- 1/8 yard light or medium weight fusible interfacing
- 12″ fold over elastic (I used 1/2″, but any width up to 1″ will work)
- Sewing Machine
- Sewing Essentials (scissors, pins, etc.)
- Get the free pattern here.
Holiday Bow Tie Headband Tutorial:
Step 1 – Cut the Following
You will need to assemble the free pattern. For instructions on how to assemble the sewing pattern click here.
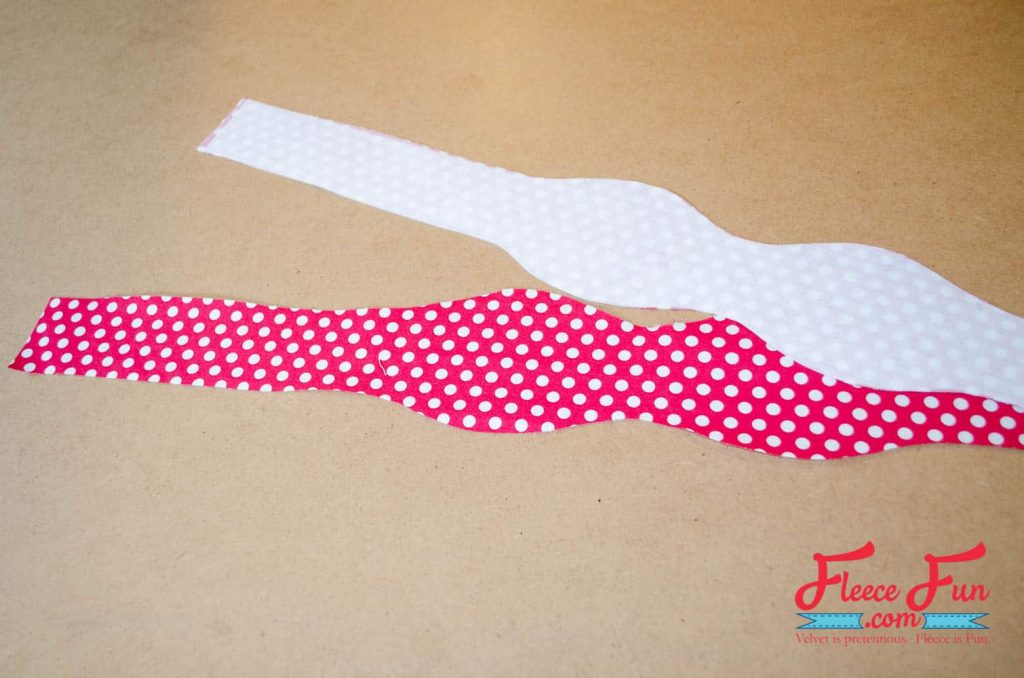
Cut 2 bow pieces and 1 interfacing (both on fold). Fuse the interfacing to the wrong side of one of the bow pieces.
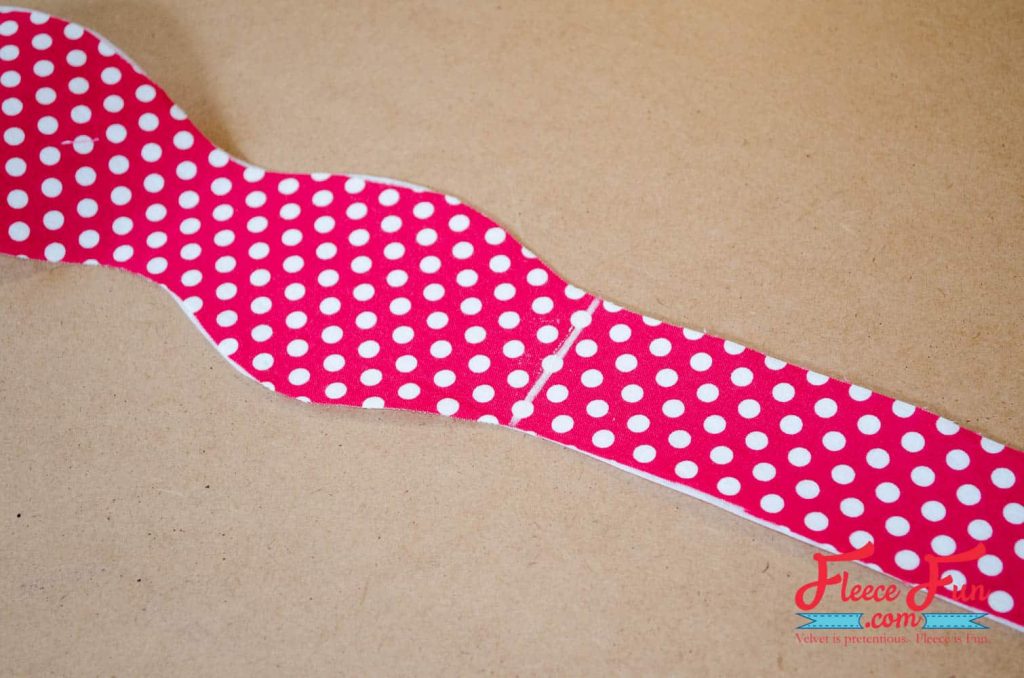
Mark the stitching line on the RIGHT side with chalk or disappearing marker.
Step 2 – Add the Elastic
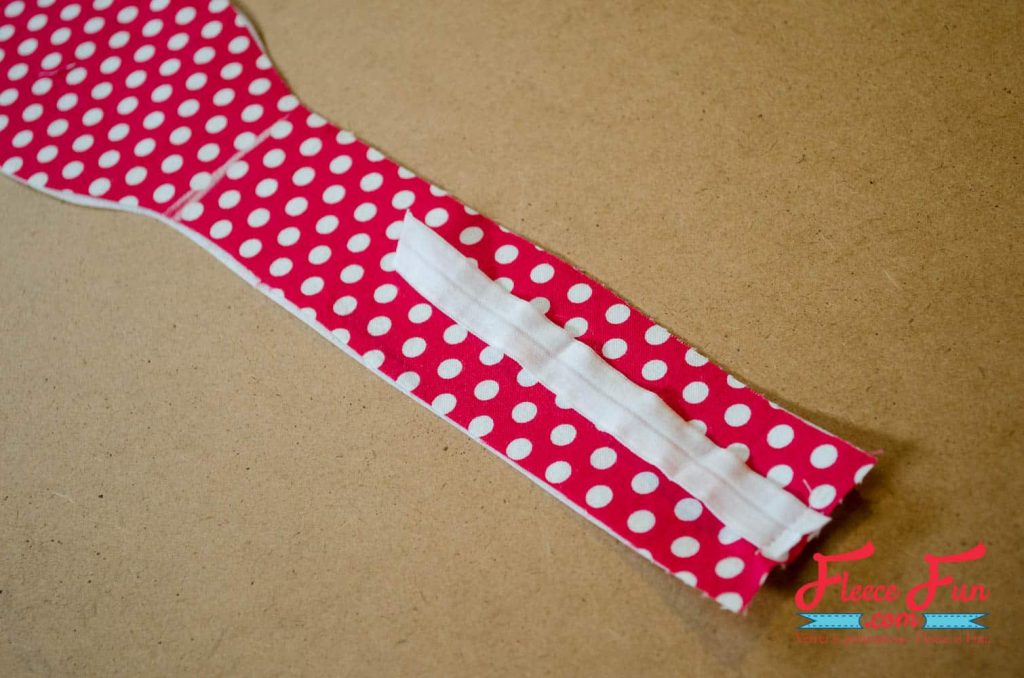
Cut 2 pieces of fold over elastic, each 6″ long. Baste to the right side of the interfaced bow pieces, raw ends matching, as shown.
Step 3 – Sew the headband
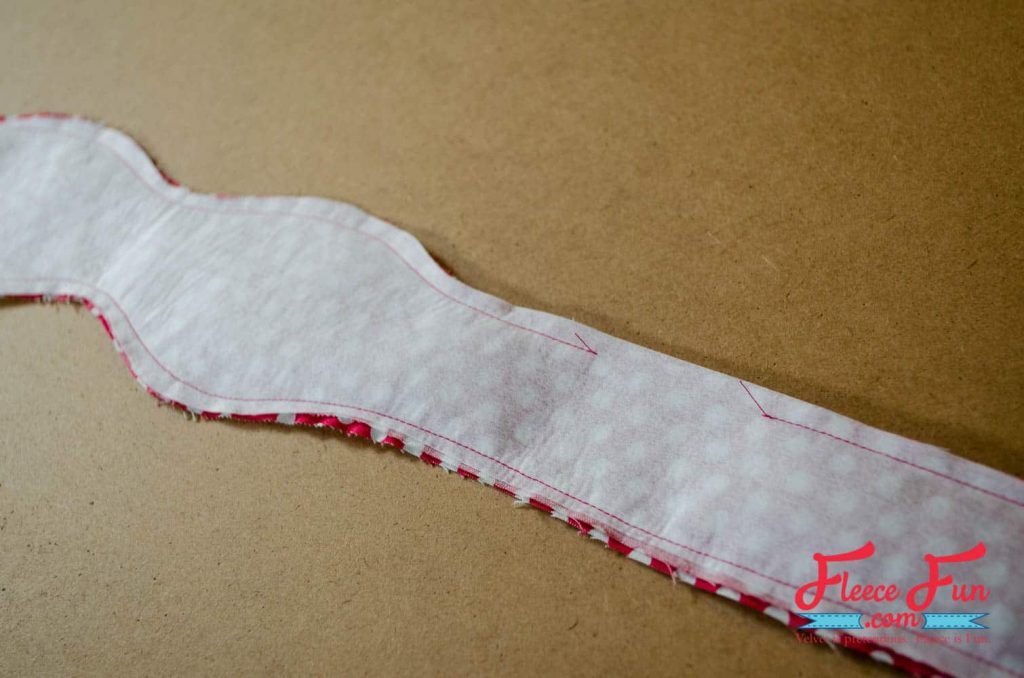
Pin bow pieces together along outside edges, right sides facing. Stitch with a 1/4″ seam allowance, leaving a 2″ opening on one of the straight edges for turning. The fold over elastic will be tucked inside; be sure not to catch it in your stitching.
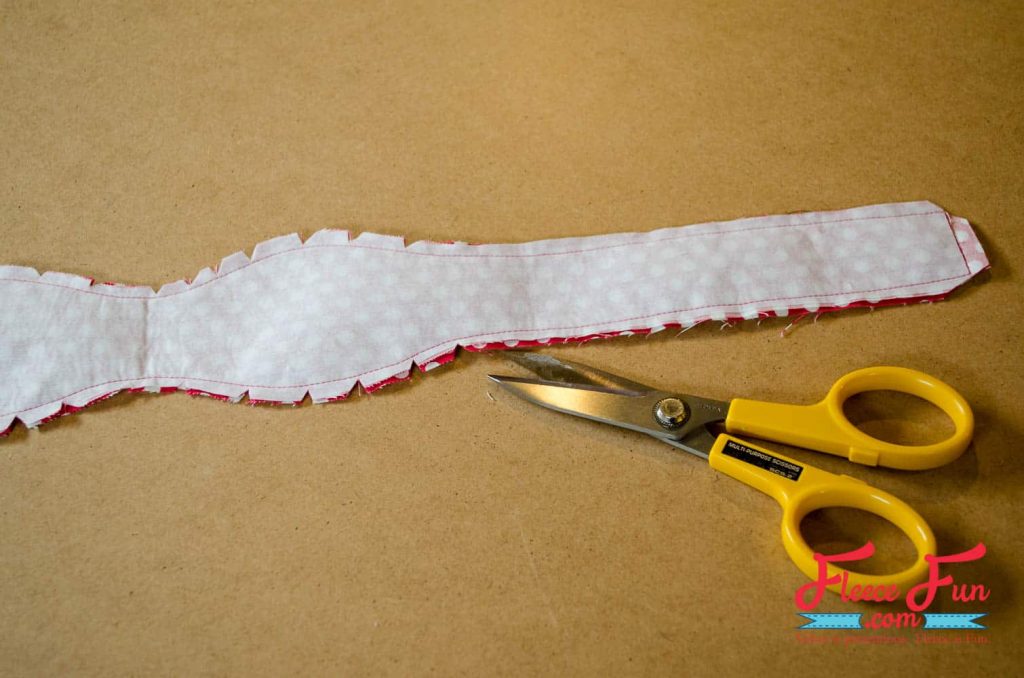
Clip the corners and notch the curves. Turn right side out and press.
Step 4 – Make the Bow tie
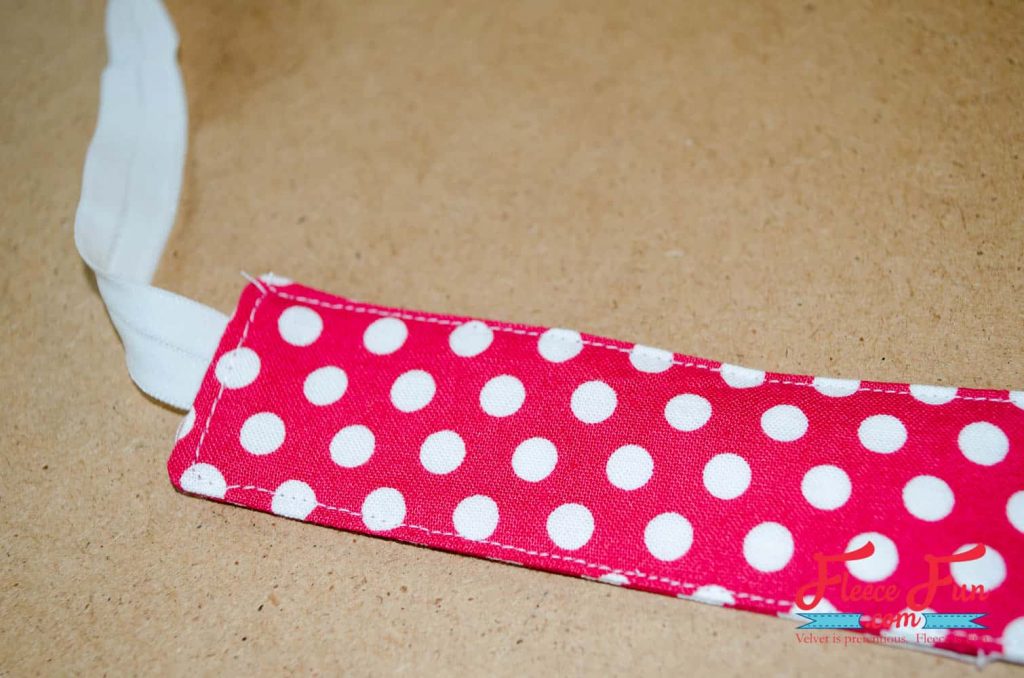
Top stitch along the outside edge, closing the turning opening at the same time.
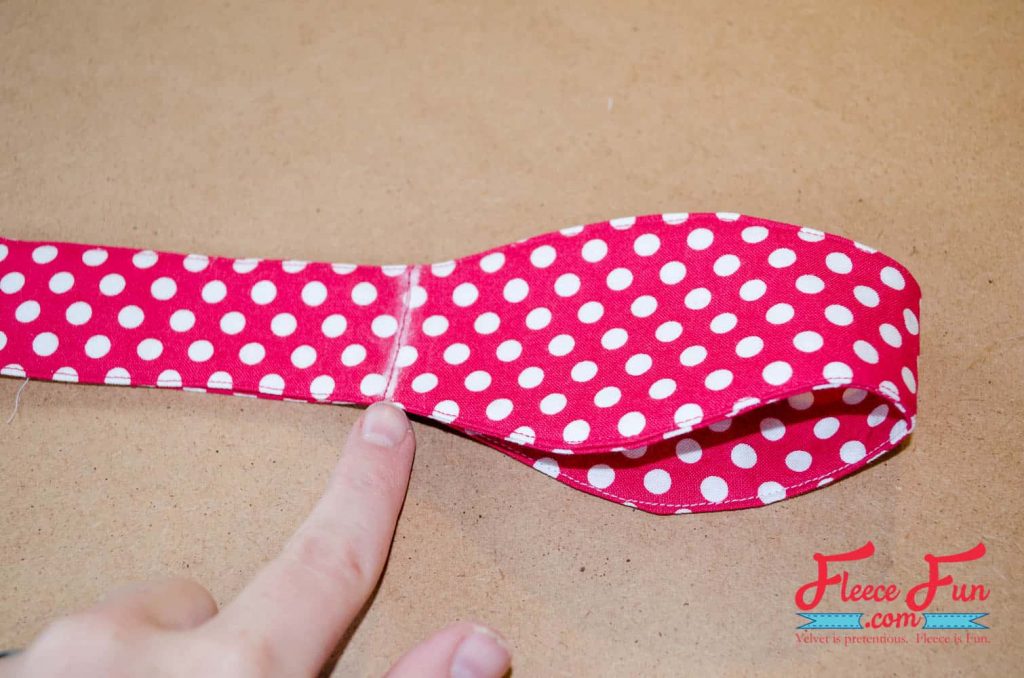
Fold the bow in half. Stitch across the stitching line (through both layers) that you made in step 1.
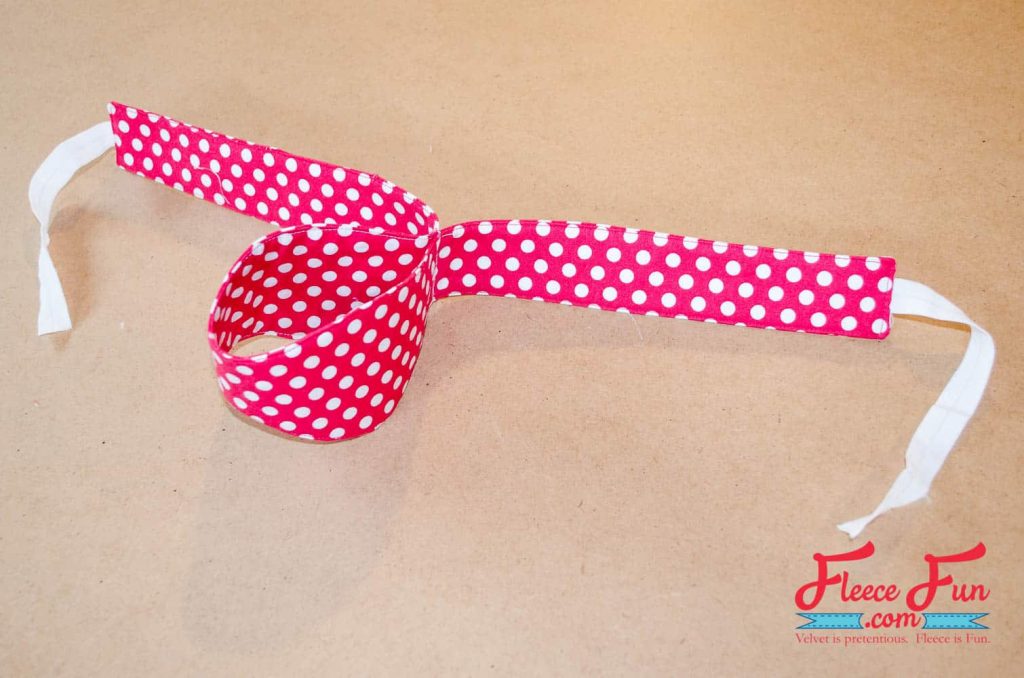
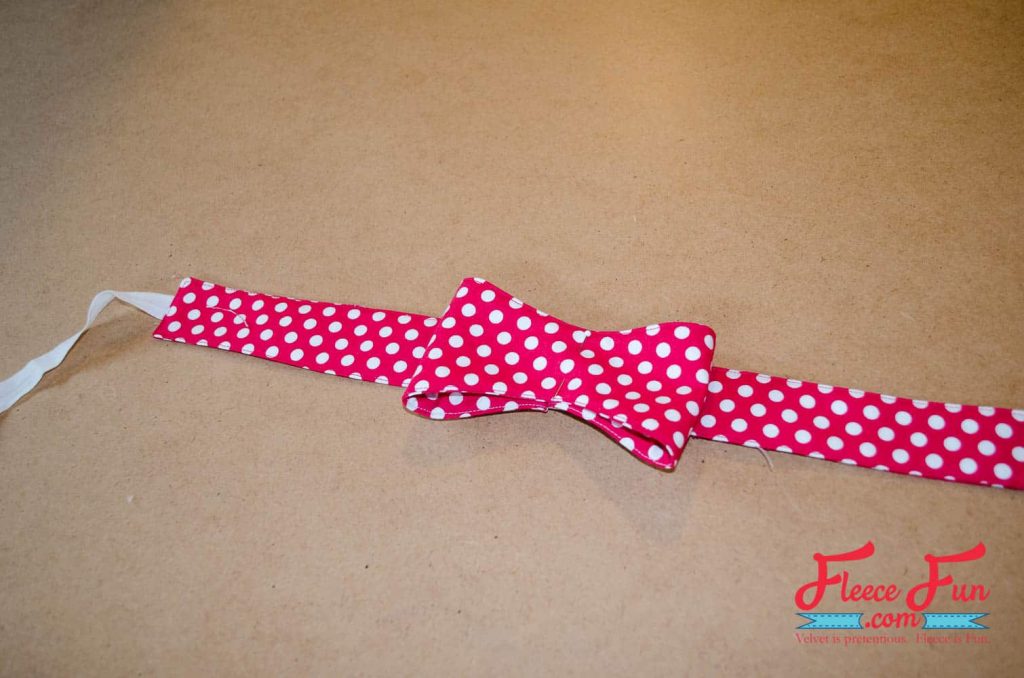
Push the loop you created flat to create the bow.
Step 5 – Make the Bow Center
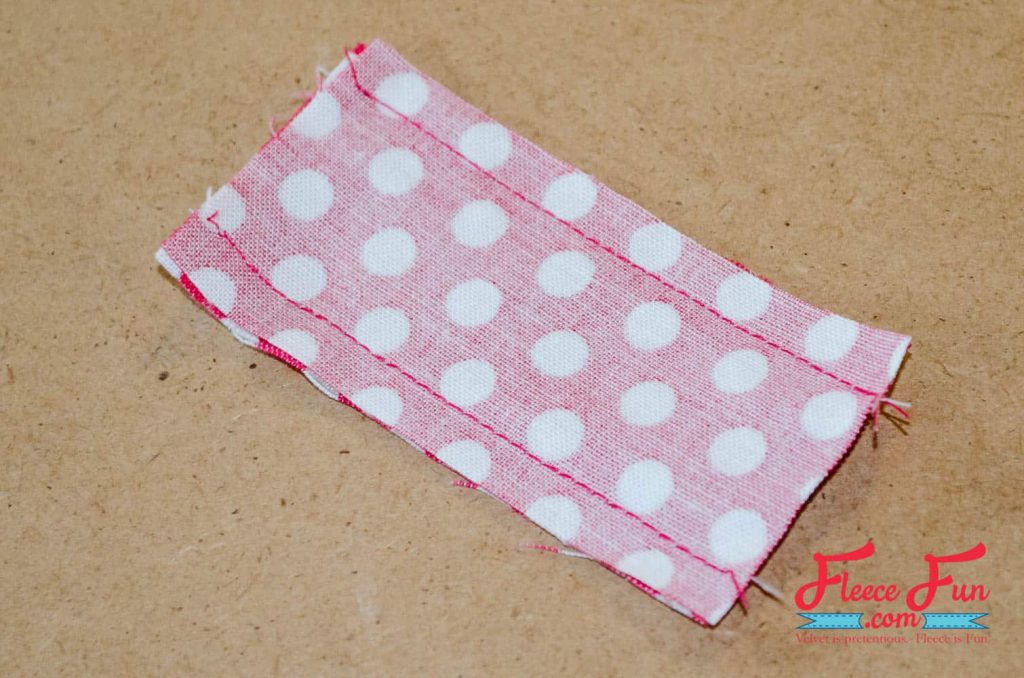
To make the center tab, pin and stitch the tab pieces, right sides together, along the 2 long edges.
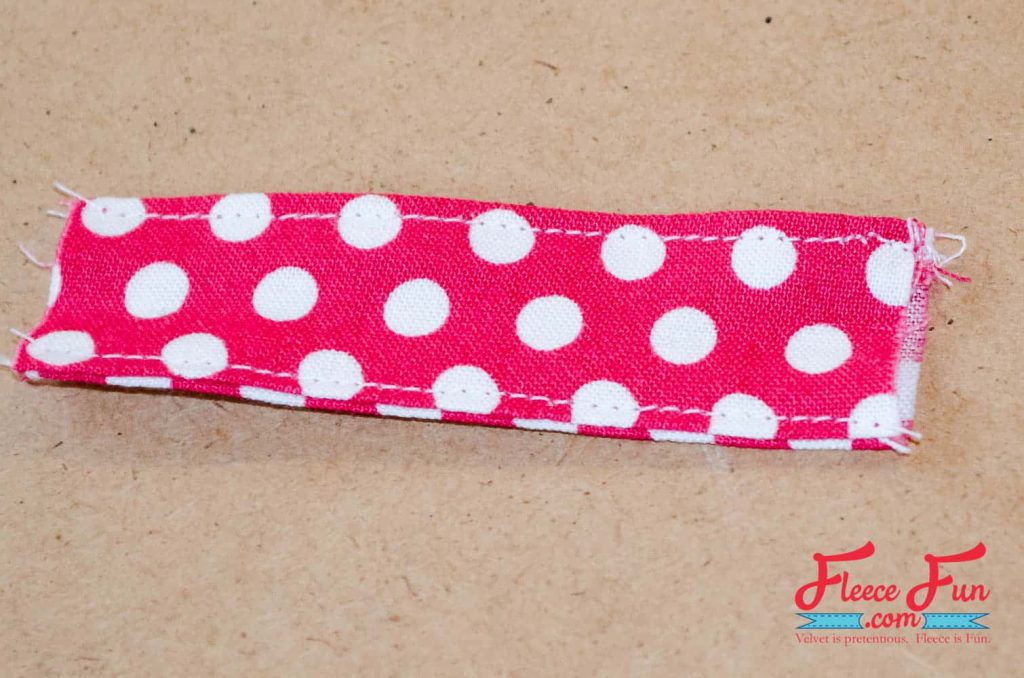
Turn, press, and topstitch.
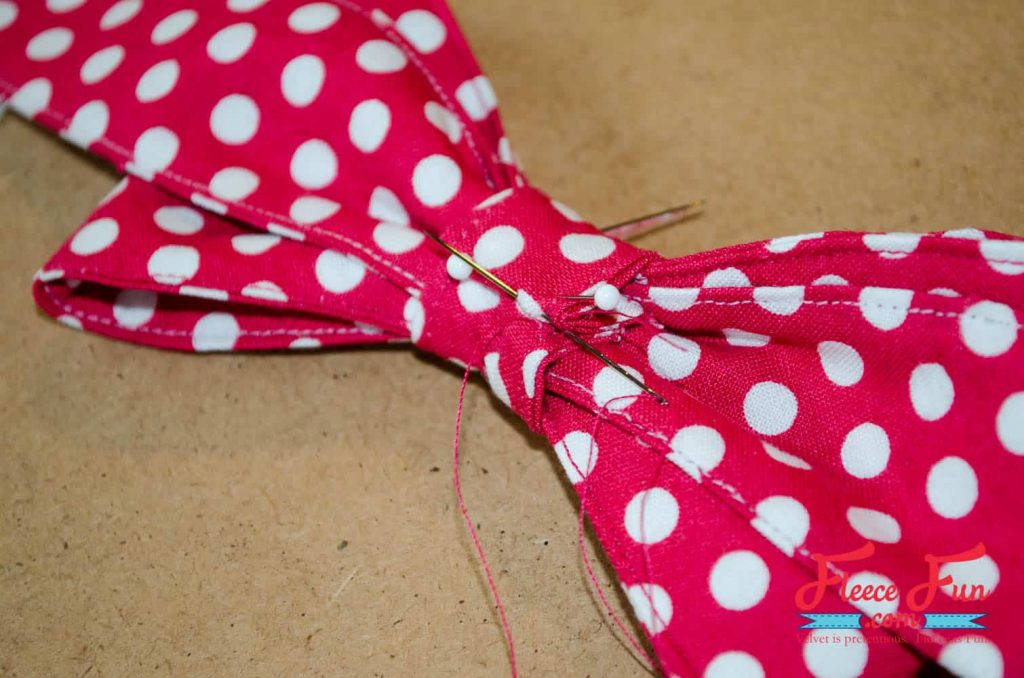
Wrap the center tab around the bow, tuck the raw edge under, and secure with a few hand stitches (or a glue gun, no one will know the difference!).
Step 6 – Finish up the Holiday Bow Tie Headband
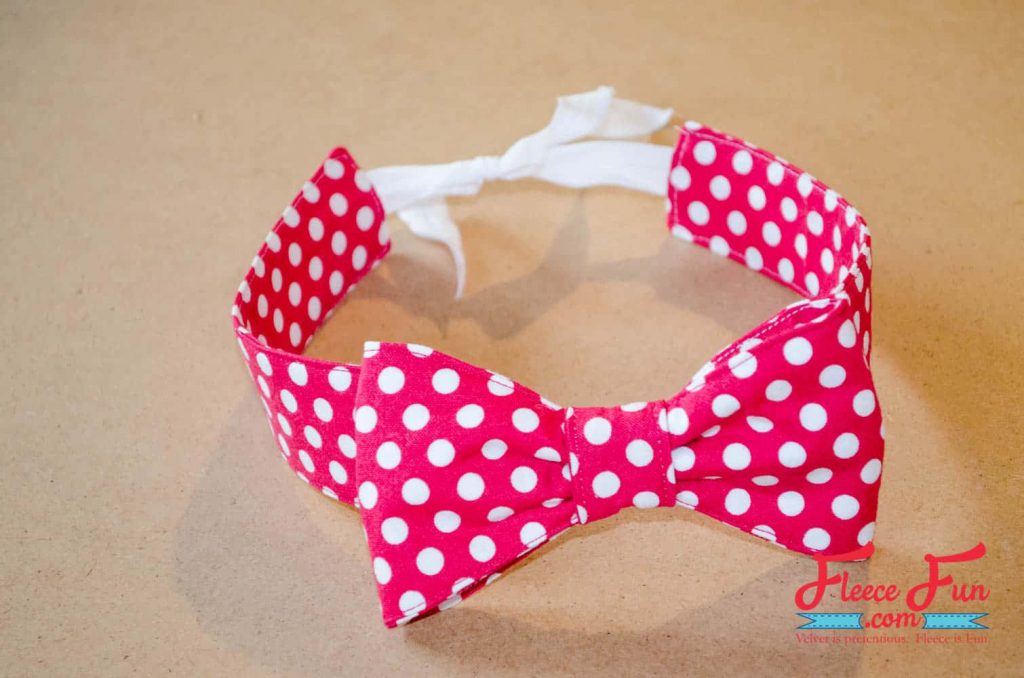
Tie a knot in the ends of the elastic so the hairband fits your model’s head.
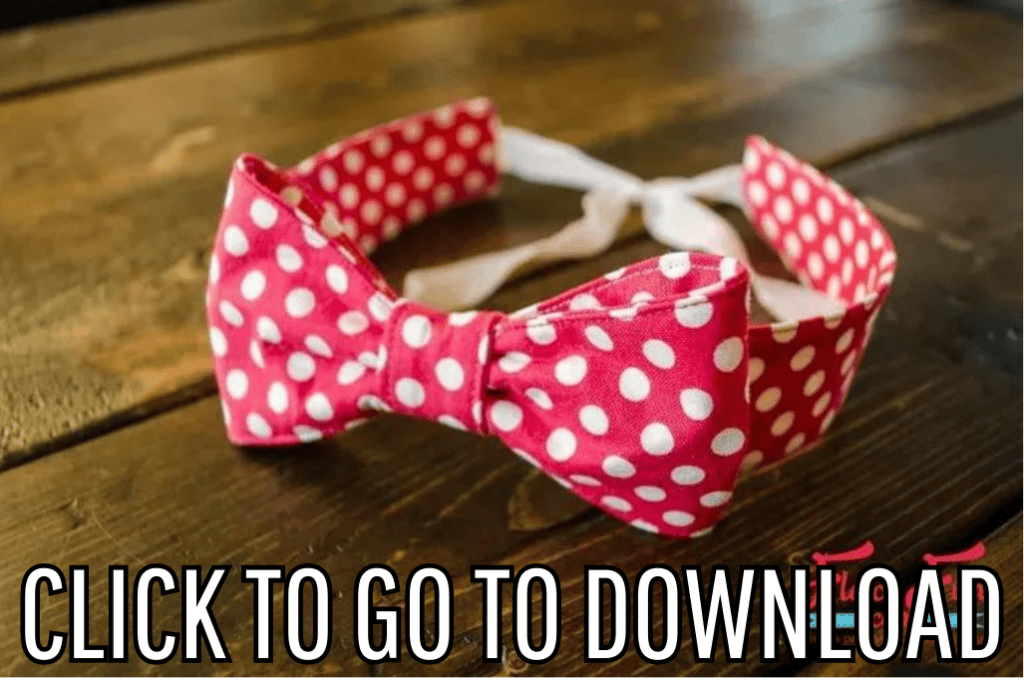
Get the Free holiday bow tie Sewing Pattern Below:
You can get a free copy of Adobe reader here. By downloading you are agreeing to pattern terms of use. Click the picture below and fill out the form to download the .pdf!
love this Holiday Bow Tie Headband? see MORE GIRL PATTERNS:
- Fall Cardigan for Girls
- Flannel Nightgown Pattern
- Fingerless Gloves Pattern
- Fall Fairy Costume DIY
- Fall Cape for Girls Free Pattern and Tutorial
- DIY Fabric Flowers (Free Template)
- How to Make a Flower Fascinator
- Cute Drawstring Backpack Tutorial (Beginner Friendly)
- Apron for Teens and Tweens
- Child Apron Tutorial!
- Pocket Tee Shirt for 18″ Doll Free Pattern
Free Girls Skirt Patterns:
- The Simple Pencil Skirt
- The Circle Skirt (no math needed!)
- The Fleece Ruffle Skirt
- The Pleated Skirt
- The Fun and Frilly Skirt