
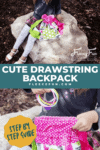
Cute Drawstring Backpack Tutorial (Beginner Friendly)
This content contains affiliate links or sponsored elements, read our Disclosure Policy.
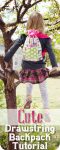

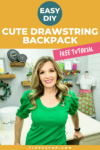
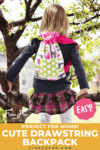
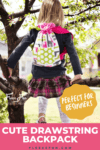

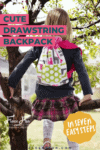
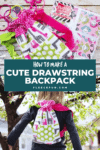
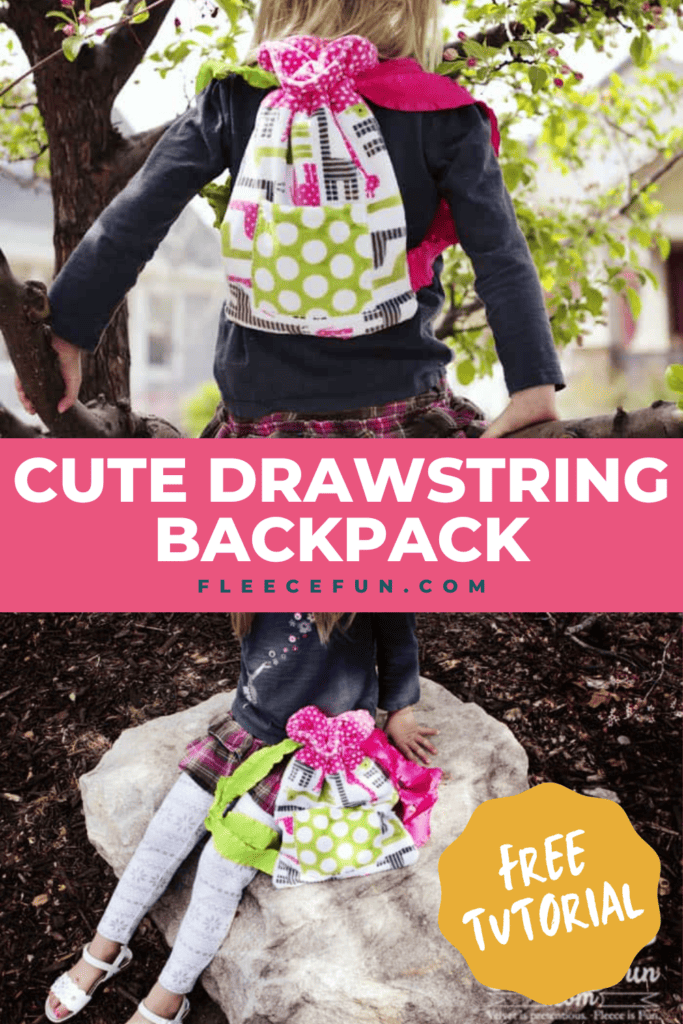
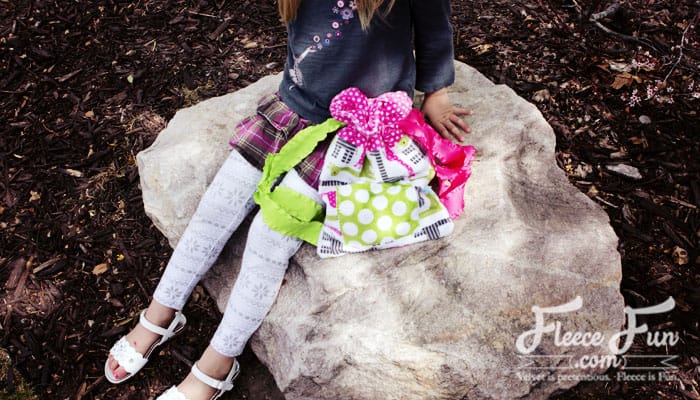
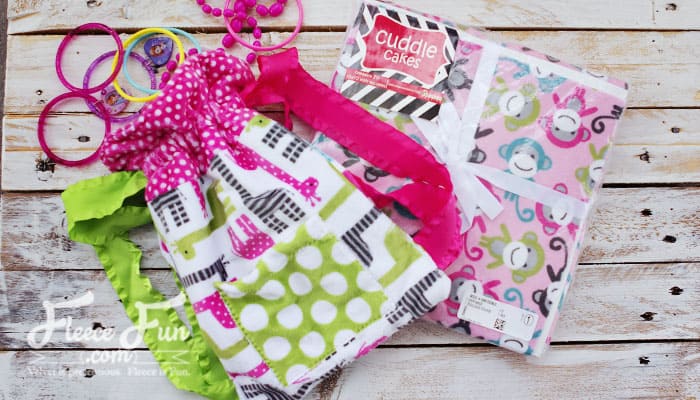
The cute drawstring backpack tutorial is easy to make and it’s a great way to get started with sewing Cuddle or Minky fabric. This cute drawstring back pack tutorial can be made in an afternoon. You can make up to 3 small back packs from 1 Cuddle Cake kit. So cute an perfect to keep little treasures in!
YOU WILL NEED:
- 1 Cuddle Cake Kit
- 84 inches of ribbon
- Glue stick
- Rotary cutter, ruler and mat
- Sewing Essentials (scissors, pins, etc.)
- Safety Pin
- Thread
- Jersey Ballpoint Needle for your Machine.

Cute Drawstring Backpack video SEW ALONG part 1 to 3:


Cute Drawstring Backpack step-by-step:
step 1 – Cut the materials you need for the drawstring backpack
Each bag is made up of 6 full squares and a quarter of another for the pocket. Decide which squares you want for the exterior and interior of the back. Decide which squares you desire for the top of the bag. Cut these squares on half so you have four strips 5 inches wide by 10 inches long.
Take the square you want to use for the pocket. Cut it in half and then a half in half again to make a 5 by 5 inch square. This makes all the pieces for the Cute Drawstring Backpack.
step 2 – Begin to sew the drawstring backpack together.
Take the top and bottom of the inside and outside pieces and sew together using a half inch seam allowance.
step 3 – Make the pocket for the bag (optional)
Turn down the top of the pocket .5 inch, use a glue stick to tack down. Sew down using zig zag stitch along the edge. Then decide on placement of pocket Then run a glue stick along the edge of the wrong side of the pocket and tack down where you want it to be. Sew along three sides of the pocket using a zig zag stitch, leaving the top with the finished edge open.
step 4 – Begin to sew the bag together
Pin and Sew the interior of the bag together along three sides, using a .5 inch seam allowance, set aside. For the exterior of the bag we’re going to leave gaps for the ribbon. 2.5 inches from the top of the bag mark and leave a 1 inch gap on each side. 1 inch from the bottom mark and leave a 1 inch gap on either side. Sew all the way around three sides using a .5 inch seam allowance, leaving the marked gaps open. Turn exterior right side out.
step 5 – Bring the Cute Drawstring Backpack together.
Stuff the exterior into the interior of the bag so right sides are touching. Pin the tops together, leaving a 2 to 3 inch gap for turning. Sew all the way around the top using a .5 inch seam allowance. Turn right side out and stuff interior into the bag.
step 6 – Make the casing
Pin the top of the bag to stabilize it. top stitch along the top .25 from the edge (and in the process sew the turning gap shut.
Put pin in the top again to stabilize the top. using washi tape, Mark 2 inches (measure to double check where your gap is – this can vary a bit due to the thickness of the fabric) out from your needle.
Using your measurement, top stitch along the top of the bag. Then reposition the washi tape 1 inch out from your previous measurement and top stitch around the top of your bag again to create casing.
step 7 – Add the ribbon
Using a safety pin on the end, thread ribbon through The casing all the way around the bag and back to the bottom where you began. Take care not to pull ribbon all the way through and not to twist it. Repeat on other side. Sew ends of ribbon into the gap at the bottom of the bag. Trim your threads.
You’ve now completed the Cute Drawstring Backpack!

MORE GIRL PATTERNS:
- Fall Cardigan for Girls
- Fingerless Gloves Pattern
- Flannel Nightgown Pattern
- Fall Fairy Costume DIY
- Fall Cape for Girls Free Pattern and Tutorial
- Holiday Bow Tie Headband Free Pattern Handmade Gift Idea
- How to Make a Flower Fascinator
- Fleece Ruffle Skirt
- The Fun and Frilly Skirt
- Apron for Teens and Tweens
- Child Apron Tutorial!
- Pocket Tee Shirt for 18″ Doll Free Pattern
Other Free Bag Patterns:
- All of the Free Bag and Purse Patterns available
- How to Make a Binder Pouch Tutorial
- No Sew Hobo
- Pokeball Toddler Backpack
- Pumpkin Tote Bag
- The Blogger Bag
- Leather Tote Bag
- Quick Sew Hobo
- Wine Bottle Gift Bag
- The Easy Book Bag
- Diaper Bag Tutorial
- The Man Satchel
- Shave Kit Case
- The Tablet Cover
- Quilted Leather Clutch
- Little Purse Tutorial
- Child Sheep Purse Tutorial
- Sleeping Bag Pack

Hi,
I loved, I will make two for my children!