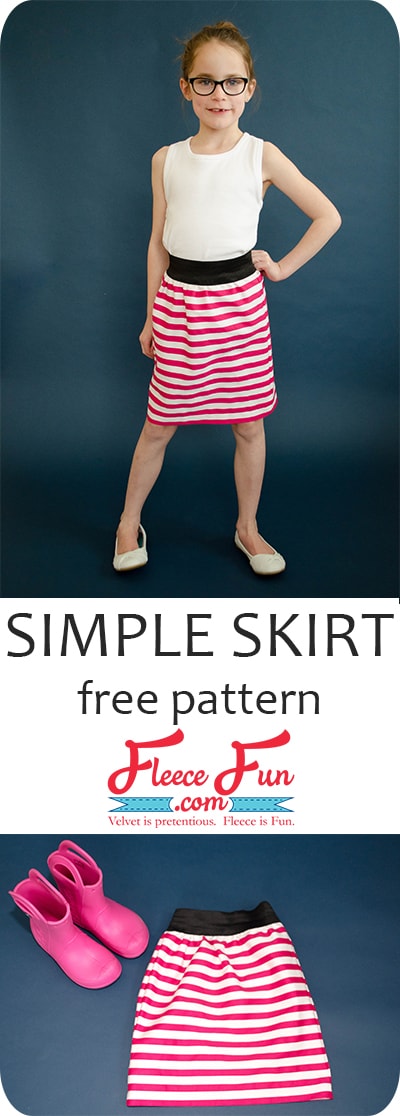
Simple skirt for girls tutorial (easy)
This content contains affiliate links or sponsored elements, read our Disclosure Policy.


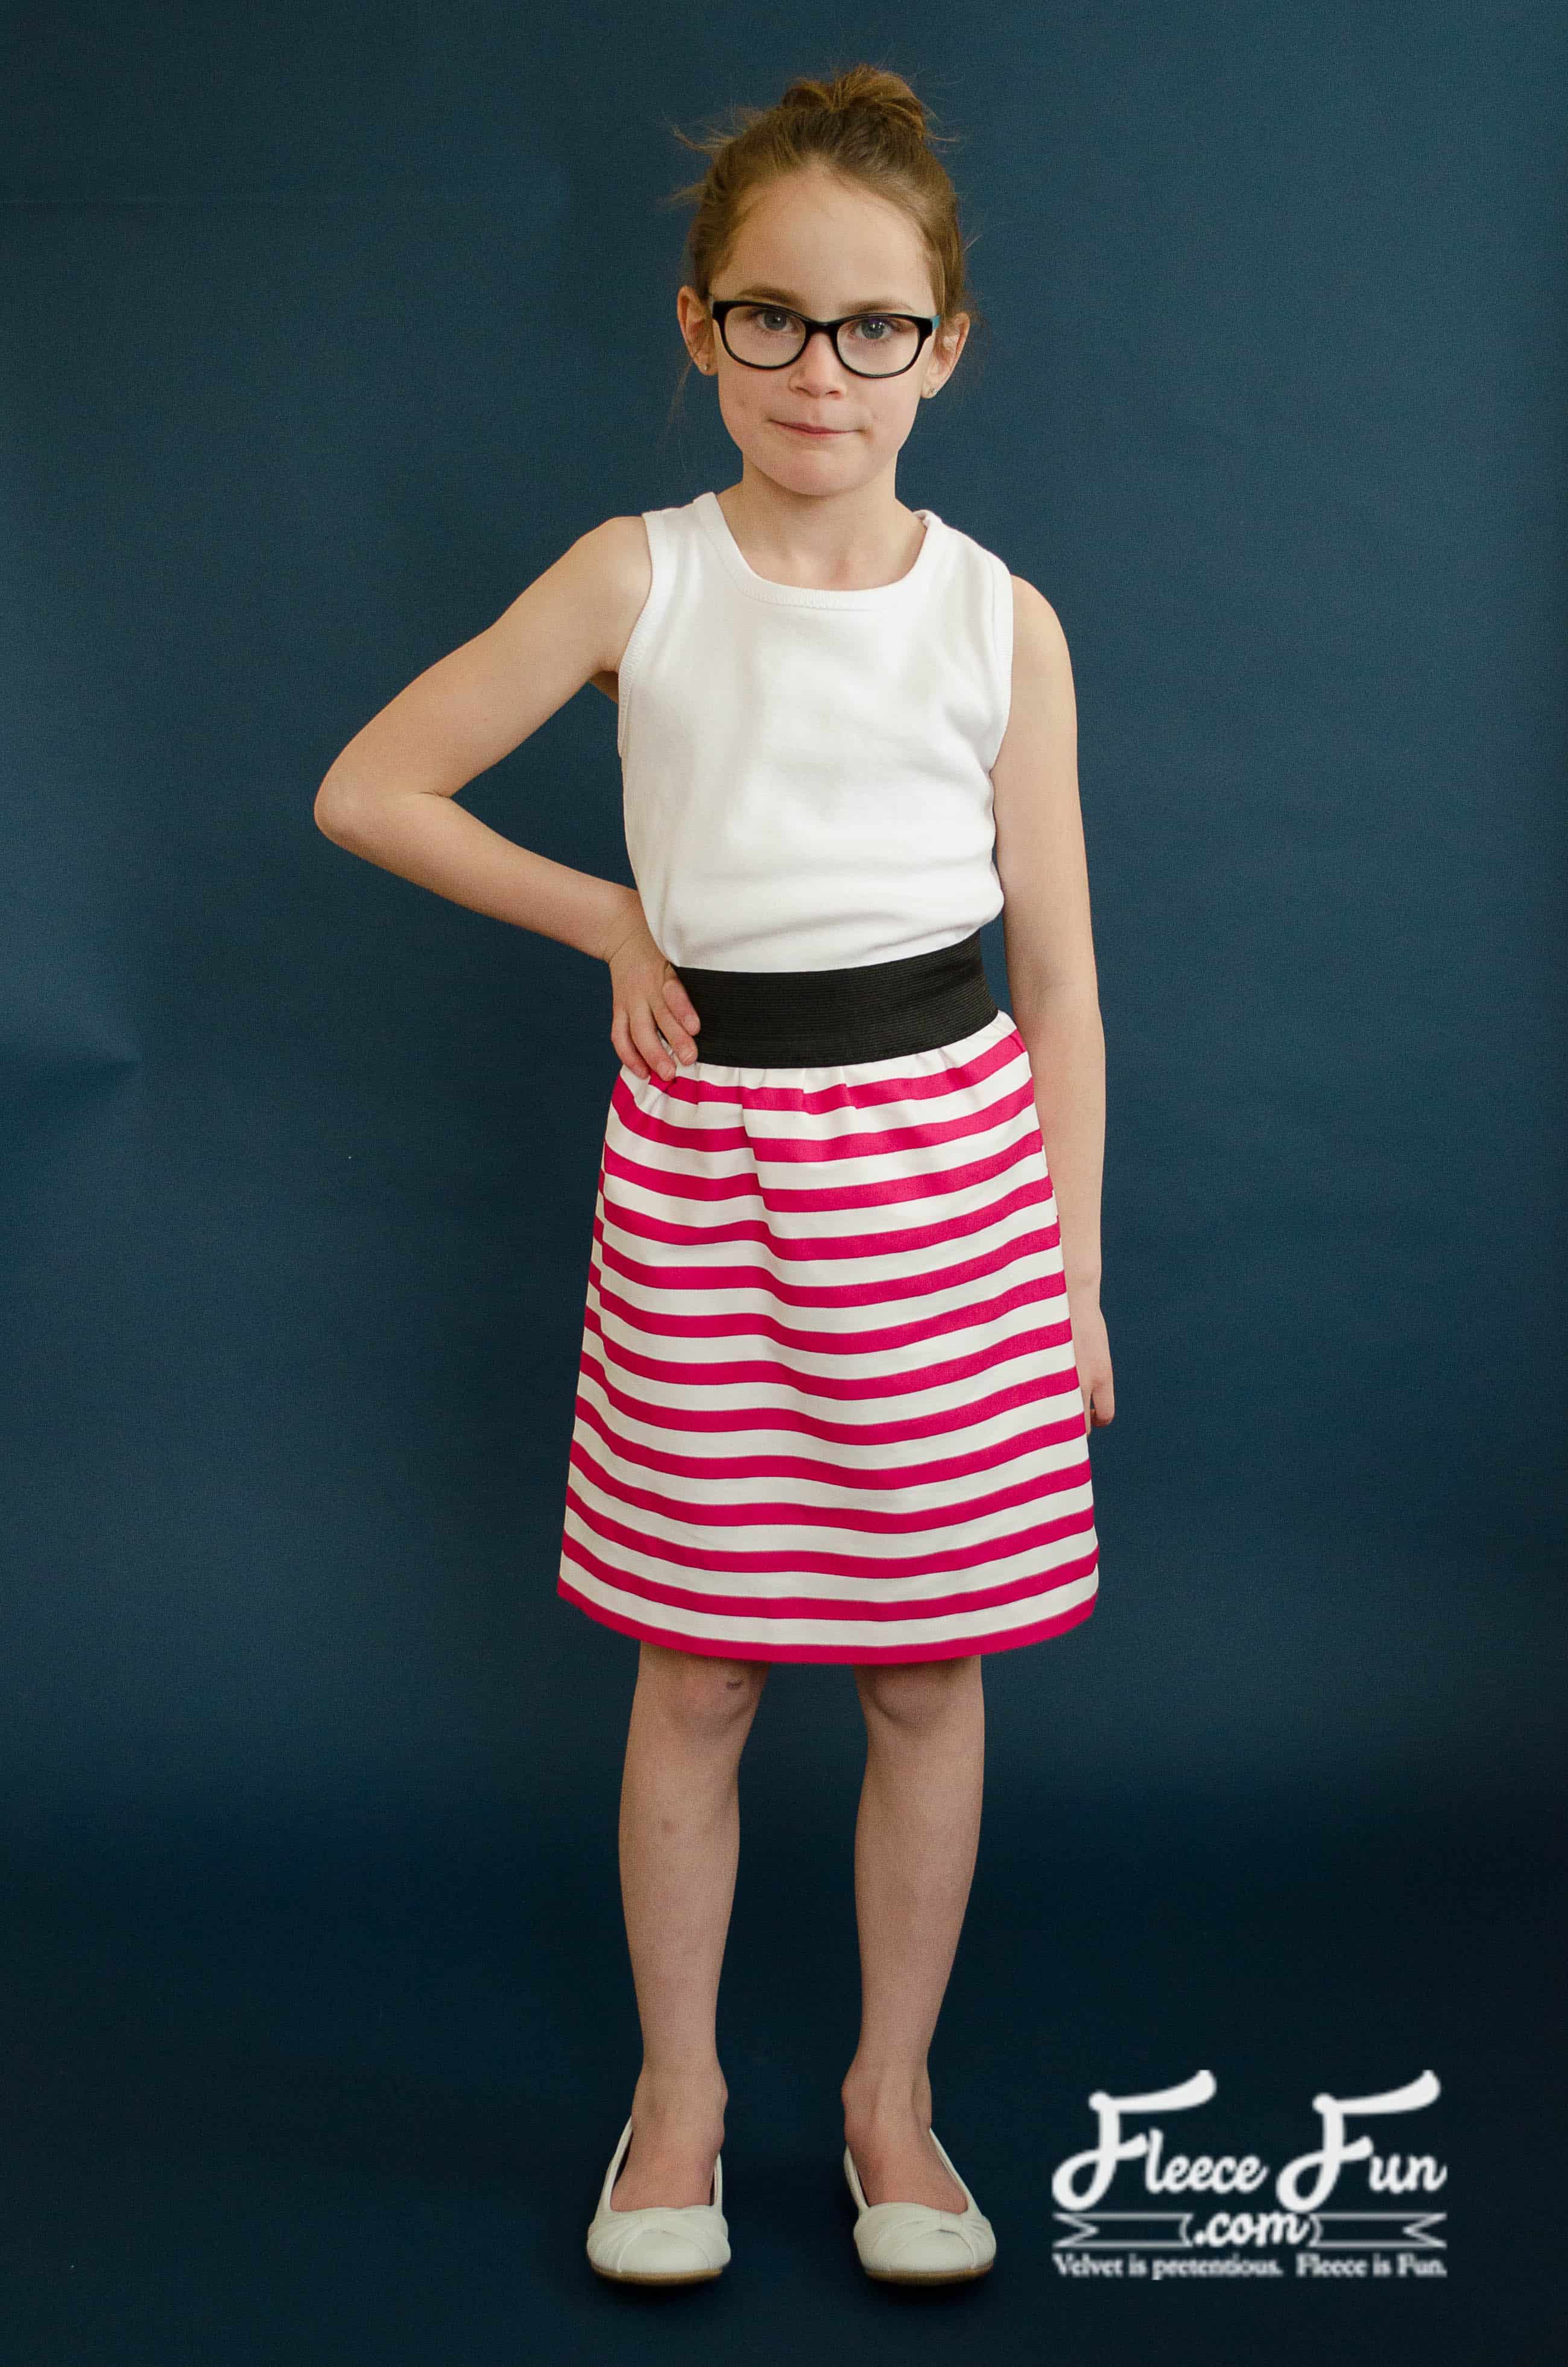
This simple skirt for girls tutorial is easy to make and comfortable for your little lady! Plus there are measurements for sizes 2t to 12!

Did you know that you can make this skirt in adult women’s size too? You can find that tutorial here.
YOU WILL NEED:
- light to medium weight cotton woven or knit fabric
- 2″ elastic
- Sewing Essentials (pins, scissors, etc.)
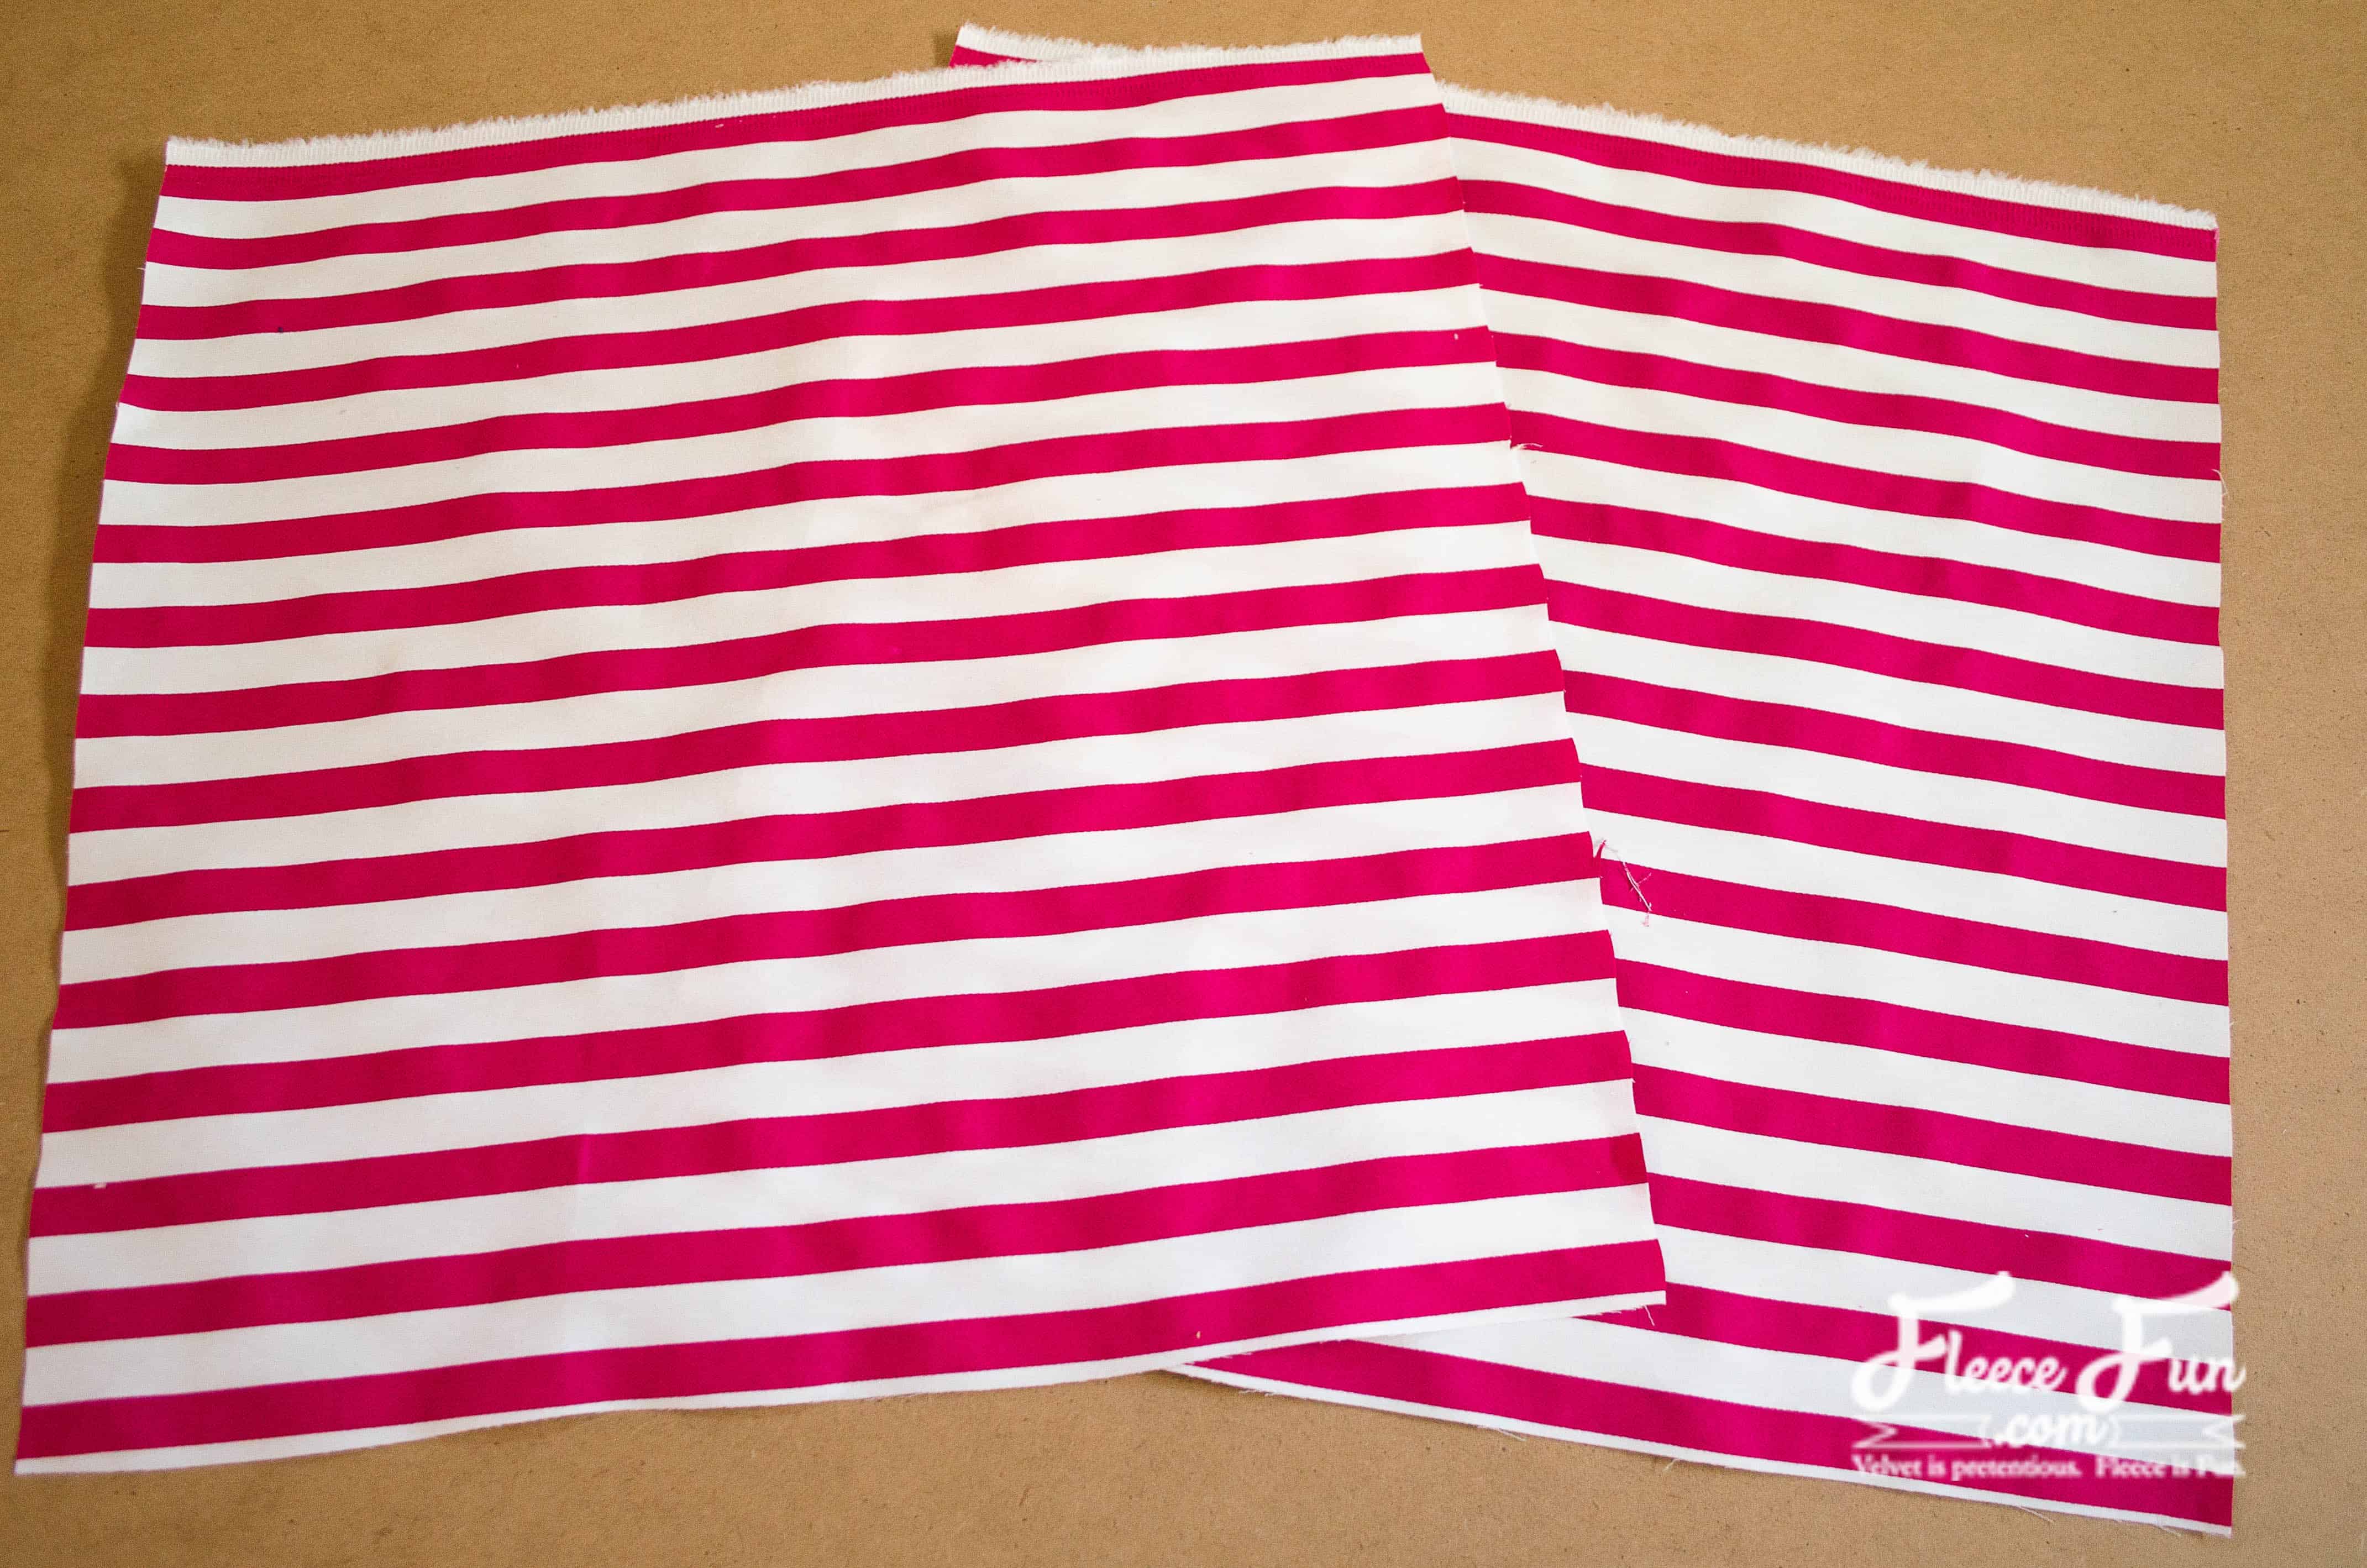
Step 1 – Cut the Skirt Panels and Waistband
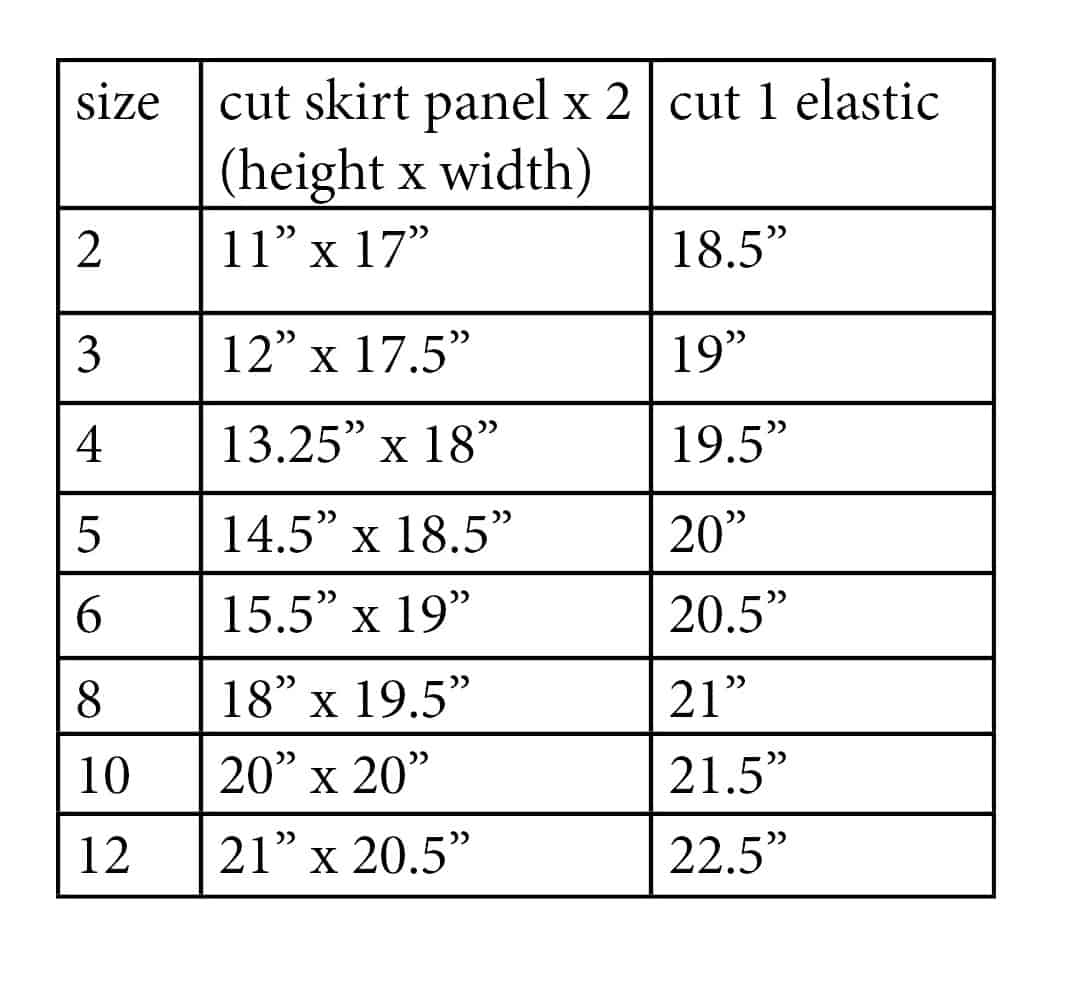
Cut two skirt panels according to your desired height and width. Also, cut one piece of elastic to fit the waist. Next, sew the side seams of the simple skirt for girls.
Step 2 – Sew the Side Seams and the Waistband
All seam allowances are 1/2″.
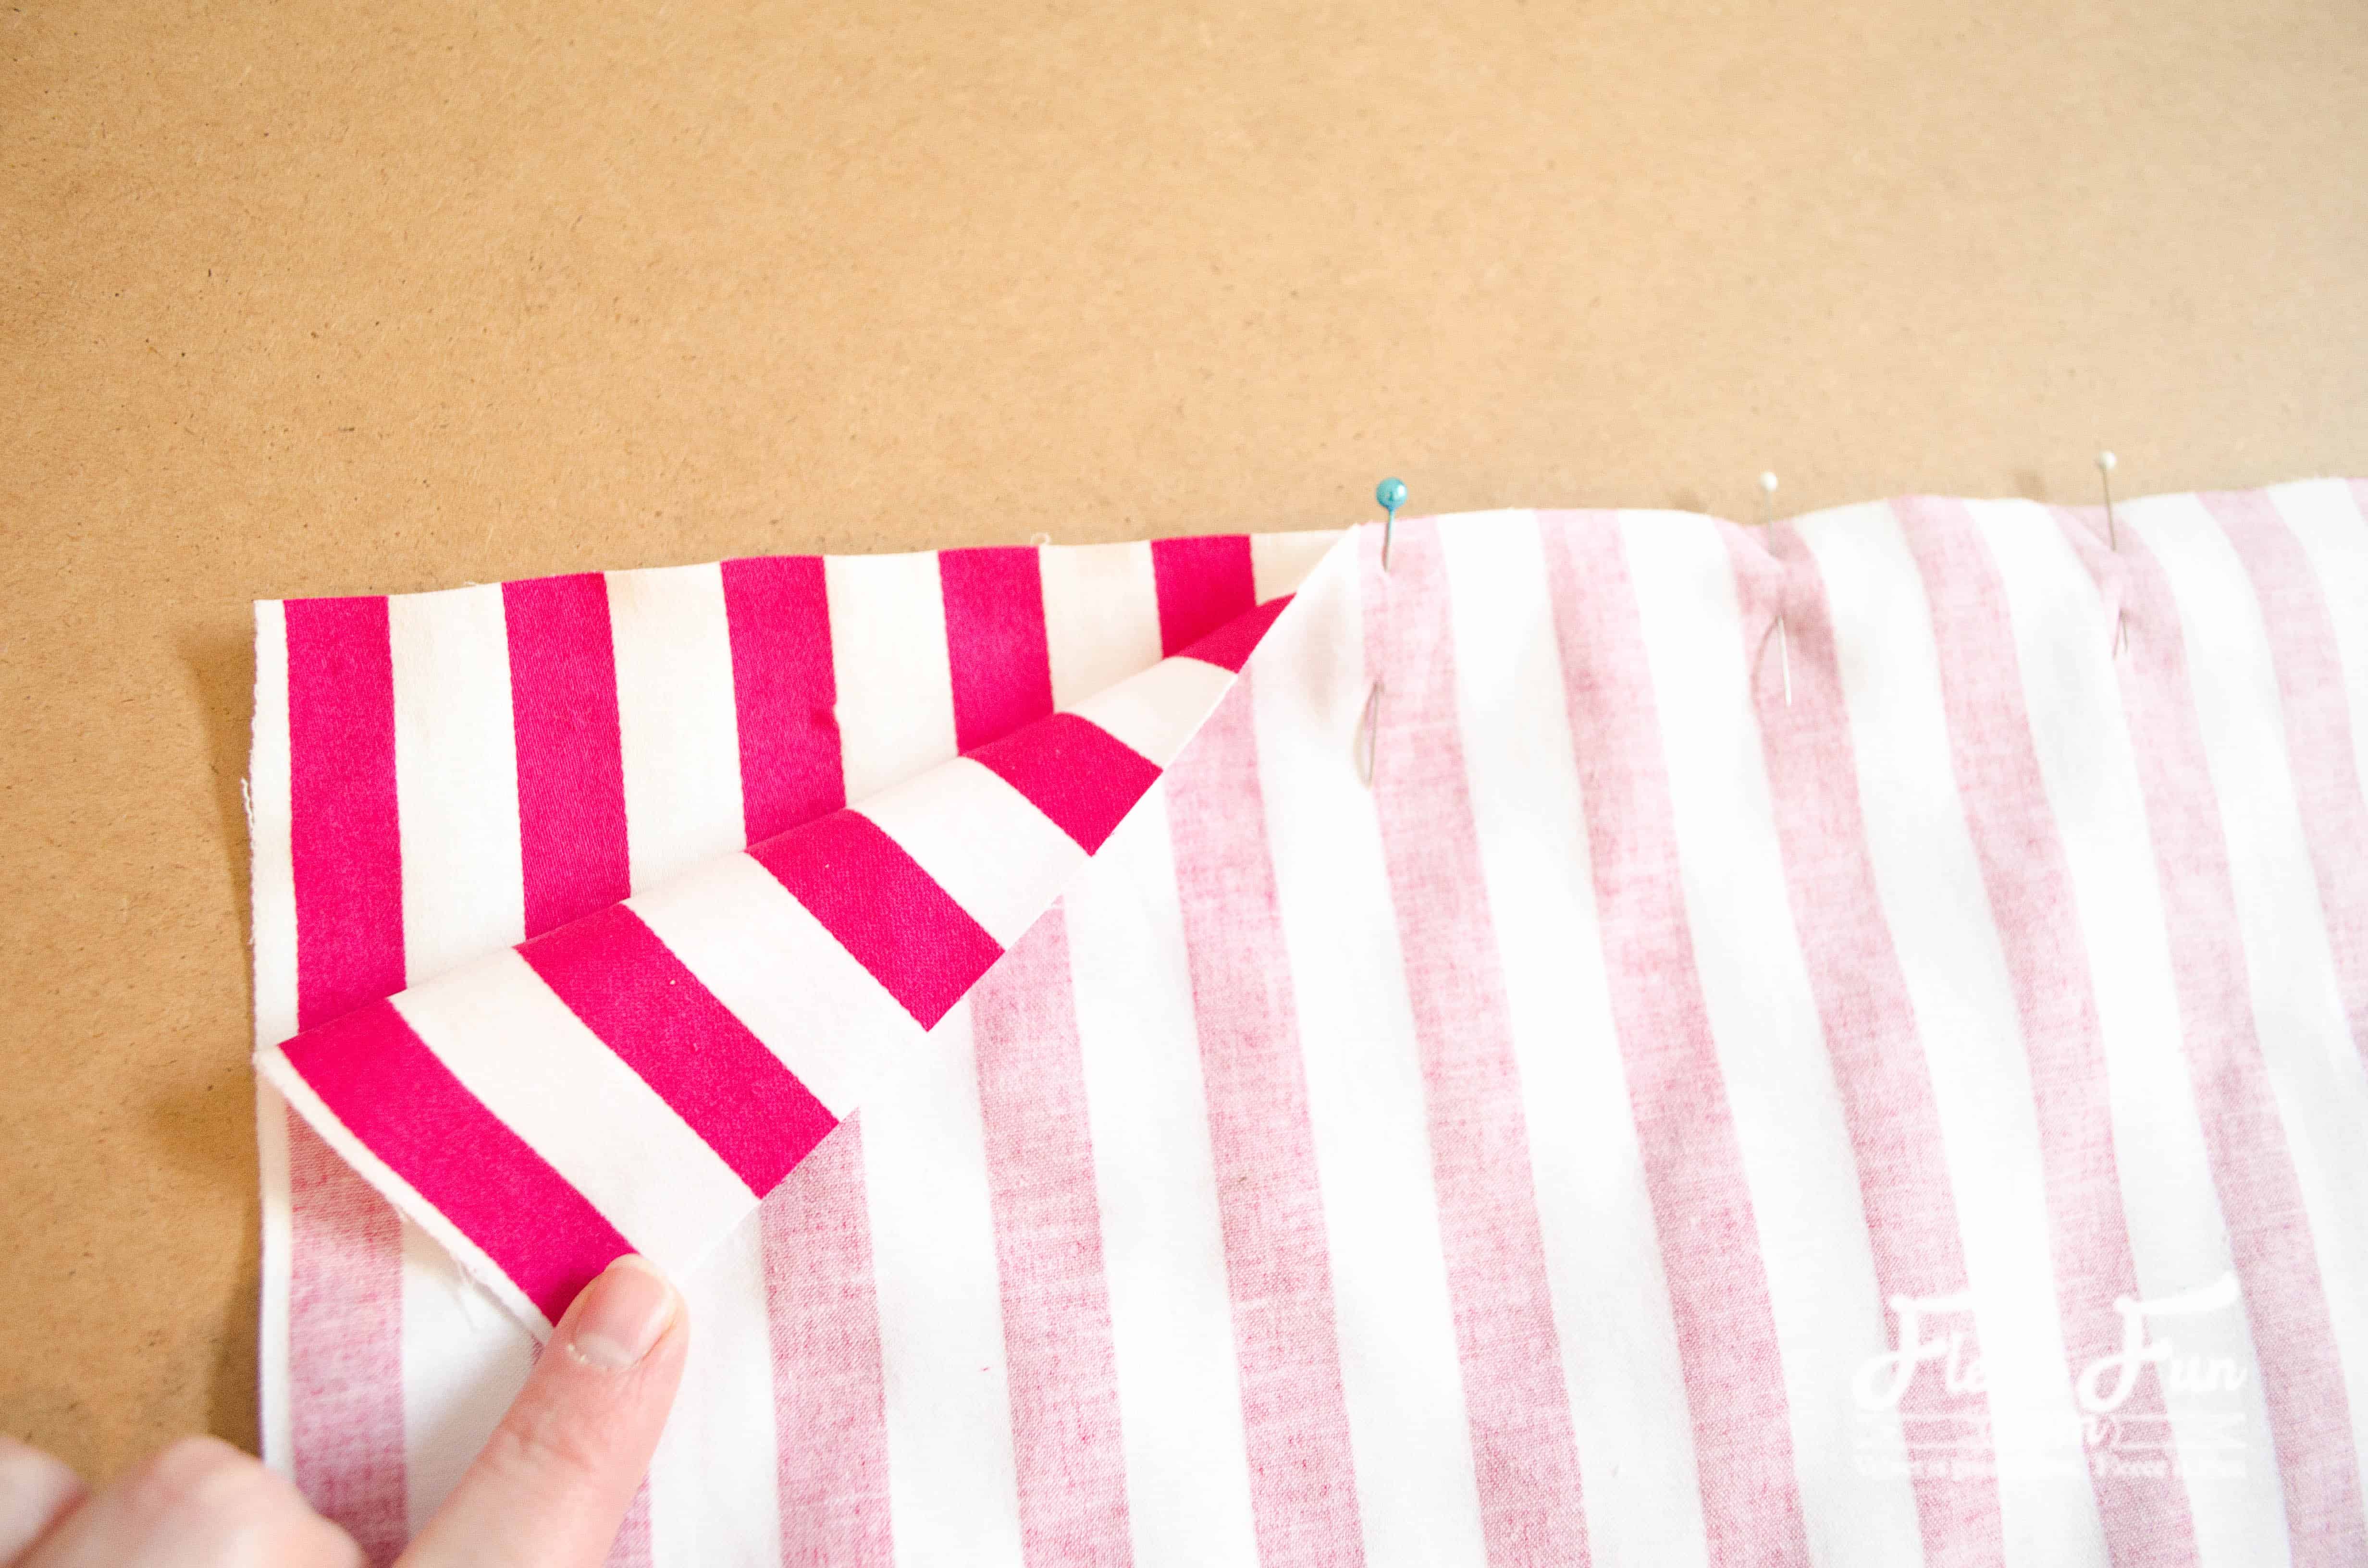
Pin your rectangles together at the side seams, right sides together. Be very careful to match up the stripes. I put pins every 2″ or so to ensure nothing slips around while stitching. Stitch the side seams, and finish the raw edge with a serger or zigzag stitch.
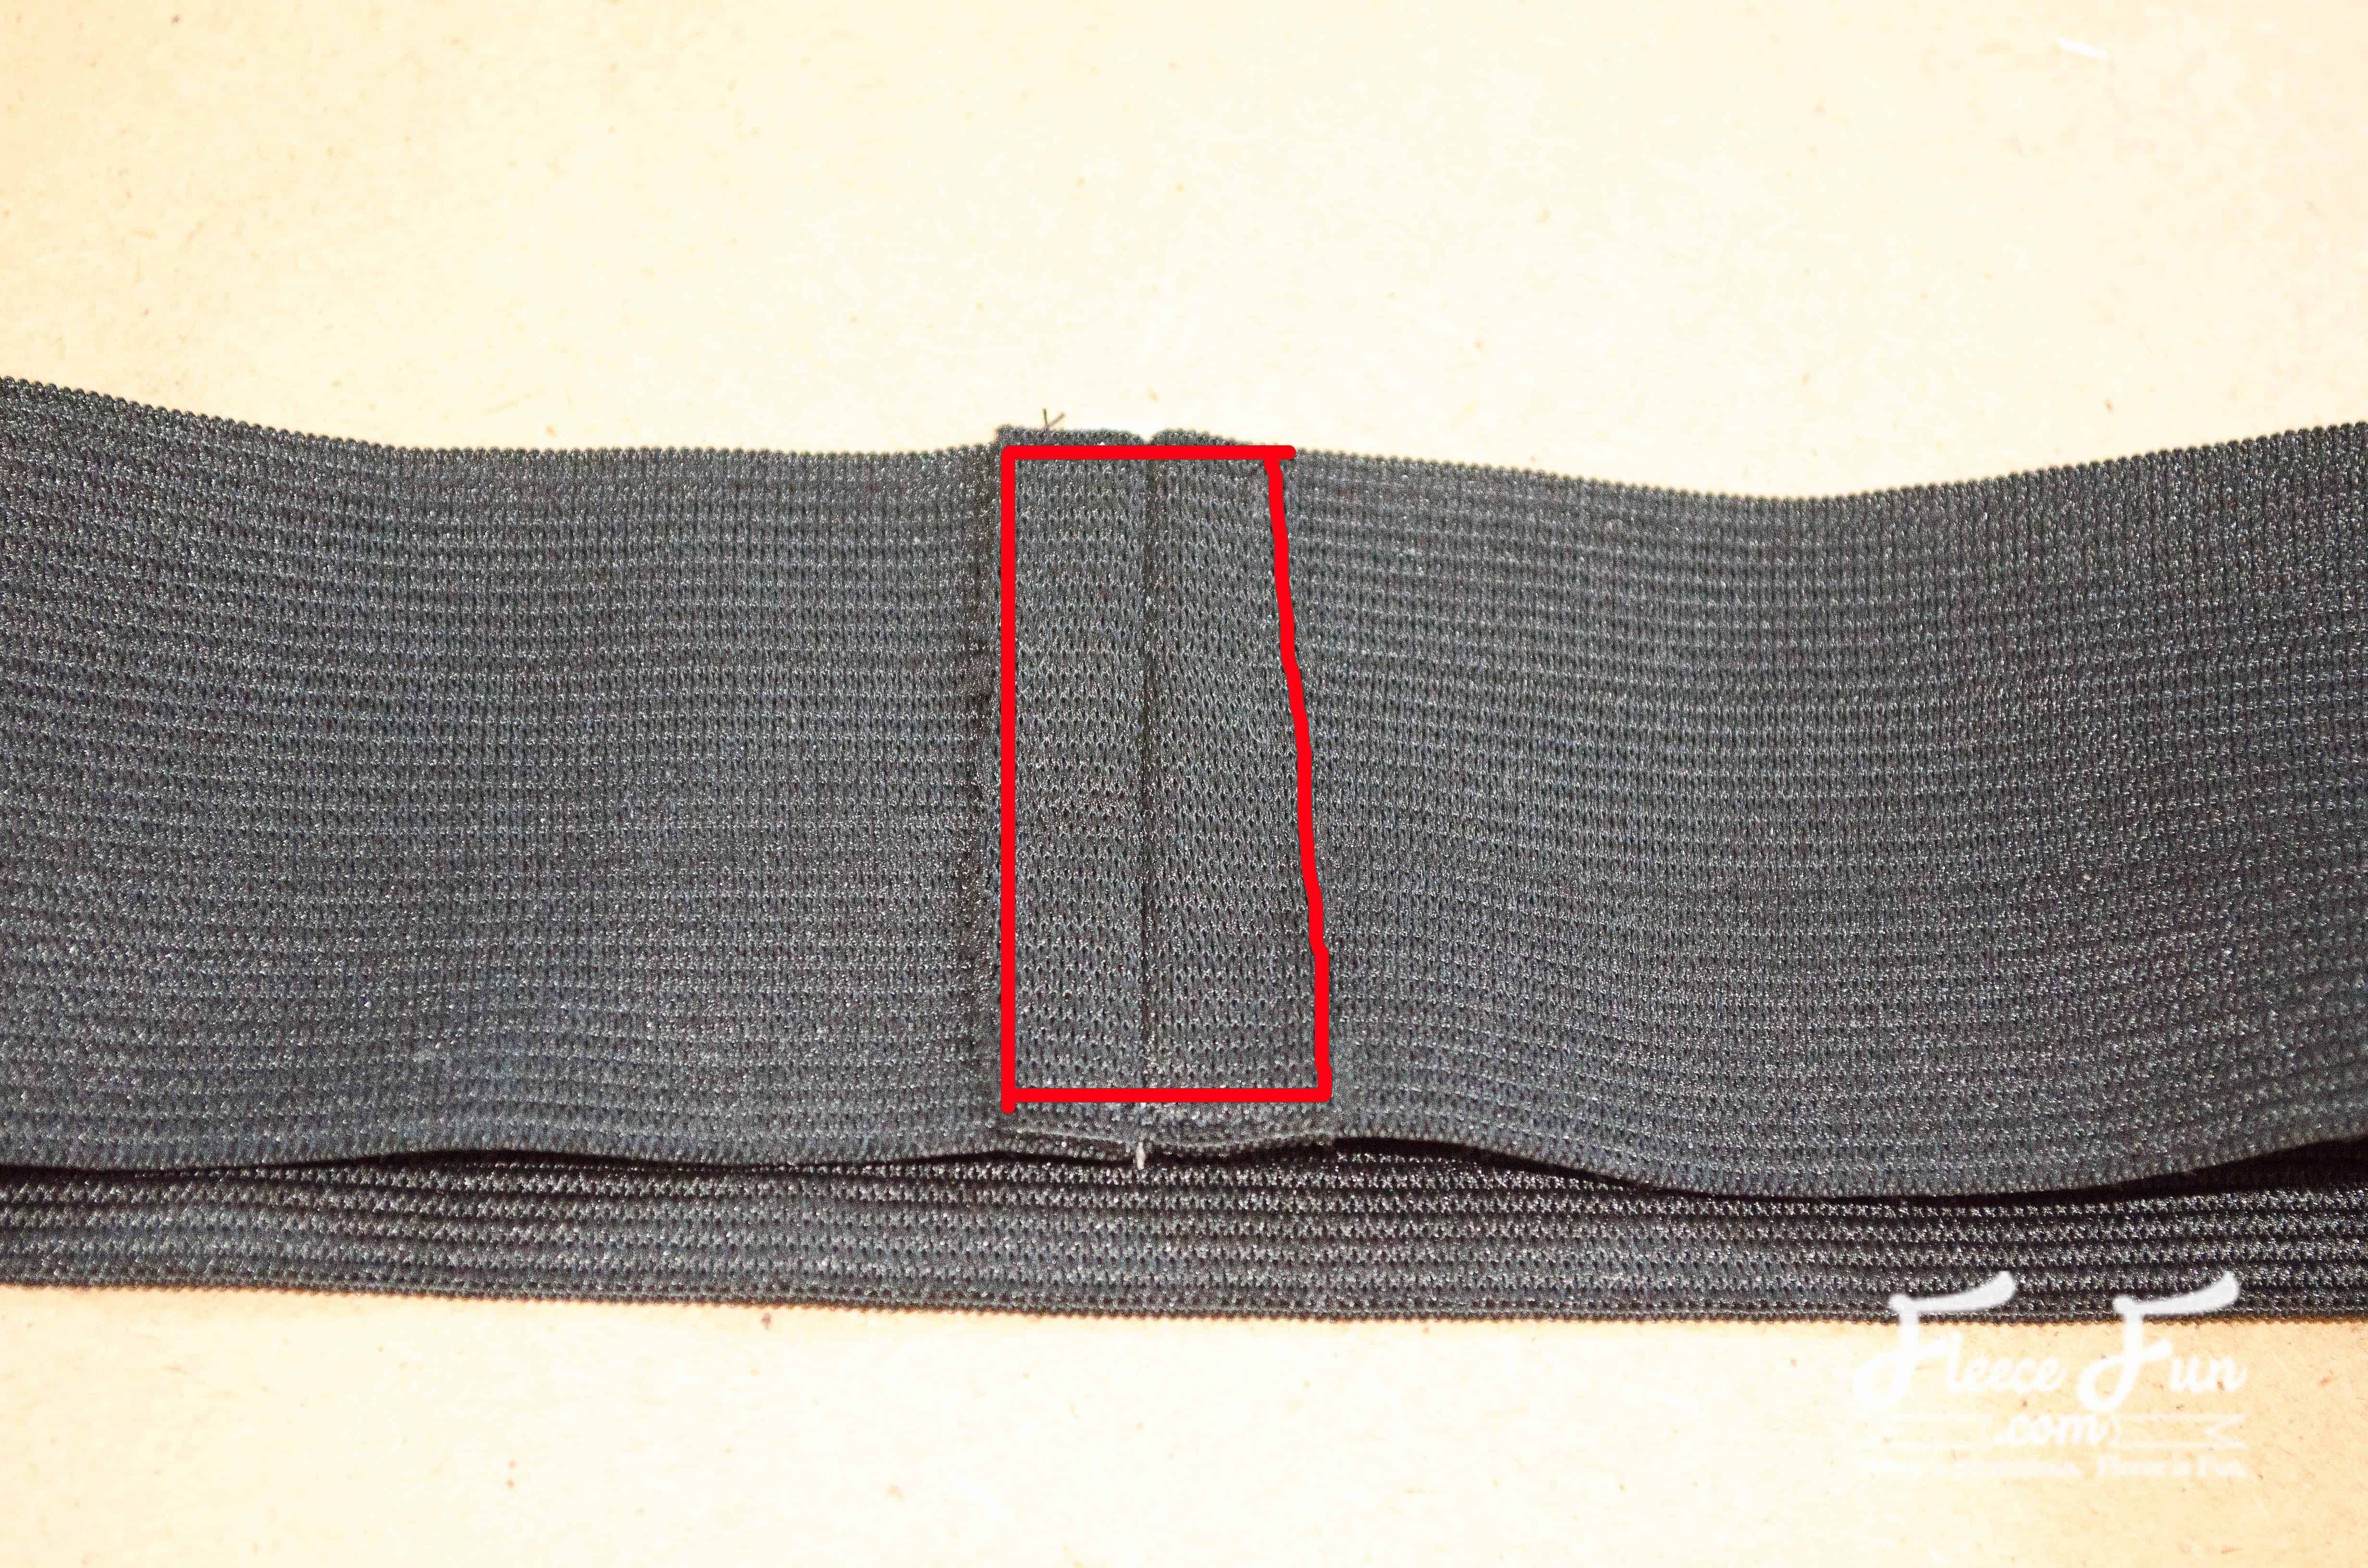
Create the waist band by sewing the two raw edges of the elastic together, right sides facing. Carefully press the seam allowance open, and sew along the raw edges as shown.
Step 3 – make the Skirt Top
Finish the raw edge at the top of the skirt with a serger or zigzag stitch (not shown).
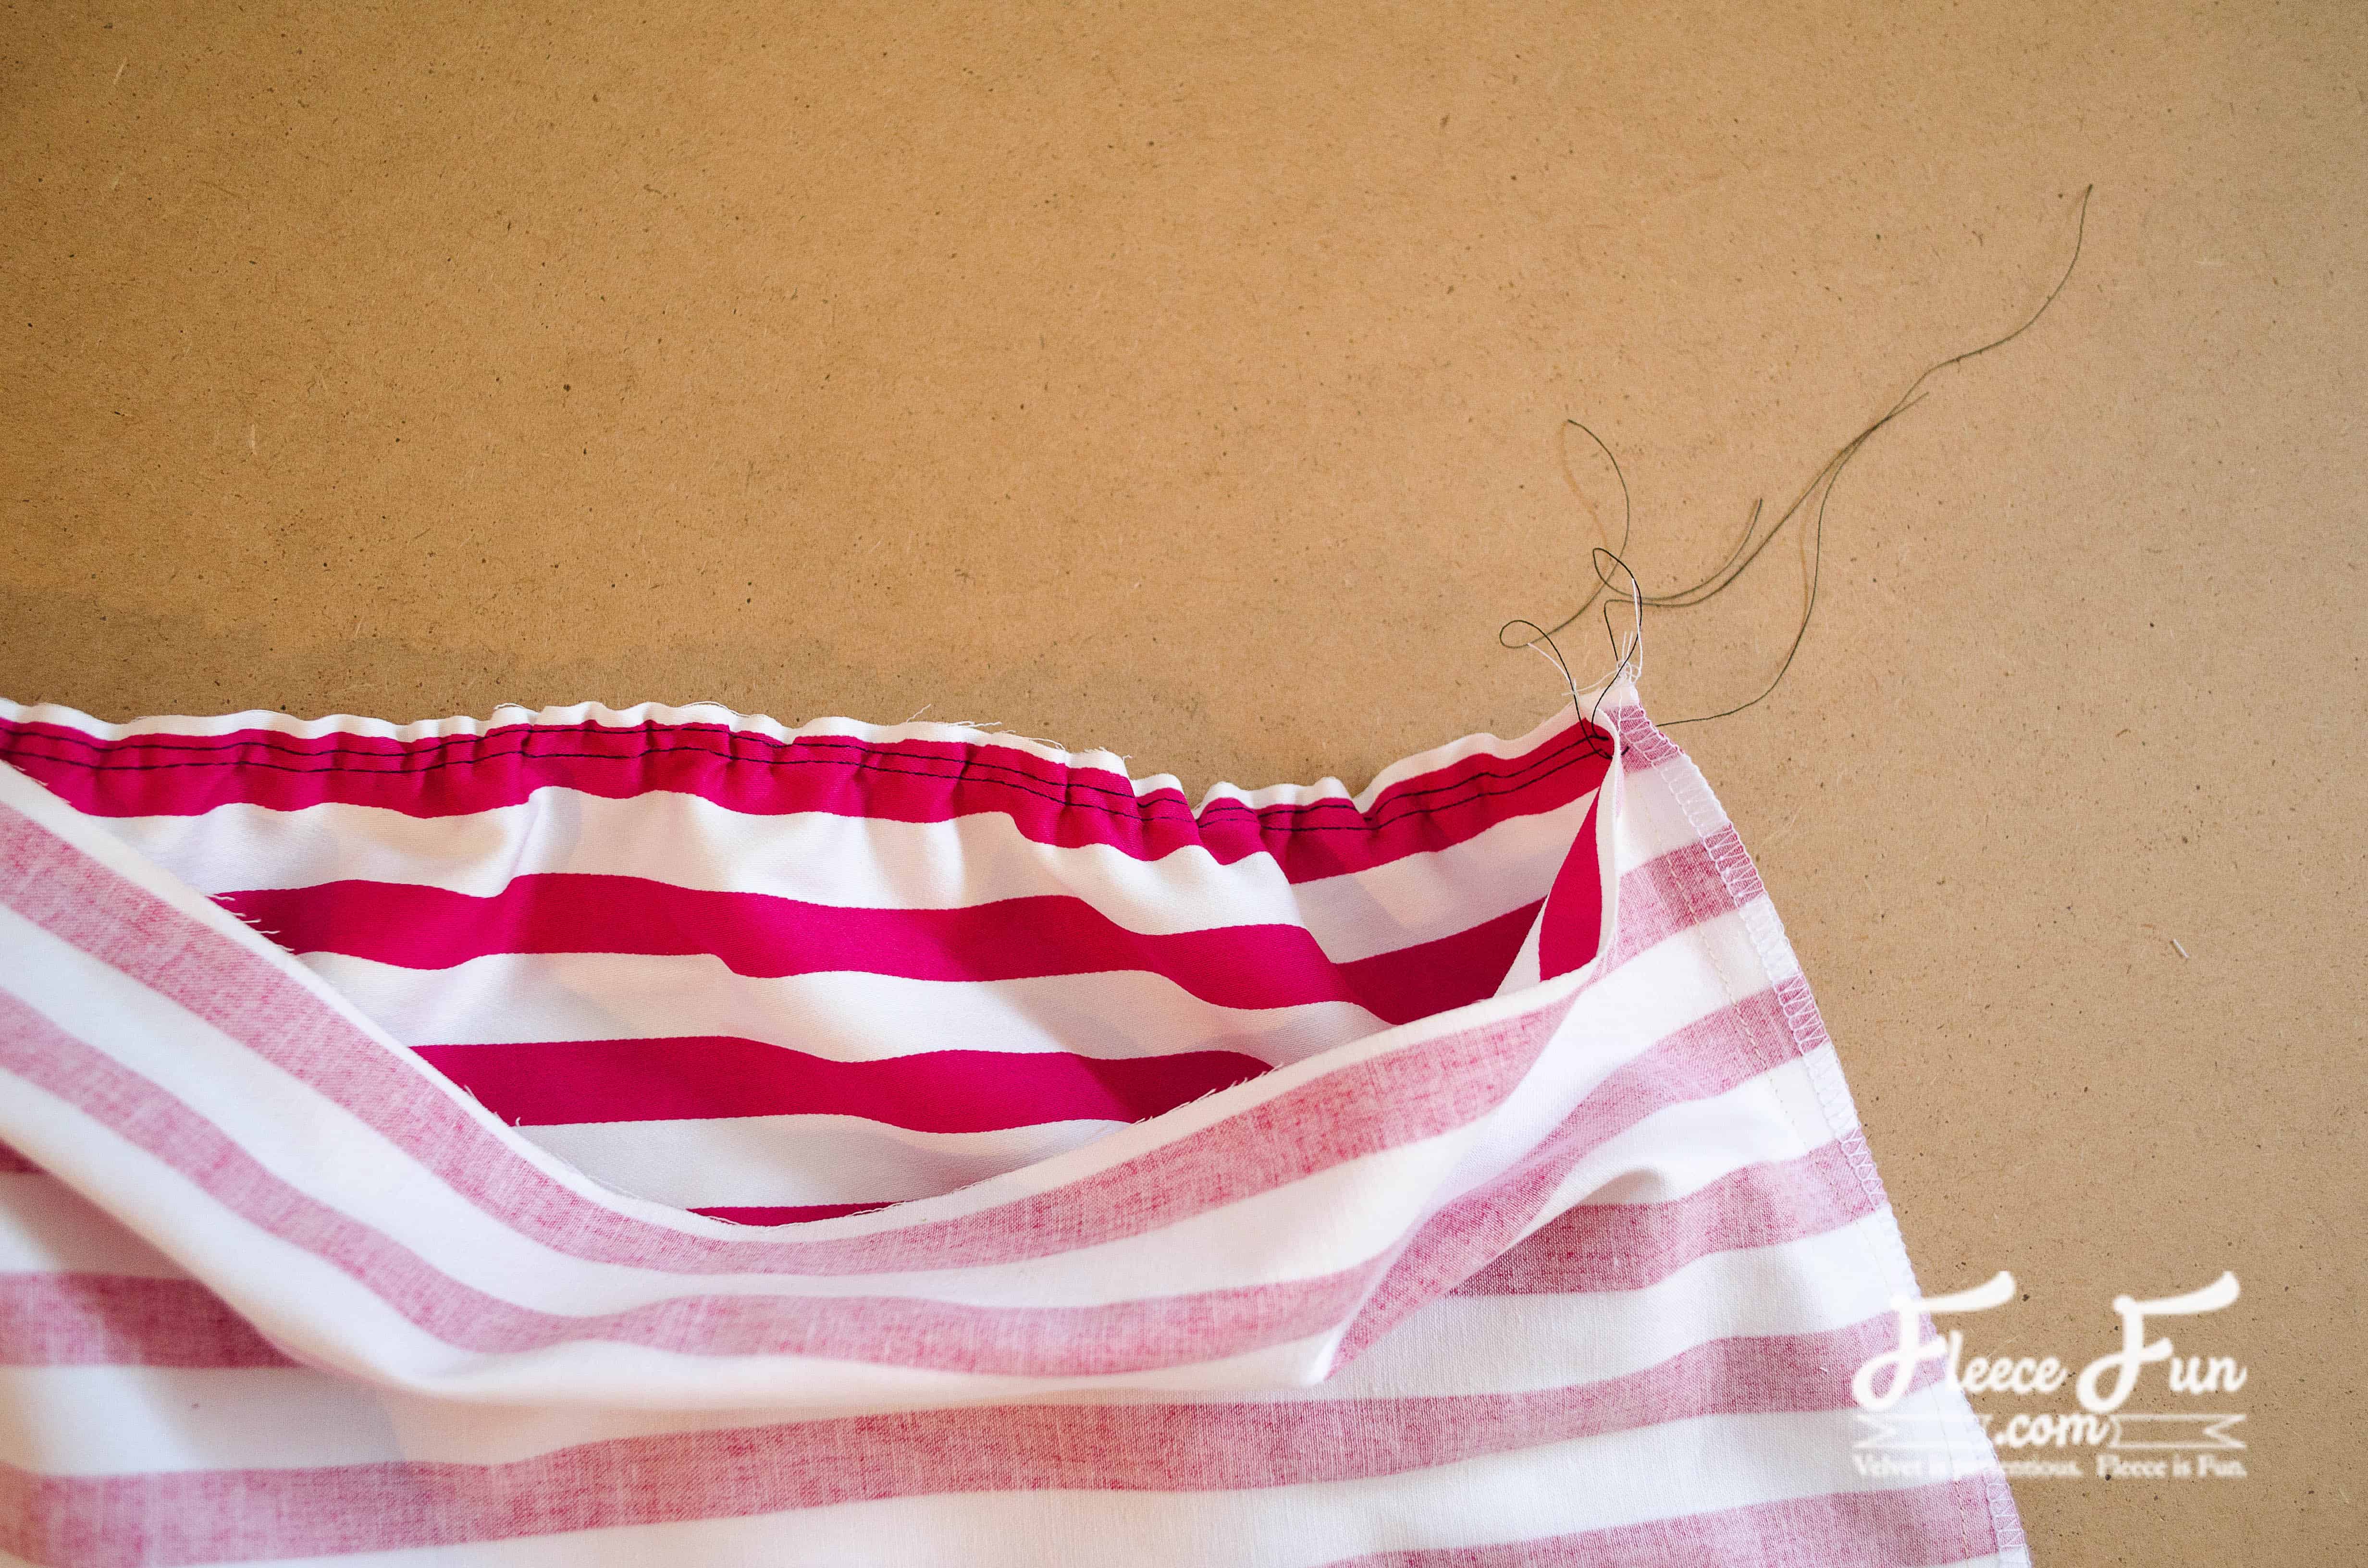
Sew two rows of basting (long) stitches across the top. These will gather the top of the skirt to fit the waist. I like to do the front and the back separately because this reduce the chance of the threads snapping.
Gather the top of the skirt to fit the waistband by pulling on the bobbin threads. We are halfway done with the simple skirt for girls.
Step 4 – Pin the Waistband in Place
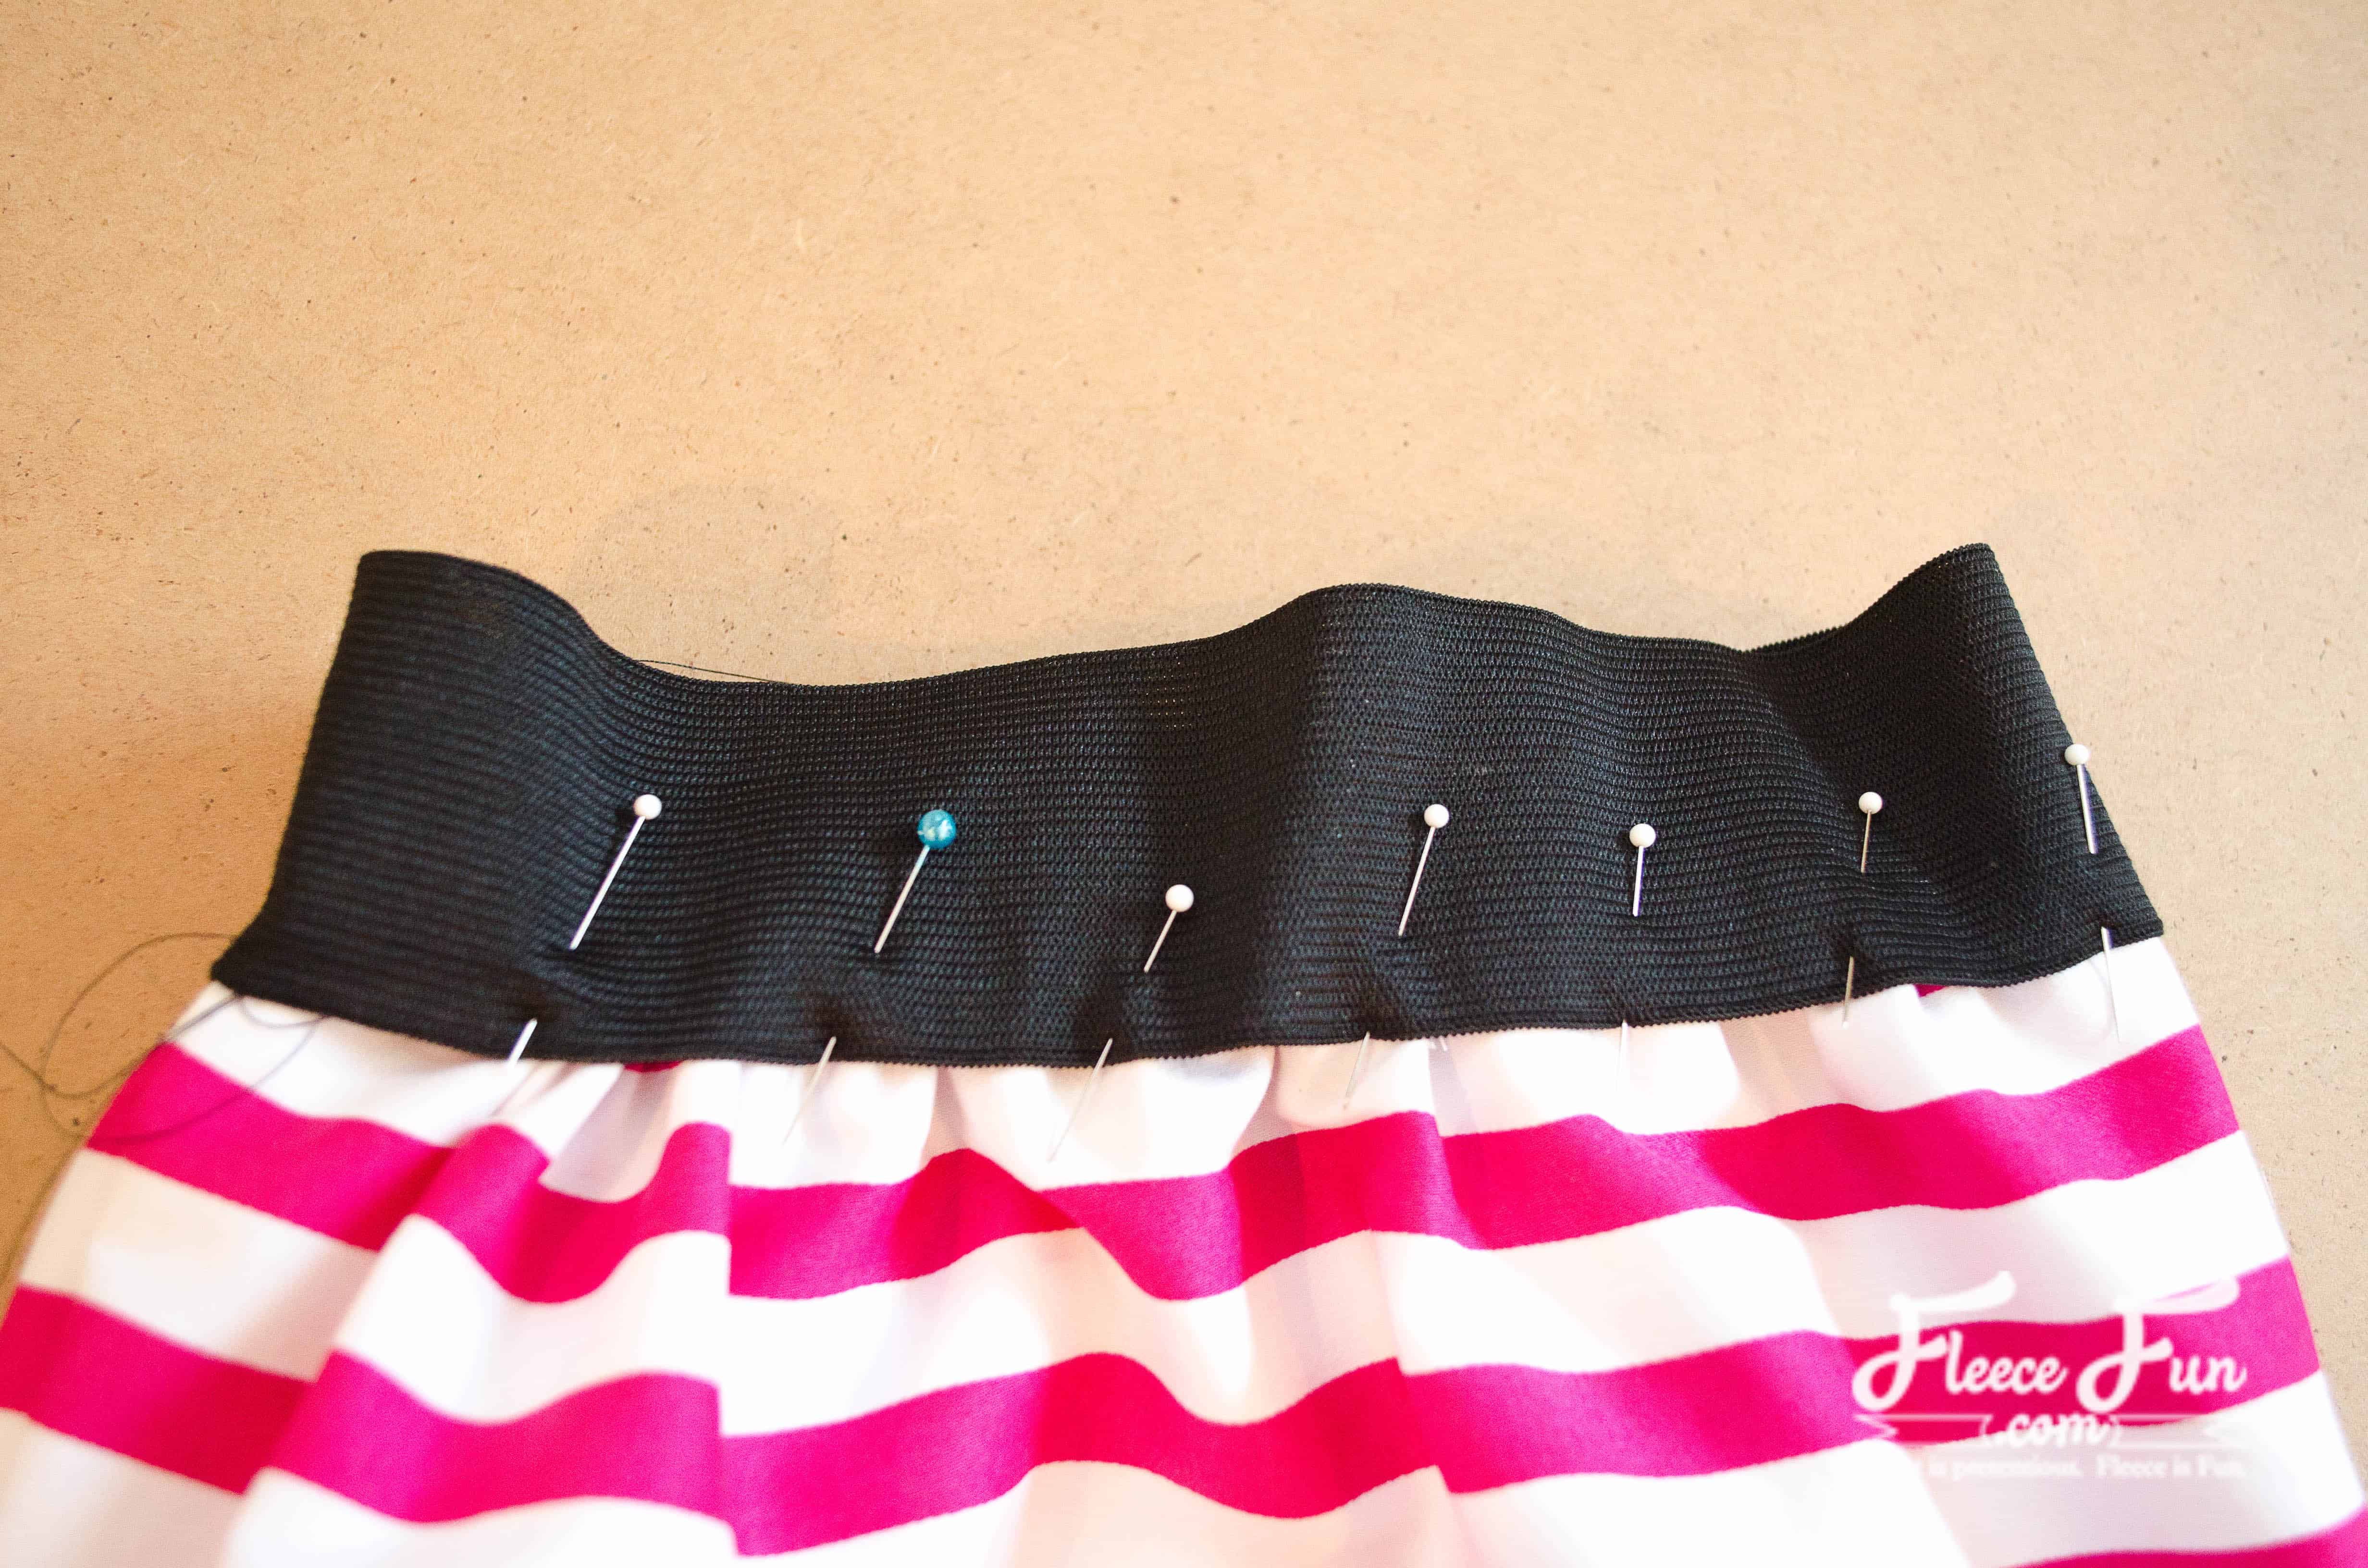
Pin the waistband carefully in place. It will be very obvious with stripes if your waistband is not on straight, so use lots of pins and ensure it is even.
Step 5 – Attach the Waistband to the girls simple skirt

Stitch the skirt to the elastic waistband, close to the bottom edge of the elastic.
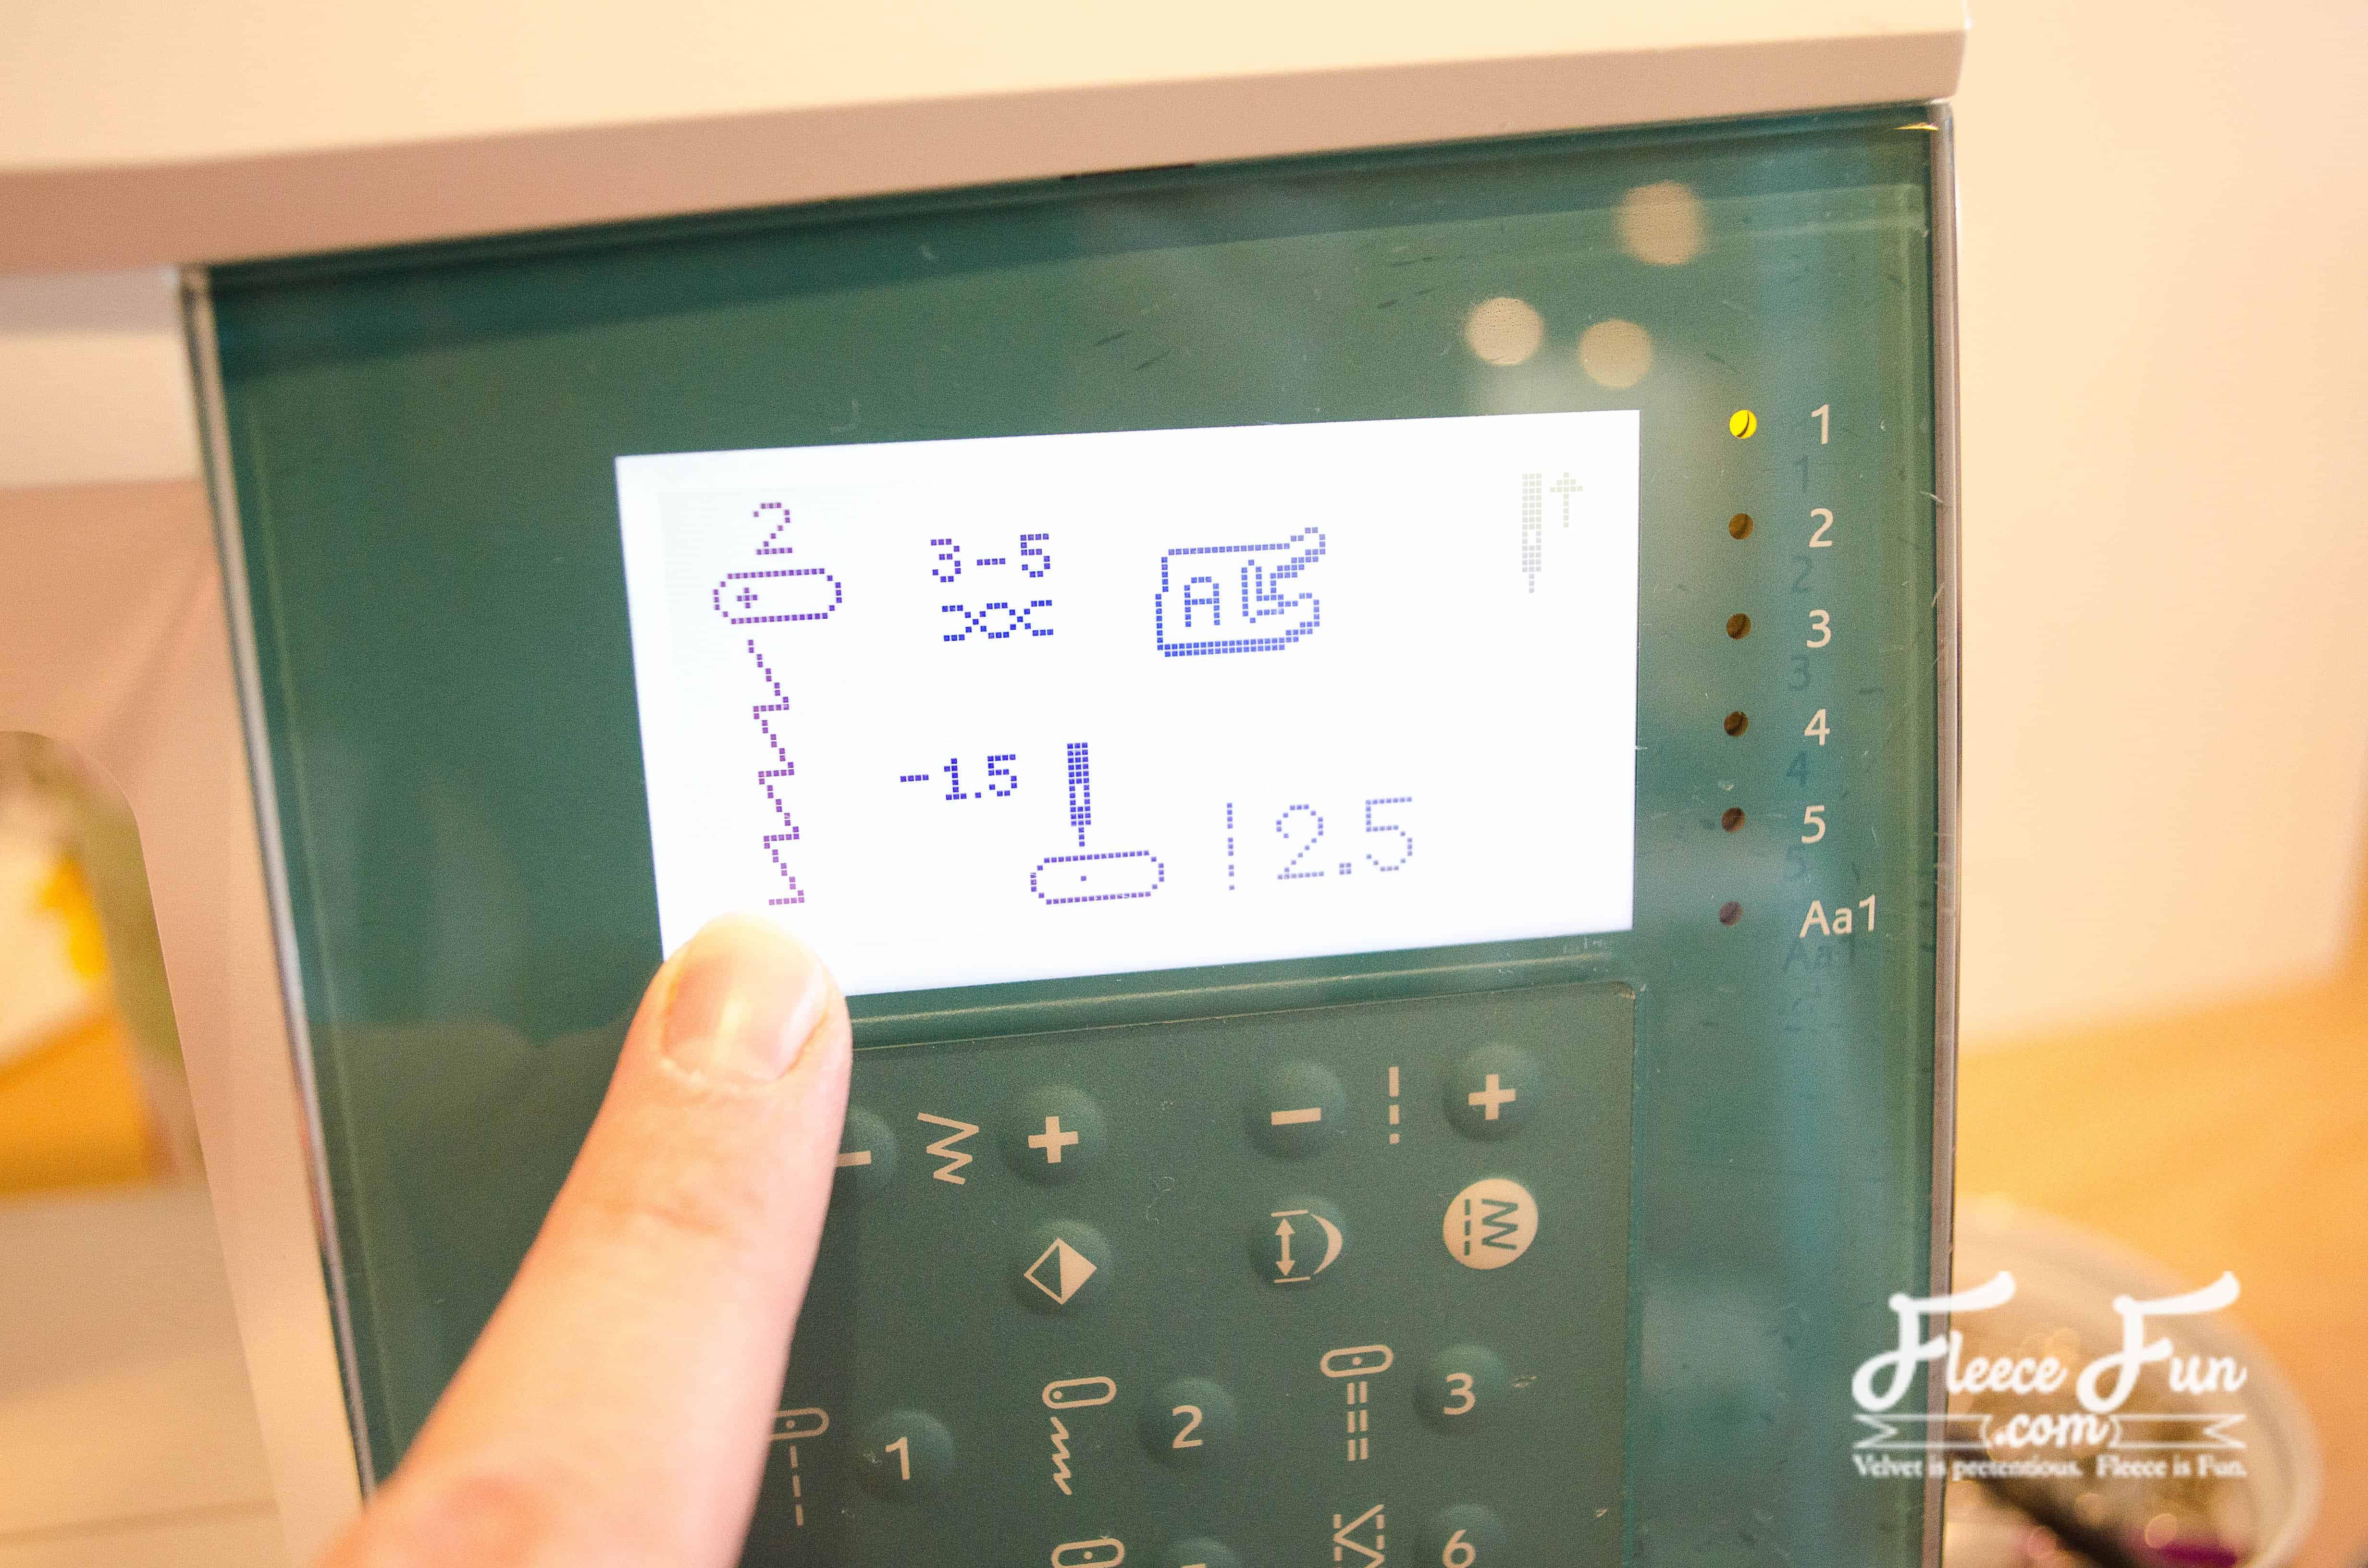
You need to use a stretch stitch to attach the waistband. This can be a regular zigzag or a lightning bolt stitch like I used. Remove gathering stitches.
Step 6 – Finish and Hem the simple Skirt for girls
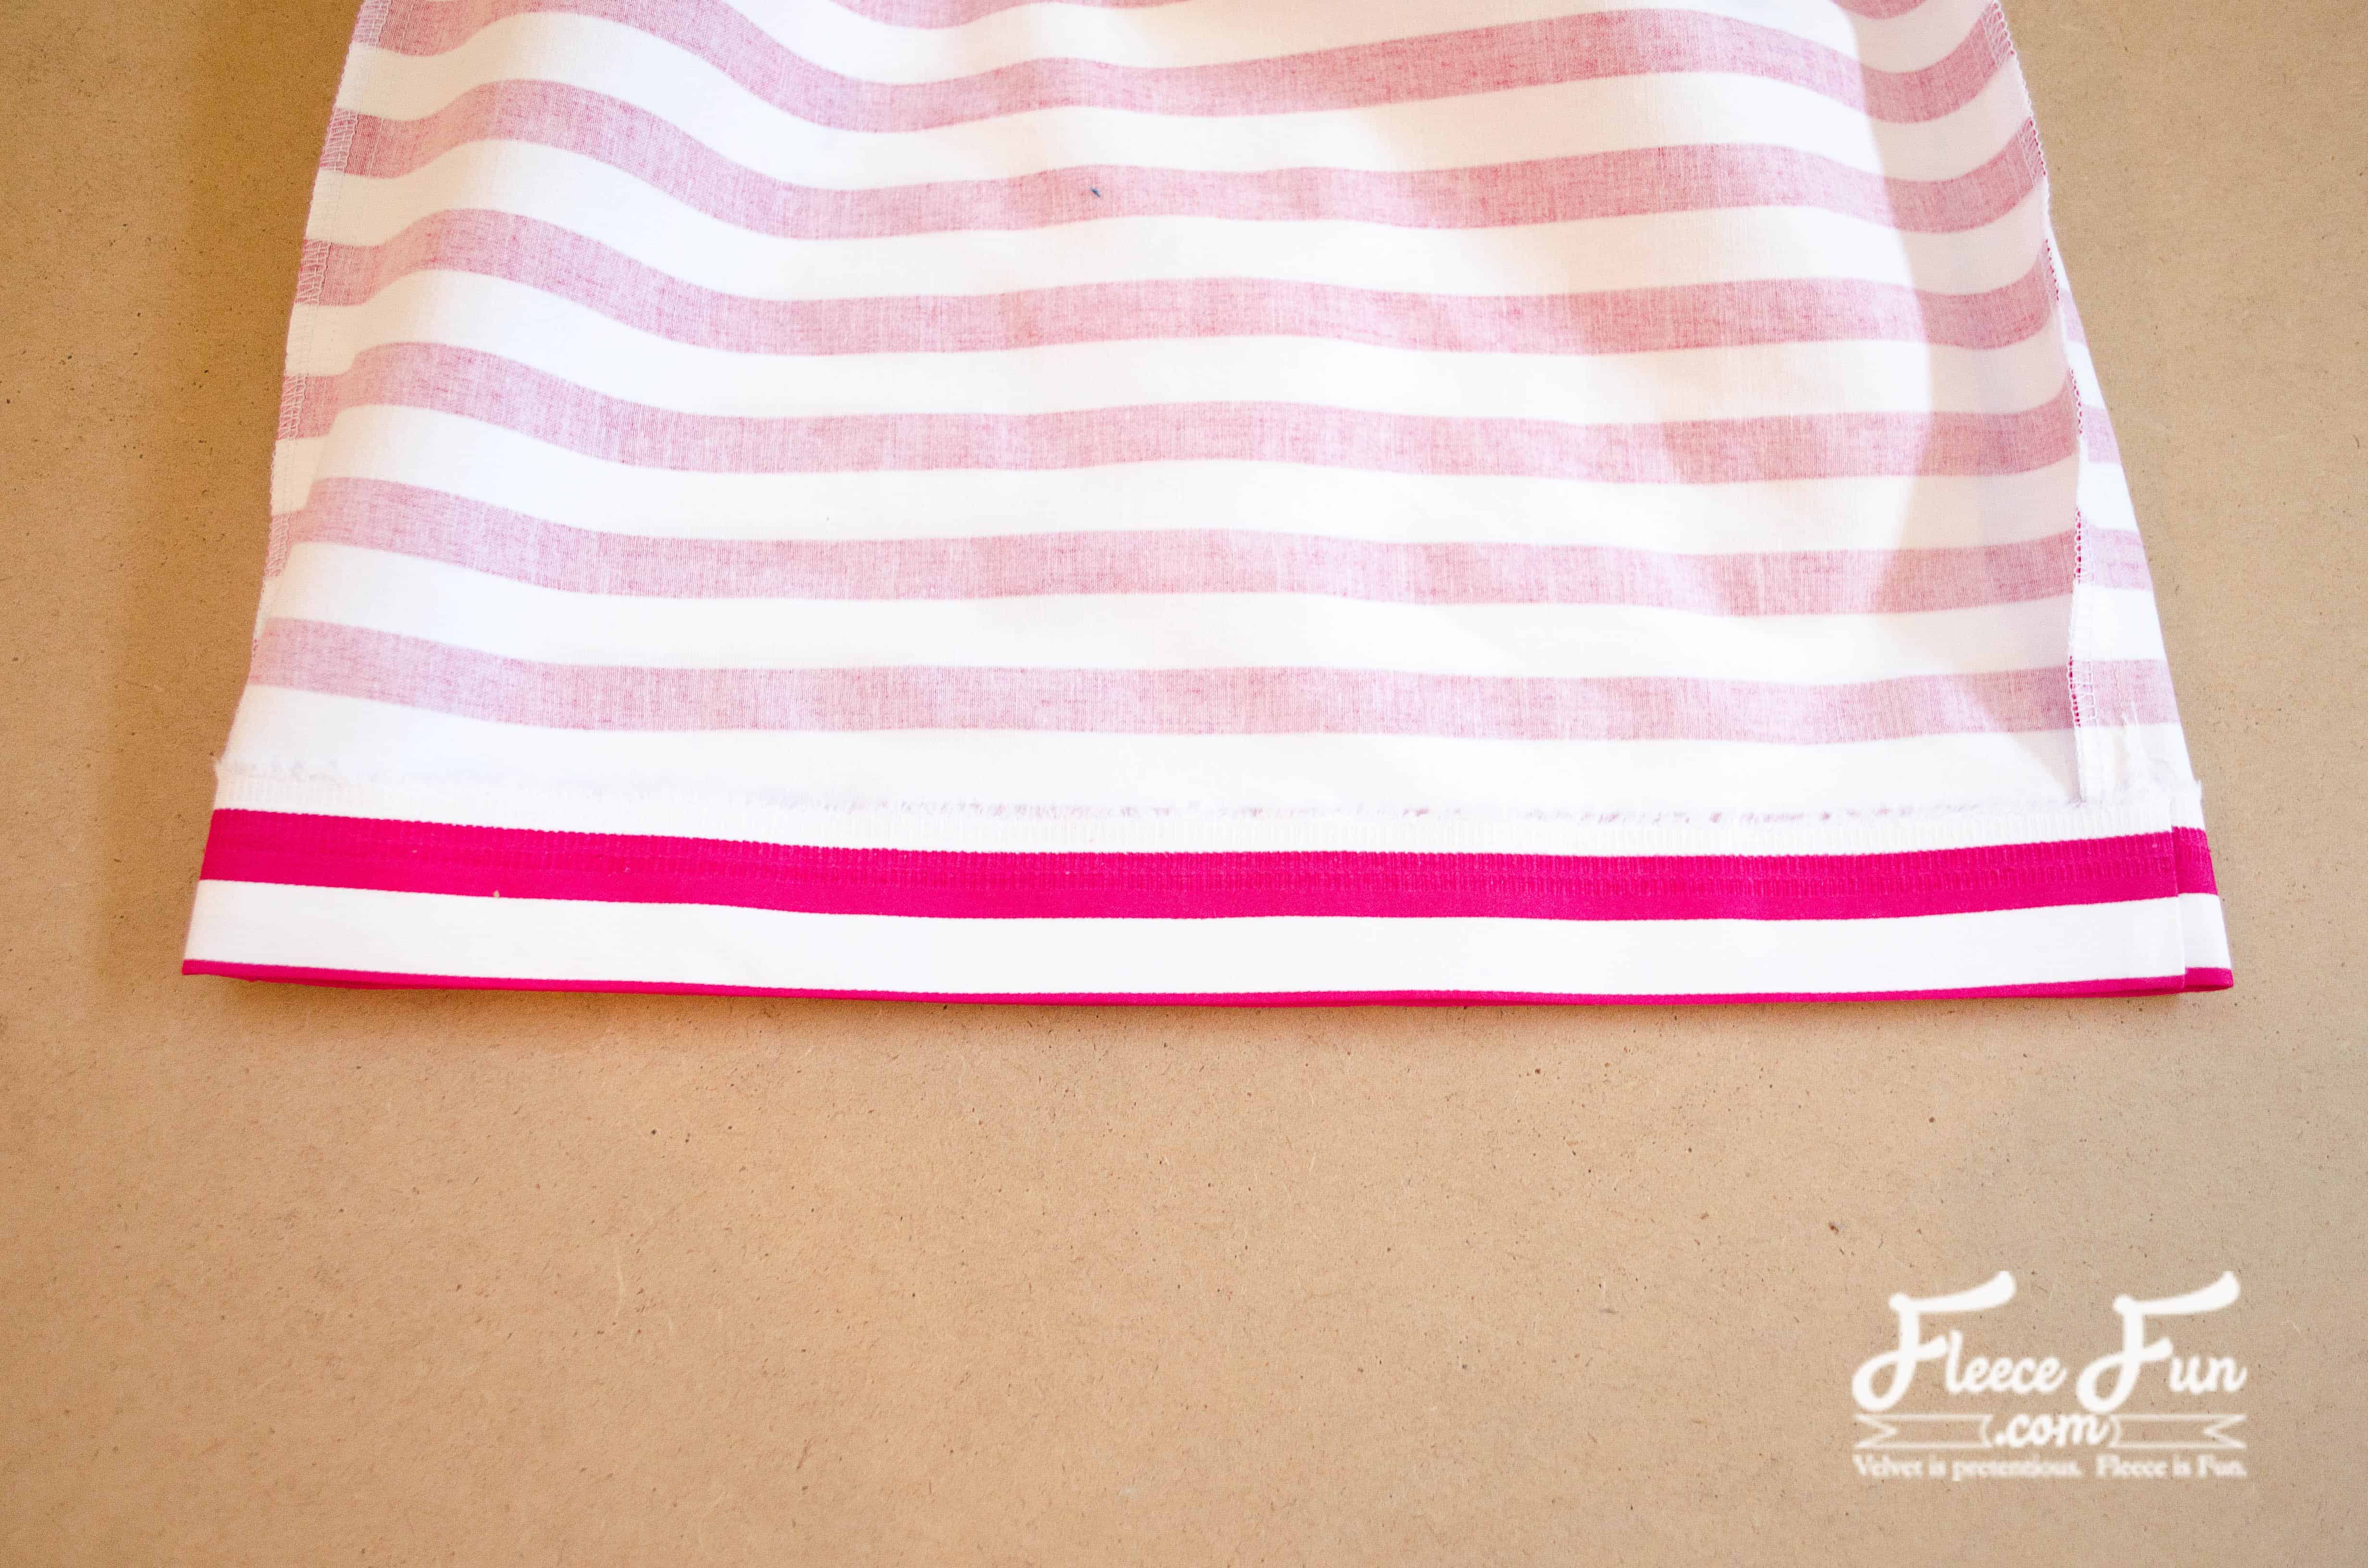
Finish raw bottom edge with a serger or zigzag stitch. Fold and press bottom hem up 2″. You can topstitch the hem in place or use a blind hem, by hand or machine.
Love this simple skirt for girls? see More Free Girls Skirt Patterns:
- The Circle Skirt ( no math needed!)
- The Fleece Ruffle Skirt
- Midi Yoga Skirt (comfy and easy!)
- The Sweater Upcycle skirt
- The Pleated Skirt
- The Fun and Frilly Skirt
More Girl Patterns:
- The Fall Cape for Girls
- Flannel Nightgown Pattern
- The Bow Tie Headband
- Satin Flower Hair Clips
- How to Make a Flower Fascinator