


✨✨Trending Post: How to make a Fleece Hat (free pattern)! ✨✨
You can easily make a fleece hat using a free pdf patterns available on this site. The steps are simple and easy to follow.
The easy way to make a fleece hat is to start with the Basic Hat Pattern. Made from two pieces of fleece, this quick step by step tutorial ( with a video!) plus a free pdf pattern, will walk you through the process and make it simple.
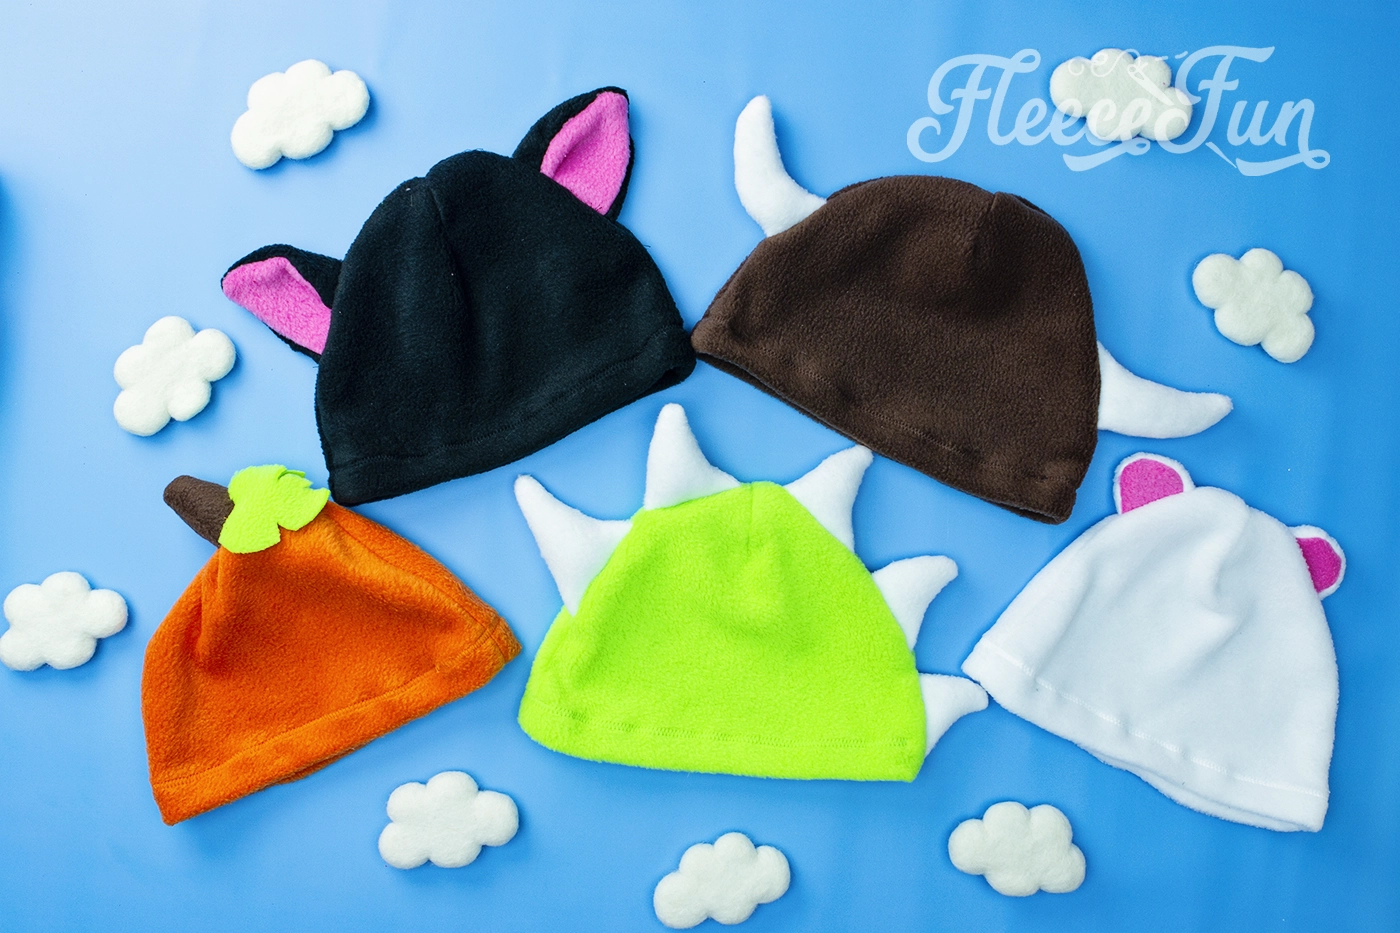
Once you’ve mastered the basic fleece hat you can begin to do some of the fun modifications to it! One popular is the cat hat (add cat ears) you can also add other fun things to the hats like horns, stems, bear ears and more. Check out the Halloween Hat Pack to see those tutorials.
If you’re looking for extra warmth these lined fleece hats are perfect. This trapper hat tutorial can have a jersey knit or fleece lining for added warmth. This Fleece hat with ear flaps free pattern is designed to be double layered for warmth. You can also line the basic fleece hat pattern by making it two sizes bigger and inserting a lining.
Making a cute hat for baby is easy with the help of these cute tutorials. For example, The baby hat with a chin strap tutorial is warm and baby can’t pull it off his head! Also the Fleece hat with ribbon is precious on little girls.
It’s fun to make matching hats for dolly and little girl. You can easily make this ribbon hat in 18″ doll size for your little one.
Making a scarf to go with your fleece hat is easy. Simply check out all of the free scarf tutorials I have to offer here.