
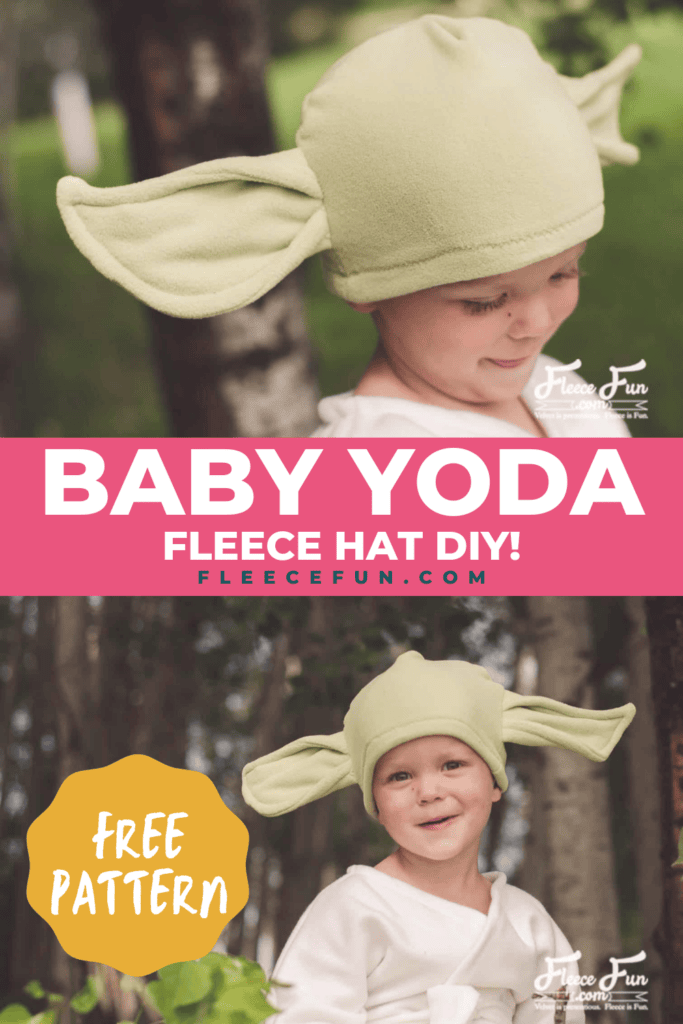
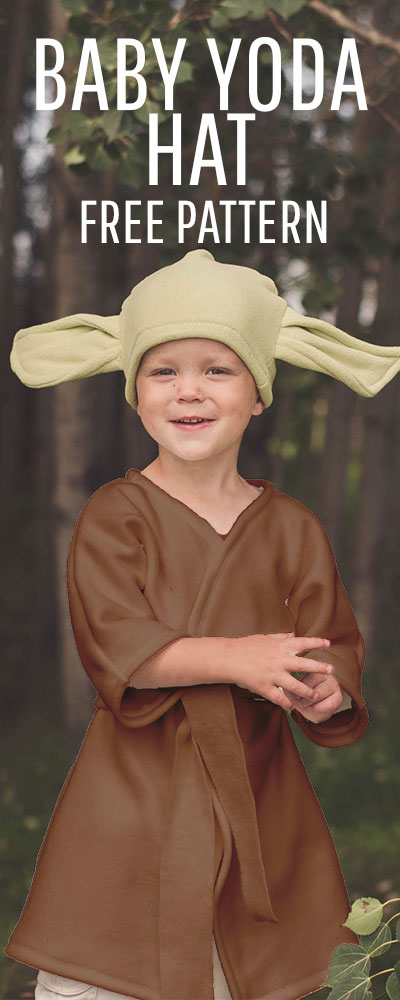
DIY Baby Yoda Costume (The Child from the Mandalorian)
This content contains affiliate links or sponsored elements, read our Disclosure Policy.


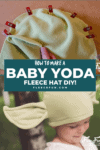
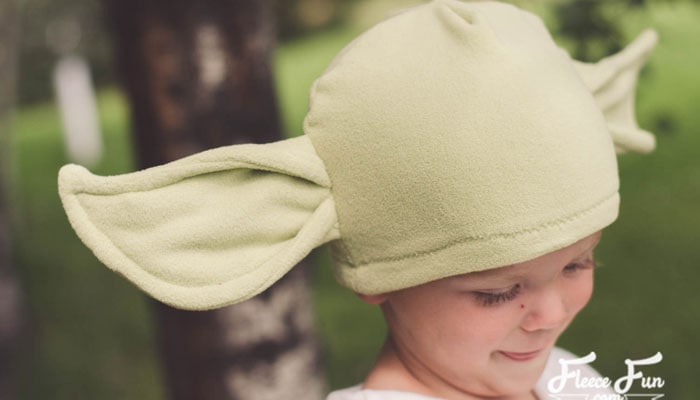
You can make this cute DIY Baby Yoda Costume Fleece Hat inspired by the Mandalorian. With some fleece, quilting batting and sewing basics plus Fleece Fun’s free pdf sewing pattern this hat sews up quickly. Hat comes in sizes baby to adult! Everyone can get in on the joy that is Baby Yoda. Star Wars fan rejoice this is an easy sew and looks cute on kiddos.
YOU WILL NEED:
- 1/3 yard green fleece for hat
- scrap quilt batting
- Sewing Essentials (pins, scissors, etc.).
- Get the free pattern here.
Baby YODA COSTUME Hat TUTORIAL DIY:
Step 1 – Cut Out the Baby Yoda Hat Pattern Pieces
You will need to assemble the free pattern. For instructions on how to assemble the sewing pattern click here.
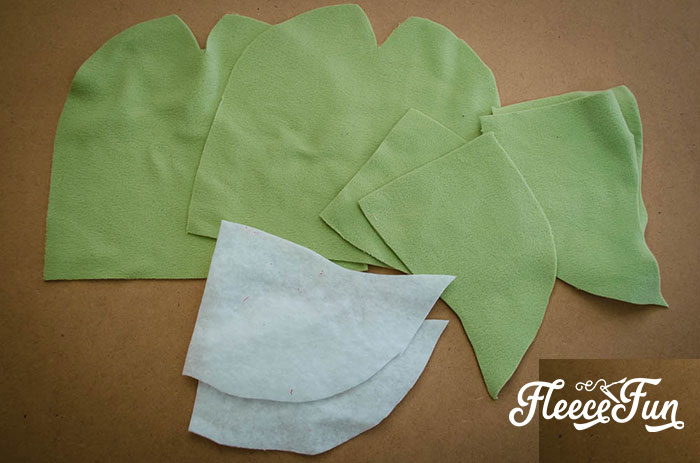
Cut out the following:
Cut the pieces for the yoda hat. You will have 2 hat pieces, and 4 ear pieces (2 left and 2 right) out of green fleece. Also cut 2 ear pieces (1 left and 1 right) out of quilt batting.
Step 2 – Create the Baby Yoda Ears for the Hat
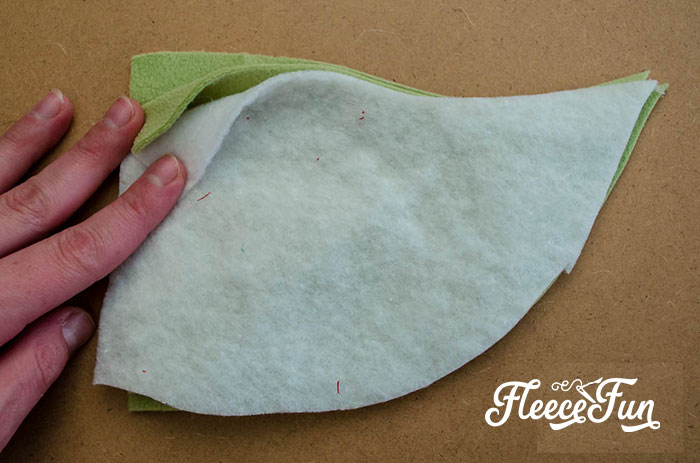
With right sides together, place two fleece ear pieces together. Place 1 batting ear piece on top.
Stitch around curved edges.
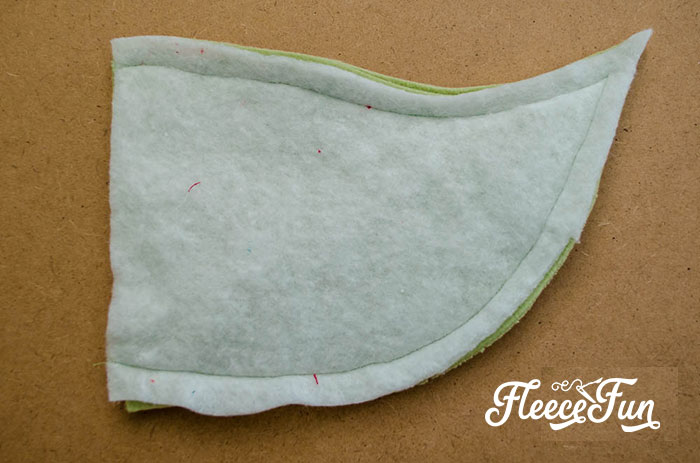
Clip curves and trim corner.
Turn right side out.
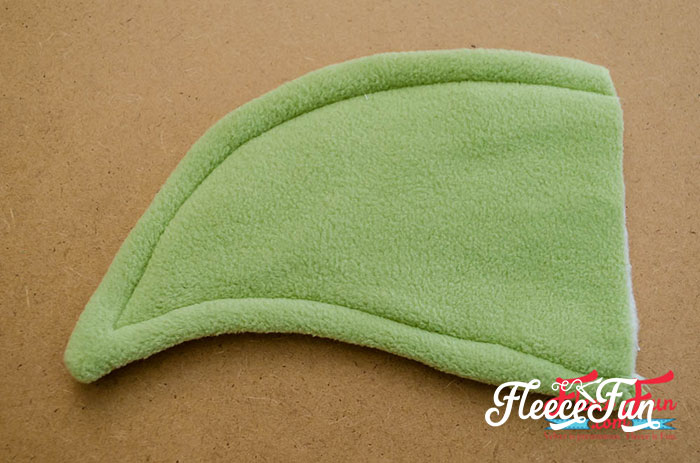
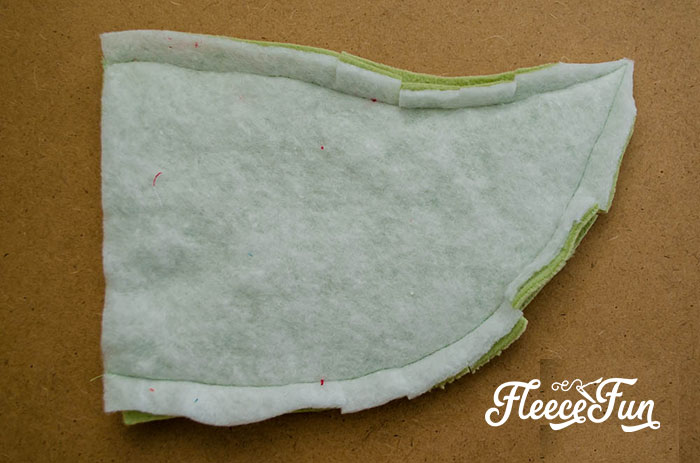
Topstitch curved edges 1/2″ from edge.

Fold curved edges 3/4″ to the middle.

Baste the folds in place.

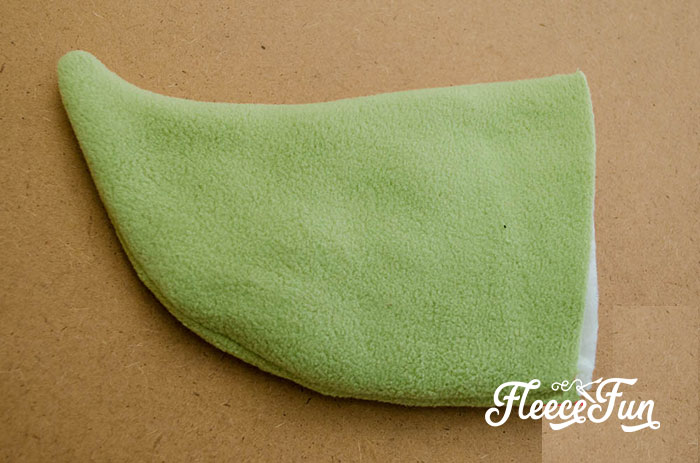
Repeat with the second ear, being sure you are creating a mirror image.
Step 3 – Assemble the Hat and Attach the Ears for the Baby Yoda Costume
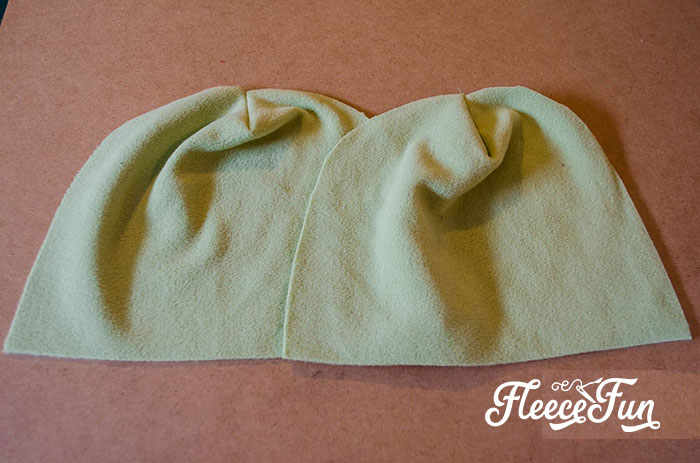
Sew the top darts in the front and back hat pieces.
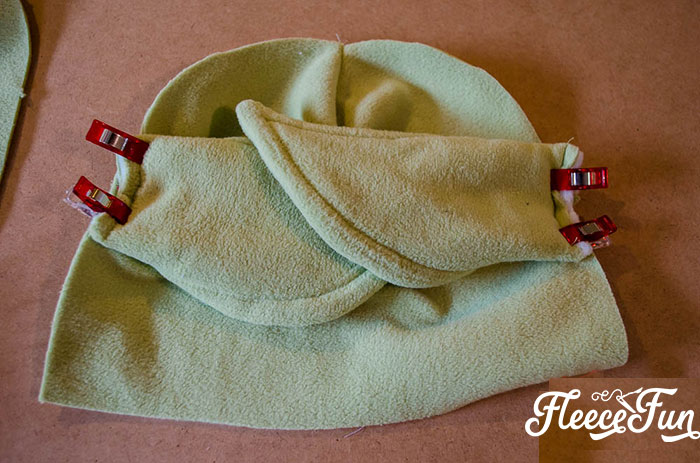
With right sides together, pin the ears to the hat, aligning raw edges.
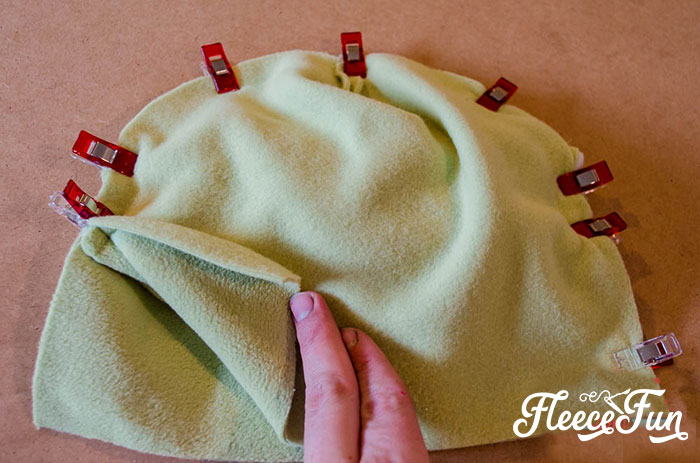
Pin second hat piece on top, right side down. Stitch along curved edge of hat. Turn right side out.
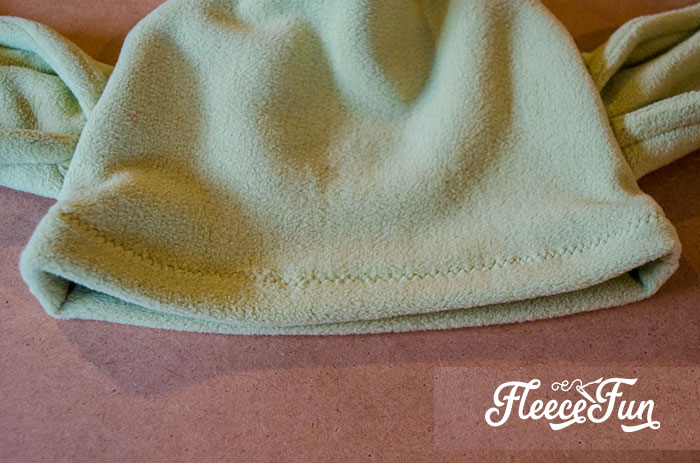
Fold up bottom edge by 3/4″ and hem.
Download the Free DIY Baby Yoda Sewing Pattern Below
You can get a free copy of Adobe reader here. By downloading you are agreeing to pattern terms of use. Fill out the form to have the pattern sent to your inbox!

Star Wars Costumes Tutorials:
- Easy Jedi DIY Costume Tutorial
- DIY Princess Leia Costume Free Pattern Tutorial
- Yoda Costume Tutorial DIY
More Costume Tutorials you might like!
- Halloween Dress Up Vest
- Aladdin Magic Carpet Costume DIY Free Pattern
- Best Aladdin Costume DIY Free Vest Pattern
- Princess Anna Hat Tutorial Free PDF Pattern
- Princess Poppy Costume DIY Free Pattern
- Make Supergirl Costume Tutorial
You are an amazing person to share all that you do. Merry Christmas to you.
Thanks
You give us such cool things
My grandsons will love this
Thank you for the pattern. What seam allowance do you use for your patterns? Is it always the same. I do not see it on the pattern or in the instructions.
Thanks,
It’s usually .5 inch unless otherwise specified.
That’s really so cute baby yoda costume for our child . Thanks for sharing and love your site