
DIY Sharpie Mug Tutorial with free templates
This content contains affiliate links or sponsored elements, read our Disclosure Policy.
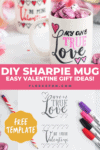


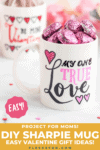

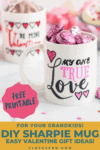

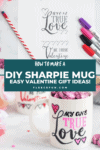
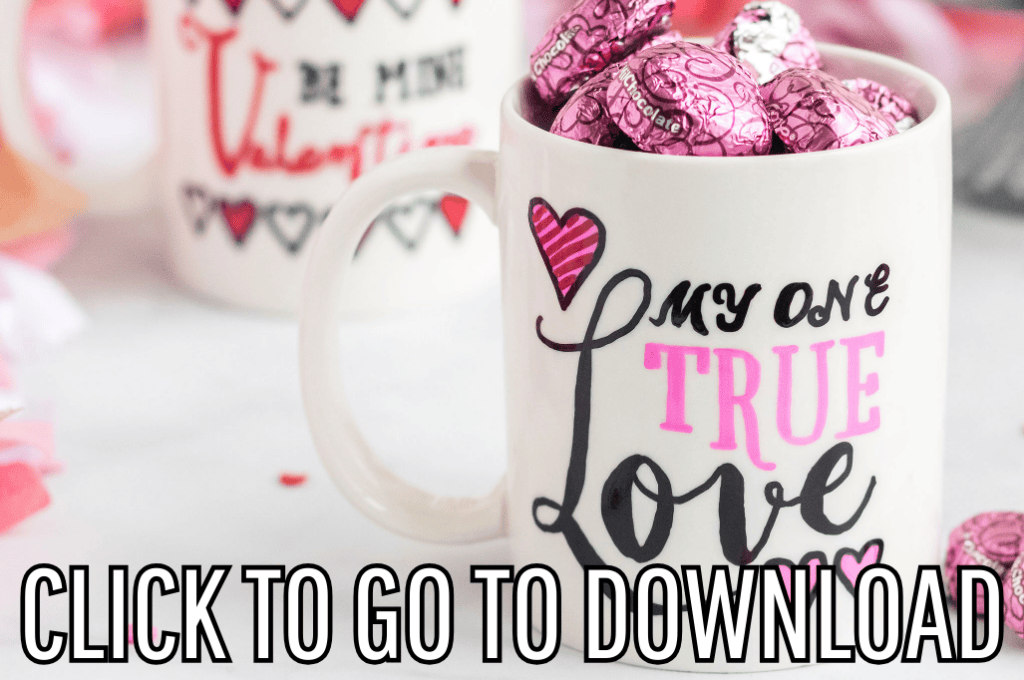
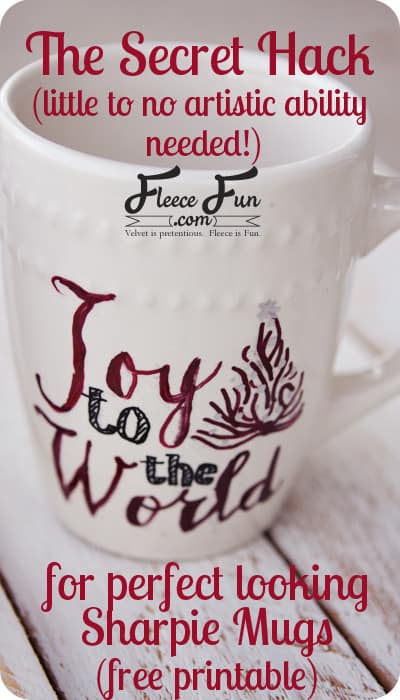
This DIY Sharpie Mug Tutorial anyone can do – no amazing artistic ability required! Ah the Sharpie mug. Looks like such a fun project, and then I remember I’m not very good at drawing. Never fear! Here’s my nearly fool proof method for excellent (but hand drawn looking) mugs:

YOU WILL NEED:
- Oil based Sharpies – I like the extra fine tip the best. The Sharpies must be oil based – not the regular ones you get in the office supply aisle. I ordered mine off of Amazon here.
- Blank white coffee mugs
- Tape
- 2 pencils 1 sharp and one dull
- cookie sheet
- oven
- Get Fleece Fun’s free printable here.
Get the video tutorial here, written instructions below:

Can I use regular sharpies on the DIY sharpie mug?
A regular sharpie won’t stay and “bake” into the mug with the same lasting power as the oil based sharpies. If you want your design to stay you need to use the correct sharpie.
Sharpie Mug Tutorial
Step 1 – Prep the blank mug
Wash and dry the mug to prep it for drawing.
Print up the free tutorial.
Cut it out do it fits nicely on the mug.
Step 2 – Use the Sharpie Template to make the “Hand Drawn Look”
Using a Pencil, rub the back of the DIY sharpie mug template you want to use until it’s completely covered.
Tape the paper to the mug, centering it where you want it to appear.
Using medium pressure and a sharp pencil trace around the letters and elements.
Remove paper. You now should have an outline of the template on the mug!
Trace with markers and fill in.
Decorate and add your own flair/ colors to the design. Wipe off the pencil.
Step 3 – Set the Sharpie Marking on the Mug
“Cook” the mugs 425 for 45 min and allow to cool in oven. I like to leave mine in it overnight.
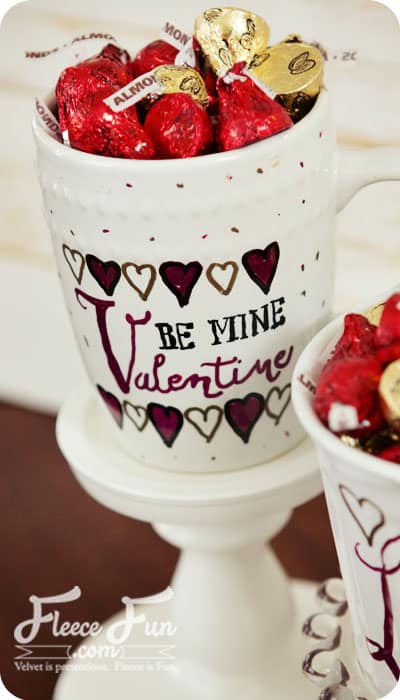
Fill with yummy candy.
Or hot homemade hot chocolate mix – like this yummy gourmet recipe.
How do you make the Sharpie stay on the mug?
Baking the sharpie for the correct time and letting it cool will make the design “set “ on the mug.
Is the DIY Sharpie Mug microwave safe?
As long as the mug you put the design on is microwave safe, then yes it can be used in the microwave just fine. But the sharpie mug design needs to be set in the regular oven – no microwave shortcut for setting the cute sharpie design you just made!
Download the free template below.
You can get a free copy of Adobe reader here. Click on the picture below and fill up the form to download the free printable. By downloading you are agreeing to pattern terms of use. Click here to download the Christmas mug pdf.
Valentine’s Day Printables and Templates You’ll Love!
- Free Valentine’s Day Printable Banner True Love
- Easy Free Valentine Sign Printable Tutorial
- Valentine Candy Wraps Free Printable
- Free Valentine’s Day Printable Coloring Pad Kit
- Free Sewing Printable
- 19 Ideas Secret Love Notes
- 29 Candy Free Valentine’s Day Ideas!
More Free Valentine’s Day Tutorials!
- How to Make a Chenille Heart Pillow Tutorial
- Easy Valentine’s Day Fleece Pillow Slipcover Tutorial
- Heart No Sew Satin Hair Clip
- Make Beaded Cake Stand
- See all of Fleece Fun’s Valentine’s Day Tutorials here!
The DIY sharpie mug, also seen as:
Want more Valentine’s Day Gift Ideas? You’ll love these “Love Potion” Bath bottles by Sugar and Cloth!
I just love all of your projects,you are so talented and a very giving person.God Bless and have a very Merry Christmas.Sheila
adorable…going to try this …fingers crossed …look so cute…thank you …love fleece have used for years…
I love your ideas and this coffee mug one came at the perfect time. I broke hubby’s cup a couple of days ago and if I make him a decent looking one maybe I’ll be forgiven, lol. Thank you for sharing all of the projects and tutorials and printables. Merry Christmas!
Why not use your Cricut to make a stencil and then color using the Sharpies? For me that would be easier than transferring the designs using the pencil method.
Yes that’s one way, to do it.