
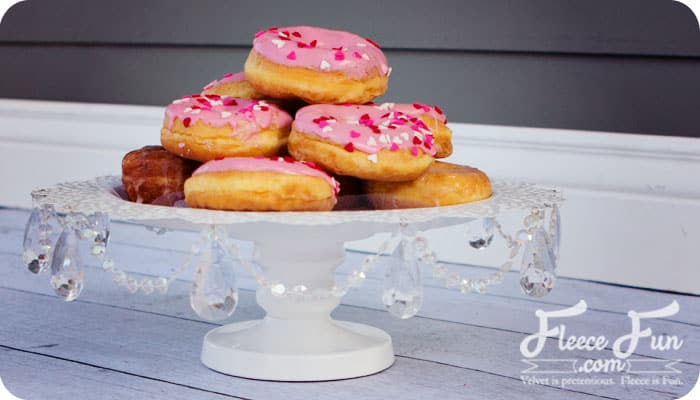
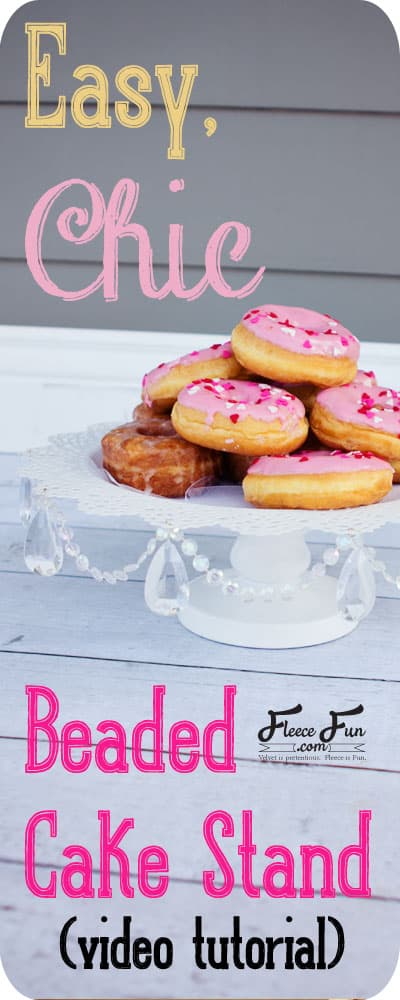
How to make a beaded cake stand.
This content contains affiliate links or sponsored elements, read our Disclosure Policy.


My little sister is getting married this year! I’m really excited for her. We’re gearing up for her wedding and reception, so my brain is buzzing with ideas to help with her small budget. A little ingenuity and elbow grease can make a tiny budget stretch. So, here’s how to make a beaded cake stand.

I’ve been looking at cake stands lately (a weird obsession of mine). There are some gorgeous ones on Amazon, like this set of Three White Iron and Glass Cake Stands.
But boy, are they expensive! So I cooked up this fun little tutorial where you can make yourself a chic-looking stand at a fraction of the cost. You could churn out several of these for a wedding table — I think that would look amazing! Use candlesticks of different sizes to layer and add dimension to multiple stands.
Hate The Ads?
This pattern with video and printable instructions is available to members of the Maker’s Studio. The Maker’s Studio is an ad free experience, no video ads, no forms, no zip files, just creating.

YOU WILL NEED:
- A candle tray (found this one at IKEA)
- A candle stick (IKEA again)
- E600 glue
- Jewelry pliers
- earring loops
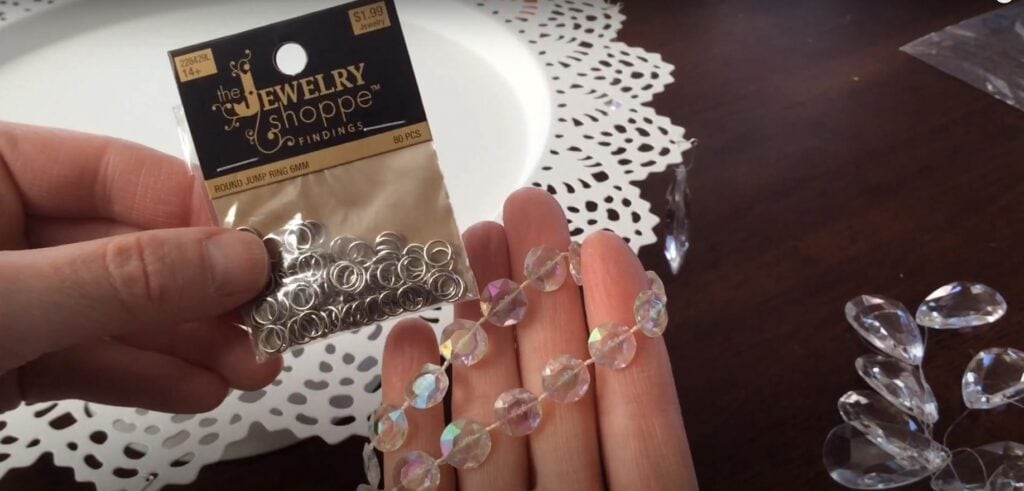
- small jump rings
- crystal garland (found in Wedding section of hobby store)
- beaded garland (found in Wedding section of hobby store)
Beaded Cake Stand Video Tutorial

Beaded Cake Stand step-by-step tutorial
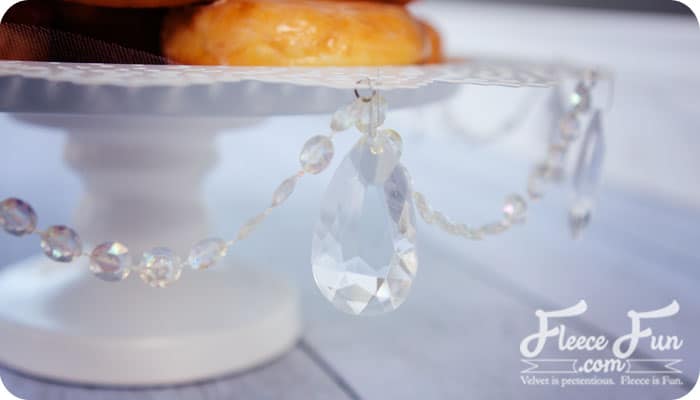
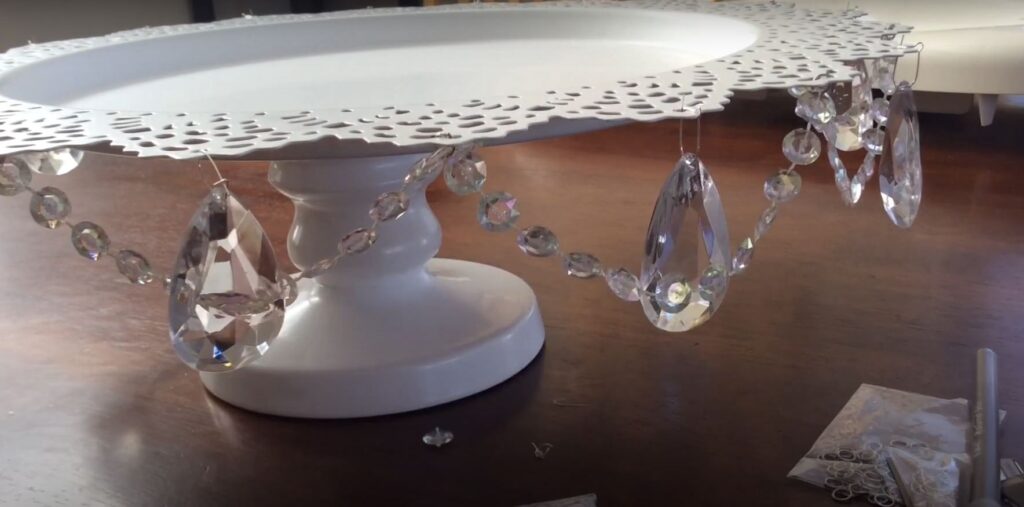
Step 1 – Attach the Large Crystals to your cake stand
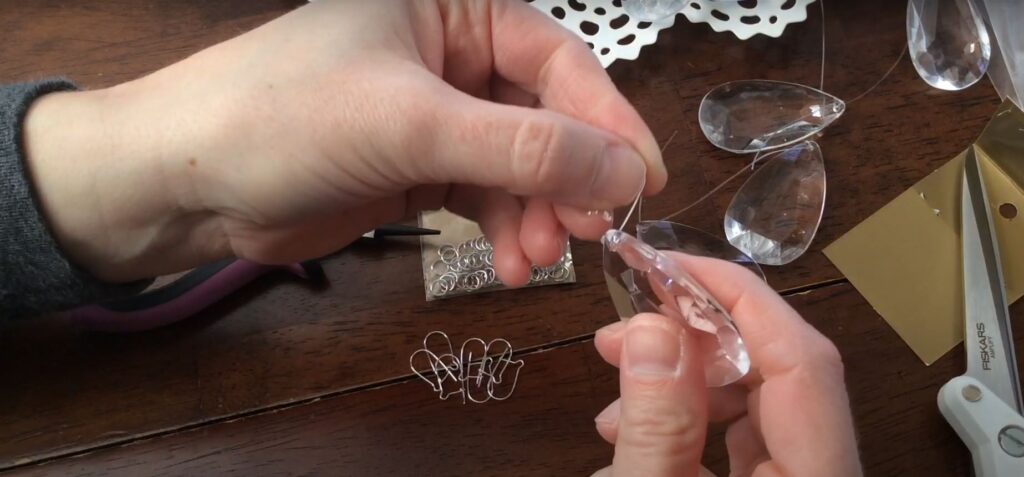
Start by attaching the large crystals to your tray using earring hooks.
Take a few moments to play with the placement and spacing before committing—this step helps set the tone for your Beaded Cake Stand.
Once you’re happy with how everything looks, thread the crystals through and secure them to the edge of the tray.
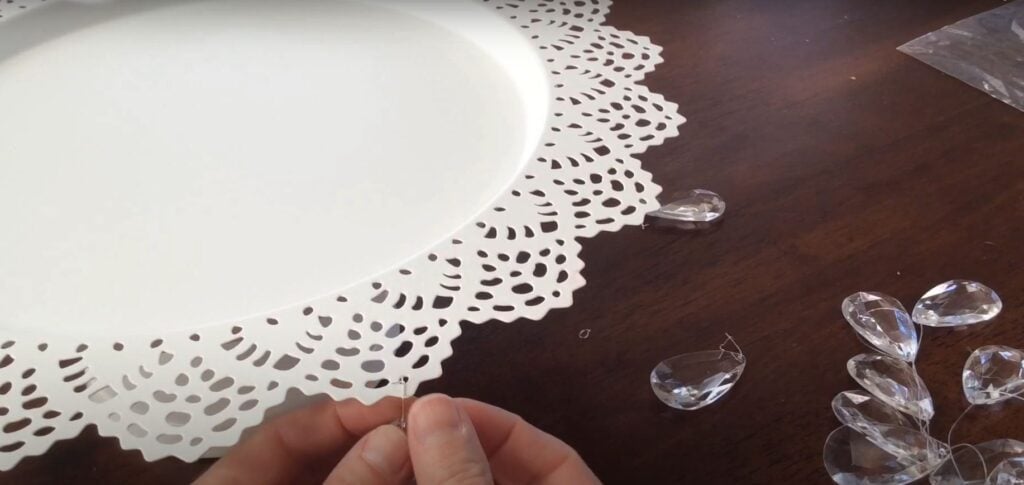
Step 2 – Attach Beading with Jump Rings
Now it’s time to add the beaded swags! Use jump rings to connect each strand around the tray.
Quick Tip
Make sure to count your beads so the swags stay nice and even.
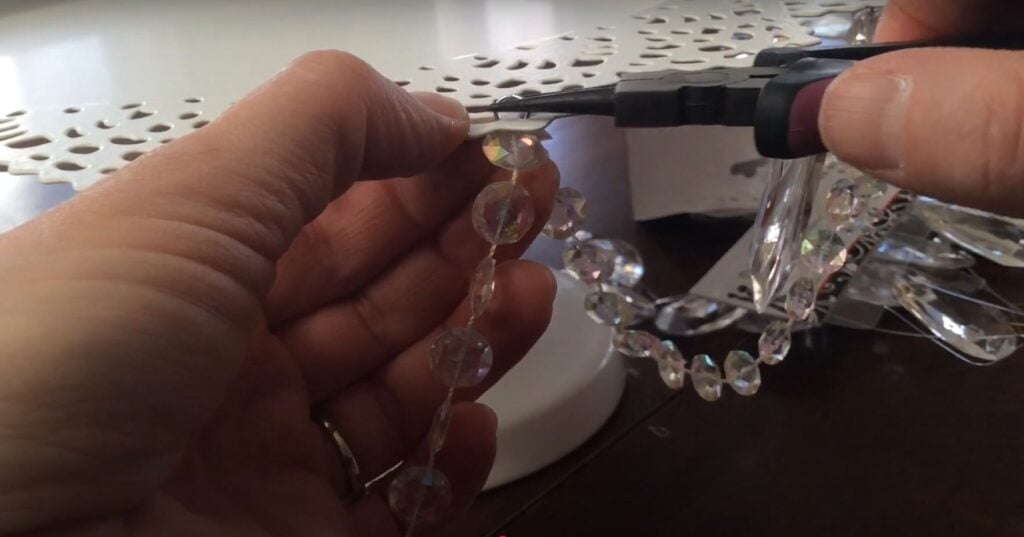
For the first and last jump rings on each swag, include a 1-bead overlap—this keeps the beading in place and gives a clean, finished look.
Once you’ve attached the swags, you can easily adjust any large crystals if needed. Sometimes shifting a few elements helps balance out the overall design of your Beaded Cake Stand,
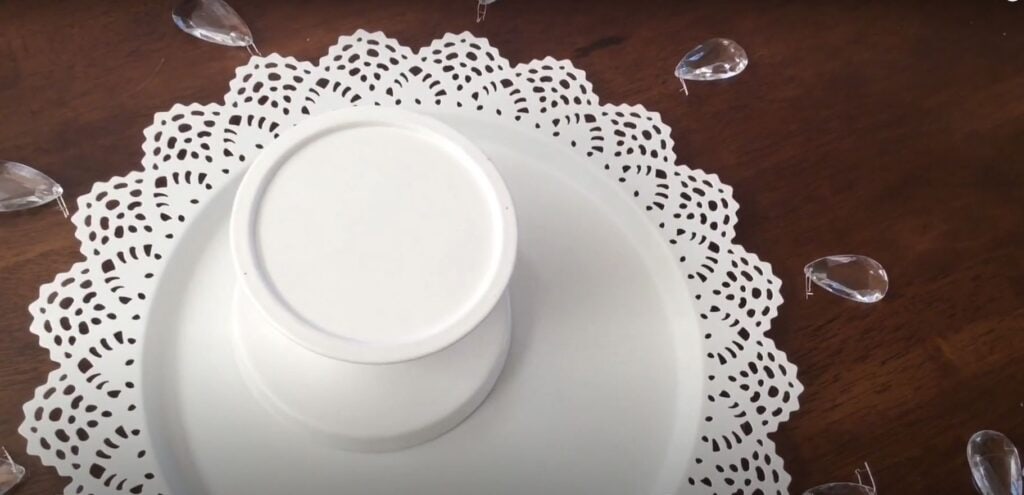
Step 3 – Glue the Candlestick to the Tray
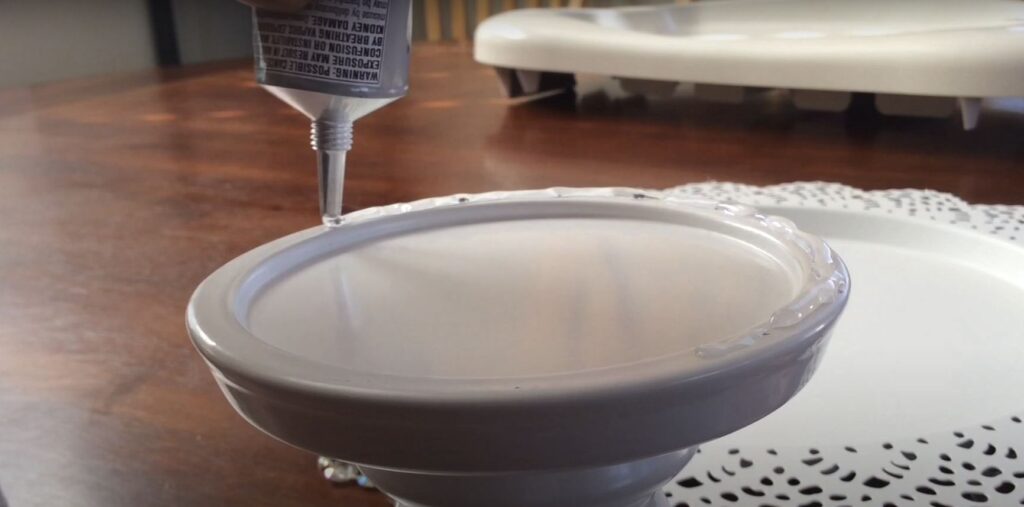
Now it’s time to bring it all together. Apply glue to the top of your candlestick and center it on the bottom of your tray.
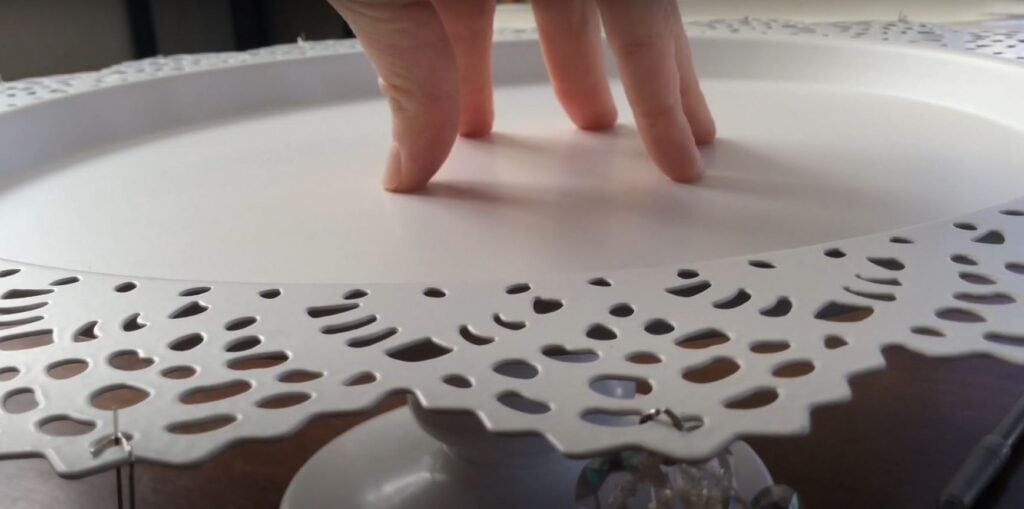
Make sure everything is lined up while the glue is still wet—adjust as needed. Then, set it aside and let it dry overnight so it holds firmly.

Once dry, your Beaded Cake Stand is all set and ready to shine at your next celebration!
note
This tray is not food safe. If you’re placing any treats or baked goods on it, be sure to use a paper doily, parchment, or napkin underneath.
Check out more Valentine’s Day Gift Ideas and Accessories
- Valentine Wreath DIY Sweater Look Love
- Felt Valentine Envelope DIY No Sew Free Template
- Make Heart Hand Warmers Handmade Gift Idea
- Heart Pillow
- Heart No Sew Satin Hair Clip
Love this beaded cake stand? see More Valentine’s crafts!
- How to Make a Chenille Heart Pillow Tutorial
- 29 Candy Free Valentine’s Day Ideas!
- Easy Valentine’s Day Fleece Pillow Slipcover Tutorial
- Sharpie Mug Tutorial Free Templates Printable
- 19 Ideas Secret Love Notes
- See all of Fleece Fun’s Valentine’s Day Tutorials here!
these are too charming for words, that I LOVE them is an understatement. I want to make 100 of these!! I am not close to IKEA so I am going to need to plan a trip because I just love what you did with them. I also love the option of using different stands for height options. vary pretty and your video explained it to a T