
Softie Book Baby Toy Tutorial
This content contains affiliate links or sponsored elements, read our Disclosure Policy.
Baby Sewing Pattern: This easy to follow Softie Book Baby Toy Tutorial makes a wonderful handmade gift for baby! With clear step by step instructions and a Free Design Space File, you can make this cute baby toy and personalize it for your little one.
 I love this baby Texture book, it’s an easy to make handmade gift. It’s a great scrap buster and can be personalized. You can easily change up the basic pattern I’m sharing to make it suit your needs.
For this project you will need:
Various colors of wool felt at least 7 inches by 13 inches in size (I used colors from this collection)
Scraps of fabric with different textures. In the example I used oil cloth, minky, bonded glitter fabric, and terry cloth.
Everyday Iron on in white ( or a good contrasting color)
Cricut Rotary Blade
Cricut Fine Point Blade

Softie Book Baby Toy Tutorial
Step – 1 Setup how you want in design space
 I’ve already made a file for you to use as a spring board in Design Space. Just customize it for your needs.
So if you want to use different textures or change the wording you can – personalize it – that’s the point of making something handmade!
Step 2 – Cut out All of the elements
You will need to cut the following using the Cricut Maker
 4 felt pages
 2 smooth squares ( I used oil cloth)
 2 soft Triangles ( I used terry cloth)
 2 rough circles ( I used bonded glitter cloth)
 1 heart (whatever fabric you desire I used minky)
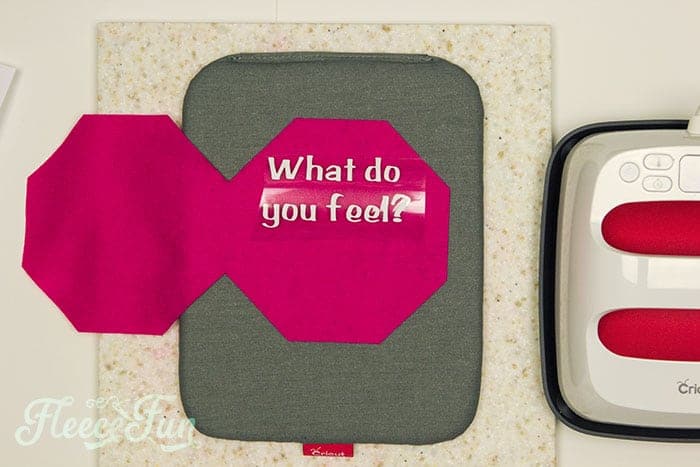
 5 Phrases from Heat Transfer Vinyl
One thing I love about this machine is hat is can cut out the fabric and the vinyl. All I have to do is switch the blades – no need to drag out another machine.
Step 3 – Prep the pieces
 Weed the vinyl
 Layout the felt pages to get a sense of the books layout.
 Iron the vinyl

Step 4 – Add the fabric textures
 Place the fabric shapes where they will go on the felt pages.
Note: Because of how we’re going to bind the book the soft and the rough will look like they are on the wrong pages. Once the book is bound, they won’t be.
Using the glue stick glue the pieces temporarily into place.
 Sew on the fabric textures using a zig zag stitch along the edge.
 Note you might be tempted to glue on elements, but I strongly recommend sewing them on for safety. Its a lot harder to pull of a pieces of fabric that is properly sewn on, than one that is glued on.
Step 5 – Now it’s time to sew the pages together.

Take pages one and two (Pink and orange in the example) and with WRONG sides together, Pin

Sew them together, using a straight stitch along the inside edge of the fabric.
 Repeat with pages 3 and four (green and blue in the example).
Step 6 – Bring the baby softie book together
 Place pages one and two (pink and orange) on the table with page two facing up. Place Pages three and four ( Green and blue) on top, with page four (blue) on top.
 Using a straight stitch sew through all the pages down the center of the softie book to bind.
You just finished the Softie Book Baby Toy Tutorial
More Cricut Maker Projects:
- 4th of July Pinwheel Wreath
- Cute Craft Room Trash Can DIY
- DIY Felt Flower Art
- Saving for Disney Money Jar
- “Let Us Sew” SVG File
- Christmas Terrarium DIY
- How to Decorate a Notebook
- How to Sew a Quilt
- Pin the Tail on the Turkey Game
- How to make a Knight Helmet
- Stocking Advent Calendar
- Cricut Maker Cover Tutorial
- Halloween Mason Jars
- Luggage Tag DIY
- How to Make a Paper Chandelier
- You Can See All of Fleece Fun’s Cricut Projects Here
- Is it time to upgrade your Cricut Machine?
You might also like:
