
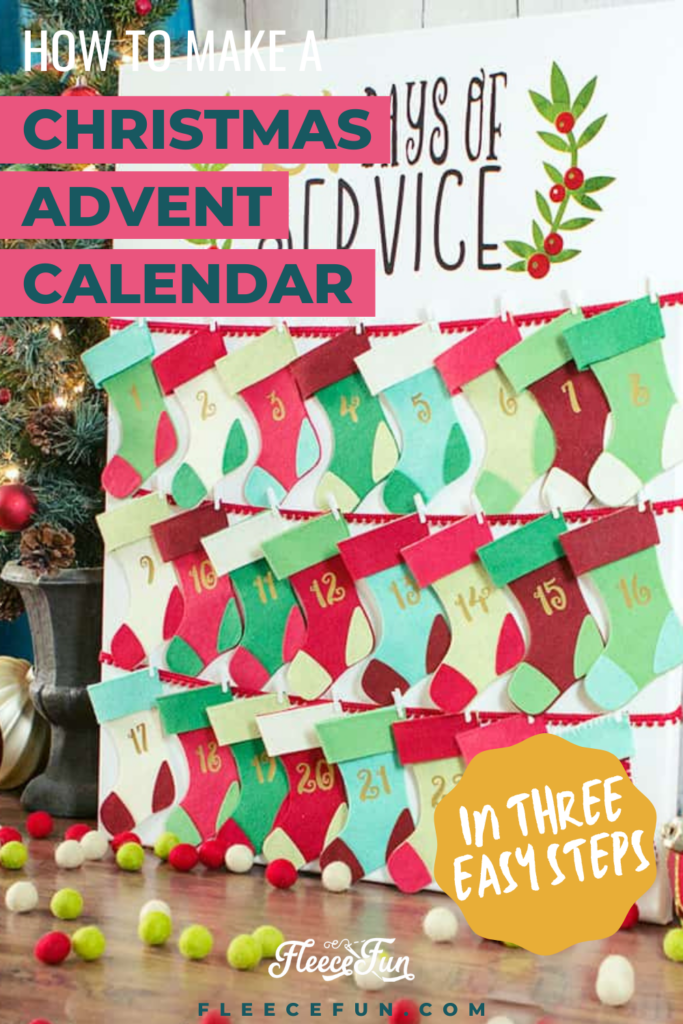
Christmas Advent Calendar DIY Tutorial
This content contains affiliate links or sponsored elements, read our Disclosure Policy.


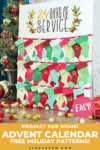


This Christmas Advent Calendar DIY Tutorial is sponsored by Cricut however the text and opinions are my own. This Christmas Advent Calendar DIY Tutorial is perfect to count down the days and stuff the stockings with good deeds, activities or a little chocolate! Change the title at the top to suit your family’s needs. I opted for a service centered theme. But simply change what it says on the canvas .
You have the choice of sewing the stockings with a blanket stitch or gluing them together. After sewing one together, I realized it would take ages to sew the other 23! So I decided to have the 24th stocking be a little different and sewn and the glued the rest. The truth is because the Cricut Maker cuts so beautifully you can just glue the stockings and they will look good.
YOU WILL NEED:
- 24″ by 30″ Plain Canvas
- 8 12″ by 18″ felt rectangles (wool blend needed for heat transfer vinyl – I used this collection here)
- 3 yards mini pom poms
- Gold Heat Transfer Vinyl
- Black HTV
- Green Foil HTV
- Red Foil HTV
- Hot glue gun and glue sticks
- Aleene’s Fast Grab Tacky Glue (if gluing stockings)
- Embroidery floss (if sewing stockings, but it’s a LOT of stockings)
- White Mini Clothes Pins
- The Font set I used in the tutorial is called Thriftshop available here.
- Cricut Maker
- Cricut EasyPress
- Cricut Bright Pad
- 12 by 24 Fabric Mat
- 12 by 12 Standard Mat
- Access to Cricut Design Space
- Fleece Fun’s free Stocking SVG File (get it here)
Christmas Advent Calendar DIY Video Tutorial:

Christmas Advent Calendar DIY Tutorial:
Step 1 – Cut out the Stockings
Download the free SVG file and upload it into Design space. I’ve designed the file so if you want the toe, heel and cuff can be a different color and cut out separately. Since I mixed and matched the colors I cut them all out out one color and then mixed them. The file is laid out to make the most out of a piece of 12″ by 18″ felt. Simply select all the shapes and select attach before cutting.
Cut out all of the stocking pieces.
Set aside.
Cut out the vinyl for the numbers on the stockings (you can see my file here) and cut out the vinyl for the Canvas (again here is my file). Weed the Vinyl using your bright pad and set aside.
Step 2 – Assemble the Stockings for the Christmas Advent Calendar
While this step might seem short bear in mind that there are 24 of these to assemble. My advice is turn on a Christmas movie (I recommend the original Miracle on 34th Street with Maureen O’Hara and Natalie Wood) to make assembly a little more pleasant.
First glue on the heel and the toe decorations. (Doing this will help with placing the numbers for iron on)
note
Make sure the stockings are all pointing the same direction when you glue on the toes and heels!
Now using the proper setting on the EasyPress place the iron on where you want it.
note
It is key that the felt you use has a high wool content or it will melt under the EasyPress or Iron.
Now it’s time to assemble the stockings for the Advent Calendar.
To keep it as neat as possible stat by gluing either side at the top, stopping half way down,
and glue the stocking front and back together.
Continue to glue the rest of the stocking half.
Now it’s time to add the top cuff. Add a bead of glue to the top of the stocking (be careful not to glue the top together!)
Glue the longer side to the top of the stocking.
Repeat with the back side and warp the cuff around the top.
Repeat these steps 23 more times with each stocking.
You can also blanket stitch the stockings together using the same process, just sewing the pieces together. I confess after doing this to one, I didn’t feel I had the stamina to do it to all of them!
Step 3 – Make the Canvas
To get an idea of the spacing I recommend that you try to layout all the elements first and mark in pencil where you want them to lay.
Using the guide provided with the EasyPress to set the time and heat.
Iron on all of the elements that you want at the top of the canvas for the Christmas Advent Calendar DIY. Continue to add all of the heat transfer vinyl elements until your canvas is finished.
Now it’s time to layout all the stockings to get a sense of spacing.
Get idea where you want the ribbon or pom pom to string across the canvas.
Then hot glue the ribbons/ pom poms into place.
Clip all the stockings on the the lines with a mini clothes clip.
Enjoy! You just completed the Christmas Advent Calendar DIY Tutorial.
This is a sponsored conversation written by me on behalf of Cricut. The opinions and text are all mine.
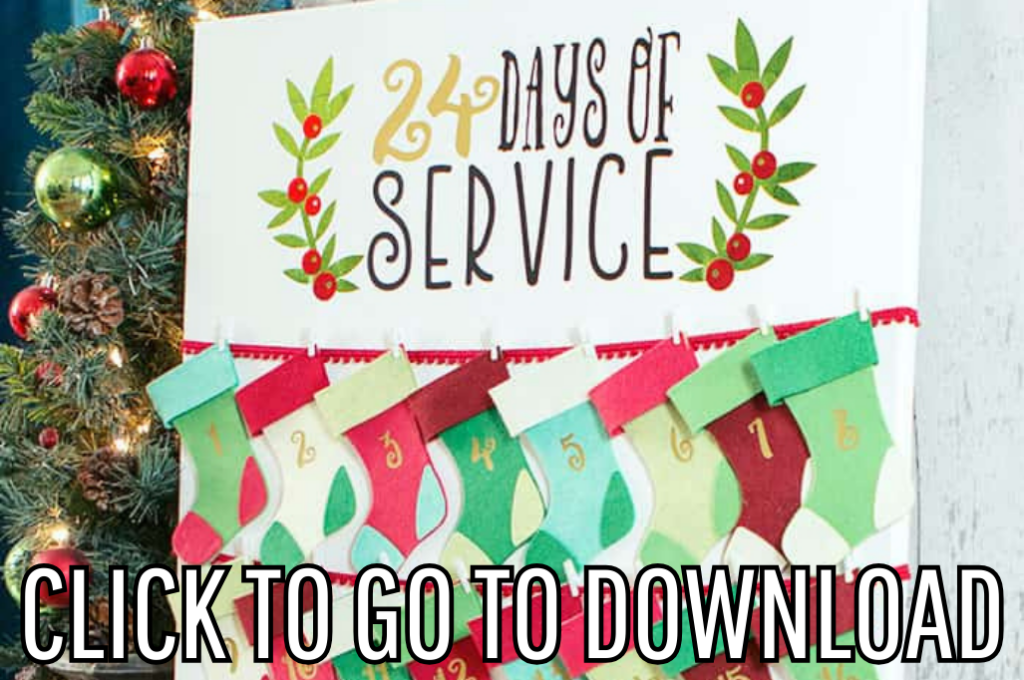
Get the Free SVG Pattern for Your DIY Advent Calendar Below:
By downloading you are agreeing to pattern terms of use. Click the picture below and fill up the form to download the SVG file!
Projects for the Perfect Christmas Party
- Modern Christmas Wreath DIY Felt
- DIY Christmas Earrings
- How to Spray Paint a Pre-Lit Christmas Tree
- Homemade Christmas Tags
- Cozy Christmas Tall Tree Pillow Tutorial
- 6 Ways to Engage Kids This Christmas
- 5 Tips for Outdoor Christmas Decorating
- Santa Hat How-To
- DIY Santa Hat Headband
- Holiday Bread Wrap
- Mason Jar Cover Gift Idea
Explore More Christmas Projects You’ll Love
- DIY Cloche Ornament
- Hot Chocolate Printables for Mason Jars
- Felt Gingerbread Man Pattern
- DIY Gnome Ornament
- Santa Ornament DIY
- Ballet Slipper Handmade Ornament
- DIY Homemade Ornament with Gnomes
- Christmas Embroidery Designs Noel Hoop Ornament DIY
- Angel Handmade Ornament DIY
- Holiday Bath Bombs DIY
- Christmas Tree Pillow
- Christmas Terrarium DIY with Cricut Maker
- Free Christmas Printable Joy World
- Free Christmas Printable for Hot Chocolate
- Free Christmas Printable for Apron