
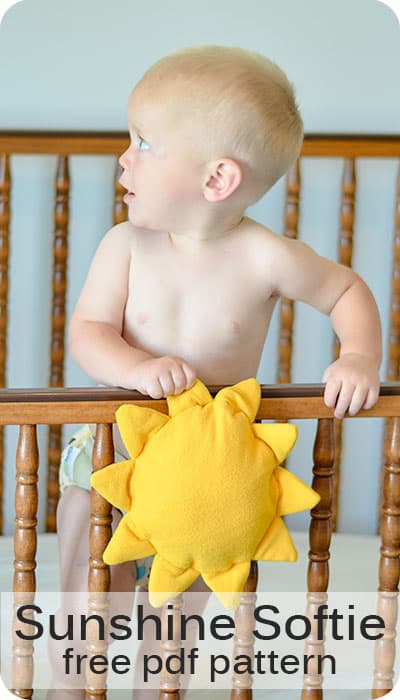
Sunshine Softie: free baby toy sewing pattern
This content contains affiliate links or sponsored elements, read our Disclosure Policy.
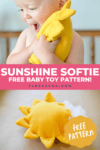


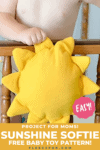
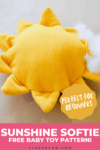

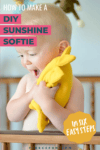
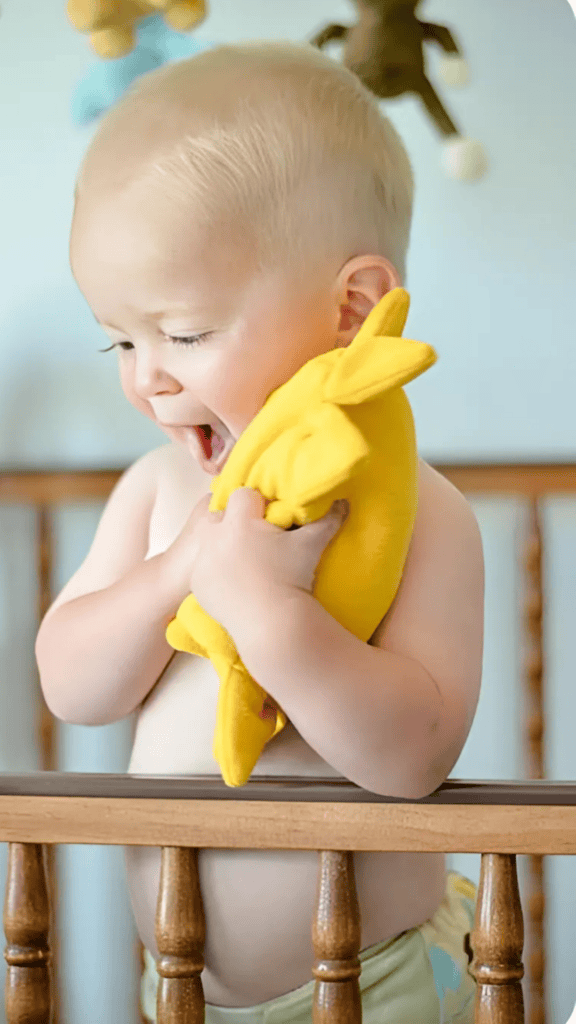
Hello all! My name is Jess, and I’m so excited to be here at Fleece Fun! I’ll be guest posting here once a month for the next while, and I can’t wait to share with you some of my crafty ideas! You can normally find me at Gracious Threads where I talk about patterns, fabric, and all things sewing. Today I want to share with you a simple Sunshine Softie. This fleece toy is a quick sew and is perfect for gift giving! It features crinkly sun flares, and you can include a bell inside to further entertain your little one.

YOU WILL NEED:
I’ve found the crinkle plastic in craft stores before, but if you can’t find it I’ve used the bags that breakfast cereal comes in and it works great!
- 1/4 yard of fleece (thinner is easier to work with),
- some poly batting,
- a small bell, and
- some crinkle plastic.
- Get the free sewing pattern here.
Sunshine Softie step-by-step tutorial:
Step 1 – Cut Your Sunshine Softie Pattern Pieces
Download your pattern templates and cut out pieces as directed.

note
The pattern uses a 3/8″ or 1 cm seam allowance.
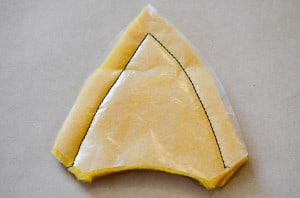
Step 2 – Sew the Sun Flares
To form sun flares, take two triangle pieces and lay them right sides together. Place 1 piece of crinkle plastic on top and sew two side edges as shown.
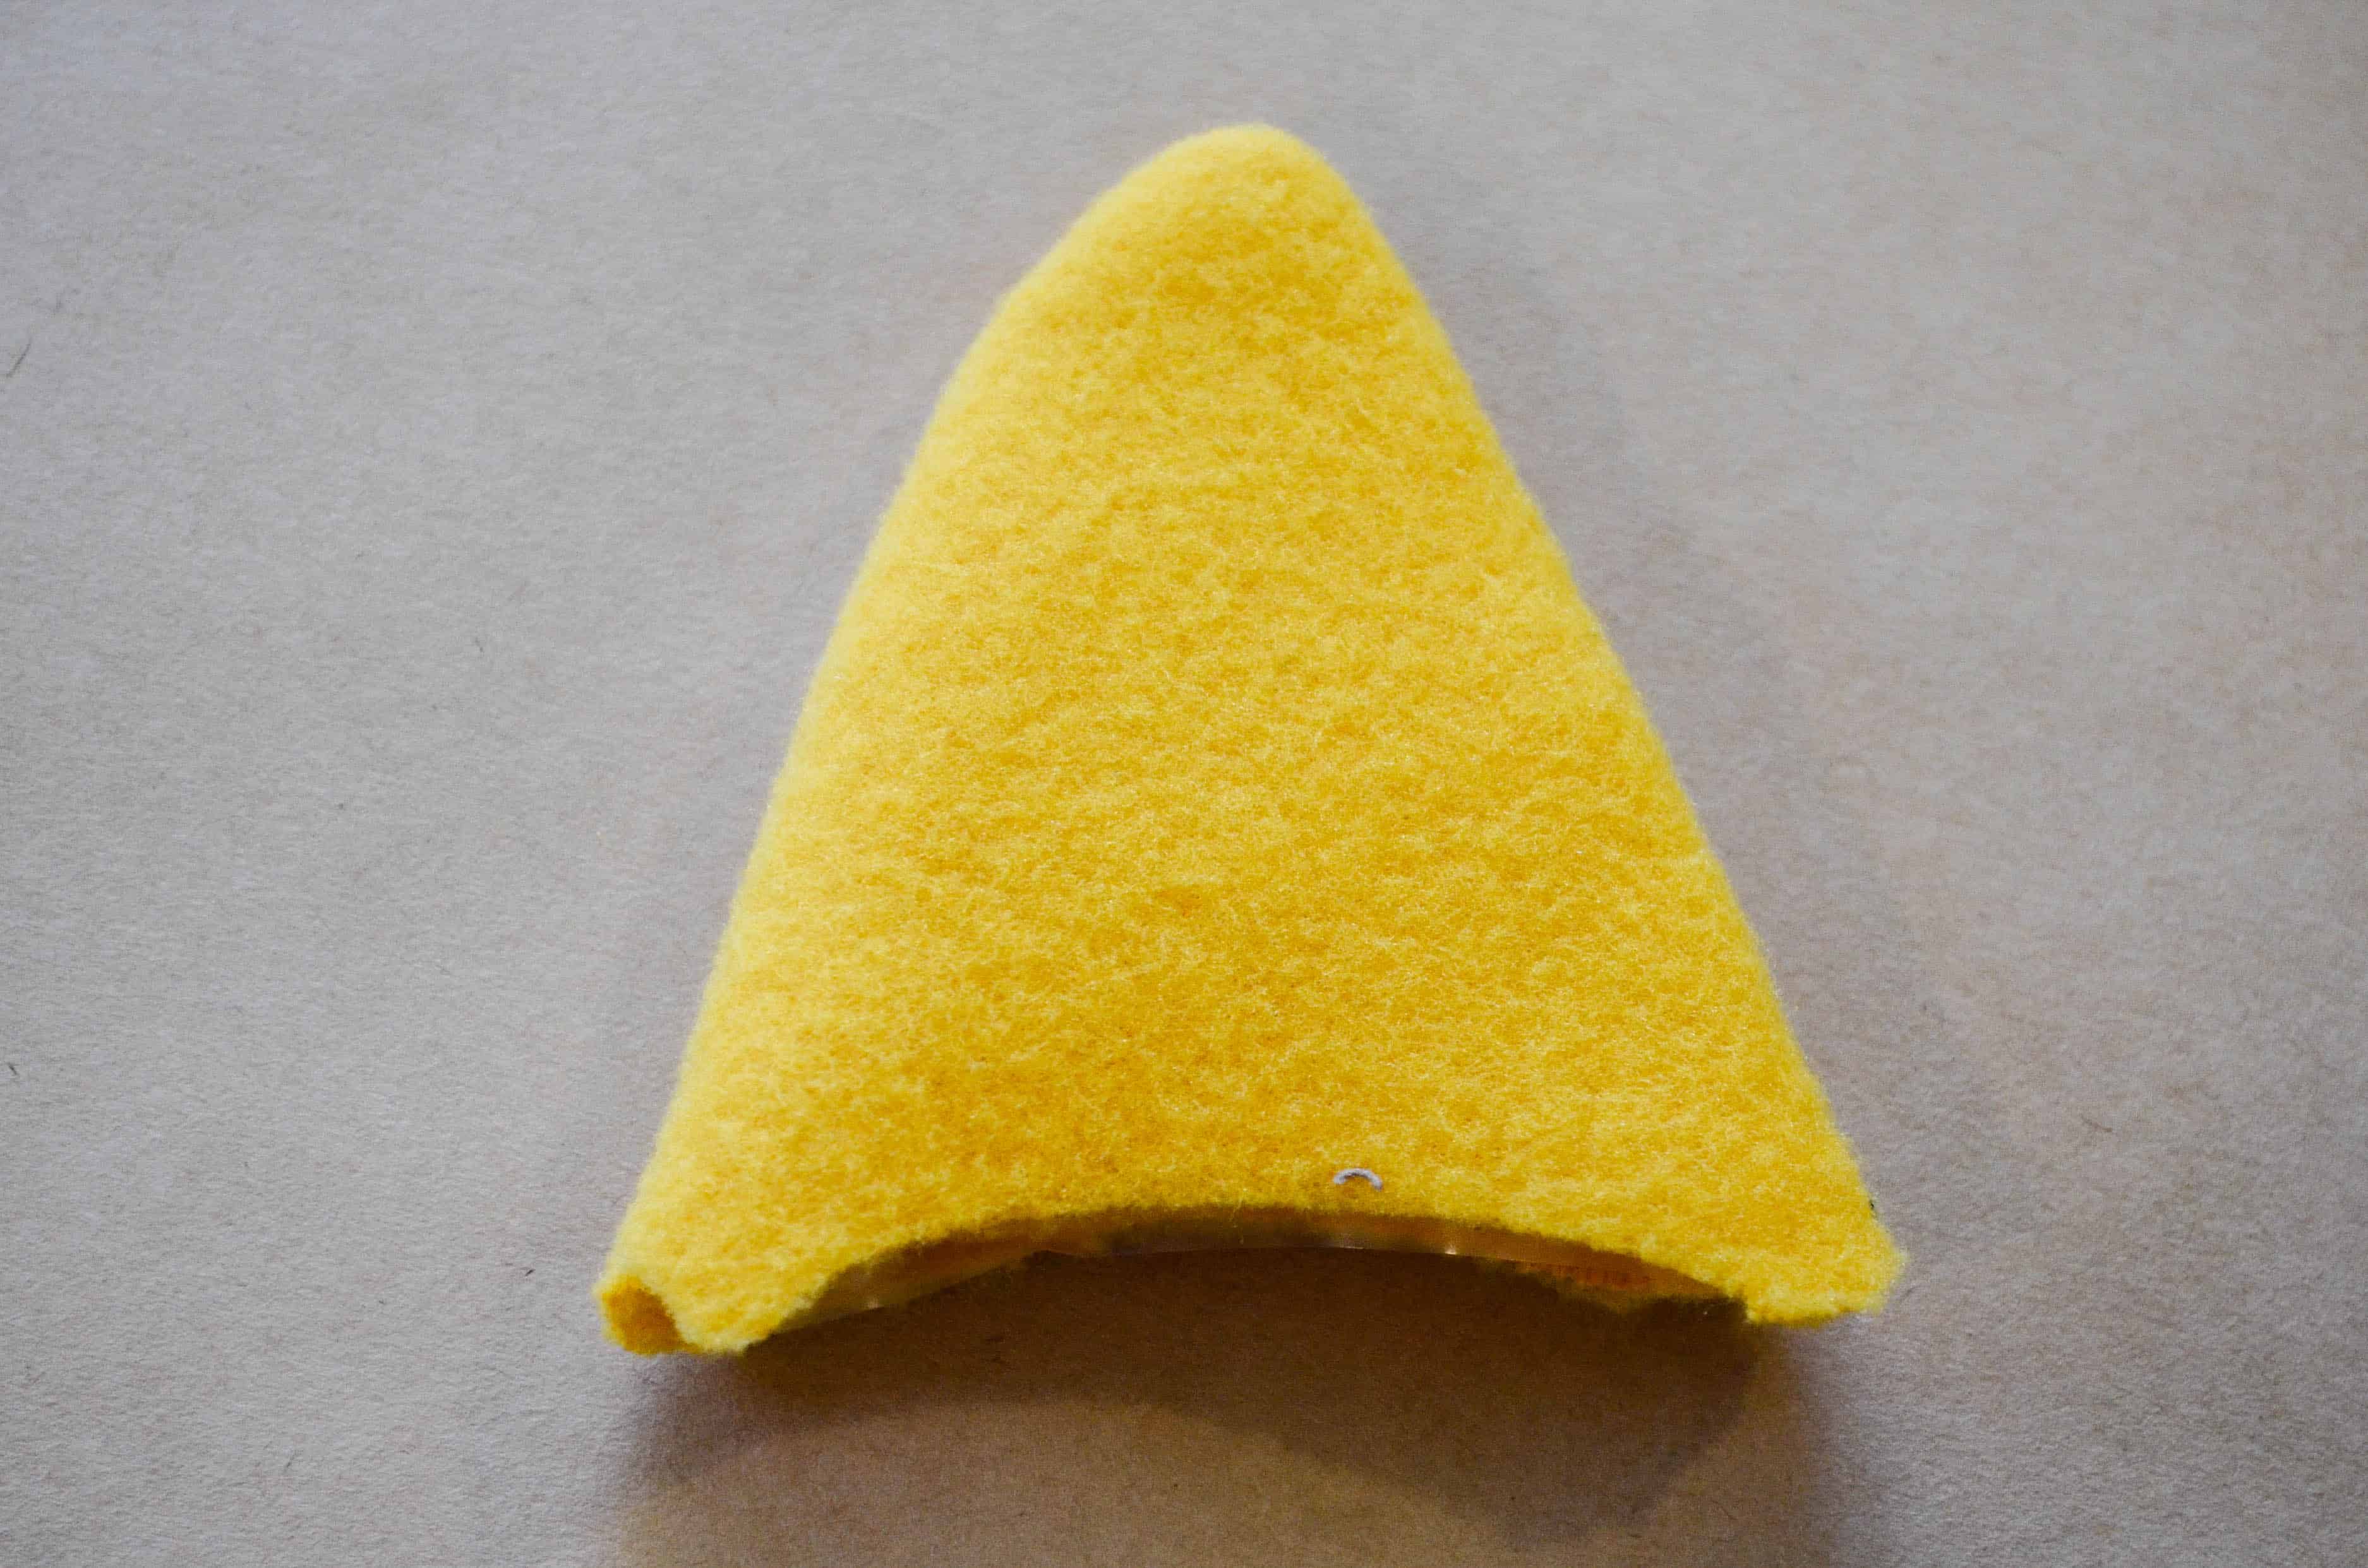
Step 3 – Trim and Turn the Flares
Trim the top of the triangle and turn right sides out so that the plastic is inside. Create the other 9 flares of the Sunshine Softie in the same way.
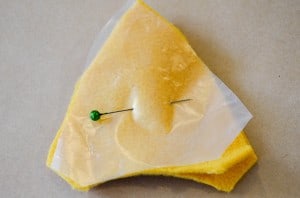
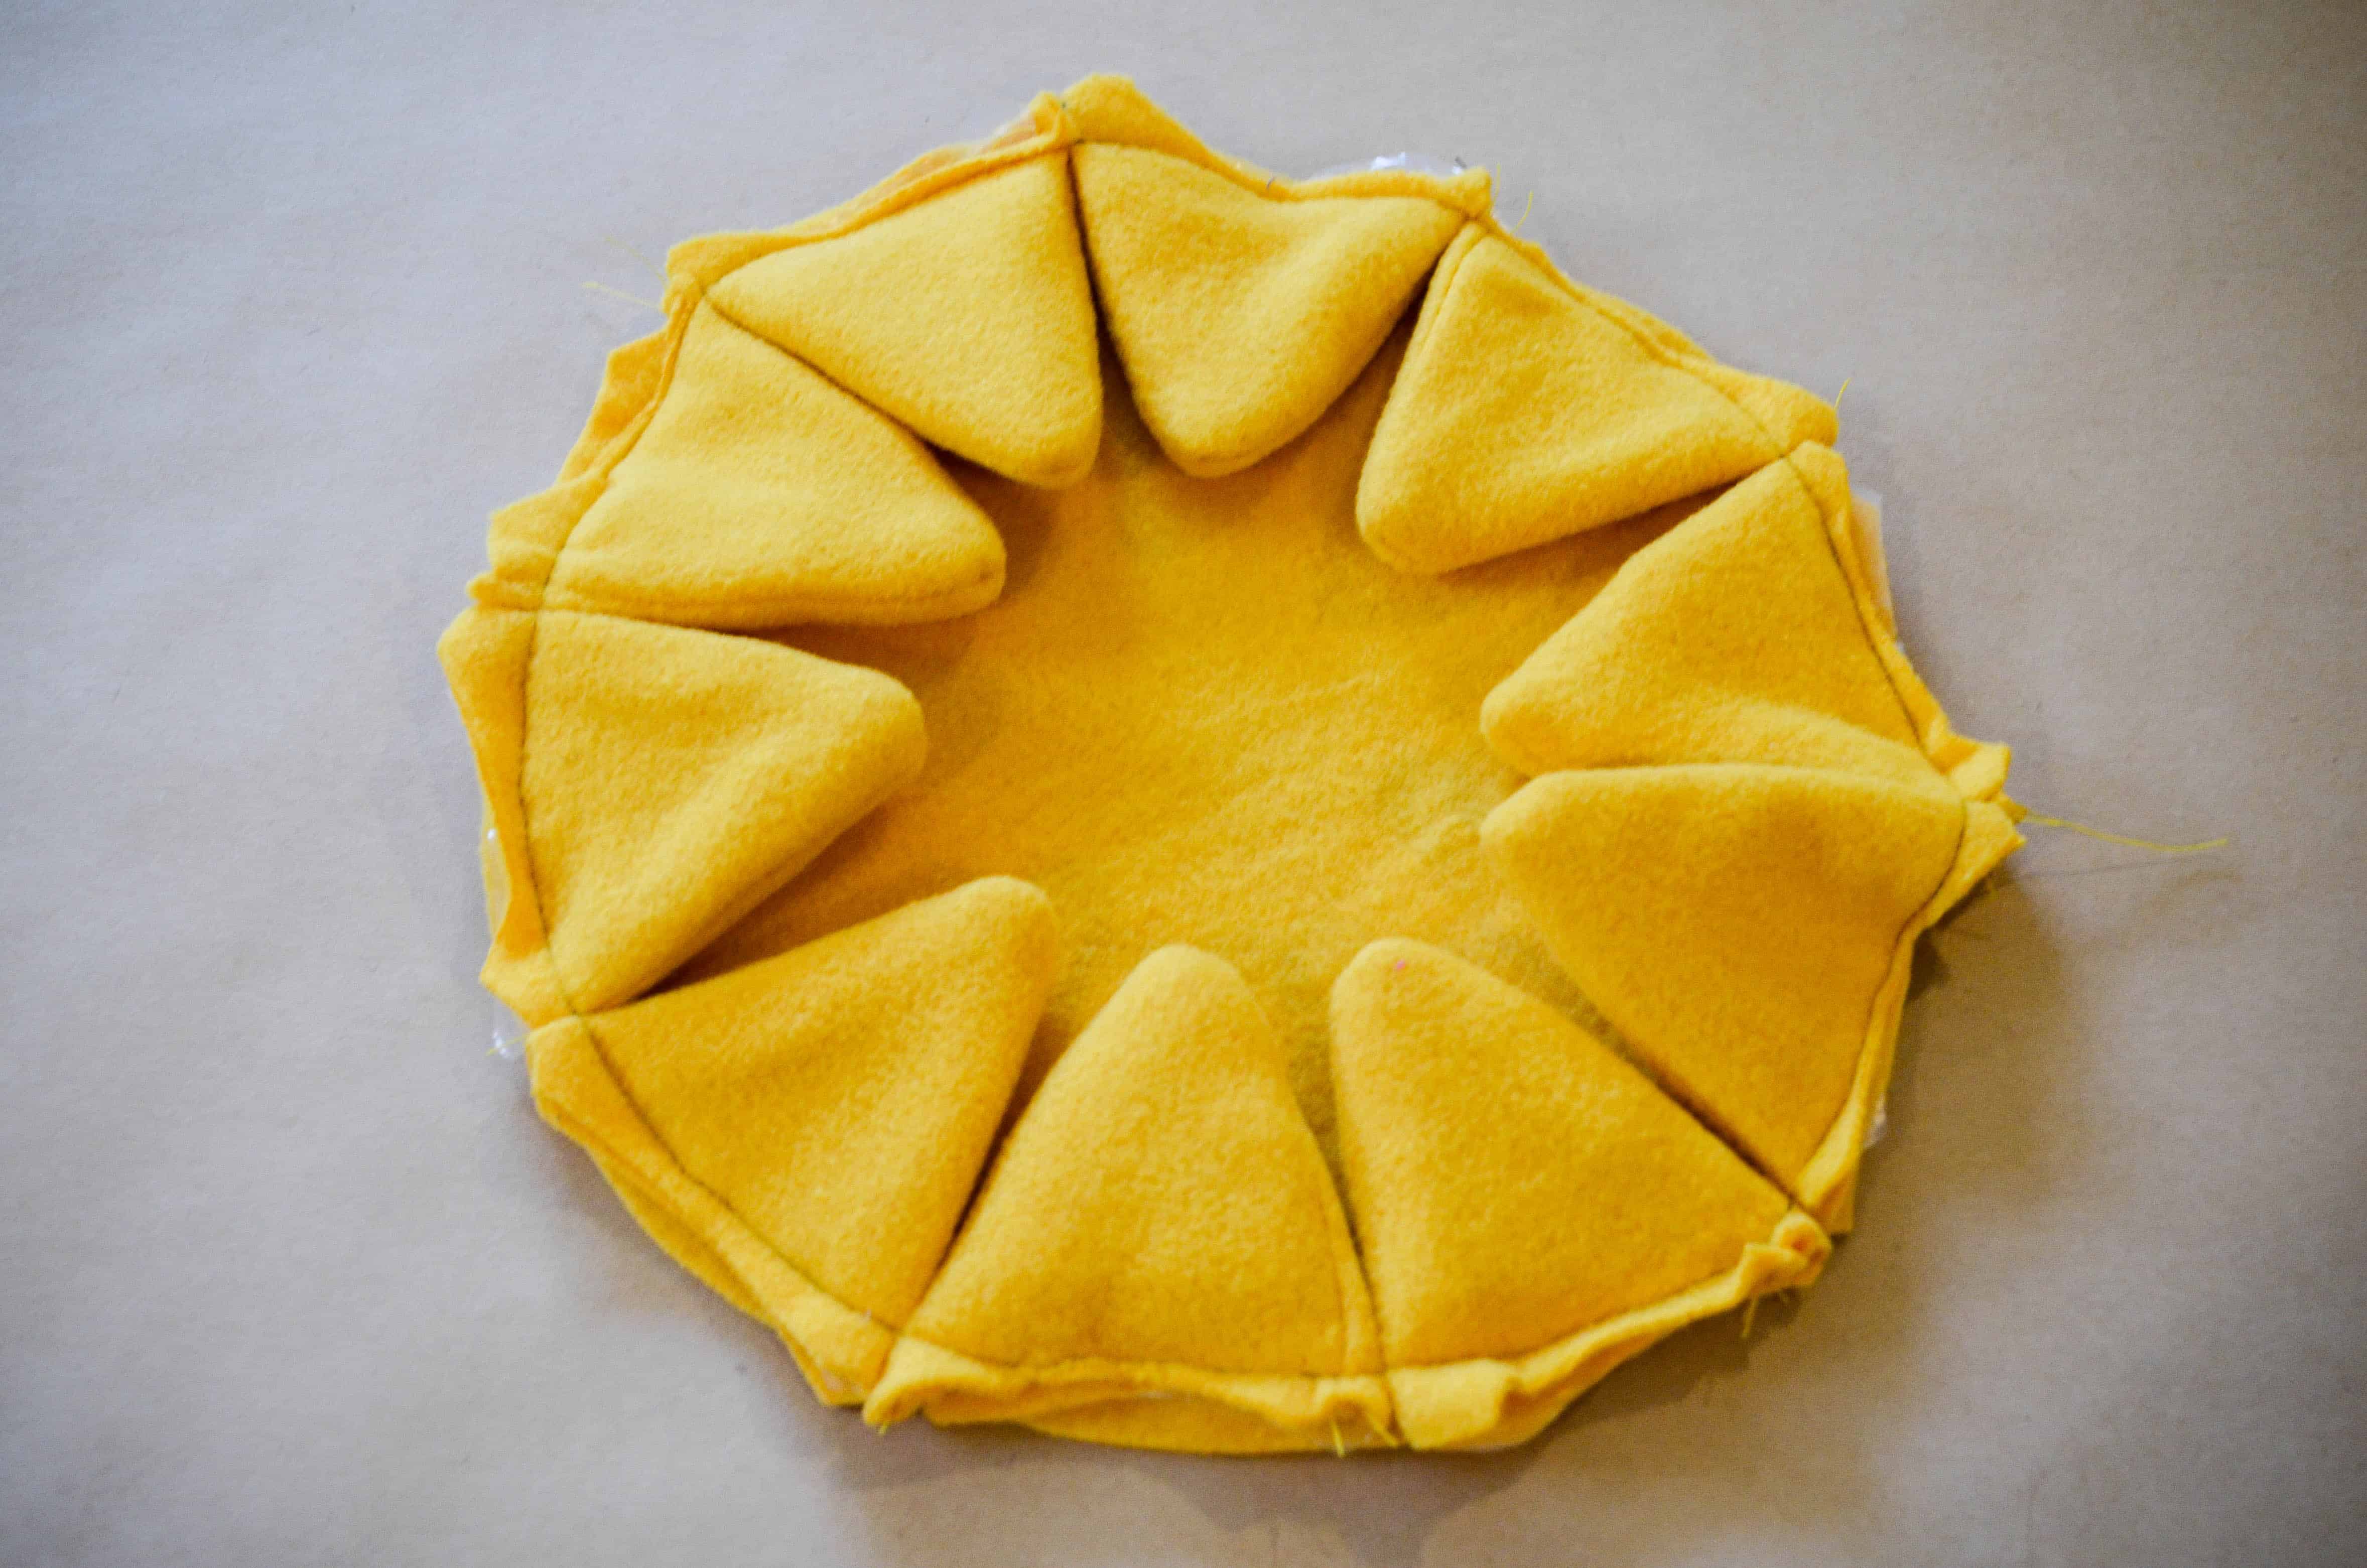
Step 4 – Attach the Sun Flares
Arrange all 10 flares around the outside of the circle, right sides together, as shown. Baste them into place using a 1/4″ seam allowance.
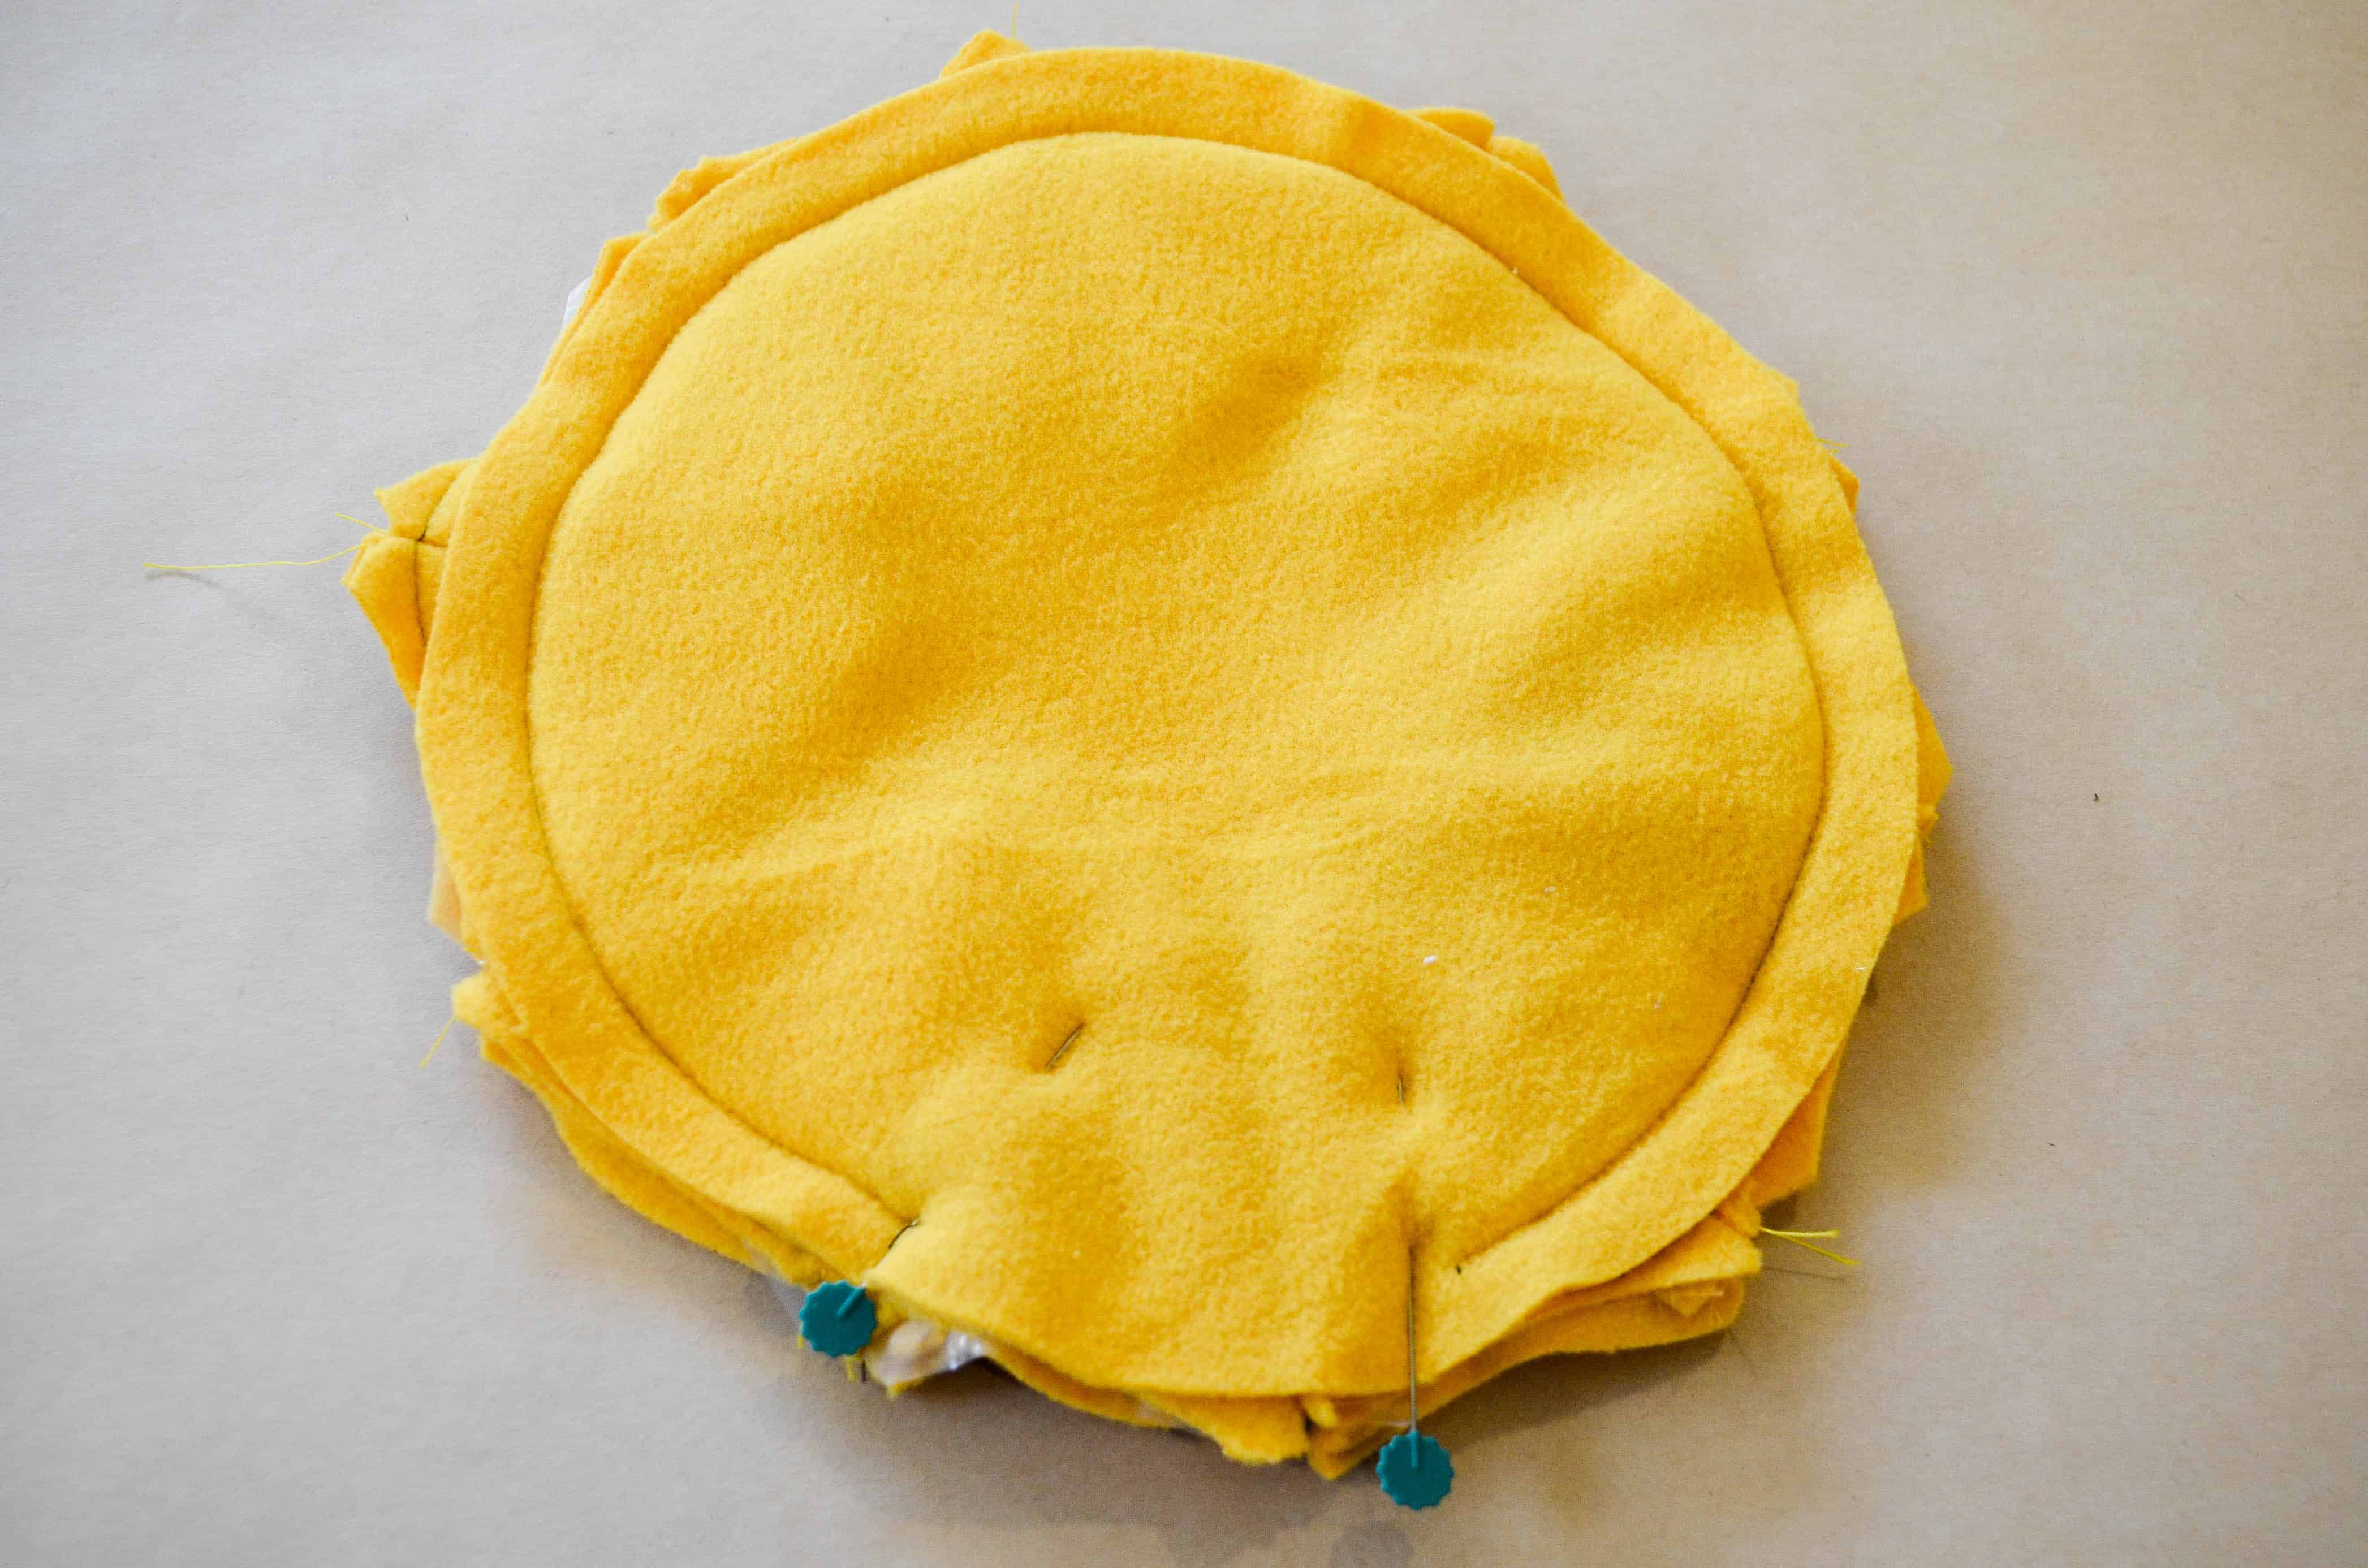
Step 5 – Sew the Softie Together
Place the second circle on top, right side down, and stitch around, leaving a 2″ or 5 cm gap for turning.
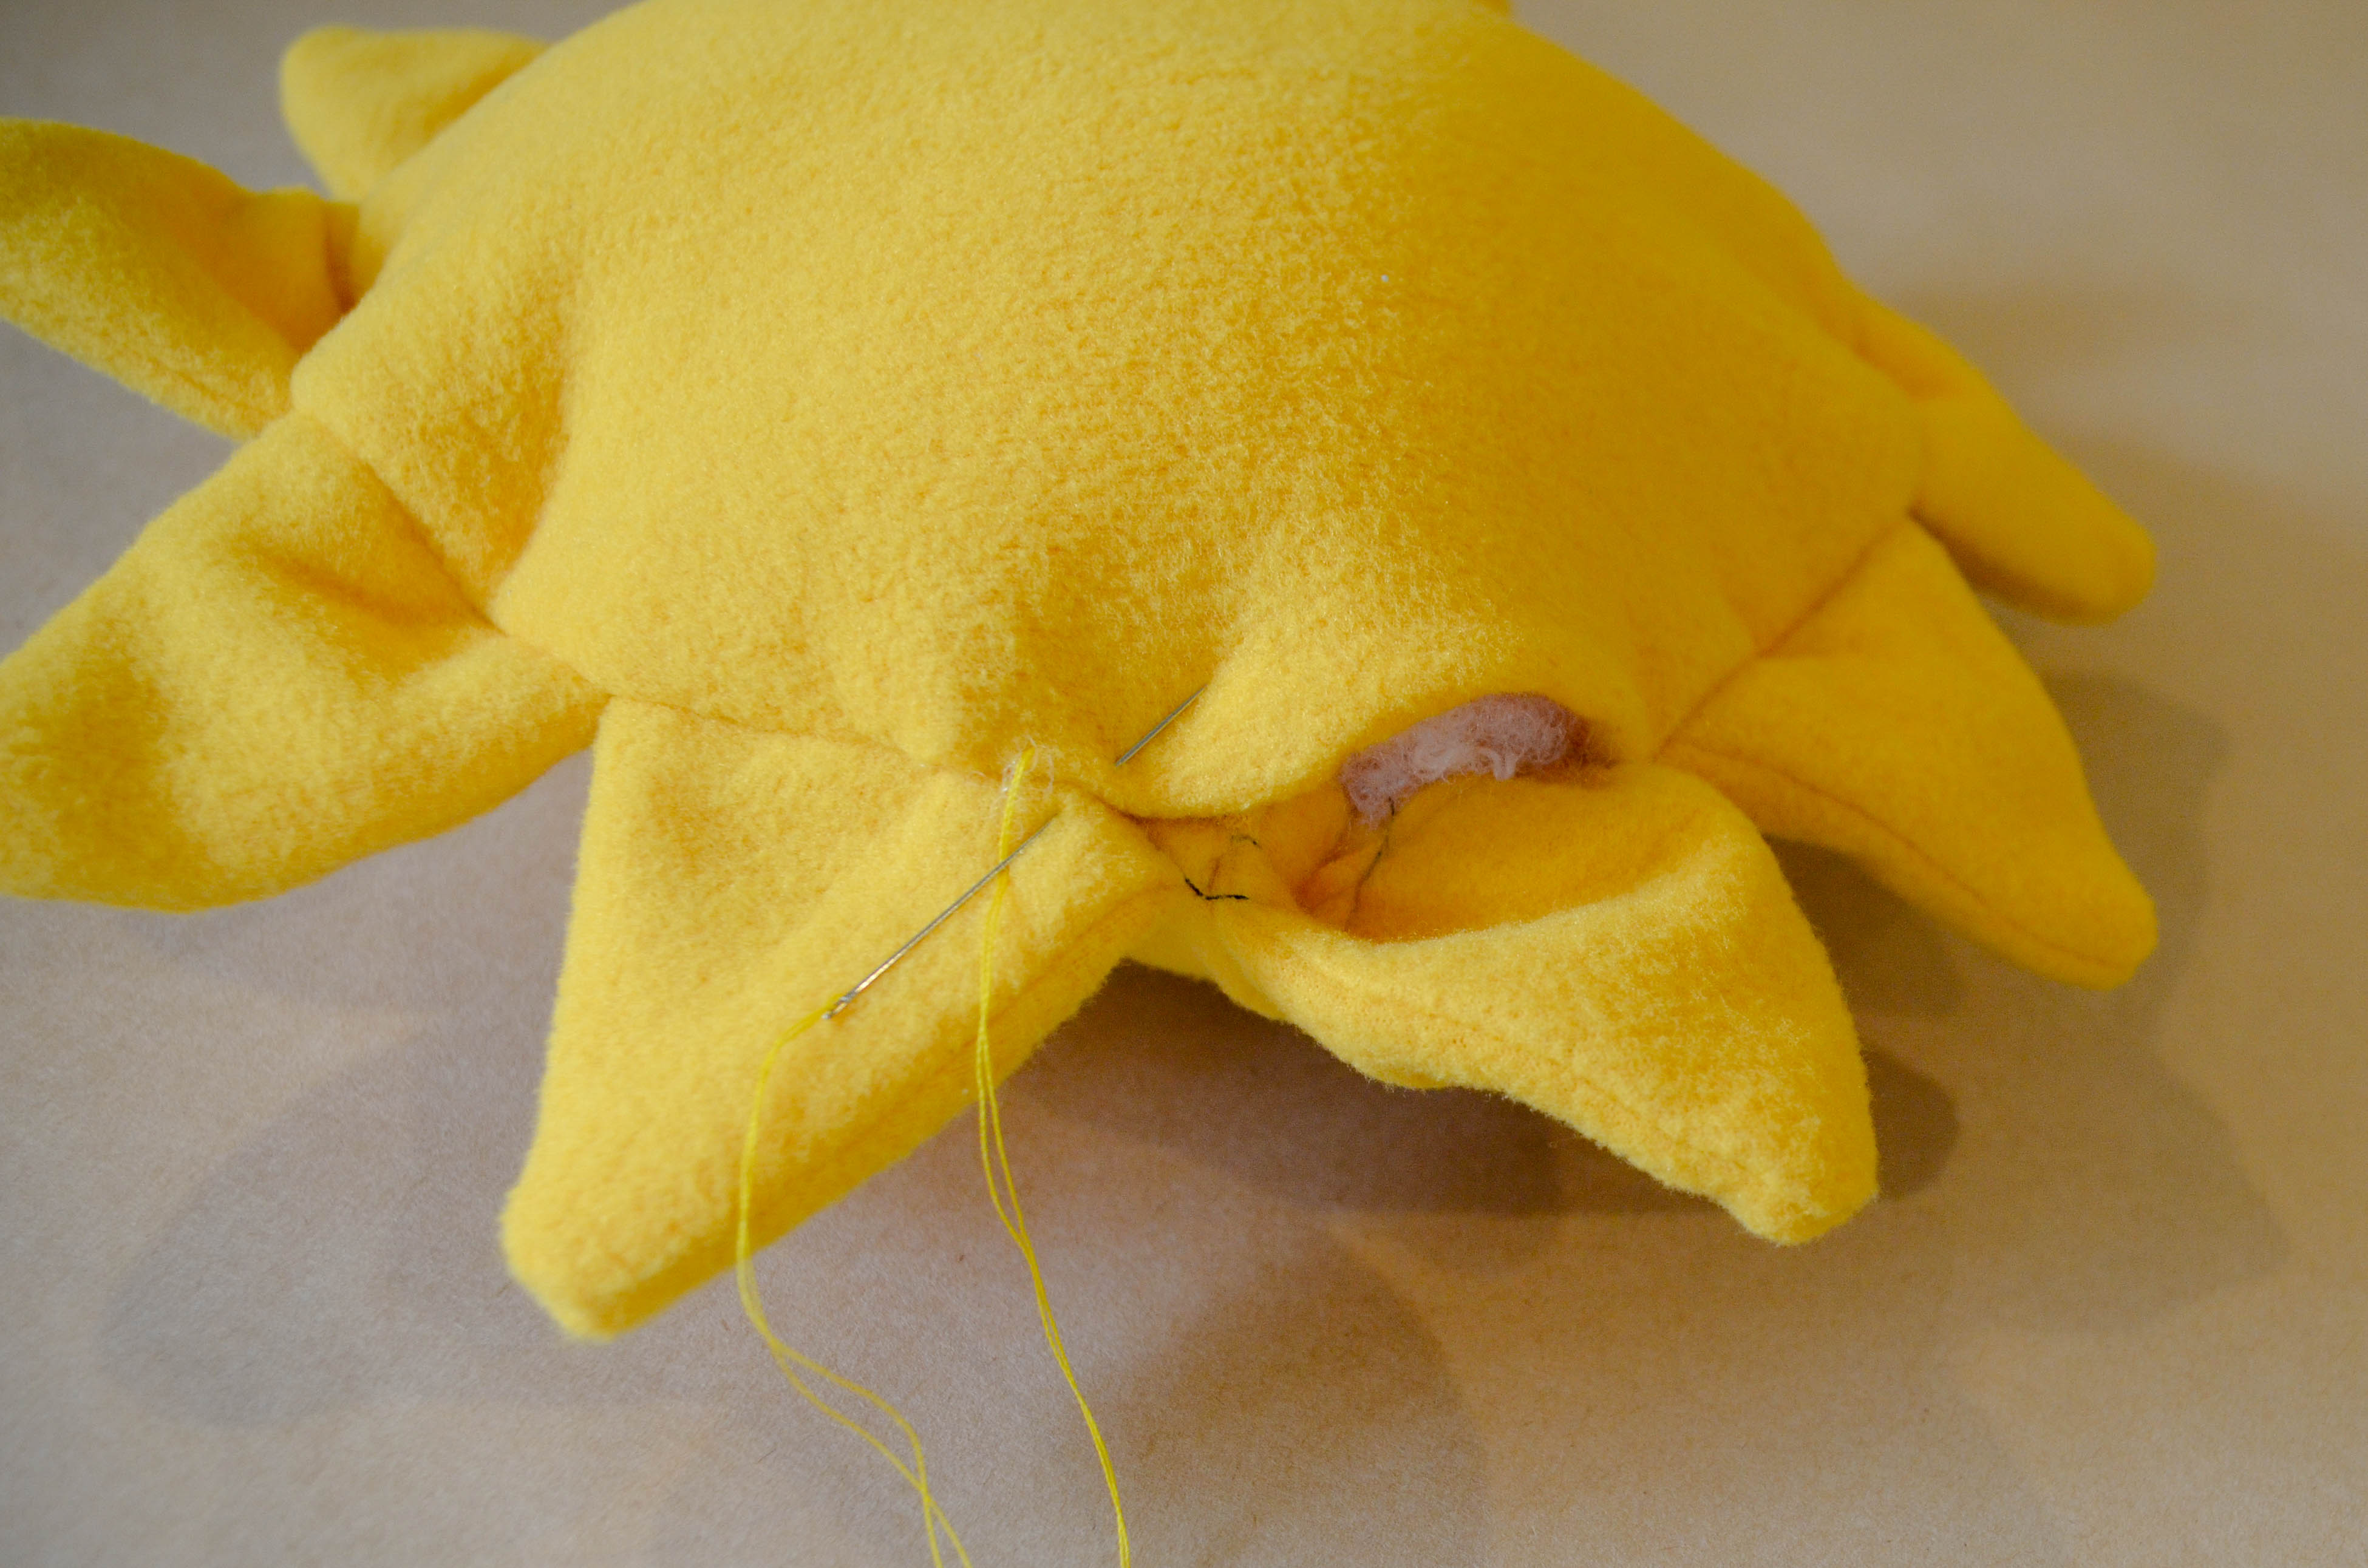
Step 6 – Stuff and Finish the Sunshine Softie
Turn softie right sides out, stuff with poly batting, and place the bell in the middle. Hand sew the opening shut.
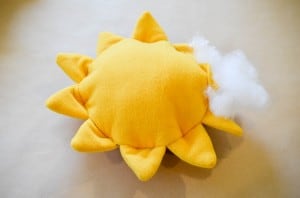
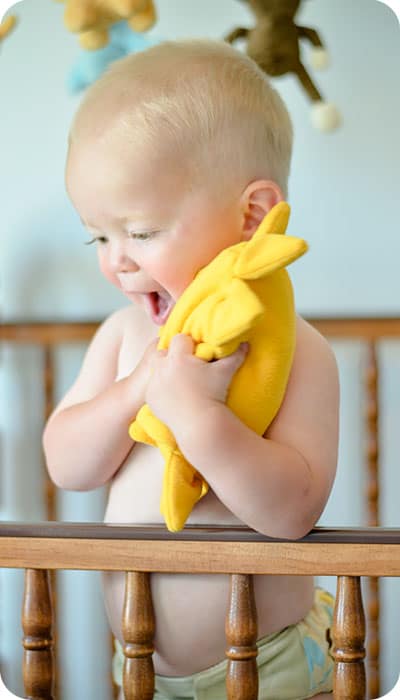
That’s it! Now you have an adorable and unique toy for your little one or your next baby shower.
I’d love to see your finished project; you can show it off in my facebook group. Like this tutorial? I have published 8 other patterns for sewing children’s clothing.
Until next time!
~Jess~
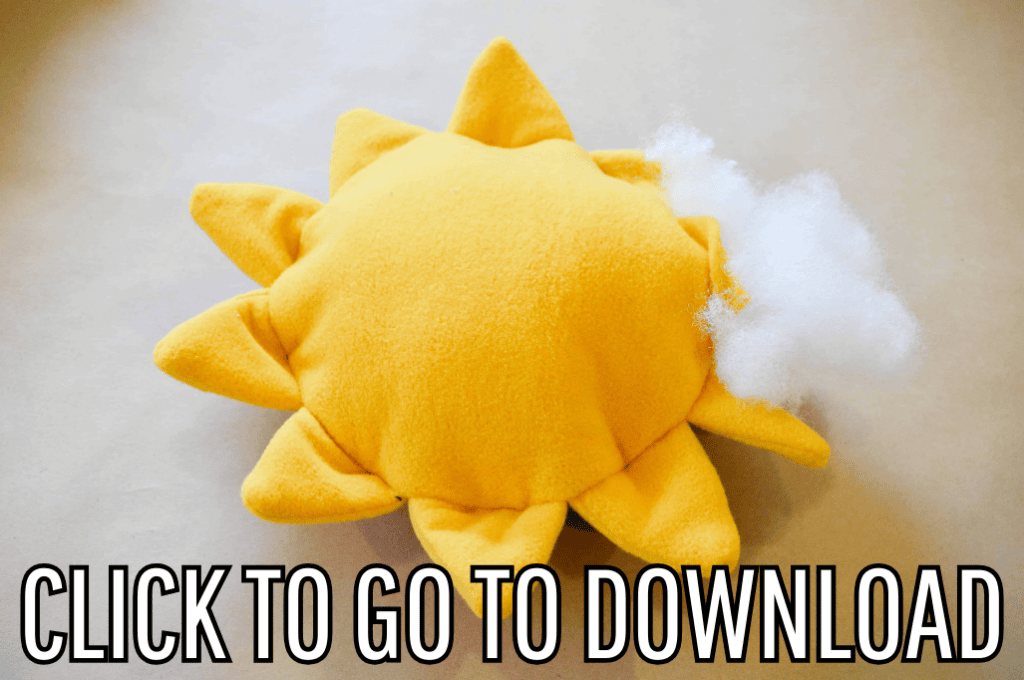
Download free Sunshine Softie Pattern by filling out the form below:
By downloading you are agreeing to pattern terms of use. Click the picture below and fill out the form to download the free sewing pattern .pdf!
Fun Baby Softies and Toy Tutorials:
- Monster Softie Pattern (Free)
- Ladybug Softie
- ABC Baby Blocks Free Pattern and Tutorial
- Softie Book Baby Toy Tutorial
- How to Make a Softie Baby Block
- Fun Felt Guitar Softie Toy (Free Pattern)
- Easy Block Pillow Tutorial
- Monster Finger Puppets Tutorial
- Pumpkin Finger Puppet Tutorial
- Toddler Bean Bags – Handmade Gift Idea by Chrissy from Muse Morning
- Fleece Eggs and Fleece Basket Pattern
- Kawaii Candy Corn Softie
- Reindeer Softie
- My Little Pony Inspired Stick Ponies
- DIY Nursery Wall Hanging – Lovely Rainbow with Cloud
- You can see more of my Doll and Toy Patterns here!
More Adorable Baby Projects!:
- Bib with Pocket Tutorial
- Baby Car Seat Canopy Tent Cover How-To
- How to Make a Baby T-Shirt Tutorial (Free Pattern)
- Baby Knit Sundress Tutorial (Free Pattern)
- How to Make a Pacifier Clip
Jess!!! My little boy loves sofite toys and know he’d love this one too. What a wonderful tutorial. Thank you so much for contributing and I can’t wait to see your future tutorials.
🙂
Thanks Angel!
I think my granddog would like this Great toy for him.
This toy is just acorable. Thanks so much for sharing the pattern and tutorial.
Glad you liked it!
This is so cute. Is it washable with the plastic inside? What about the dryer?
Thanks
Mine has been through the washer several times, but I just lay flat to dry just in case 🙂
I was wondering what you do to secure the bell, I am concerned it is a choking hazard. Could you possibly sew it to an extra piece of fabric
If it makes you anxious you can put the bell in a plastic Easter egg and glue the egg shut – the bell rings more and it’s in something too big to swallow.
Super quick and easy project. Love it