
How to make a Paper Chandelier
This content contains affiliate links or sponsored elements, read our Disclosure Policy.
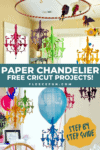
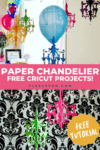

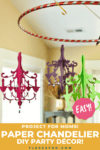
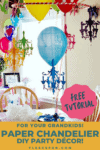
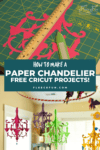
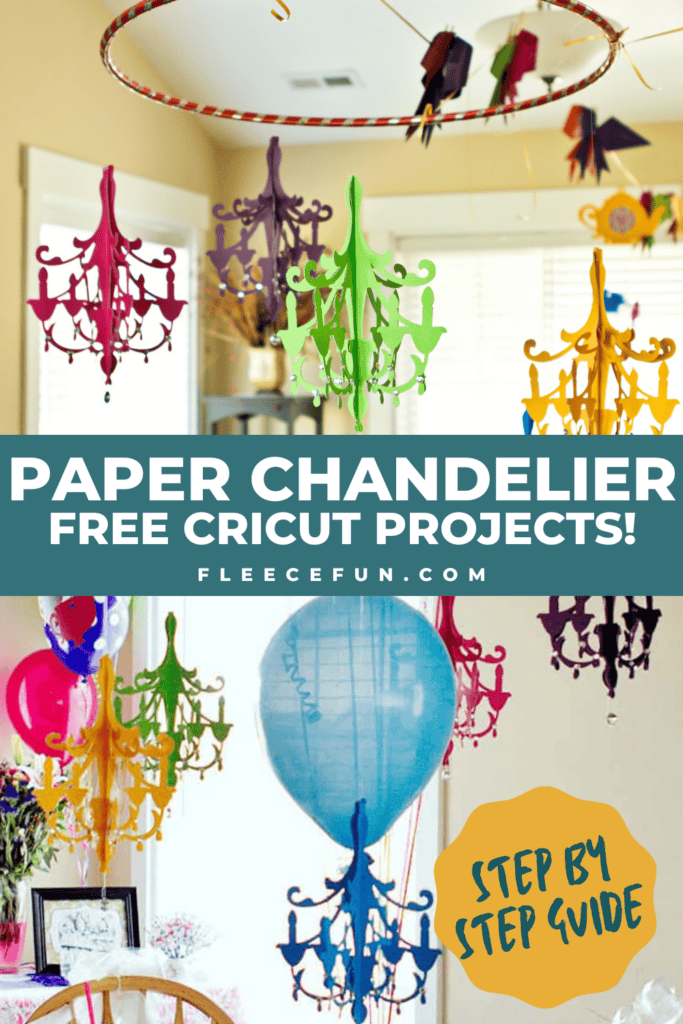
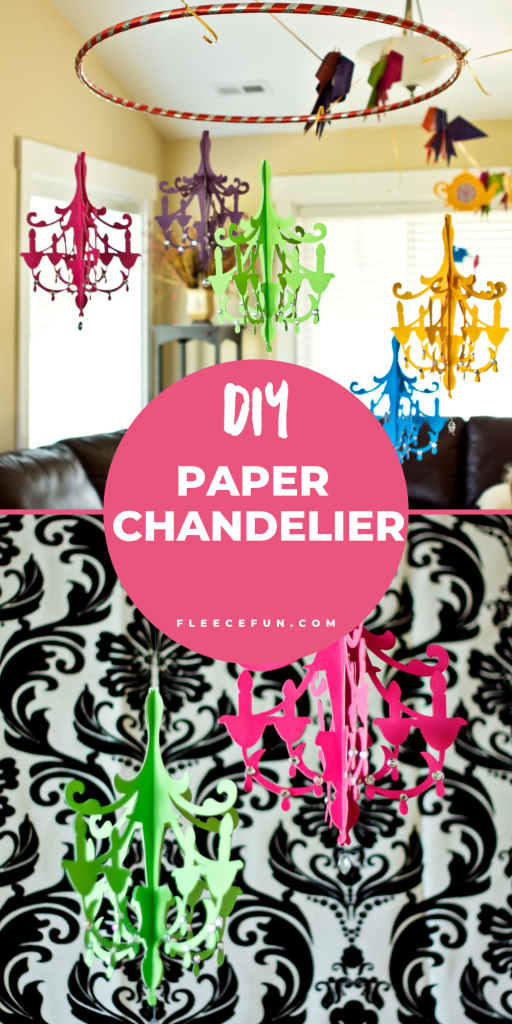
Today I am working on party decorations for our Mad Hatter Tea Party. I’ll showing you how to make a paper chandelier (it’s easy!). I thought it would be great to have a bunch of chandeliers hanging around my little one’s Mad Hatter Tea Birthday Party. I thought “surely there must be a party supply store that have a bunch of paper chandeliers that I can buy.”
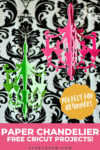
After a ton of searching – I couldn’t find anything! I could only find a shop on ETSY that sells gorgeous cardboard Chandeliers that are $20-40+,but I was pretty sure I could DIY a chandelier for a lot less. Then it hit me. I find a graphic on Cricut design Space that is a 2d chandelier – and all I needed to do was make it 3d.
YOU WILL NEED:
- Cricut Explore or Cricut Maker
- A chandelier shape to cut out (I have a project with a selection of possible chandeliers set up for you in Design Space)
- Standard grip 12×12 mat
- Scoring Wheel or boning tool
- 12″ by 12″ card stock in the color you desire
- Hot glue gun
- Invisible thread
- Decorative Jewels or crystals
- Needle
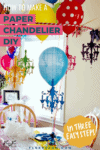
Here’s how to make a paper chandelier:
Step 1 – Cut out and Score the Paper Chandelier

Make sure that your blade is sharp, cutting out fine details on a dull blade can tear the card stock. Cut out 4-6 of the chandelier shapes from the same color. Then figure out the center of the chandelier and using a boning tool, score them down the center. (Repeat on all pieces)
Quick Tip
If you’re a pro at design space and have a scoring wheel you can just have the machine do this! I’ve added a scoring line for you in design space, you’re welcome!
Step 2 – Add some sparkle to the DIY Chandelier

I added rhinestones with a glue gun. You can also add glitter and other contrasting elements. (Repeat this process on all pieces).
Step 3 – Make the Paper Chandelier 3D

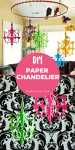
Fold the pieces in half, then glue wrong sides together, adding each pieces one at a time until all sides of the paper chandelier are added and glued together. Add invisible thread to top to hang, also add the bottom jewel if desired. And now you have an adorable decoration for your party. I have a few hanging in my office…. I like them so much I might incorporate them in to the girl’s room décor in the future!

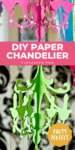
If you’re looking for more ways to decorate with a paper chandelier, you’ve come to the right place! Here are some ideas to get your creative juices flowing:
1. Go big and make multiple paper chandeliers in varying sizes and colors. Hang them at different heights in a cluster for a dramatic effect. (See below)
2. Use metallic or glitter cardstock instead of plain paper to add some sparkle and glamor to your space.
3. Incorporate other materials into your paper chandelier, such as beads, feathers, or fabric strips, for added texture and interest.
4. Instead of hanging your chandelier from the ceiling, attach it directly to the wall as an eye-catching piece of art.
5. Create mini versions of your paper chandelier strung together on fishing wire. Hang these smaller versions from doorways, windowsills, or even use them as festive garland!
The possibilities are endless when it comes to decorating with a handmade paper chandelier – so let your imagination run wild!
Printables and Cut Crafts this Season!
- Free Christmas Printables
- Holiday Bread Wrap
- Free Christmas Picture Printables
- Personalized Christmas Pajamas
- Free Christmas Printable Joy World
- Free Christmas Printable for Hot Chocolate
- Free Christmas Printable for Apron
- Perfect Stocking Stuffers for Sewing Lovers
- Printable Handmade Gift Planner
- Hot Chocolate Printables for Mason Jars
Explore More Christmas Projects You’ll Love
- Mitten Ornament Pattern
- Printable Holiday Gift Tags
- Mini Holiday Gift Tags
- Vintage Apron
- Deer Head Pillow
- Advent Calendar Wreath
- Let Us Sew SVG Christmas Décor
- Ice Skate Ornament DIY
- Wooden Christmas Ornament DIY
- Nutcracker Ornament DIY
- How to Make a Snowman Ornament
- Felt Elf Tutorial
- 6 Ways to Engage Kids This Christmas
- 5 Tips for Outdoor Christmas Decorating
- Christmas Ideas
- No-Bake Christmas Wreath Cookies
- Giant Holly Leaves
Also seen as:
This paper chandelier is very nice is the pattern posted
As I mentioned in the post I used a pattern from a Cricut cartridge – “Wall Decor and More”.
I love these chandeliers! I am doing a Mad Hatter themed party for my little girl and would love to use these but I don’t have a cricut. Could I possibly purchase some cuts from you? And can assemble them myself?
Hi KG!
I’m sorry but Cricut’s terms of use doesn’t allow me to sell it’s cuts over the internet – but I have a couple of suggestions for you. There are places that will rent Cricut machines and cartridges – just check out your local craft store and check around. Also many local scrapbooking buffs will rent out their collections or sell cuts locally (which is ok with Provo Crafts terms of service last time I checked). Just checkout local ads and to see if it’s possible. Best of luck with your party – if you would like you are welcome to post some pictures on Fleece Fun’s Facebook page – https://www.facebook.com/FleeceFun
Angel