
Best Aladdin Costume DIY (Free Vest Pattern)
This content contains affiliate links or sponsored elements, read our Disclosure Policy.


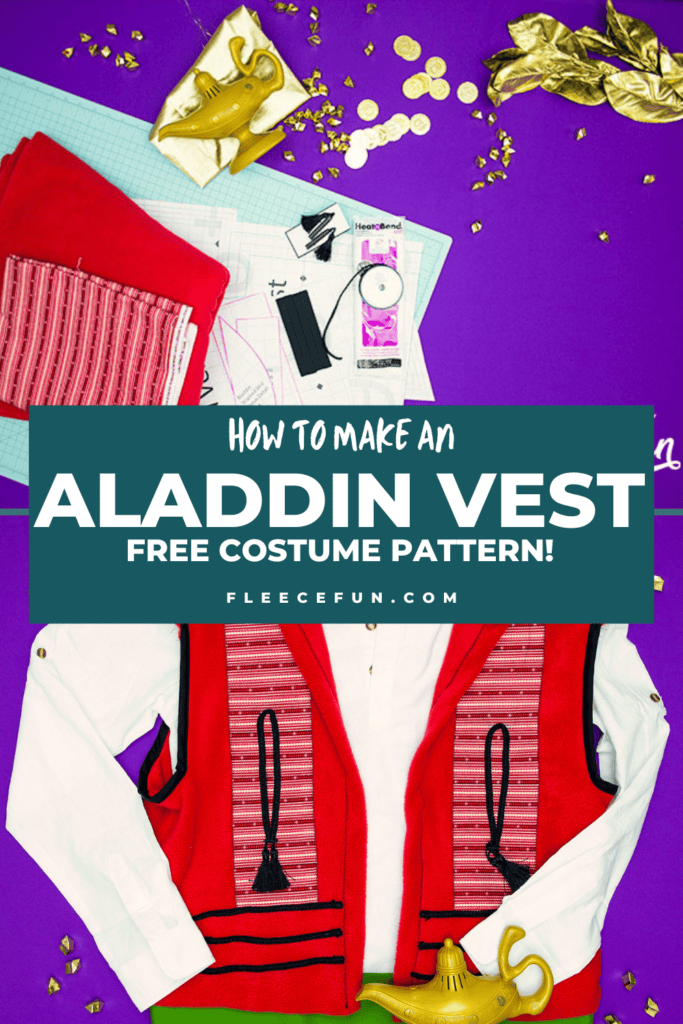
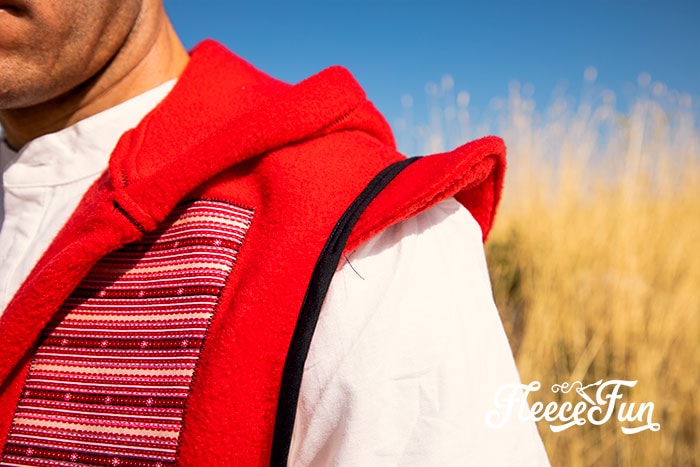
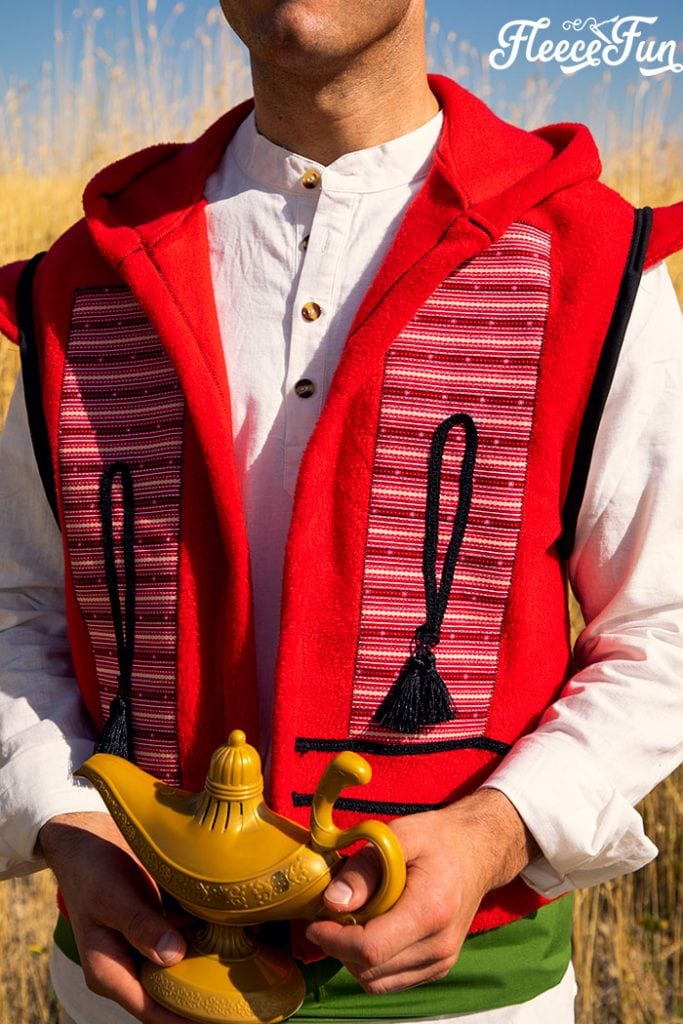
Free Costume Pattern: This Aladdin costume DIY is inspired by the Vest from the 2019 movie! Use this free pattern to make a hoodie vest just like Aladdin’s.
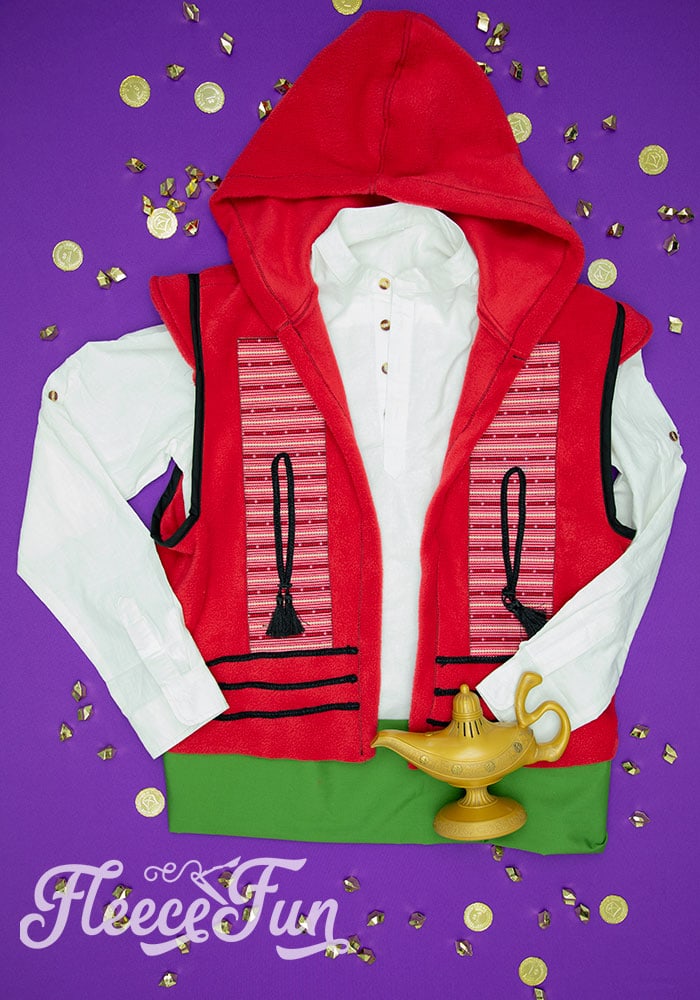
This Best Aladdin Costume DIY is inspired by the 2019 version of Disney’s Aladdin. I loved how they updated the look of Aladdin with his hoodie style vest and layers. I’ve designed the vest so it can be made in different sizes from Toddler to Child to Adult. So now everyone can look like the lovable lamp toting thief! No Genie wish necessary.
I’ve streamlined the costume so it’s easy to sew – it’s not a perfect replica but it will do for a Halloween costume or Disney Bounding.

By the way I have to give props to my sweet husband for modeling this Aladdin Costume DIY for me in 90 degree heat – he’s always been very supportive of my work and is evening willing to model items for me, even though it’s not his favorite thing to do.

YOU WILL NEED:
- 1.5 yards of fleece in red/ rust
- 1 package of double fold black bias tape
- 1/2 yard of red stripped cloth
- 4 black tassels
- 3 yards of black ribbon or cording
- Heat N Bond ( Sew or no sew depending on your preference)
- Black Thread
- Get the free pattern here.
Best Aladdin Costume DIY:

Step 1: Assemble the Aladdin Vest Pattern and Cut the Fabric Pieces
Assemble the Aladdin Costume DIY pattern and cut it down in the size that you want to make. You can find assembly instructions here. There are a total of 6 pattern pieces. From the fleece on folded fabric cut out the following:
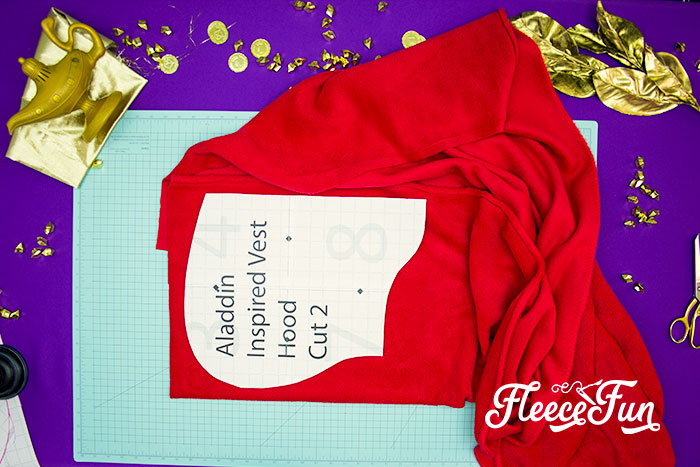
2 of hood,
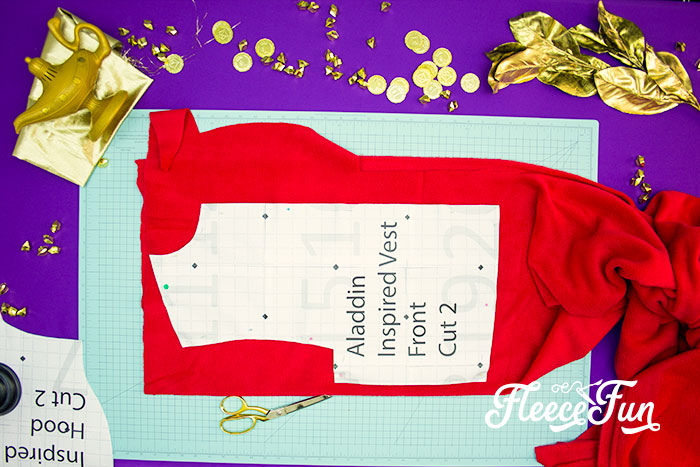
2 of the vest front,

Should be two separate pieces.
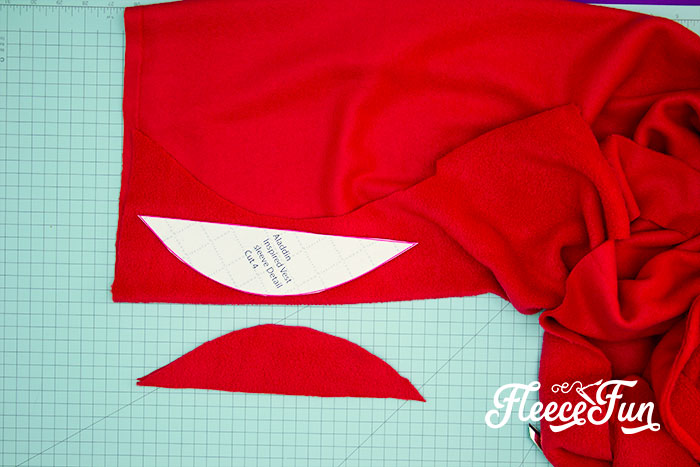
and 4 of the sleeve detail,
set aside.

Place the vest back pattern on the fold and cut 1.
Set aside.
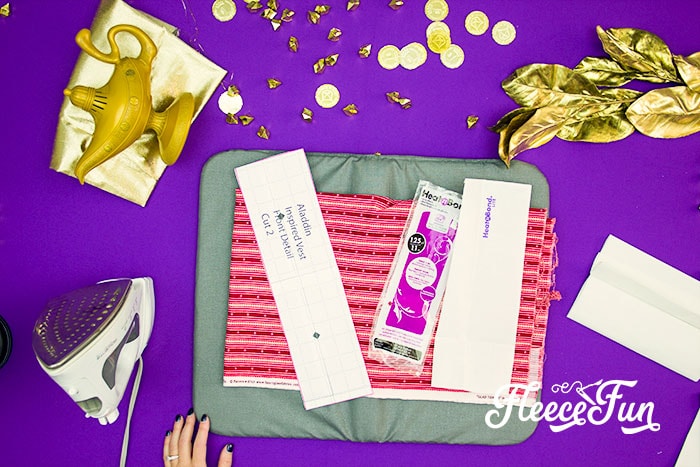
Next we need to prep the fabric for the front detail.

Measure the Heat n bond and make sure it’s enough to cut out two of the details.
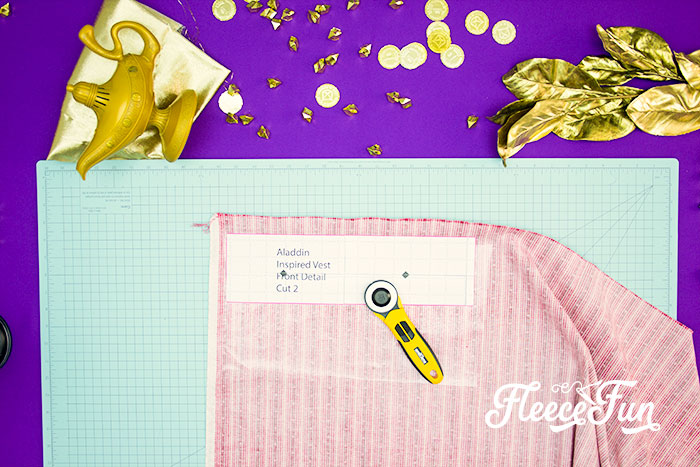
Following the package instructions, iron on to the wrong side of the striped fabric. Cut two from the section of fabric that has Heat N bond on it (I find using a rotary blade nice to keep crisp lines).
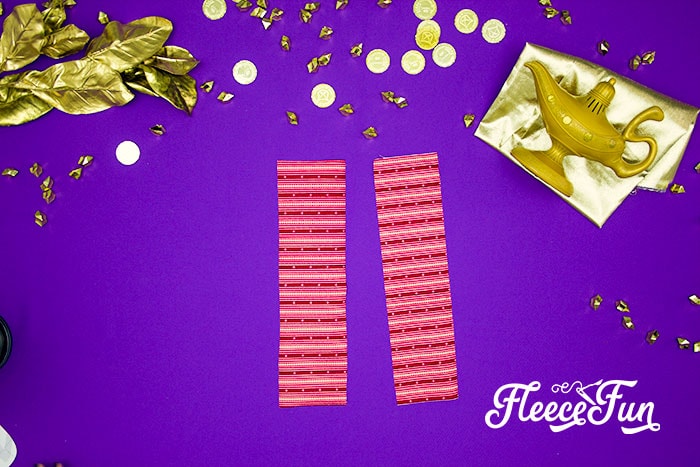
note
Make sure the stripes are going across the rectangle.
Step 2 – Begin to sew Aladdin vest Starting with the Hood
All seam allowances are 1/2 inch unless other wise stated.
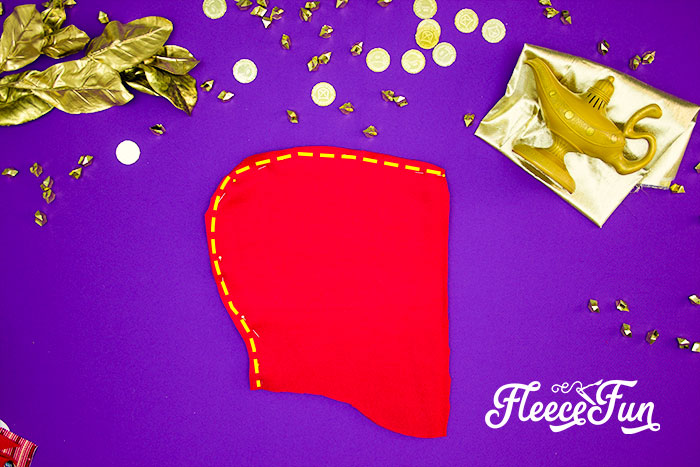
Take the two hood pieces, place them right sides together. Sew from the top of the hood to the neck line.
Optional: Top stitch the outsides of the hood on either side of the seam for added detail. I used a basic zig zag stitch with black thread. Set the hood aside.
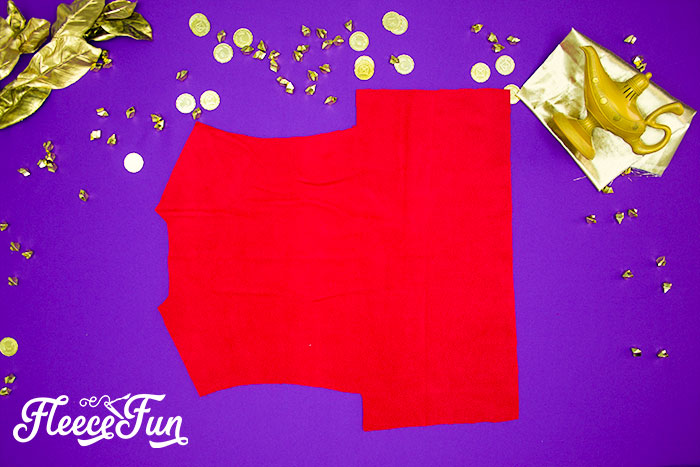
Step 3: Sew the Main Sections of the Aladdin Costume DIY
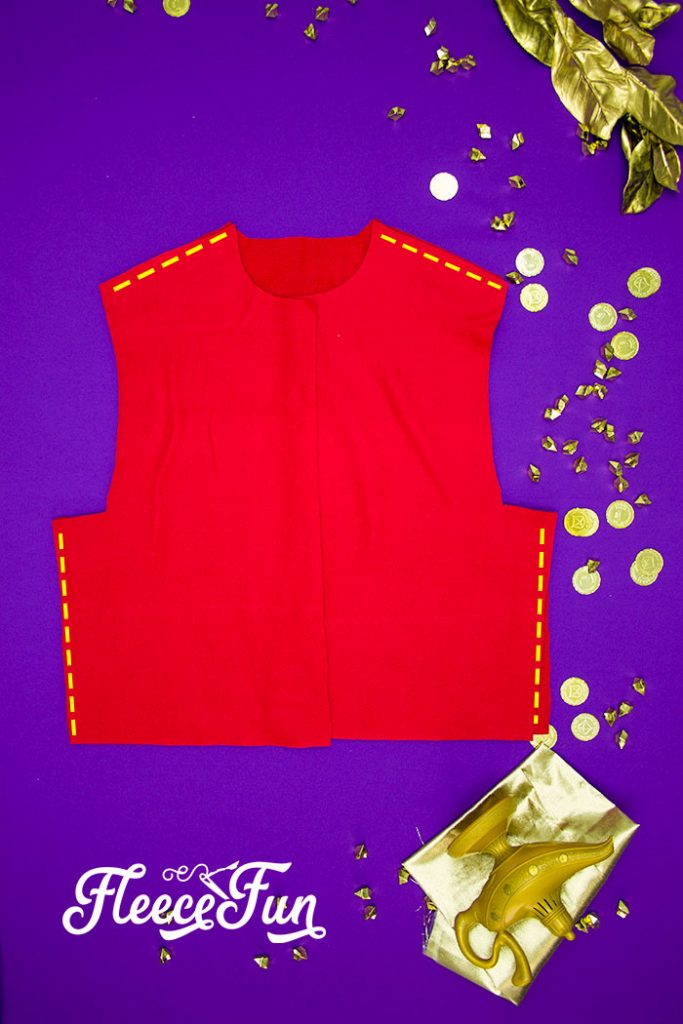
Place the front pieces on top of the back pieces lining up the shoulder and side seams. With right sides together pin the shoulder seams. Sew together. Pin the side seams. Sew together.
Optional: Do the same top stitch detailing on either side of all the seams. It’s a nice detail but necessary.

Optional (but strongly recommended): Use the black bias tape to finish the armholes of the vest.
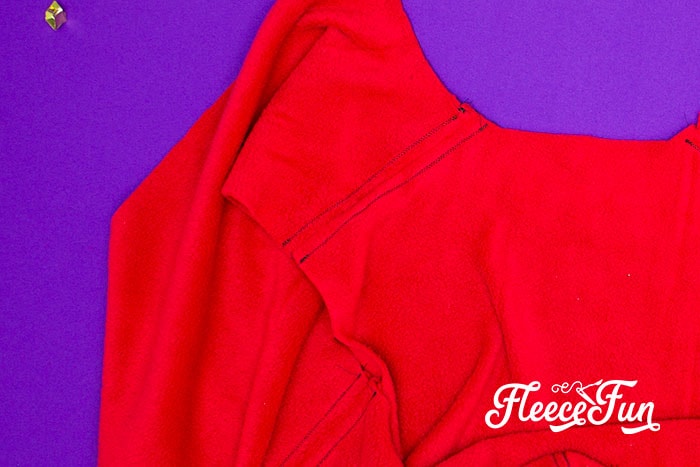
Step 4 – Add the Hood to Aladdin’s Vest

Center the hood’s seam with the back of the vest neck.

With right sides together, pin the hood to the vest. Sew together.
Optional: Top stitch the hood at the neck to make the seam look nicer.
Step 5: Add the Sleeve Details to Complete the Aladdin Costume diy
This detail is nice, but not absolutely necessary.

You can skip this step if you’re short on time/ patience.

Take two of the sleeve pieces and with right sides together, sew the curved edge.
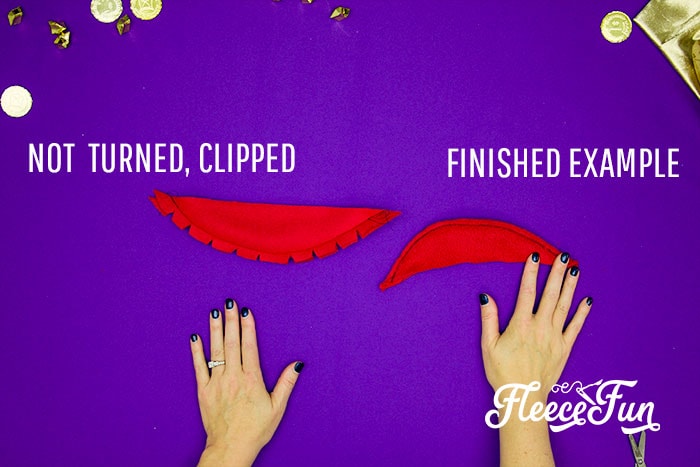
Clip curves and turn right side out.
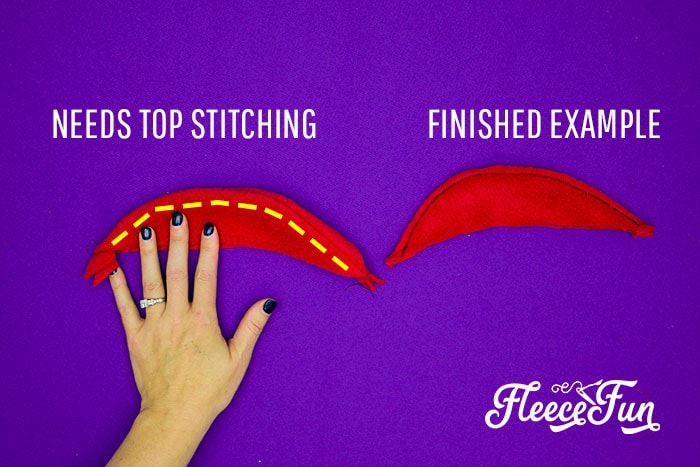
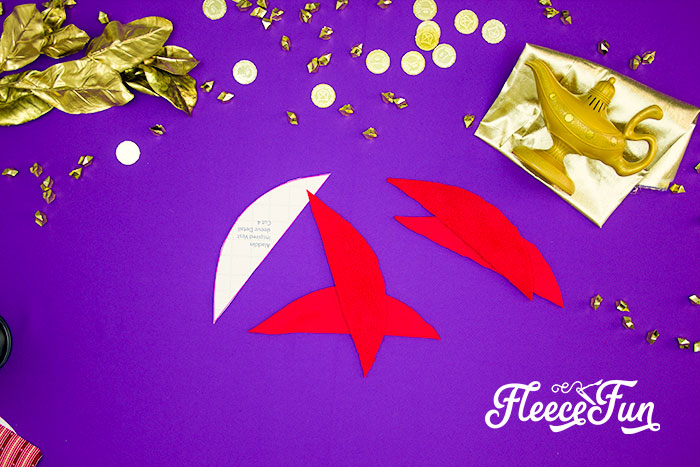
Trim excess. Top stitch in black.

Center with shoulder seam.

Pin. Top stitch into place. Use the Bias tape to hide the sitches.
Step 6 – Finish the edge the vest and hoodie

Fold the front of the vest and rim of the hood under 1 inch. Pin Using a Zig Zag stitch (and black thread) sew along the edge of the fabric and sew down the edge.

For the bottom of the vest you can either leave the edge raw ( which I opted to do) or turn it under .5 inch and tops titch the hem down, Or finish the edge with bias tape. Completely up to you.
Step 7 – Add details to the front of Aladdin’s Vest
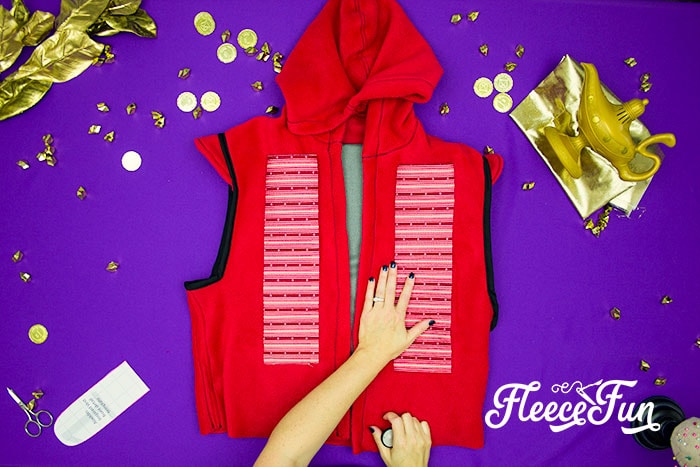
figure out the placement of the striped cloth.

Iron on the fabric – be mindful that you are ironing onto fleece – keep the iron moving and make sure that it’s not at too high of a temperature or you will melt the fleece. If using sew on Heat N Bond top stitch along the edge in a zig zag or a decorative stitch.
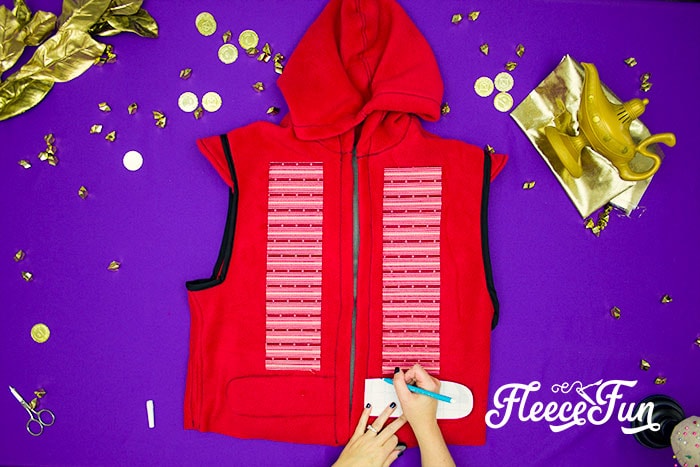
Use the template to trace with washable marker or chalk below the the rectangle.
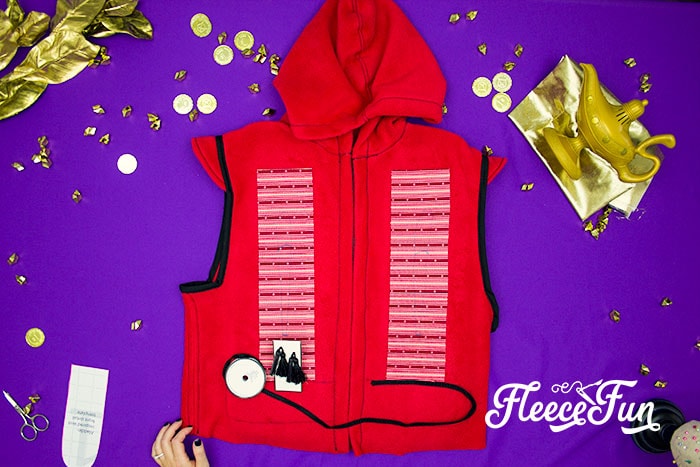
Using a fabric marker or chalk, draw a loop of the striped cloth (to simulate the pocket) either zig zag along the drawn loop or sew down cording or ribbon. To finish sew two tassels at the bottom of the loop.
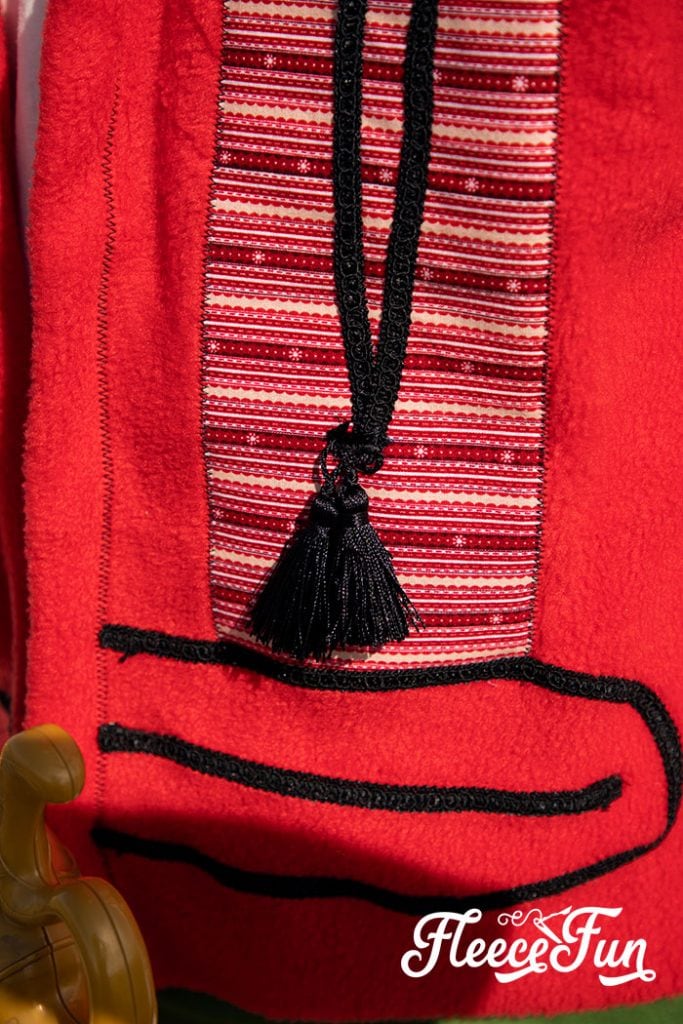
Top stitch or ribbon into place along bottom ovals. Add a line in between if desired. Trim your threads.
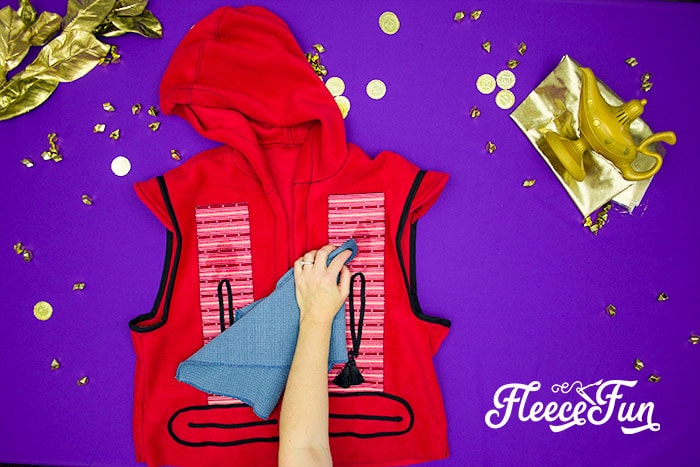
With a damp cloth blot out any visible markings.

You just completed the Best Aladdin Costume DIY.
Download the Free Aladdin costume diy Sewing Pattern Below
I only approve of Adobe reader. By downloading you are agreeing to pattern terms of use. Click the image below and fill out the form to have it delivered to your inbox.

More Fun Costumes for Boys!:
- Easy Donut Costume DIY Free Pattern
- No Sew Knight Costume DIY Tutorial
- Halloween Dress Up Vest
- How to Make a Birthday Crown Free PDF and SVG File
- Costume Patterns
Costume Tutorials you might like!
- Yoda Costume Tutorial DIY
- Hedge Witch Hat
- Cute Baby Yoda Hat
- Princess Anna Hat Tutorial Free PDF Pattern
- Princess Poppy Costume DIY Free Pattern
- Make Supergirl Costume Tutorial
More Boy Costume Tutorials:
- Strong Man Muscle Costume
- Catboy Mask
- DIY Batman and Robin Costumes
- Werewolf Costume
- Monster Inc costumes
- Storm Trooper Costume
- Minecraft Costume
- How to Make a dragon Costume
- Firetruck Costume
- Willy Wonka Golden Ticket Costume
