
Hedge Witch Hat Pattern (Free)
This content contains affiliate links or sponsored elements, read our Disclosure Policy.


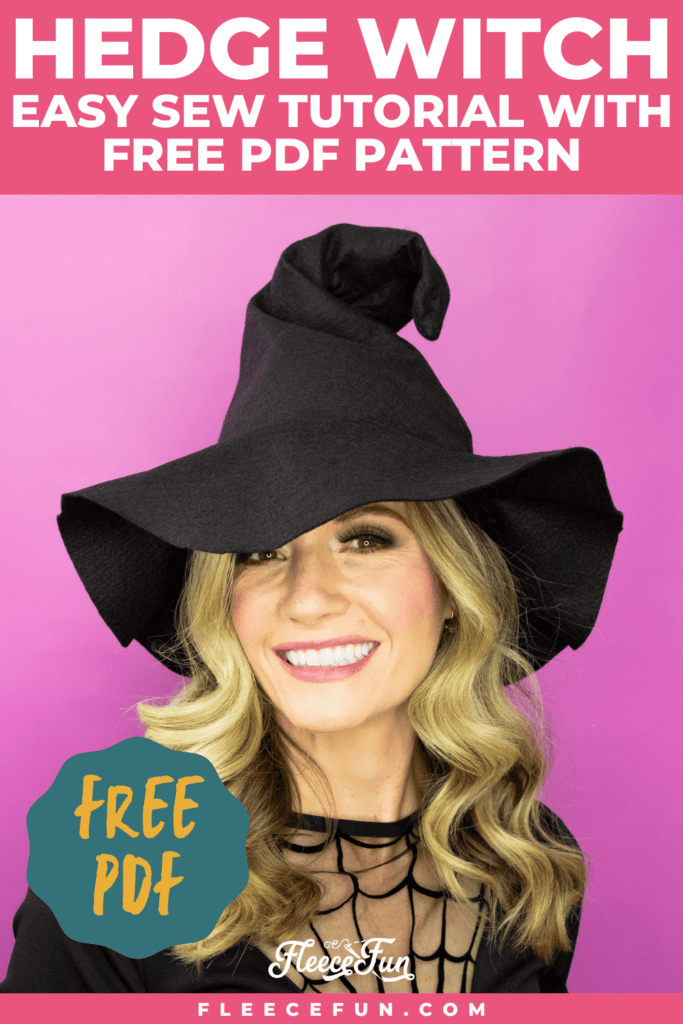
Hey Maker! I’m so excited to share this fun and beginner-friendly DIY project with you: a Hedge Witch Hat! With Halloween just around the corner (or maybe you just love a good witchy vibe year-round), this easy-to-sew hat is perfect for adding a bit of magic to your wardrobe. We’ll use soft black felt to create a classic witch hat that’s stylish and super comfy to wear.

I’ve got a free PDF sewing pattern all ready for you to download, so you don’t need to worry about figuring out measurements or shapes—everything is laid out for you! Whether you’re new to sewing or just want a quick, simple project, this hedge witch hat tutorial will walk you through each step, making it a breeze to create. Grab your materials, fire up your sewing machine, and let’s get started on creating your very own witch hat. You’ll be ready to embrace your inner hedge witch in no time!
Hate The Ads?
This pattern with video and printable instructions is available in the Makers Studio. The Maker’s Studio is an ad free experience, no video ads, no forms, no zip files, just creating.

YOU WILL NEED:
While you can use fully synthetic felt I highly recommend felt that is a wool blend, it looks nicer and will breathe better making it more comfortable to wear. Also this pattern is specifically designed for felt so the brim edge doesn’t need to be finished.
- 1 yard felt in the color you desire
 .75 of light iron on interfacing
- 18 inches of 10 gauge jewelry wire (this is the one I used) or a thick pipe cleaner
- Sewing essentials ( sewing machine, pins, needles, thread)
- Plastic shopping bags or batting
- Free Hedge Witch Hat Pattern (available here)
Hedge Witch Hat Pattern How to:


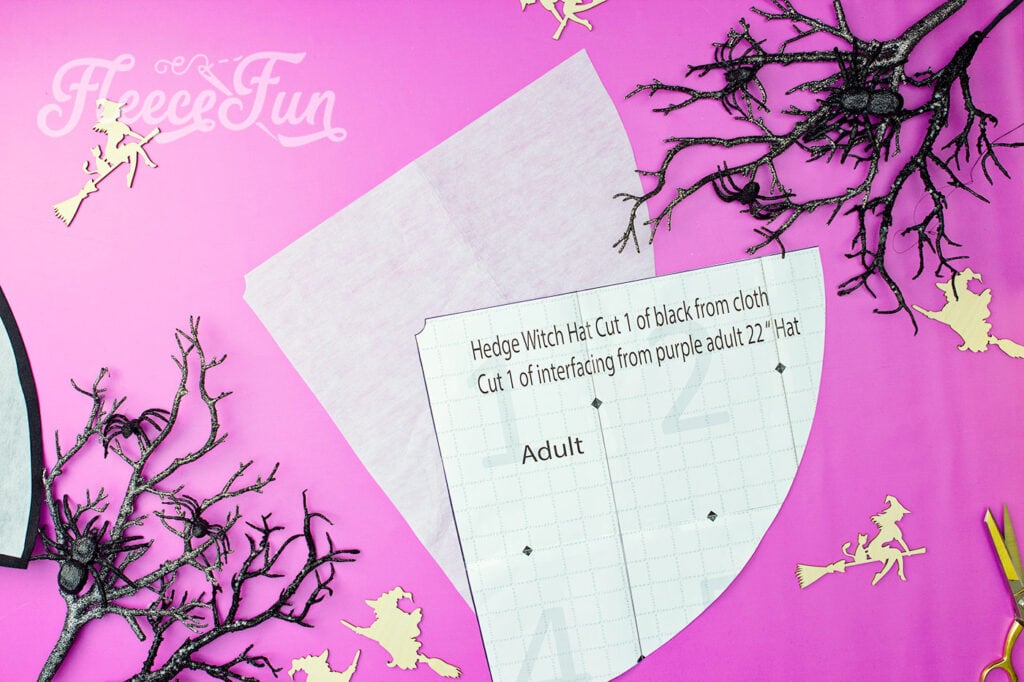
Step 1 – Assemble and cut out the pattern
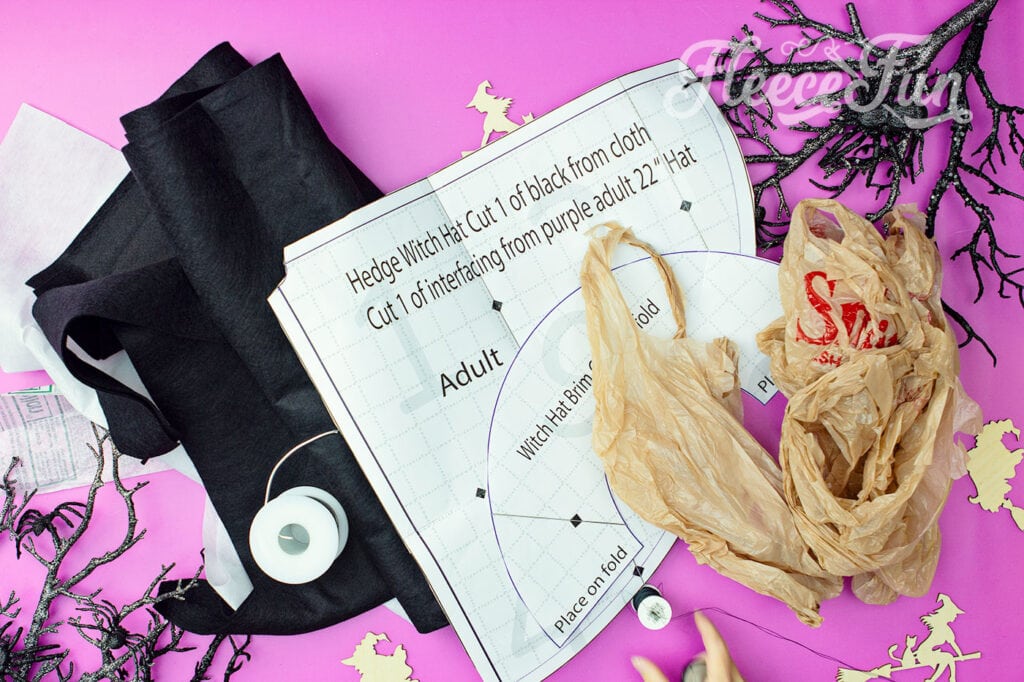
Gather your materials. Print up the pattern and tape together. You can find instructions on how to assemble the free witch hat pattern here.
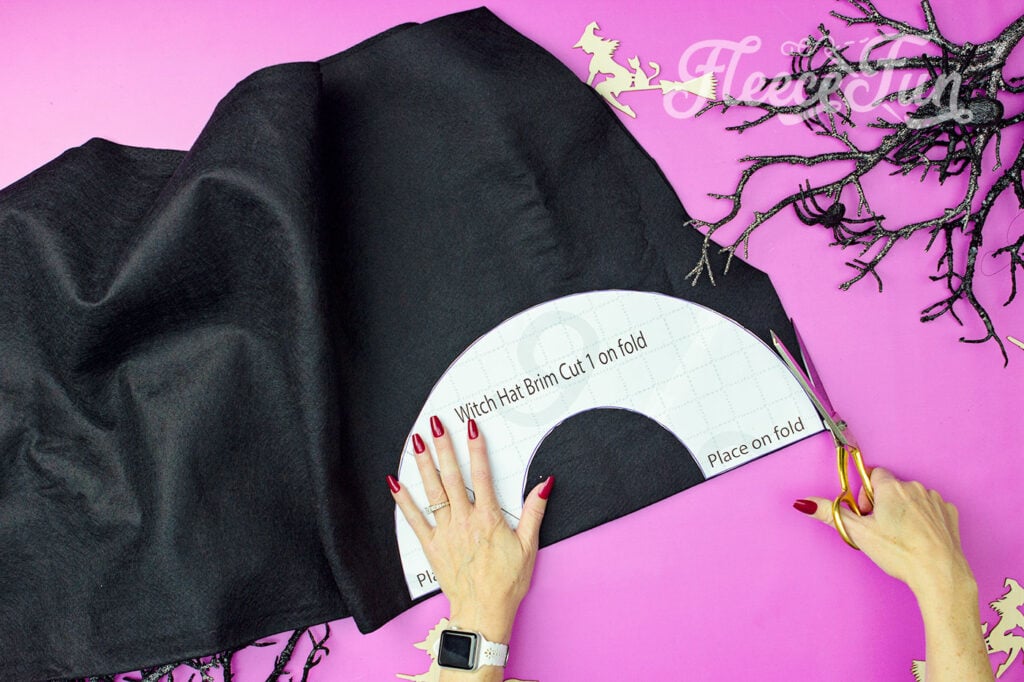
Place the brim pattern on the fold of doubled fabric and cut out.
Quick Tip
Try to cut as smoothly as possible since the edge won’t be finished. Using a rotatory blade to cut out the pattern can help give it a cleaner cut.
When it’s unfolded this is what it should look like.
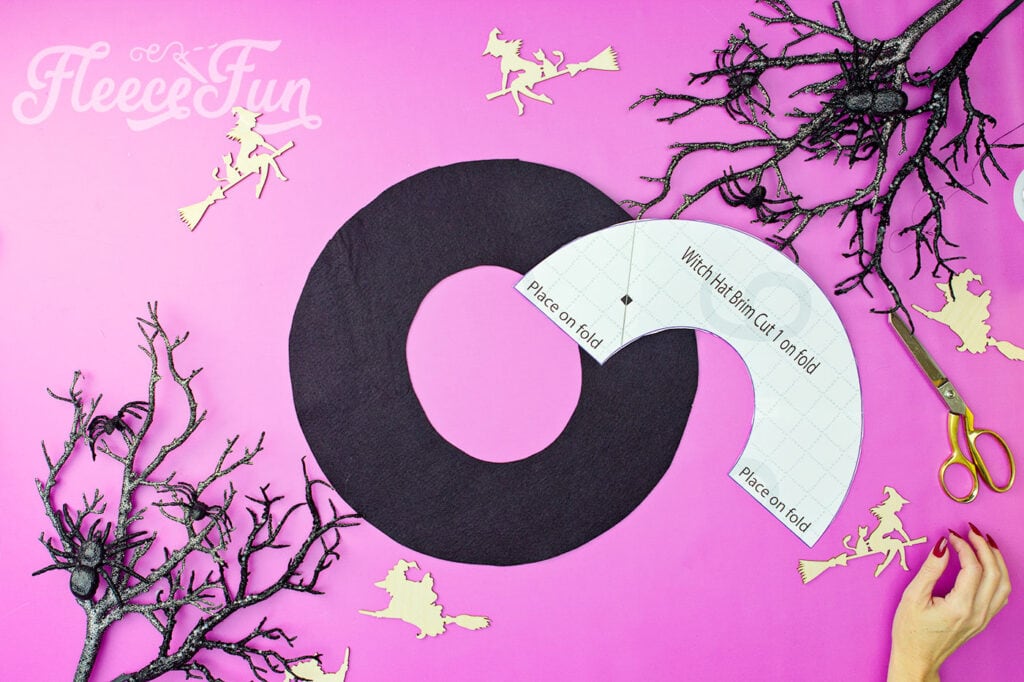
Set the brim aside.

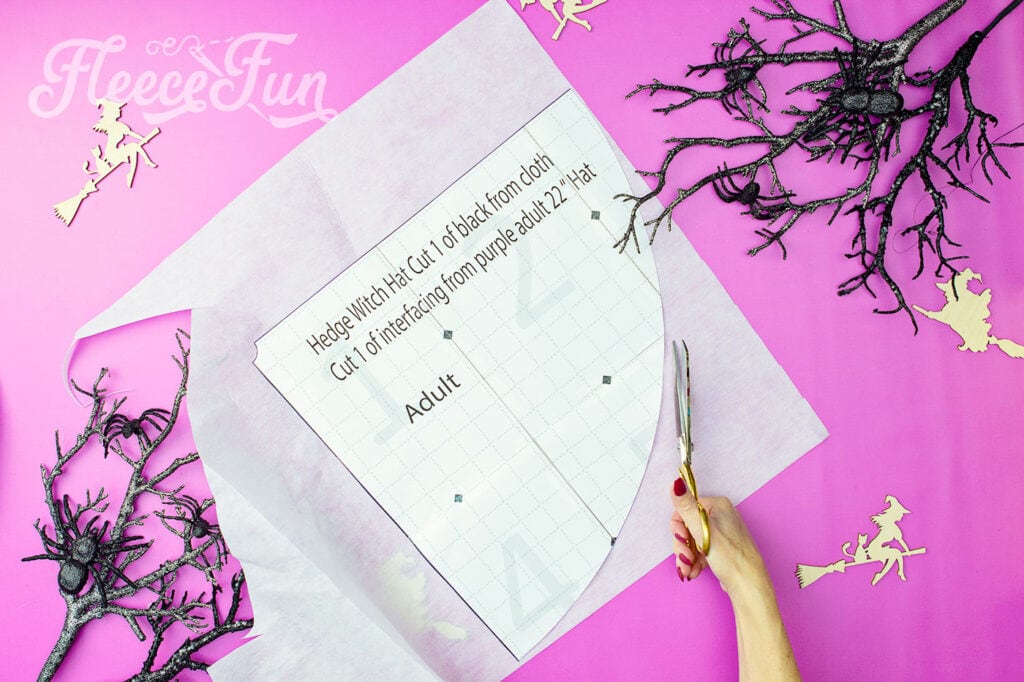
Next cut out the cone, We only need one so no need to double the fabric, make sure you unfold it.

Now cut down the cone pattern to the inside lines. This will give us the size for the interfacing.
Attention
I know what you’re thinking “I really don’t need interfacing”. Yes you do. If you skip the interfacing the hat won’t stand up right or look as nice.
Cut out 1 of the fusible interfacing.
Now that you have the brim, cone and interfacing cut out we can start assembling the hedge witch hat.
Step 2 – Assemble the cone to the witch hat

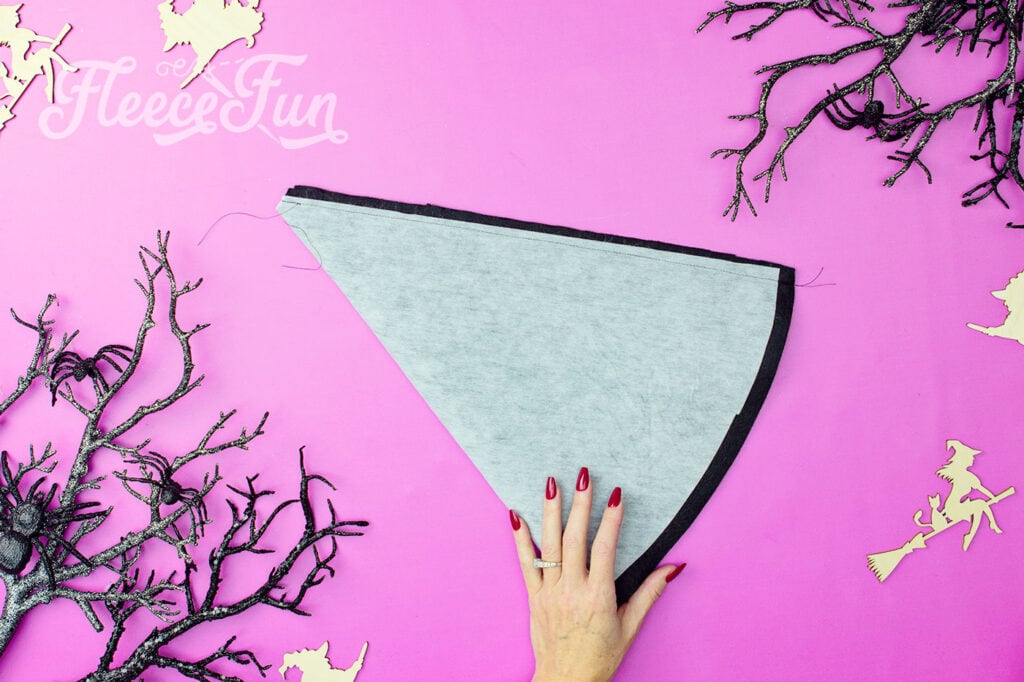
Now it’s time to make the cone part of the hat. Iron the interfacing onto the cone.

Make sure it’s well iron on, especially along the outside edges.
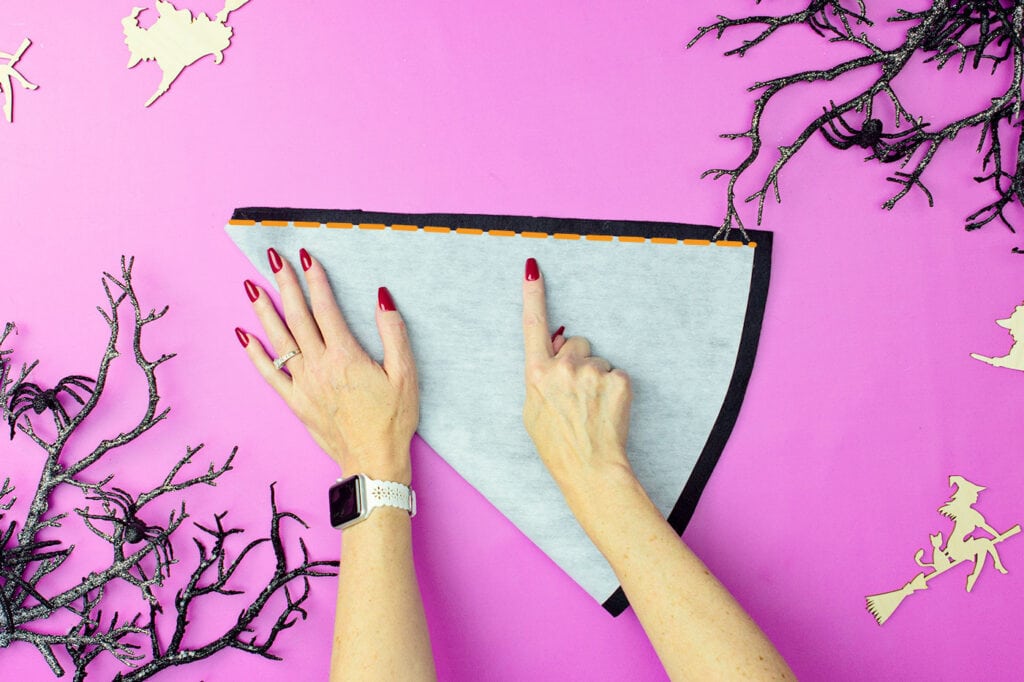
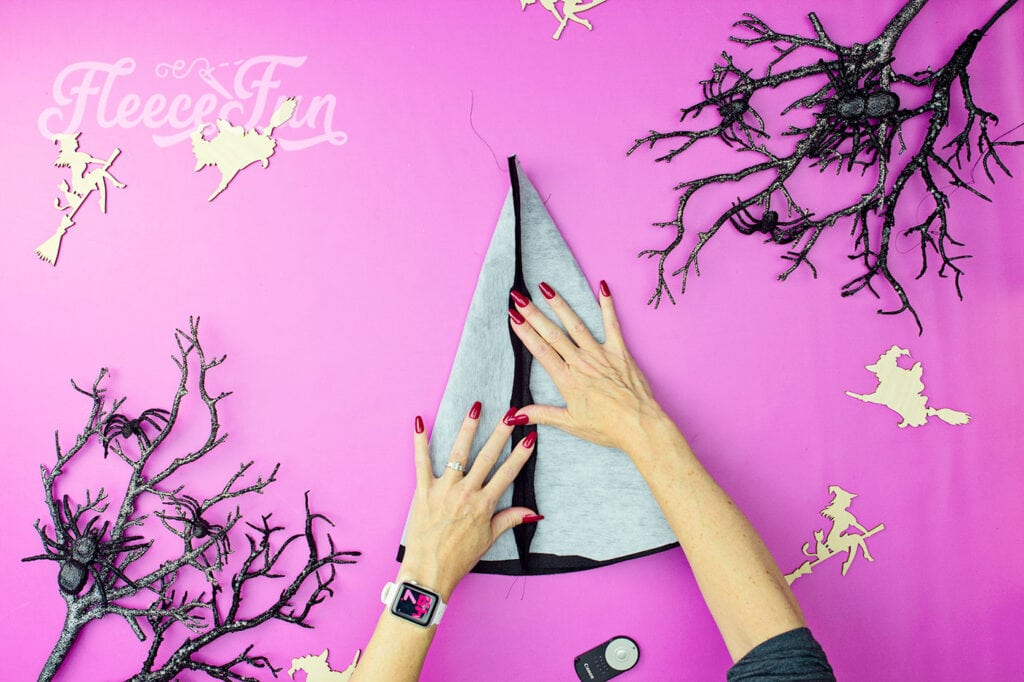
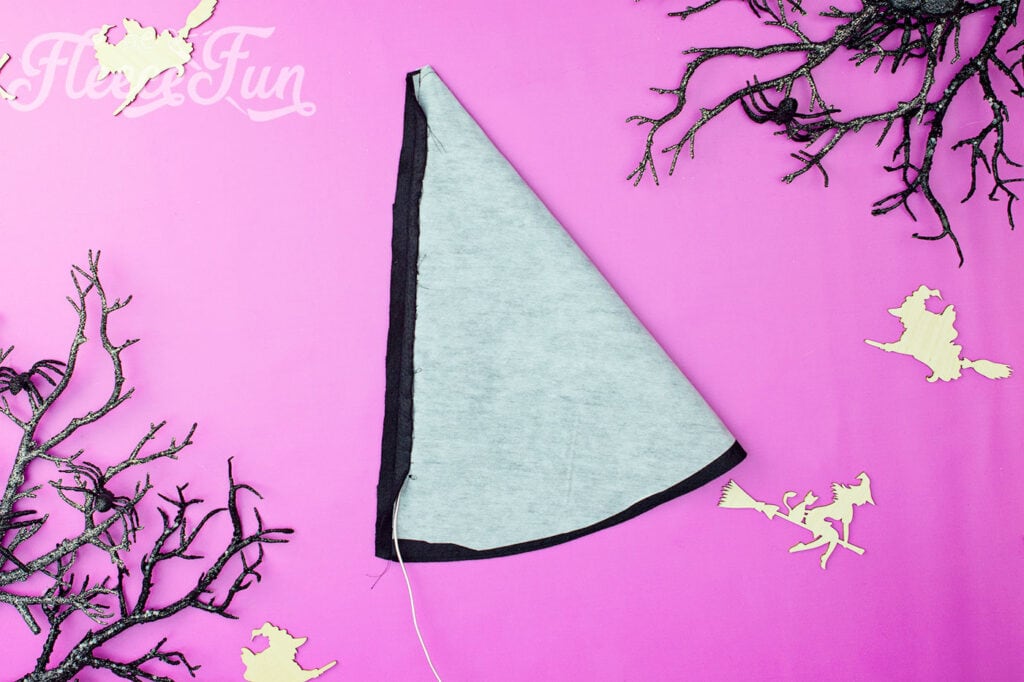
Now it’s time to sew the cone for the hedge witch hat together. with right sides together fold the cone in half do the long edges are touching. Sew together using a .5 inch seam allowance.
Step 3 – Add the wire to the cute witch hat
Now that the cone is sewing we need to make a channel for the wire to give the DIY witch hat it’s cute shape.
To make the channel for the wire, we’ll use the seam allowance on the cone we just sewed.
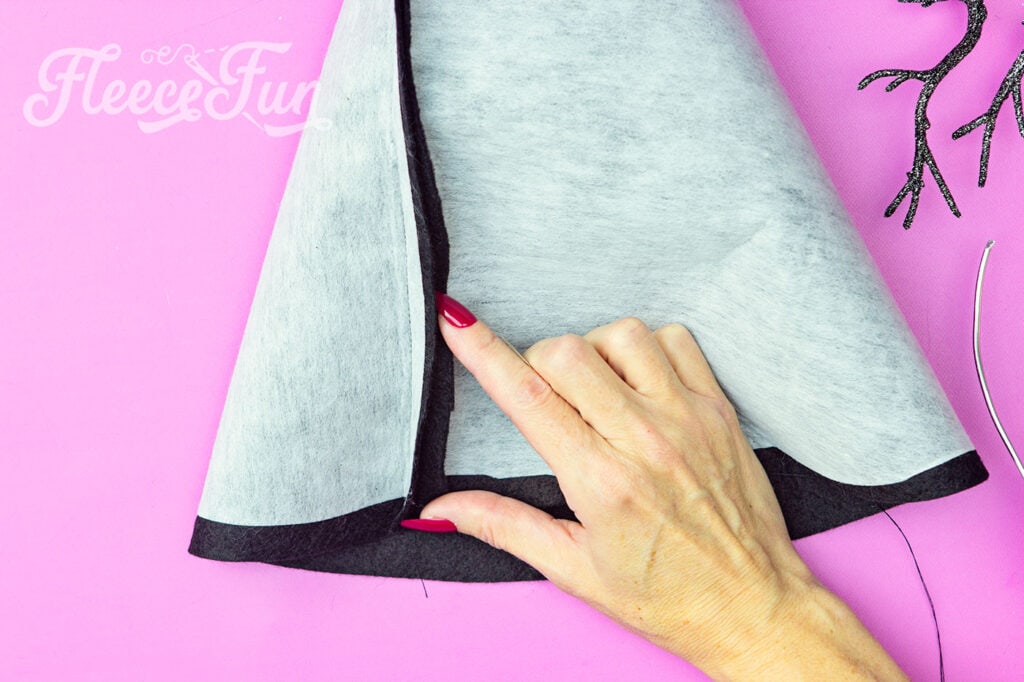
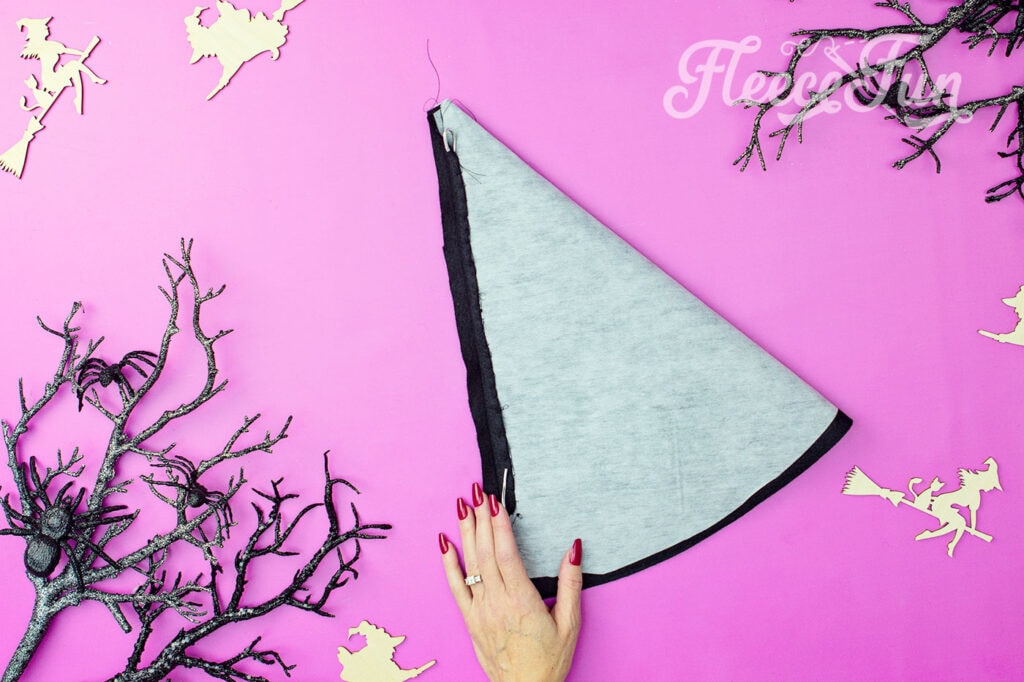
Starting about 2 – 3 inches from the bottom, take one side of the seam allowance hand sew the seam down, leaving space for the wire.

It doesn’t need to be fancy you can do a basic running stich, a whip stich or i chose to do a blanket stitch. Because it’s a cone, hand stitching is easiest.
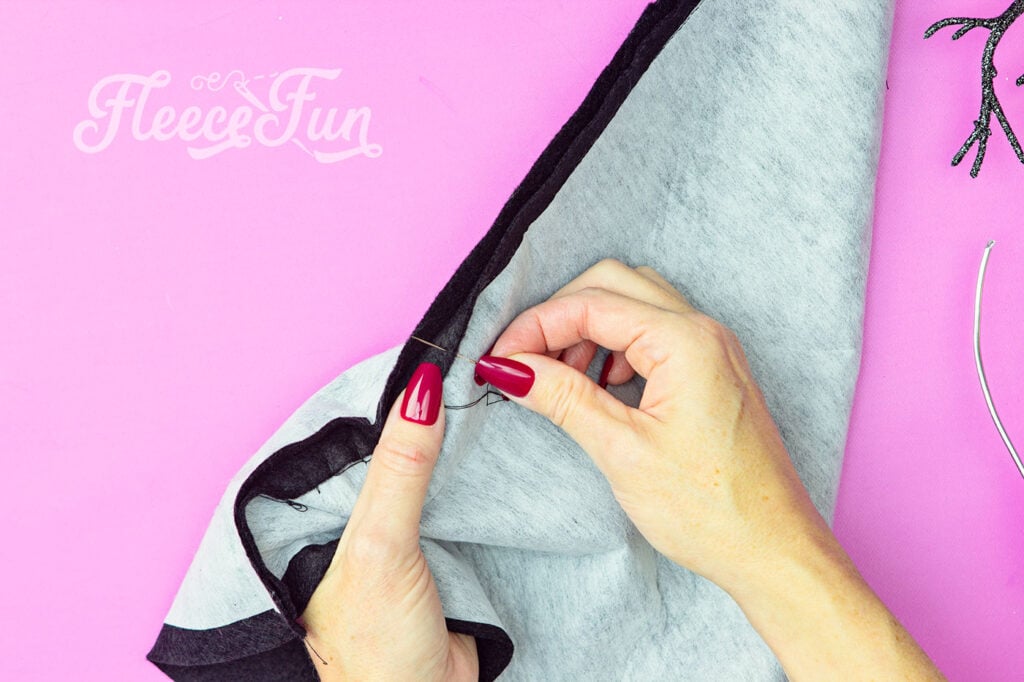
Stitch up and through the cone ( making sure it’s just one side)

, catch a little of the side seam, wrap the thread around the needle and pull though.

and pull though.
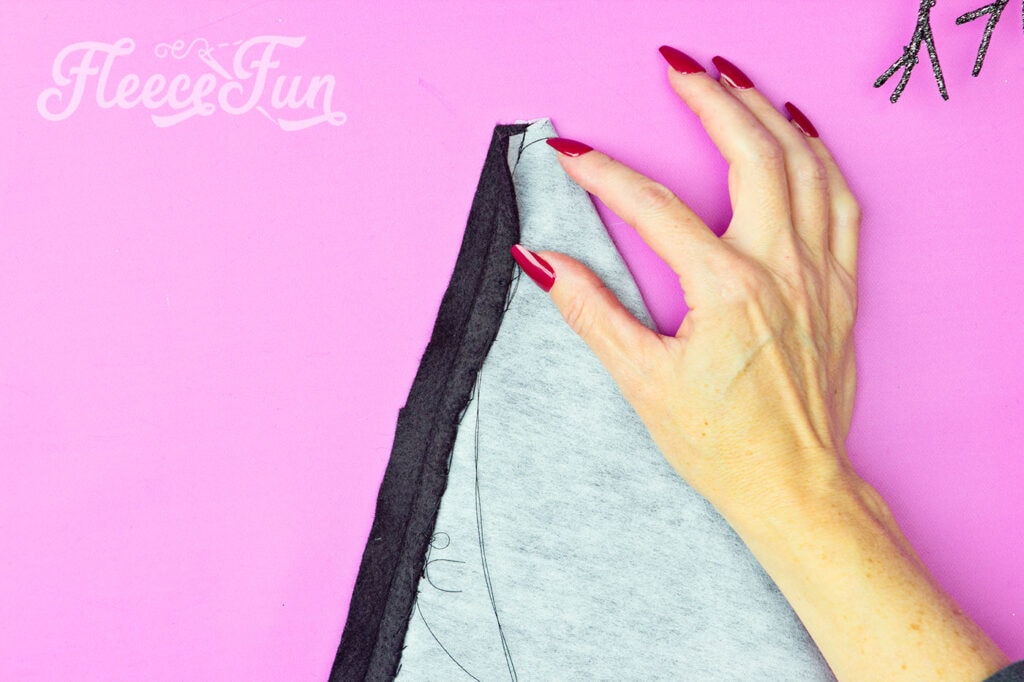
Repeat until you’ve reach 1 – 2 inches from the top and tie off.

Cut you wire to the length of the cone and make sure to have excess of 1 inch on each end.
Thread through the channel.

Thread so the top and bottom have excess.
Once it’s threaded fold over at the top and bottom so it’s won’t become unthreaded. If you’re worried about the wire bugging you sew or glue some scrap felt to the end closest to the brim.
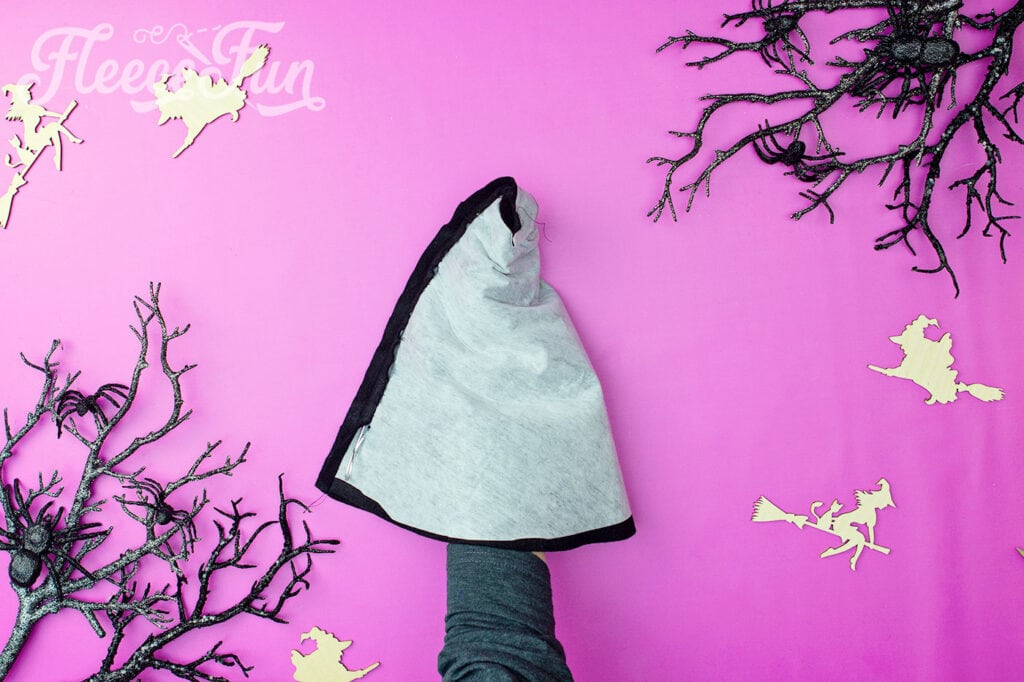
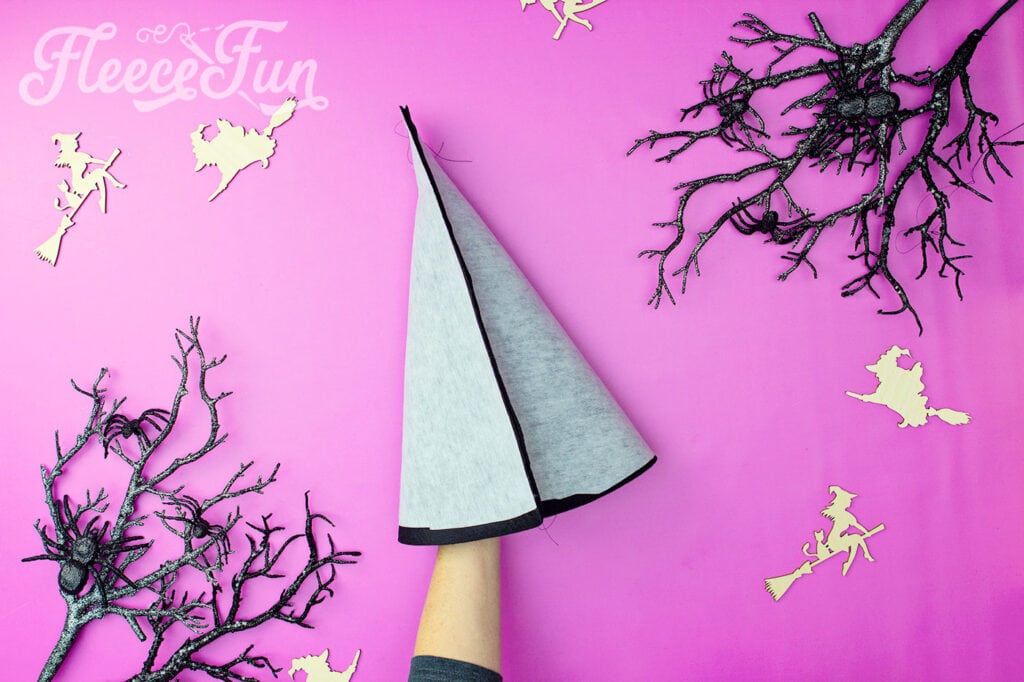
Now that the wire is in place it’s time to turn the cone right side out.

Turn right side out and use a capped pen to help fully turn the point.
Step 4 – finish sewing the witch hat!
Now it’s time to finish up the hat!
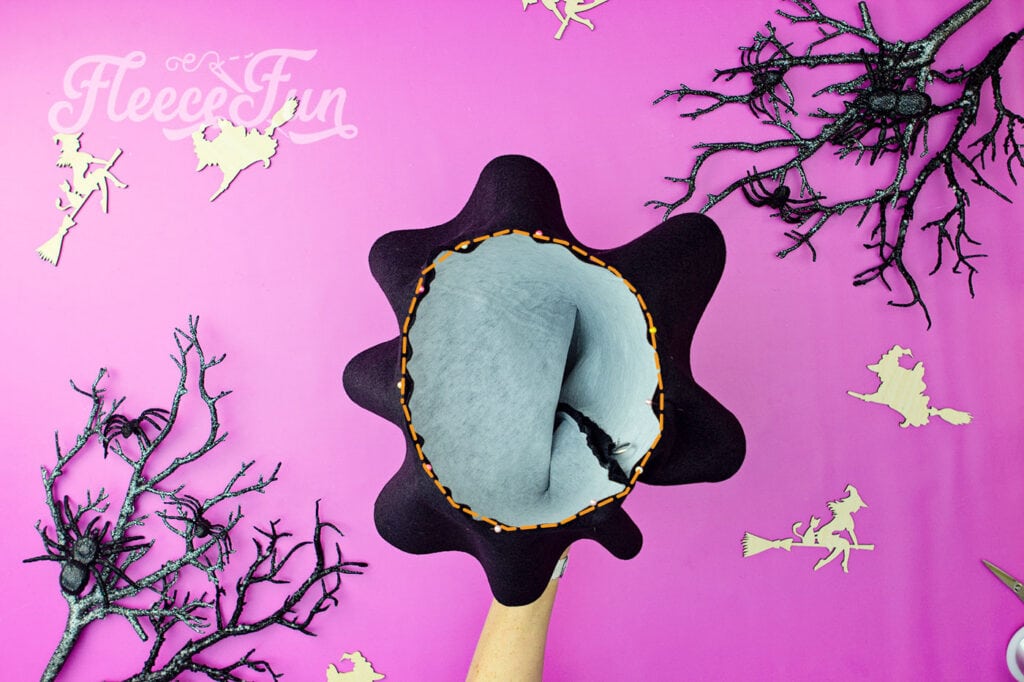
Take the brim and pin it to the bottom of the cone. Sew on using a .5 inch seam allowance.
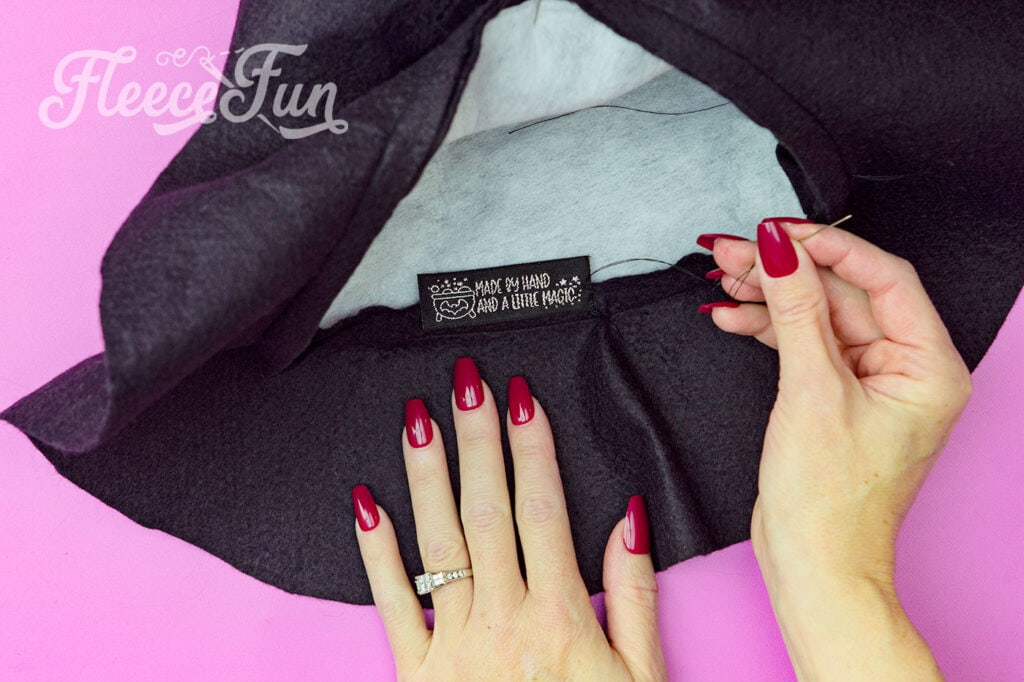
Now that the brim’s sewn on you can add a cute label (like this one) to your hat!
Step 5 – Add Finishing touches and shape the hedge witch hat
Now the fun part! Trim you threads and start to shape you hat. Make the side seam of the cone, the side of the hat curves in.
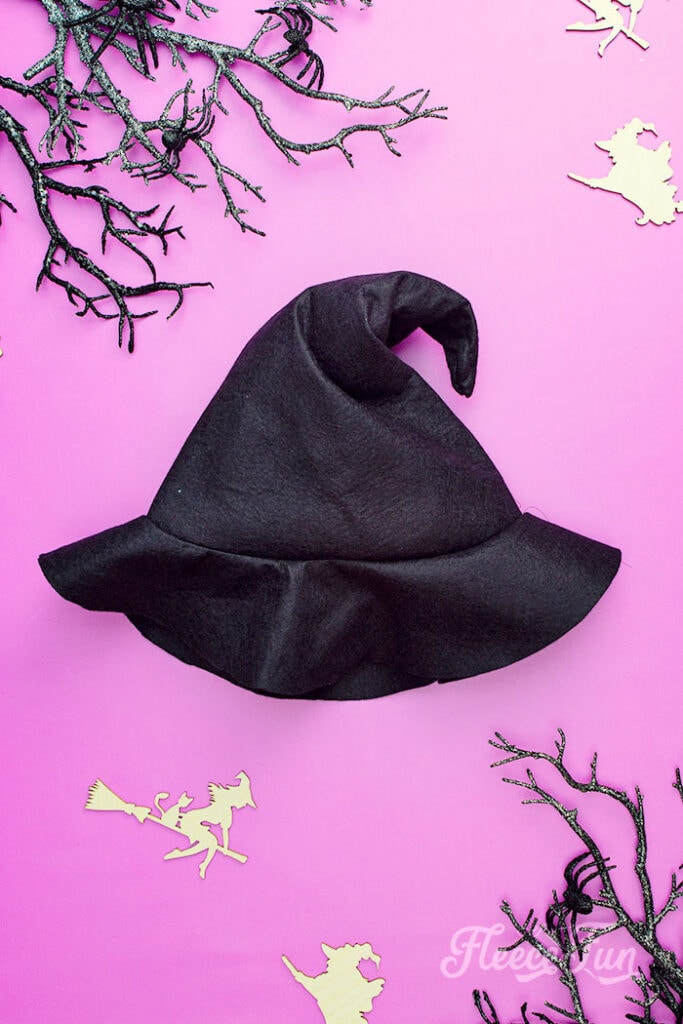
Take you time shaping your hat. To help you hat top not look flat, stuff the plastic grocery bags in the top to help give it some body. I found that it can help wearing the hat while you’re shaping it to give it just the look you want. I like how it looked on it’s own, but of course you can add ribbon, flowers, fake spiders, whatever you want to your witch hat!
Download the Witch Hat Pdf Pattern by filling out the form below:
By downloading you are agreeing to pattern terms of use. Click the image below to go to the download form. Or click here.

Other Costume Hat Patterns:
- How to make a witch hat (couture style)
- Mini Top Hat Pattern
- Mini Pirate Hat Tutorial
- No Sew Mini Witch hat (3 template sizes!)
- Best Free Witch Hat Patterns
Harry Potter Crafts:
More Costume Tutorials you might like!
- DIY Princess Leia Costume Free Pattern Tutorial
- No Sew Knight Costume DIY Tutorial
- Belle Costume Tutorial Beauty and the Beast
- Branch Costume Trolls DIY Free Pattern
- Wonder Woman Costume for Kids DIY
- Yoda Costume Tutorial DIY
- Best Aladdin Costume DIY Free Vest Pattern
- Princess Anna Hat Tutorial Free PDF Pattern
- Princess Poppy Costume DIY Free Pattern
- Make Supergirl Costume Tutorial
Love the witch hat.