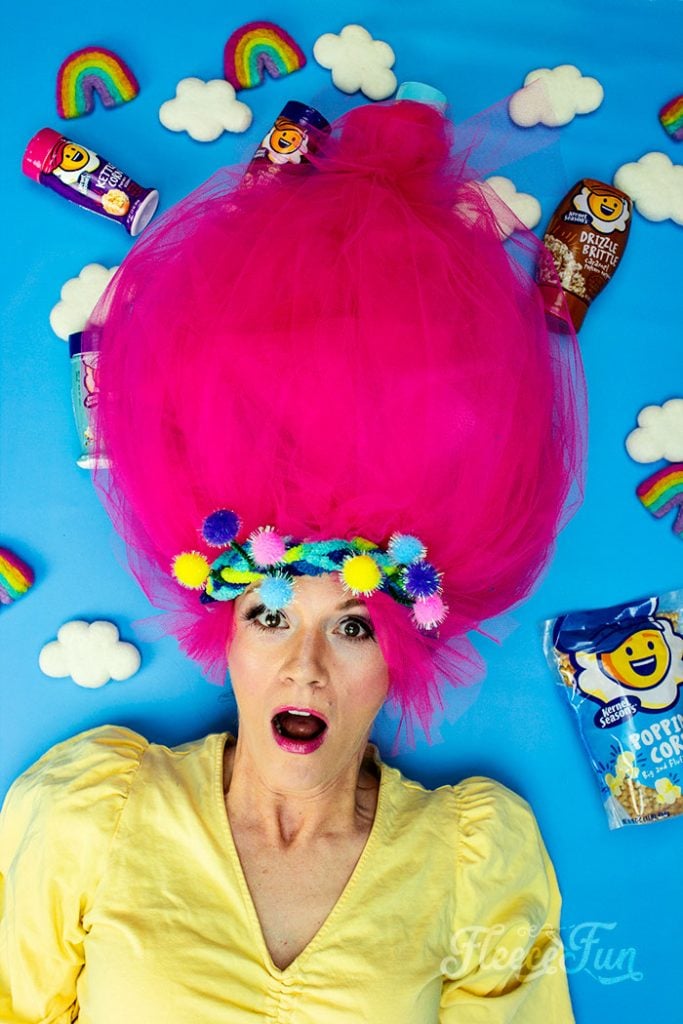
Big Troll Hair DIY – Easy to Make Costume Piece!
This content contains affiliate links or sponsored elements, read our Disclosure Policy.


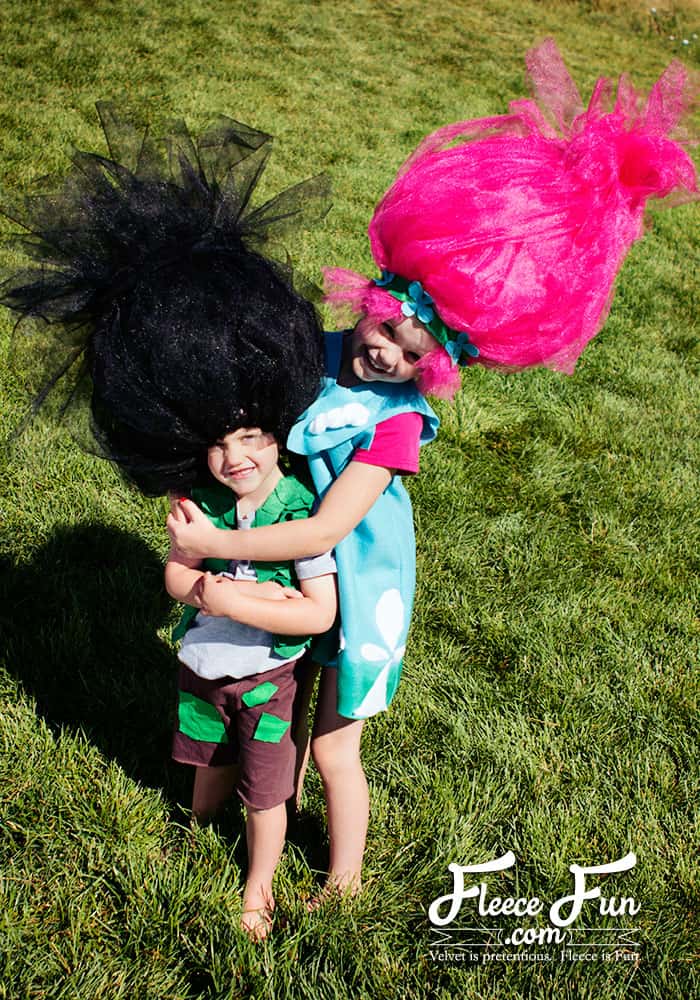
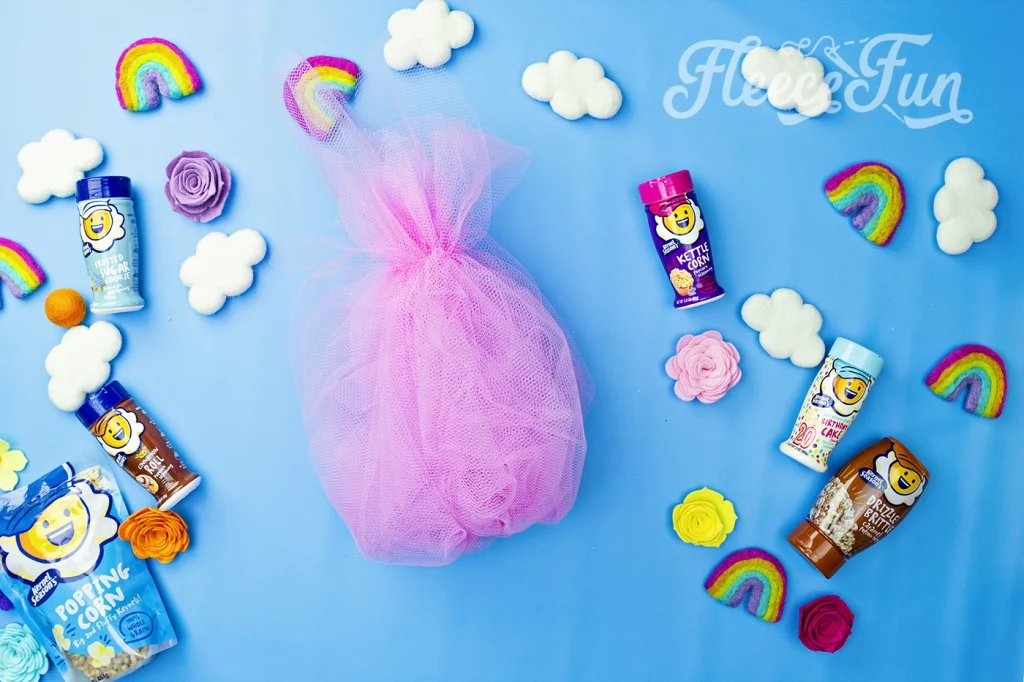
This Troll hair DIY is perfect for giving the look (and height) of that amazing troll hair. This easy to follow tutorial will show you how to make this costume piece step by step. With a few materials this troll hair will help you (or your little one) stand out in a crowd.

Special thanks to Kernel Seasons for sponsoring the reshoot of this post! The pictures in this post contain product placement, but the opinions are my own.
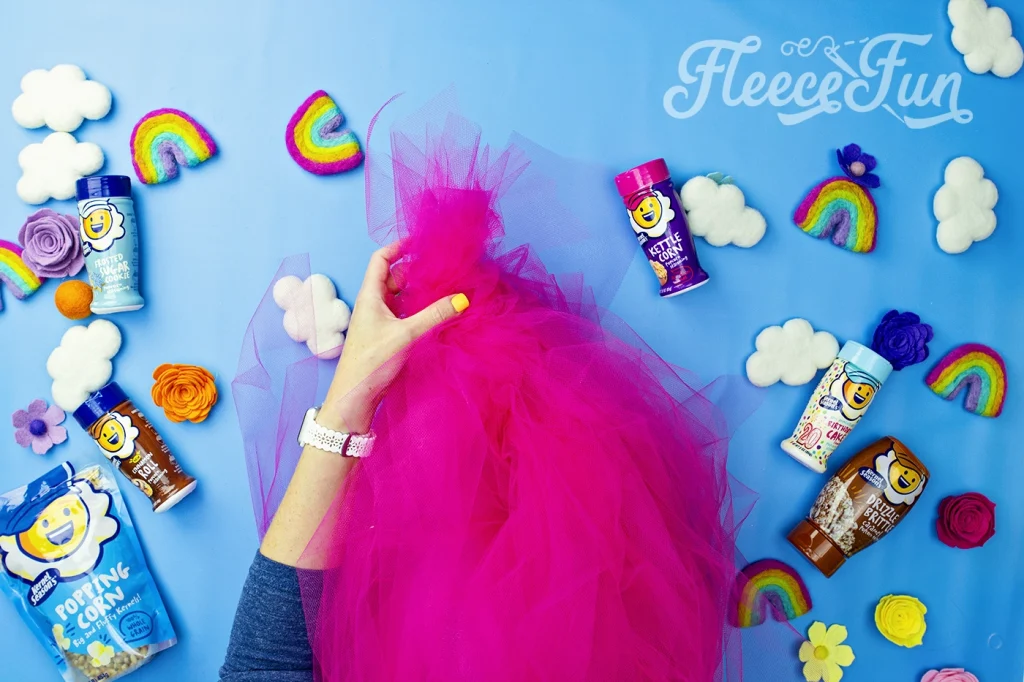
This one of the few times when a project turned out better than I thought it would! I knew I wanted to make some troll costumes this year, and huge part of that was the hair. To complete the costume, I wanted to make an awesome big troll hair. I had an idea of how to do it, it was just a matter of combining the right materials to make it stand up. But also wanted it to not weight a ton and be comfortable for the person wearing it. I also wanted it to work for a kid or and adult! After a few tries I believe I have some with a great solution that is easy to make, cost effective and looks pretty stellar (if I do say so myself). It’s also sturdy ( my four year old wore and it stayed in tact, he’s a pretty good tester! 🙂
Want an awesome idea? Find a trolls inspired set of yummy popcorn flavoring by Kernel Seasons just in time for the new Troll movie!

YOU WILL NEED:
You can just make the troll hair or you can add on a headband to complete the look.
- 2 yards nylon netting in the color desired

- 100 yard spool of 6 inch tulle (in the color desired)
- Stretch crochet headband ( like this one)
- Clear Elastic rubber bands
- Scissors
- Glue Gun and Glue sticks
- Pipe cleaners
- Pom Poms
- Chunky Yarn
For the other headband:
- Scrap felt*
- Flower die cut (I used Sizzix Camellia)*
- 4 inches of fold over elastic*
- ~ I have over 40 Costume tutorials! You can check out all of them here~
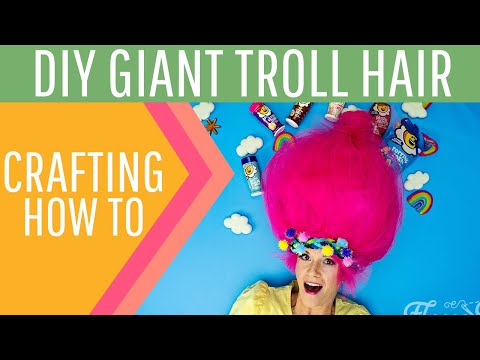
Poppy Troll Hair DIY Video Tutorial, written below:
Big Troll Hair DIY Tutorial
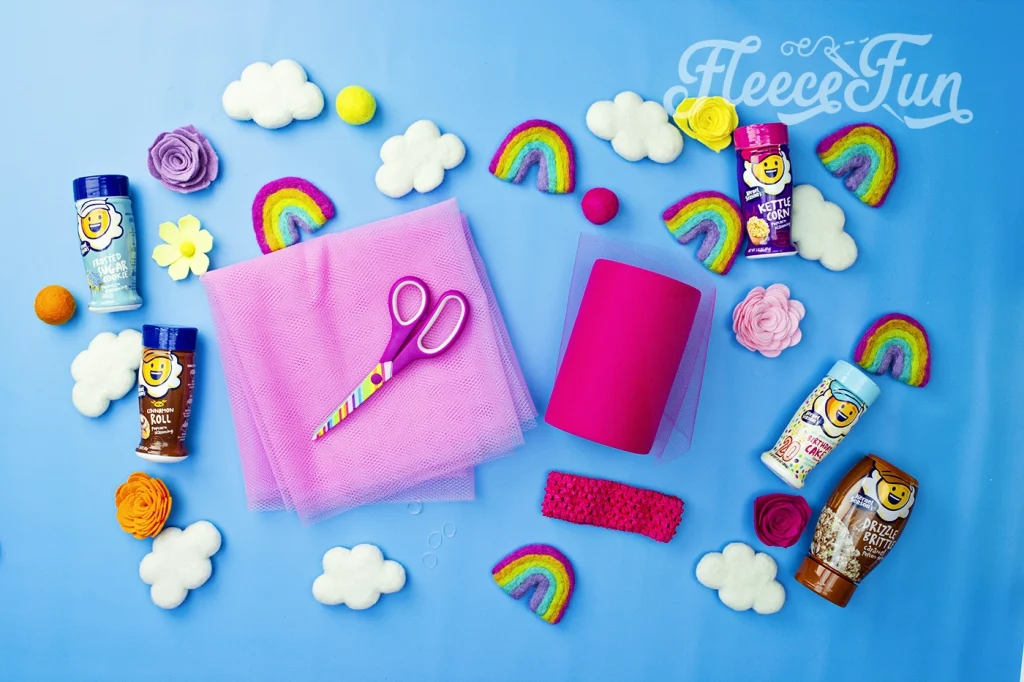
Gather your materials.
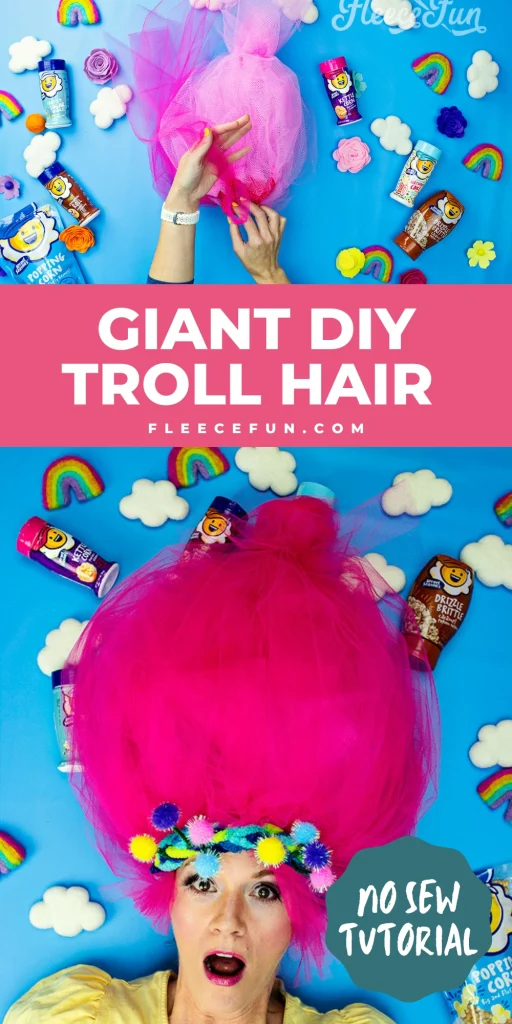
Step 1 – Build the DIY troll hair foundation
The stiff netting helps give the troll hair it’s volume. You can make the wig just from tulle, but I’ve found that netting helps it retain it’s shape.
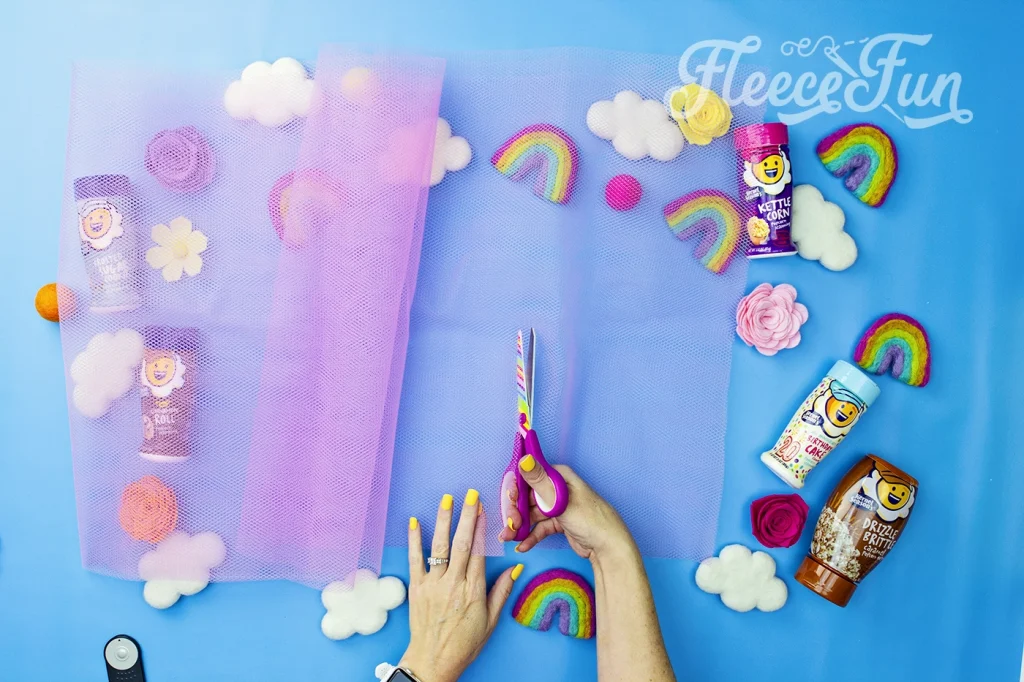
Start with cutting the stiff netting. Cut it the width of the fabric in roughly 10 inch sections.
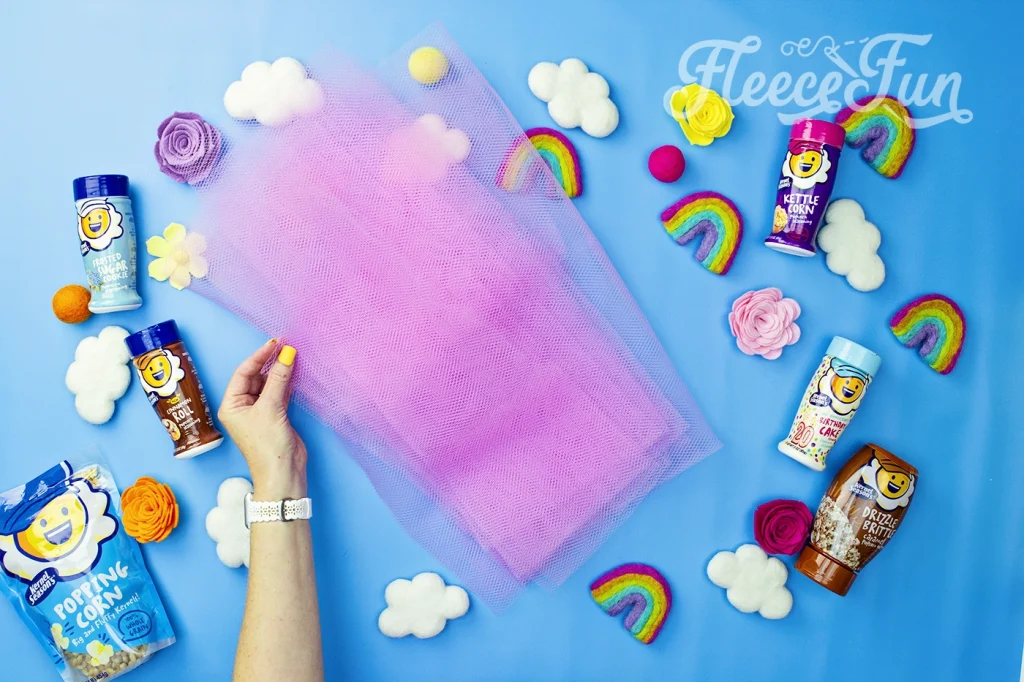
Cut all of the netting in preparation for the next part.
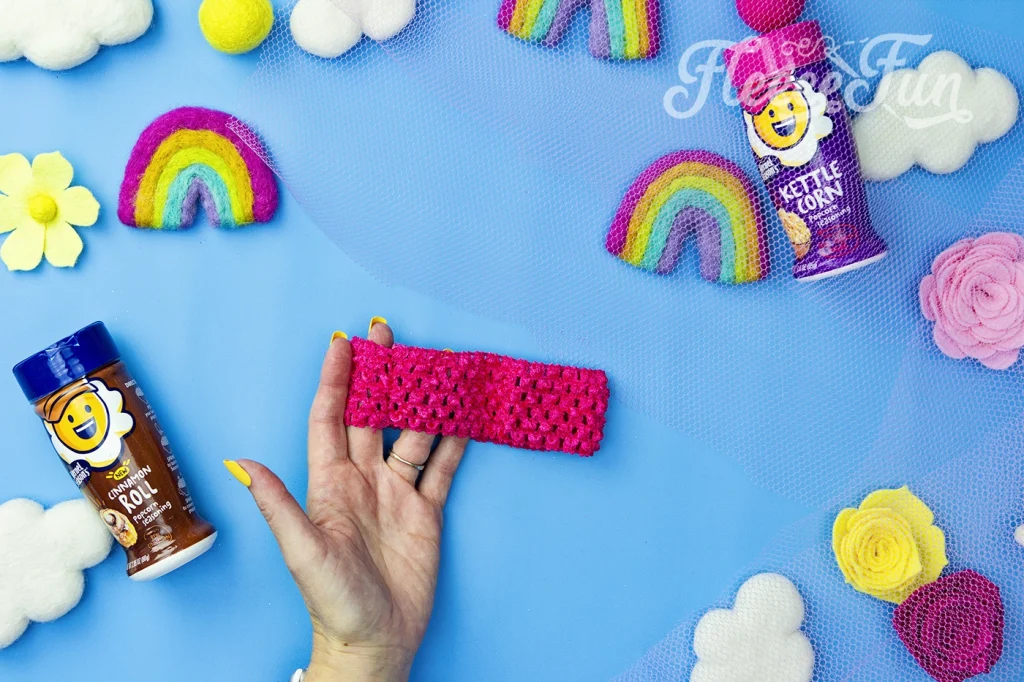
Grab the stretchy headband. We’re going to start with the top row of the headband and add the netting to it.
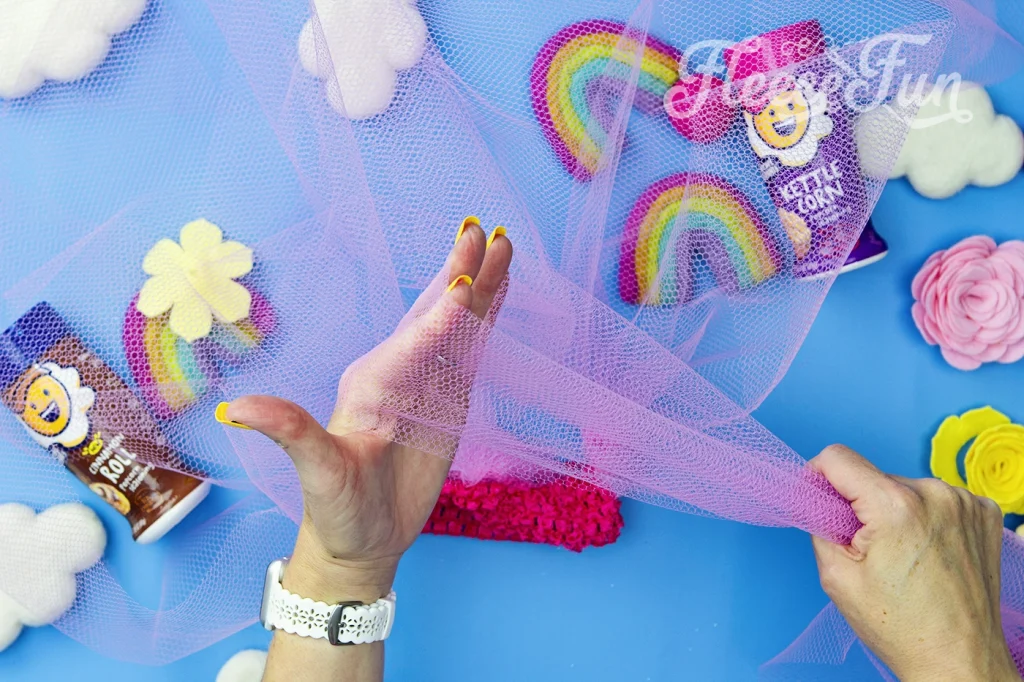
Take each section of netting and fold in half (so half of the width of the fabric, typically where the crease is on the bolt).

Pull it taught (you can even give it a twist to make it easier to thread)
Thread the fold (that will soon be a loop) through one of the holes in the top of the headband.
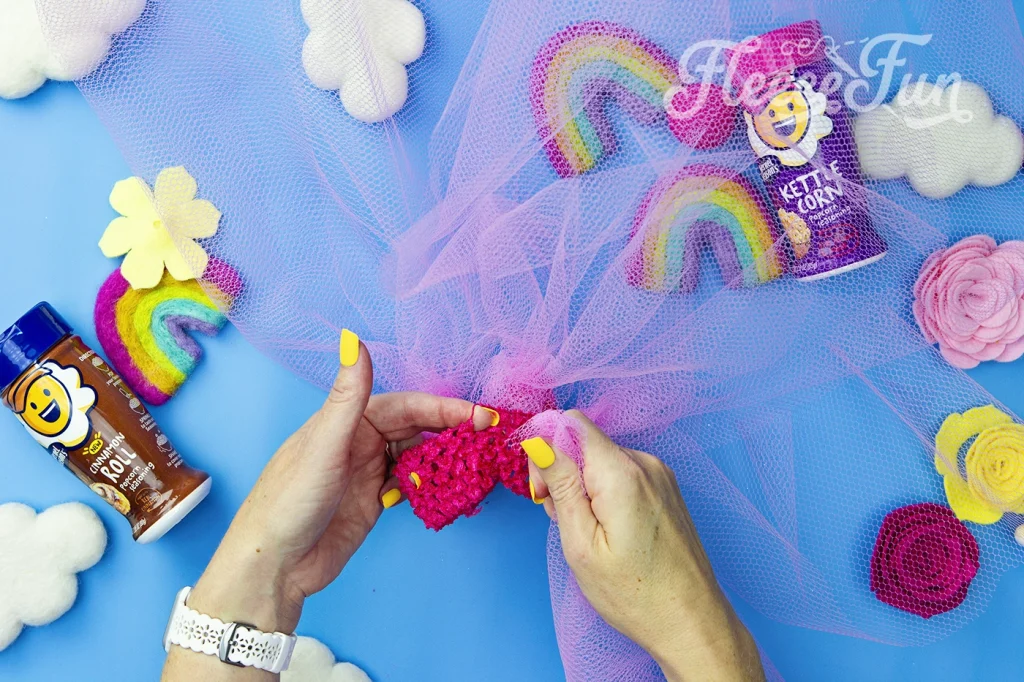
Once the fold of the strip is pulled though, you now have a loop.
Pull the ends though the loop and pull taught
Just so you know…
Because the stiffness/bulk of the netting it’s hard to get the knots small. It’s ok they can be on the bulky/ big side as long as they are tied tightly. We’re going to cover them in a minute.
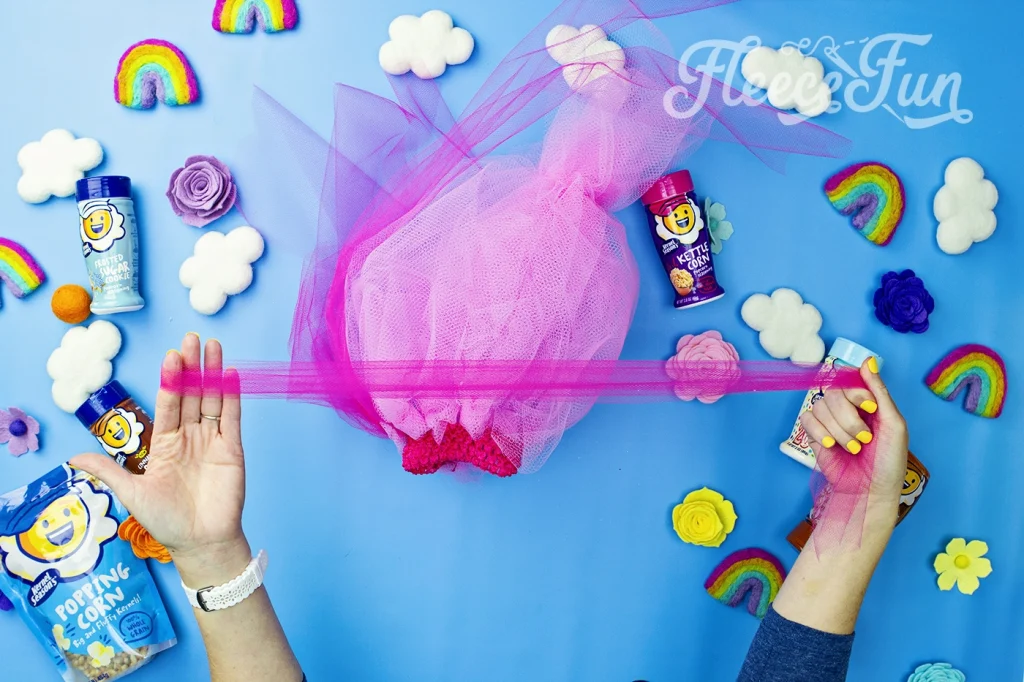
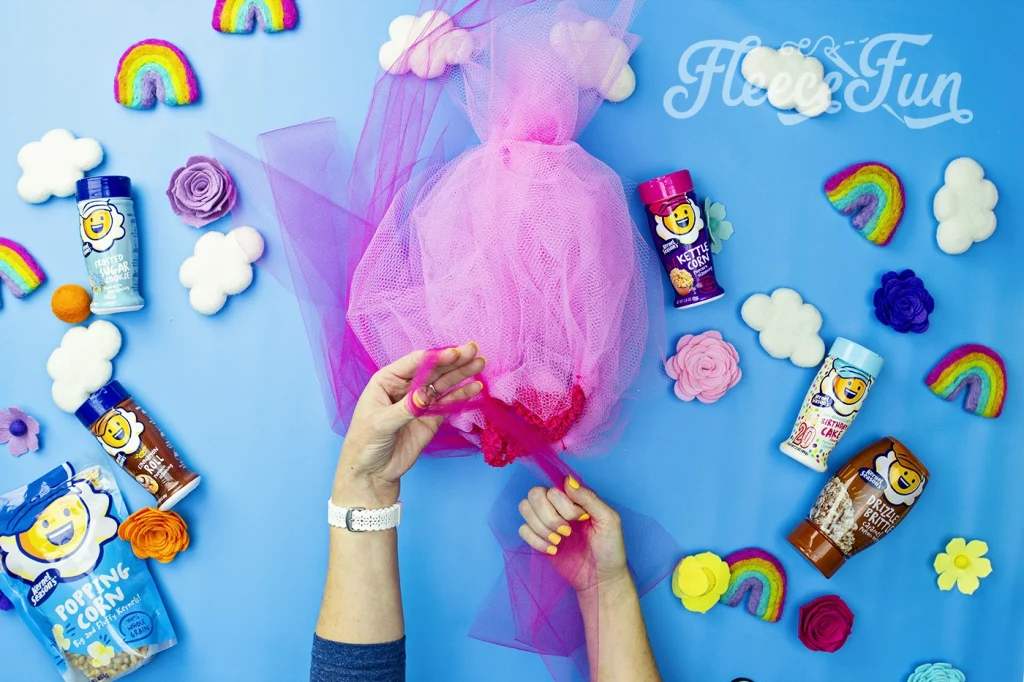
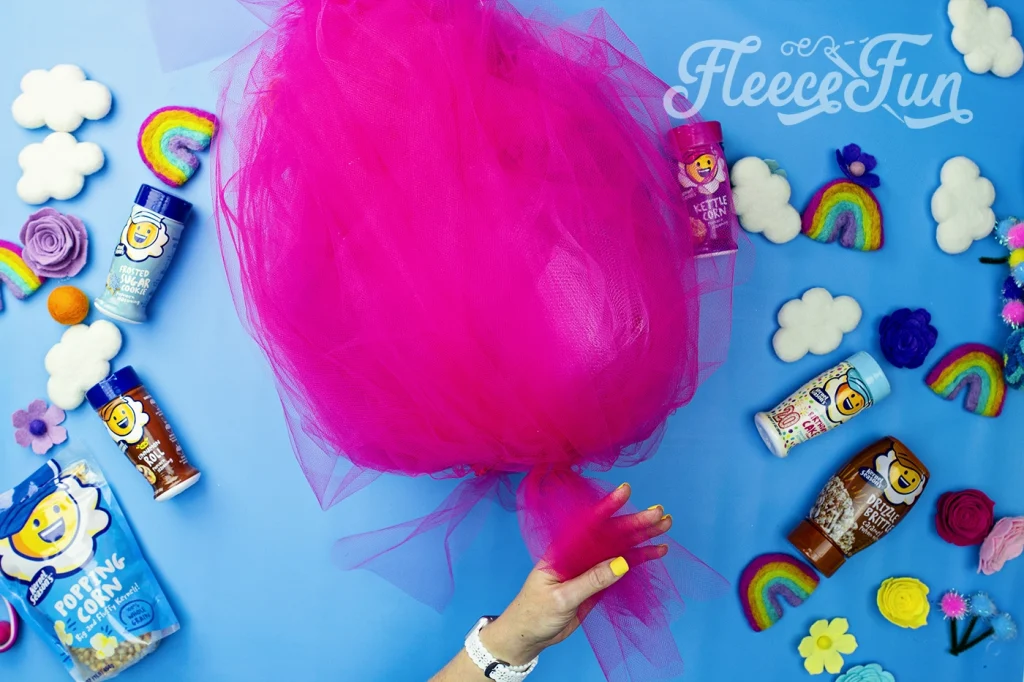
Continue to add the netting evenly all they way around the headband. Once you’ve added all the netting gather it up at the top.
Using the clear rubber band secure the gathered netting in place.
Fluff the netting so it’s even all the way around.
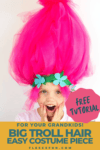
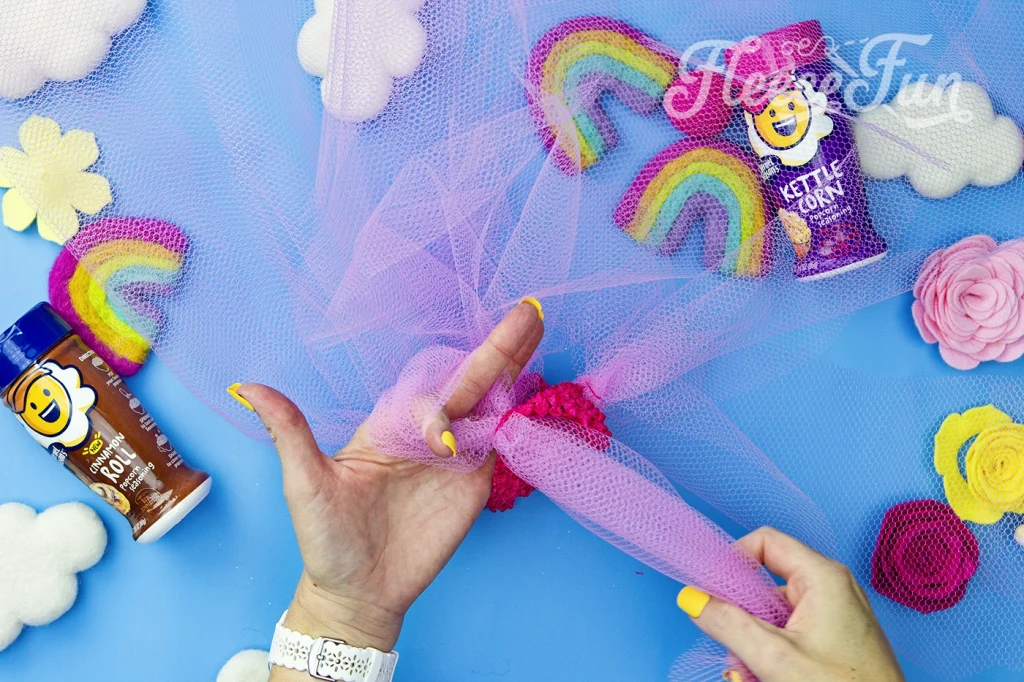
Step 2 – Add the tulle to the Troll wig diy
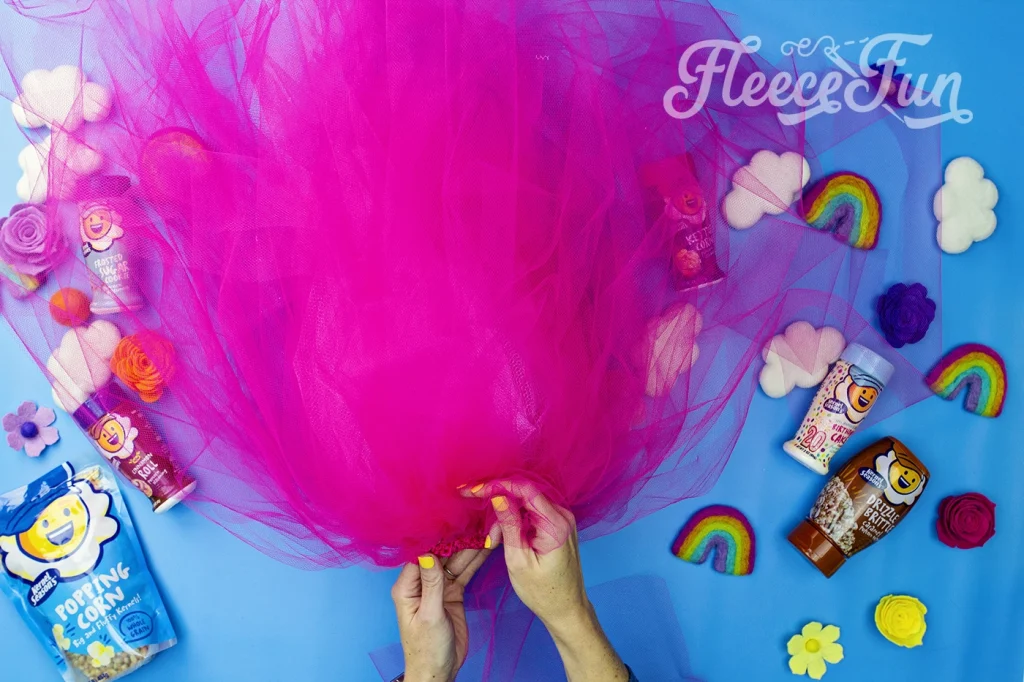
Now it’s time to add the tulle to the wig. The tulle give the hair a nice soft look and it’s amazing color.
Using the bolt of tulle, cut a length of tulle that is 60 inches in length, then fold in half, like we did with the netting.
The same way we added the netting, we’re going to add the tulle. The good news is the tulle is a lot easier to thread through the headband and tie. The bad new is that it’s a LOT of tulle to get the full rich look. Filling in between the netting, thread the fold through the headband to make a loop.

Pull the ends through the loop and tighten the know down (this will be mush easier, and a smaller knot than the netting).
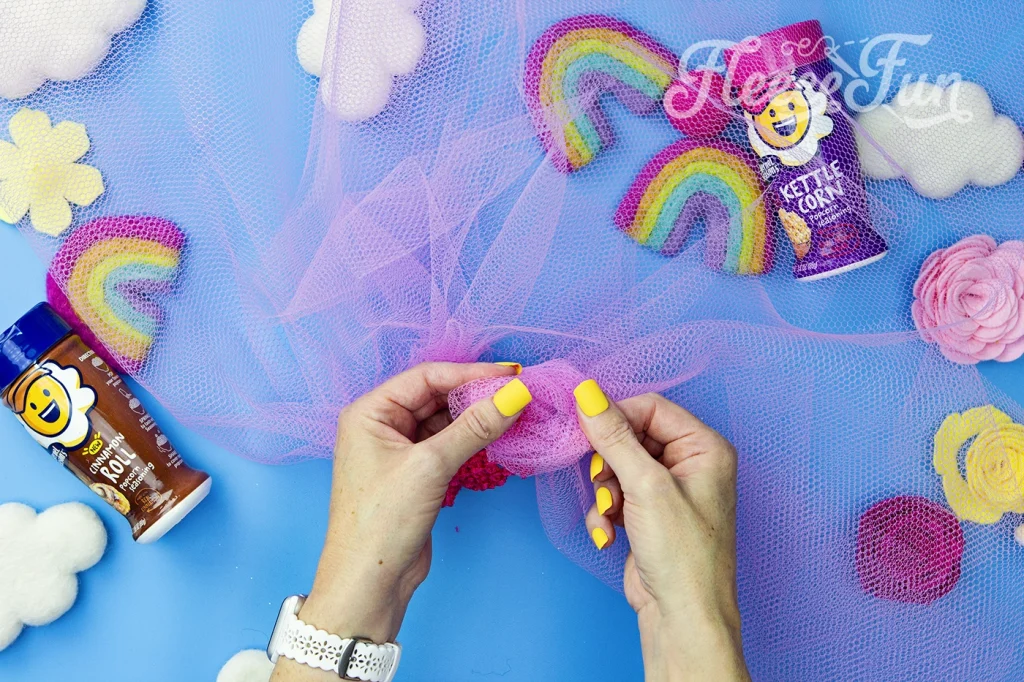
Stager the strips, working your way down the rows of the headband. Staggering going down a a row to make the troll hair full impressive looking. If you’re planning on adding a headband, you can leave a gap of headband at the bottom of the wig.
Like we did with the netting, gather the tulle so it meets at the top and secure together with a clear rubber band.
If you want a few wisps of hair around the face like princess poppy that’s easy to do. Tie a few strands of tulle on the bottom row of the headband, and cut the wisps short to look like bangs.
How to Make Princess Poppy’s Headband (2 ways)
Princess poppy has a few different styles of headband. I’ll show you a couple of ways.
For the braided hairband you’ll need some yarn, pipe cleaners and pom poms.
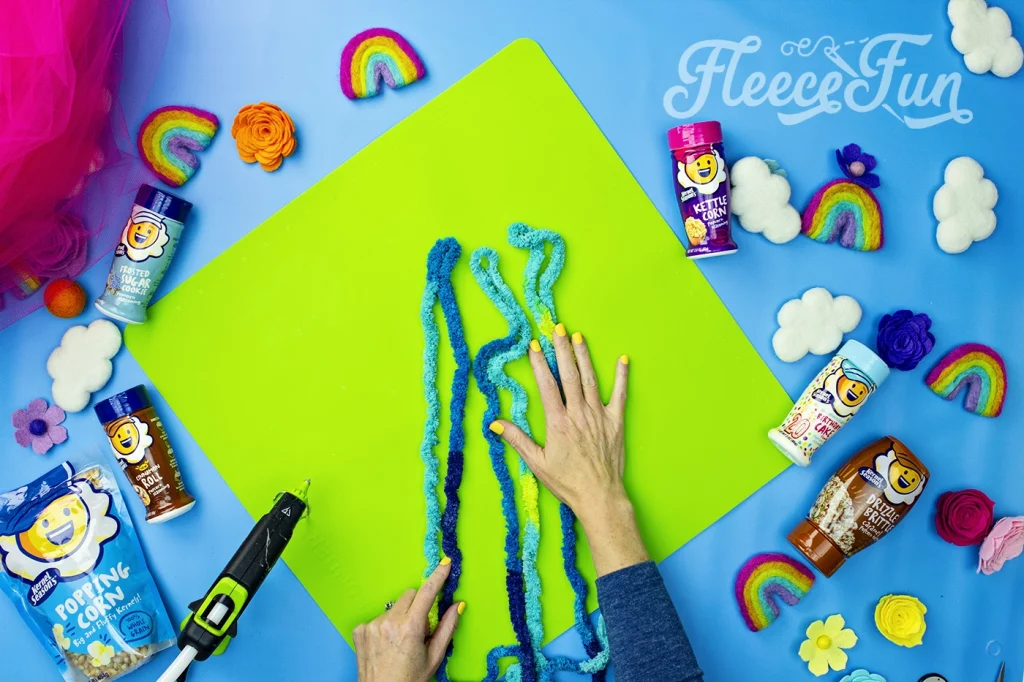
Start with three strand of yarn that are twice the length of your head measurement. Fold them in half.
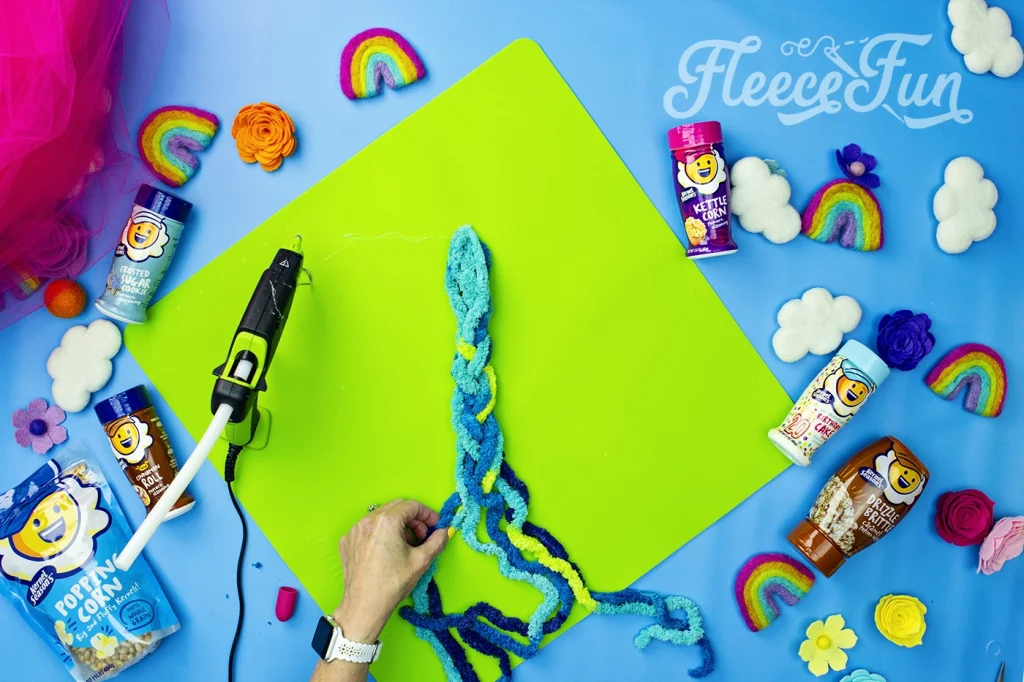
Glue the folded ends together and braid the three groups together to give the headband more bulk. Glue the end of the braid together.

Cut the green pipe cleaner down to 3 inch lengths. Glue a pom pom onto one end and then the other end of the pipe cleaner to the headband. Use a remaining pipe cleaner to help fasten each end of the braid together on the head.
Princess Poppy headband (classic version)
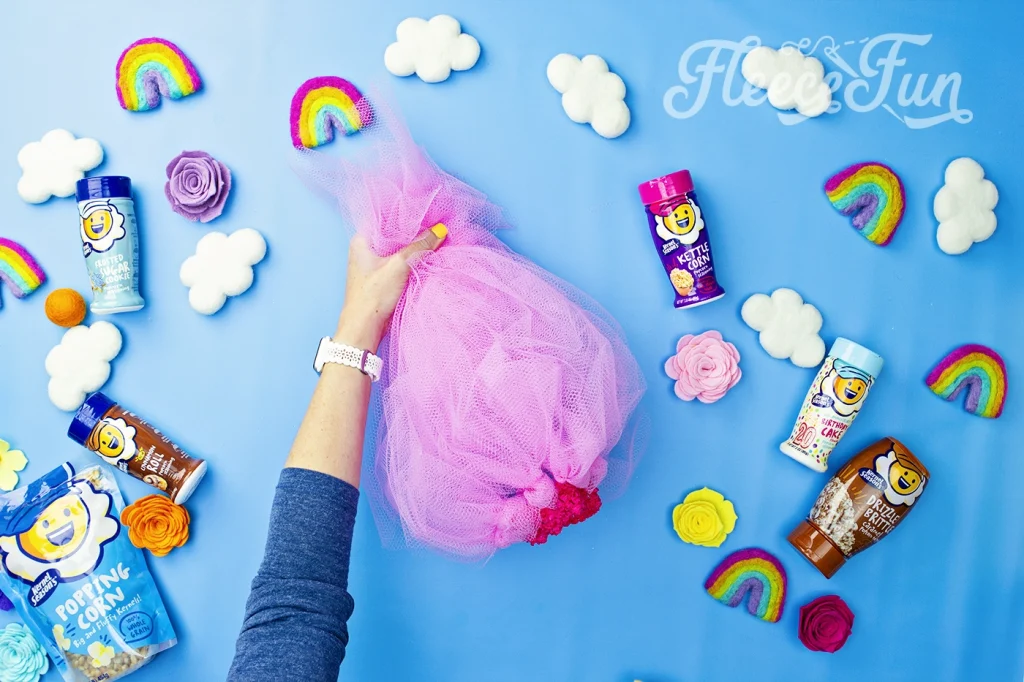
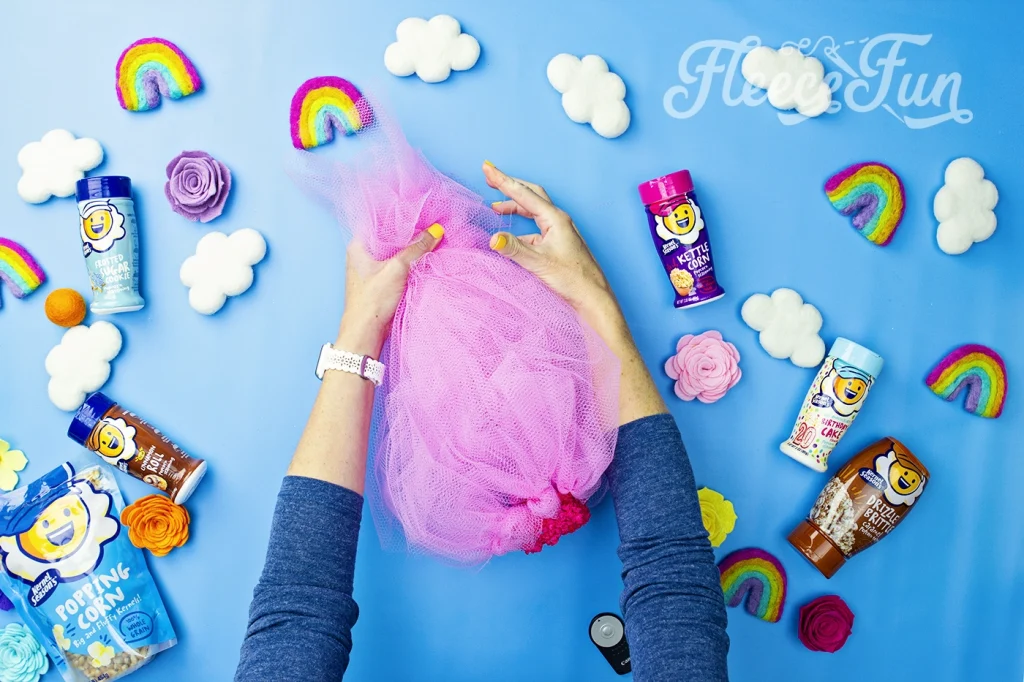
Since this troll hair is inspired by Princess Poppy I have a few short strips around the face. Use a second clear rubber band the gather the tulle at the top and you’re finished with the Troll Hair DIY. But if you want to make a headband to go with it… here’s how:
Cut a strip of felt that is 1.5 inches wide and 15 inches long. use the scraps to cut the long thin leaves by hand. (They’re basic you can just eyeball it).
Cut out flowers out of blue felt.
Fold in the corners of the green headband and sew it to 4 inches of fold over elastic ( you can hot glue it but sewing is much more sturdy)
Hot glue the blue flowers and leaved into place.
Quick Tip
When putting on the troll hair with the head band, put the head band on around your neck first, then put on the wig, then pull the headband up. Now go sing a happy song. 🙂
Trolls Costumes:
More Costume Tutorials you might like!
- Easy Jedi DIY Costume Tutorial
- Butterfly Wings Costume
- Easy Donut Costume DIY Free Pattern
- Moana Costume Tutorial
- Batman Cape Costume Tutorial DIY
fun tutorials You Might Like!
- Make a Leather Journal – Handmade Gift DIY
- Easy Lavender Lemon Salt Body Scrub
- Easy Sleep Mask Tutorial – Free Pattern
- Make Holiday Homemade Lotion
- Homemade Body Cream Recipe – Handmade Gift Idea
- Make Holiday Foot Scrub – Handmade Gift Idea
- Easy Sweet Homemade Lip Gloss
- Holiday Foaming Soap Tutorial – Handmade Gift Idea
More family costume ideas:
- Harry Potter Costumes (Dementor, Umbridge)
- Groovy 70s Costumes
- Hot dog and Condiments
- Circus Costume
- Jelly fish family Costume
- Family Disney Food
- Where the Wild Things Are
- Cloud and Sunshine
- Steam Punk Family Costumes
- Knit Chain Mail