
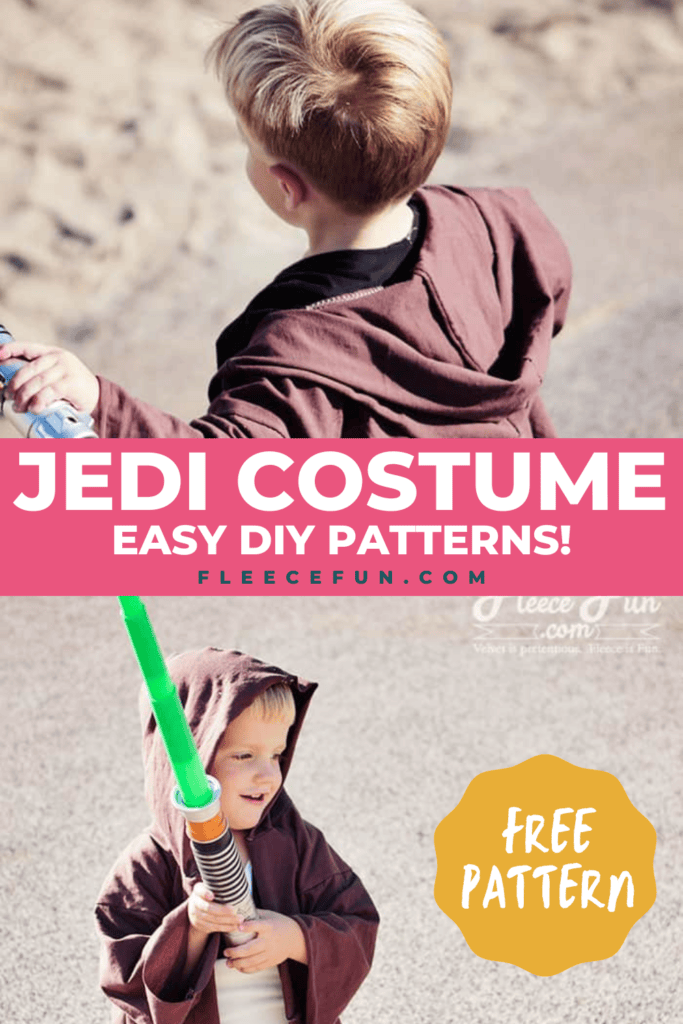
Easy Jedi DIY Costume Tutorial – Beginner Friendly
This content contains affiliate links or sponsored elements, read our Disclosure Policy.


The easy Jedi DIY costume tutorial is perfect for Halloween or play time! Your little padawan will love this outfit. All you need are some basic sewing skills and you can whip up that Jedi Costume in no time.
YOU WILL NEED:
- 1.5 brown jersey knit or fleece for vest
- 7/8 yard black, gray and or beige jersey knit for vest
- 1/4 yard stretchy fleece or knit for waist band
- Plain white t-shirt
- Plain pants in a neutral color
- Fleece Fun’s Free sewing pattern (get it here!)
- Rotary cutter, ruler and mat (available here)
- Sewing Essentials (pins, scissors, etc.)
Planning a Disney Vacation? Use the code “FLEECEFUN” to get get an extra $10 off any 2-night or longer Southern California package (hotel and 2 ticket minimum) when you book here.

Jedi DIY Costume Video Tutorial Here:
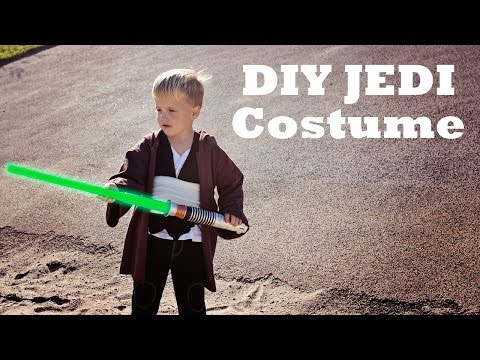
The Easy Jedi DIY Costume Tutorial:
Step 1 – Cut out the Following:

You will need to assemble the pattern for the easy Jedi DIY costume tutorial. For instructions on how to assemble the sewing pattern click here.

Cut out the robe main body. Place on the fold as directed on pattern piece – cut 1.

Cut out the hood. On doubled fabric cut out 2 of the hood piece.

Cut out the sleeves to the robe. Place sleeve pattern on the fold and cut out. Repeat so you have 2 sleeves.

Cut out the vest. On doubled fabric cut out pattern pieces so you have 2 Jedi DIY Costume vest pieces.

For the fabric belt measure the little Jedi’s waist and add 2 inches. Make the rectangle that long by 6 inches.
Step 2 – Sew a Simple Jedi Tunic

If you haven’t noticed Jedi’s LOVE their V necks. Everything they wear has that shape of neckline.

So we’re going to tweak this t-shirt so it fits in with the Jedi look.

Simply snip a slit from the center of the neckline on the t-shirt down about 3 to 4 inches.
Fold in the sides to form the V. Tack down the folds with a few stitches on your sewing machine (or if you’re in a hurry you can even glue it).
Step 3 – Sew the Jedi COSTUME Robe
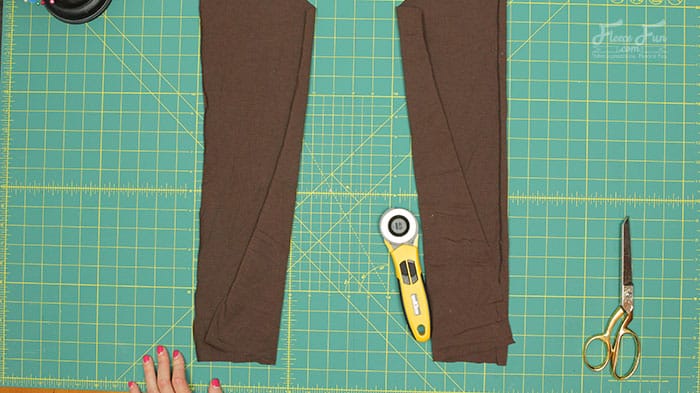
Fold out the the piece of cloth so it is flat. Using a rotary cutter ruler and mat, cut a slit on one side from the center of the fabric to the neck line to make the front opening.

Center the sleeves to the neck line and pin in place on either side.

Sew onto main body of robe using a .5 inch seam allowance.

Fold robe in half so the sleeves meet up and the sides meet up. Pin and then sew together using a .5 seam allowance.
Step 4 – Add the Hood to the Robe

Pin the out edge of the hood pieces together.

Sew using a .5 inch seam allowance.

Center on to robe and pin to neck line. Sew on using a .5 inch seam allowance.
Step 5 – Sew the Jedi DIY Costume vest

Pin the back of the vest together to the round neckline. Sew together using a .5 inch seam allowance. That’s it. The sides are open and the vest is held in place with the waistband.
Step 6 – Sew the Waist Band
Make sure that the fabric has the waist band has a good stretch to it. A jersey knit, Lycra or fleece with a good stretch. Sew up using a .5 inch seam allowance.
Step 7 – Layer Your Jedi Costume for the Complete Look

The t- shirt goes on first followed by the best being placed on the shoulders and crossed in front. Then the waist band goes on to hold the vest in place. Finally the robe tops it all off! You just completed the Easy Jedi DIY Costume Tutorial.
Get the Free JEDI DIY COSTUME Pattern Below:
You can get a free copy of Adobe reader here. By downloading you are agreeing to pattern terms of use. Click the picture below and fill up the form to download the .pdf !

More Star Wars Costumes Tutorials:
Costume Tutorials you might like!
- Easy Donut Costume DIY Free Pattern
- Butterfly Wings Costume
- Moana Costume Tutorial
- Big Troll Hair DIY Easy to Make
- Batman Cape Costume Tutorial DIY
More fun tutorials You Might Like!
- Make a Leather Journal – Handmade Gift DIY
- Easy Lavender Lemon Salt Body Scrub
- Easy Sleep Mask Tutorial – Free Pattern
- Make Holiday Homemade Lotion
- Homemade Body Cream Recipe – Handmade Gift Idea
- Make Holiday Foot Scrub – Handmade Gift Idea
- Easy Sweet Homemade Lip Gloss
- Holiday Foaming Soap Tutorial – Handmade Gift Idea


More Disney Costume Inspiration:
- Woody and Jess DIY Costume
- Disney Dole Whip Costume
- Minnie Mouse Costume
- Mary Poppins Costume
- Arial Costume
- Tangled Crew Costumes
