
Easy Sleep Mask Tutorial (free pattern)
This content contains affiliate links or sponsored elements, read our Disclosure Policy.


This child sleeping mask is perfect while traveling, or in a room where there is a lot of light.

It’s also a fun accessory to holiday pajamas and for sleep over gifts. Add one to a gift basket for a handmade touch or add iron on vinyl to personalize the look of the mask. Make several in one sitting to give away to all your friends.
note
There is a suffocation hazard, not meant for small children.

Today’s tutorial is for a satin sleep mask. It is perfect for getting some sleep while travelling, or if you are like my girls, just for the fun of having one! Luckily it uses such little fabric, and sews up very quickly. You could even sew up a whole set for a slumber party favor!
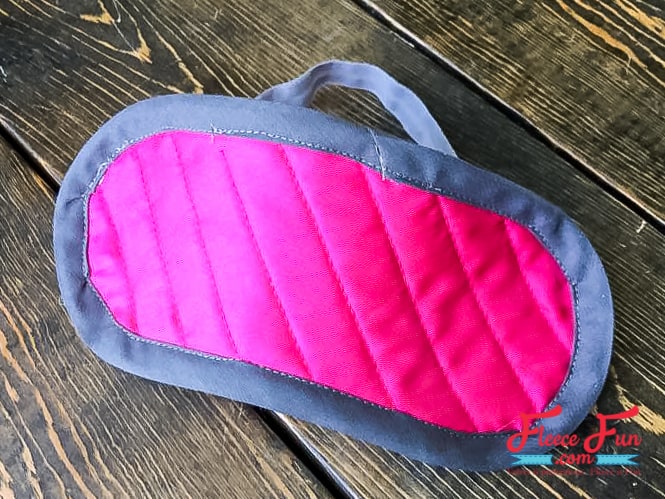
This sleep mask is sewn from two scraps of satin. They are sandwiching a layer of quilt batting (or use fleece!) and the raw edge is finished with bias tape. In the tutorial, I show a quilters’ trick to finishing off the raw ends of the bias tape neatly without a big bulky lump. The sleep mask stays on with a strap of fold over elastic, but any type of elastic will work.

YOU WILL NEED:
- small piece of satin or any other non stretch fabric
- small piece of quilt batting or fleece
- elastic, I used fold over elastic but any kind of elastic, 1/4″-1/2″ wide, will work
- glue stick – optional
- bias tape
- Get the free pattern here.
Easy Sleep Mask Tutorial (free pattern)
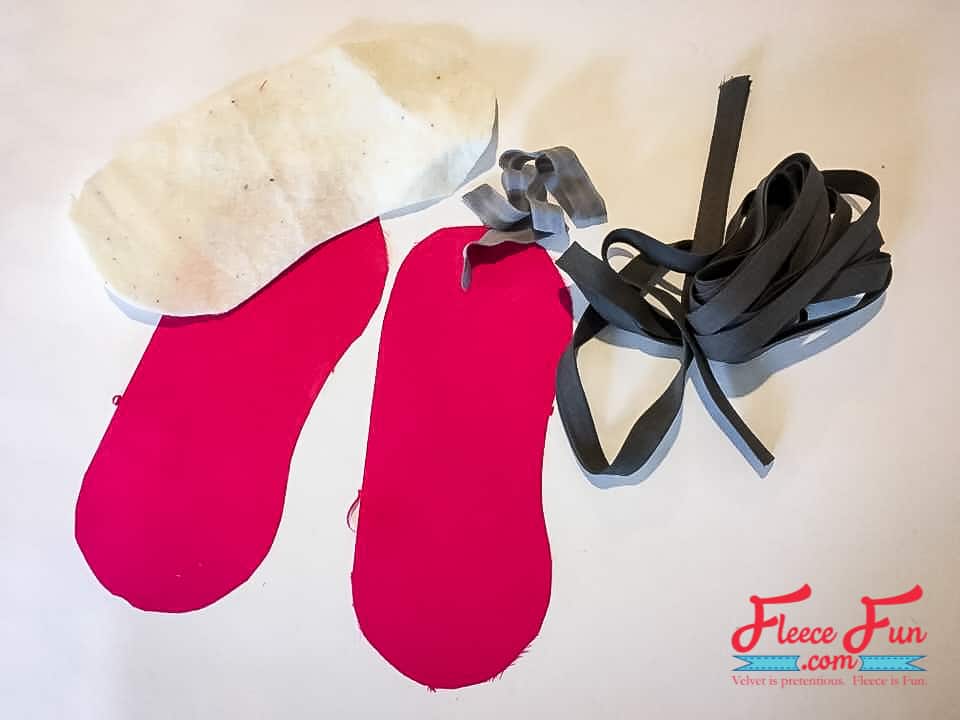
step 1 – Cut the pattern
Use the provided pattern to cut 2 of the satin and 1 of the batting. Cut a length of elastic 10″ long.
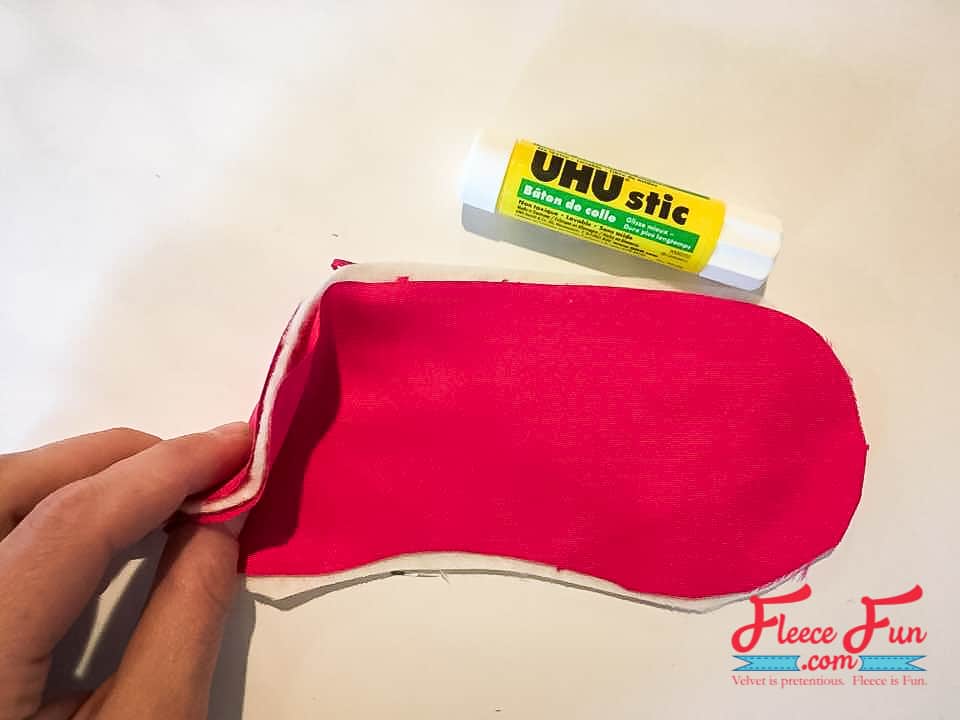
step 2 – sew the easy sleep mask
Sandwich a layer of batting between the two layers of satin, right sides out. I like to use glue stick to keep the layers from shifting while sewing.
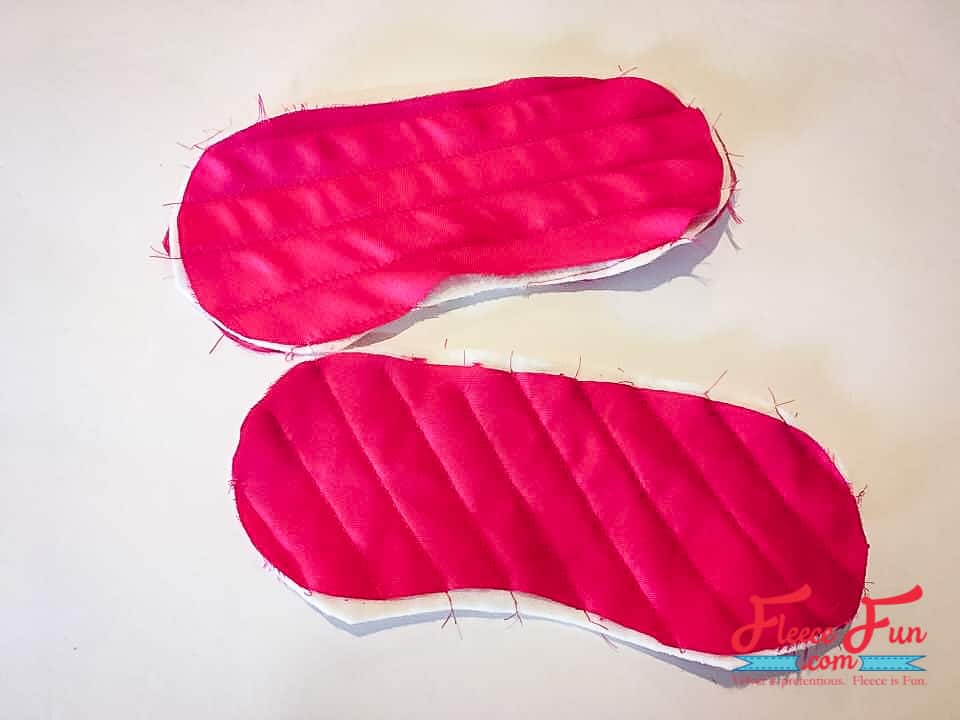
Quilt the layers together by topstitching. You can sew horizontal rows, diagonal rows, or whatever pattern you prefer!
Baste the two raw ends of the elastic to the sides of the mask as marked by the stars on the pattern piece.
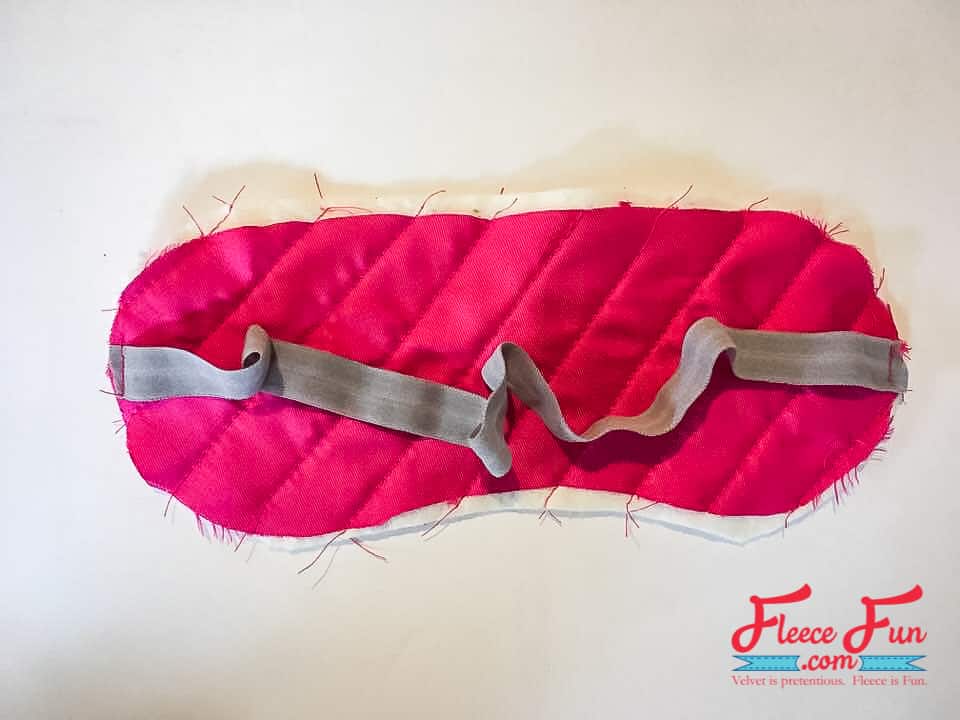
Sandwich the bias tape over the edges of the mask. Pin in place. Stitch, leaving a 2″ space open and 3-4″ tails on either side.
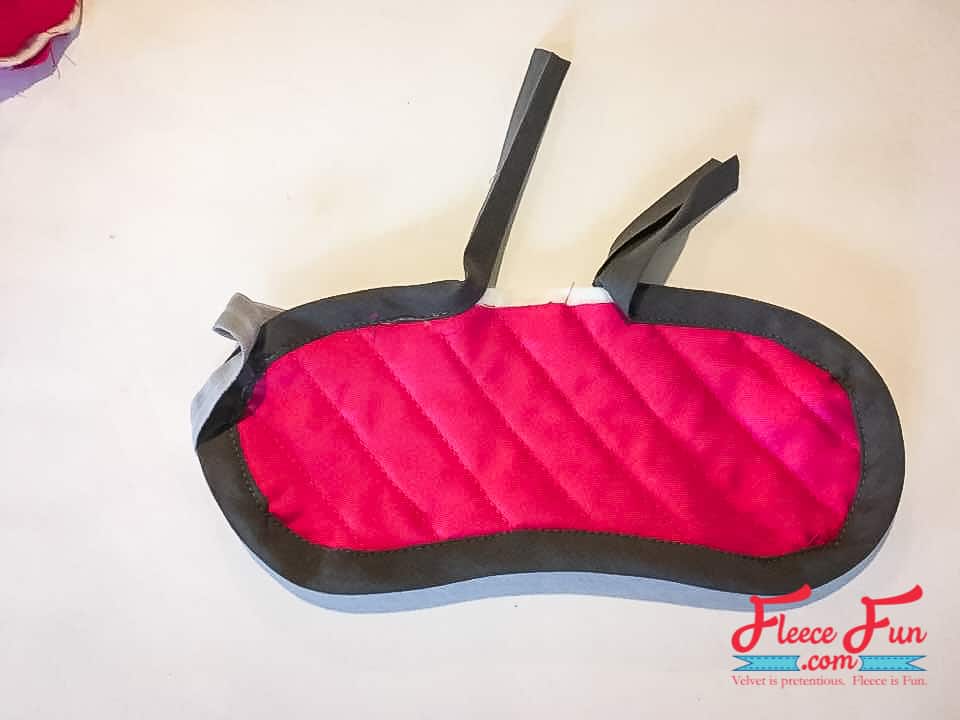
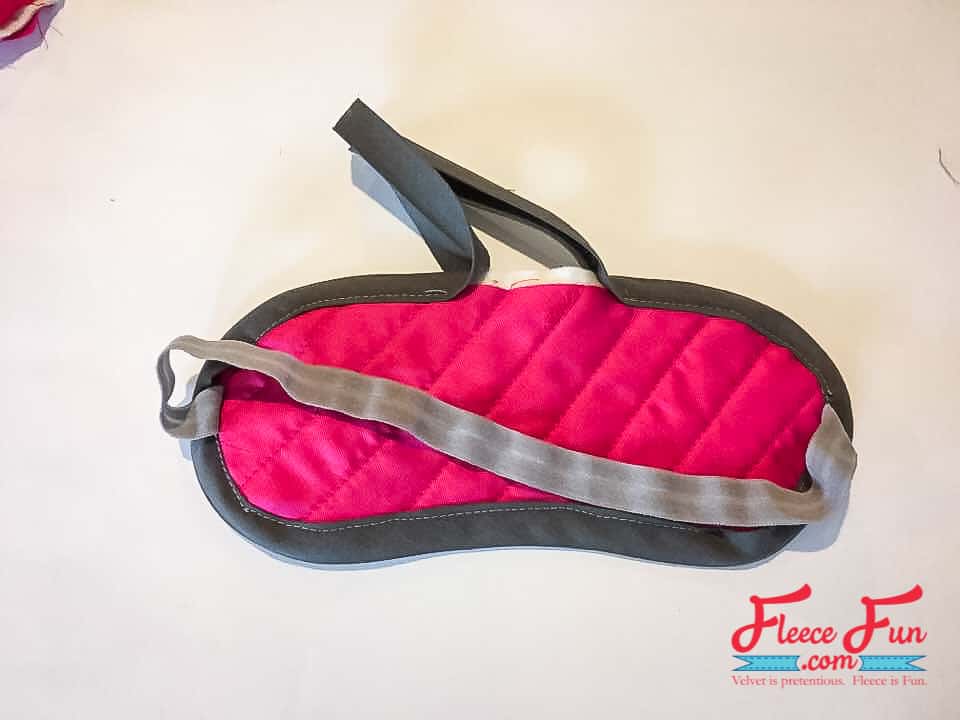
This is what it looks like from the other side.
Pin the tails together at a 90 degree angle, right sides facing.
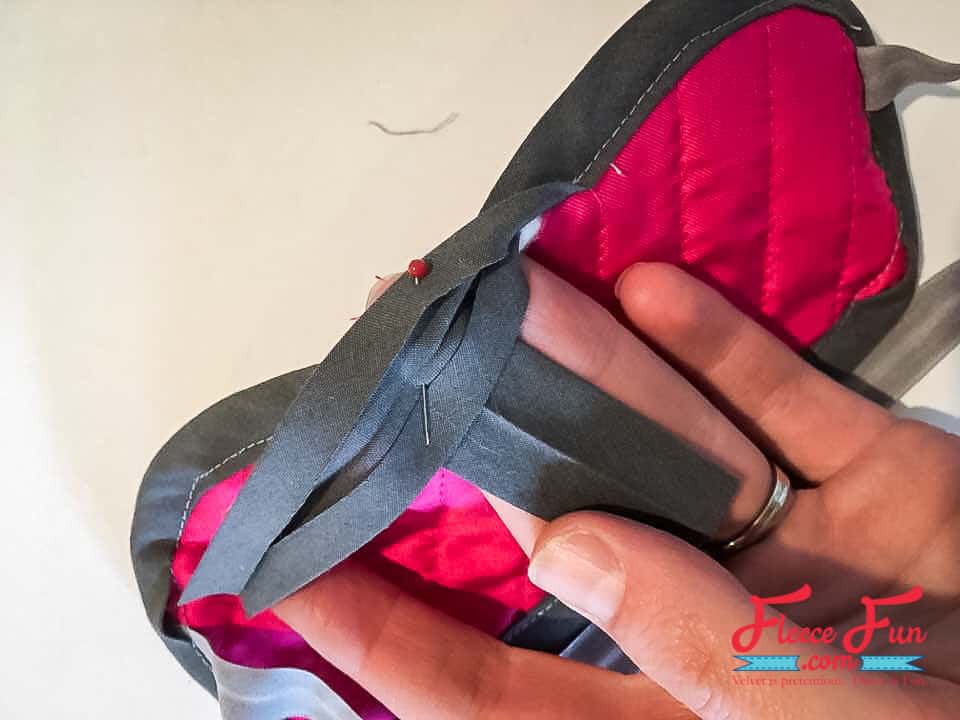
Stitch from corner to corner.
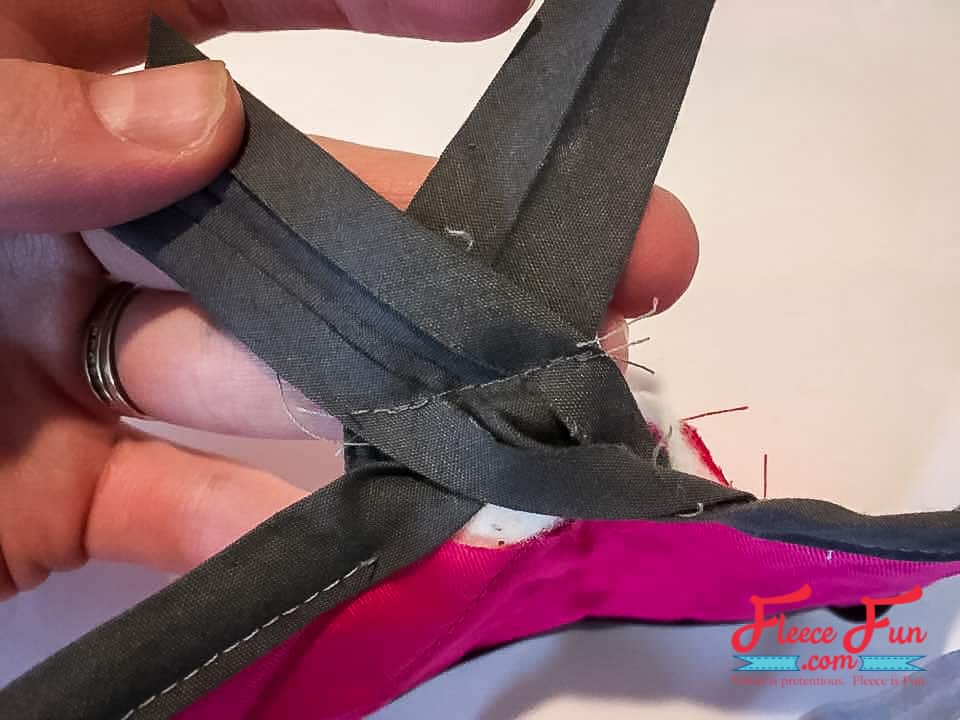
Trim the tails.

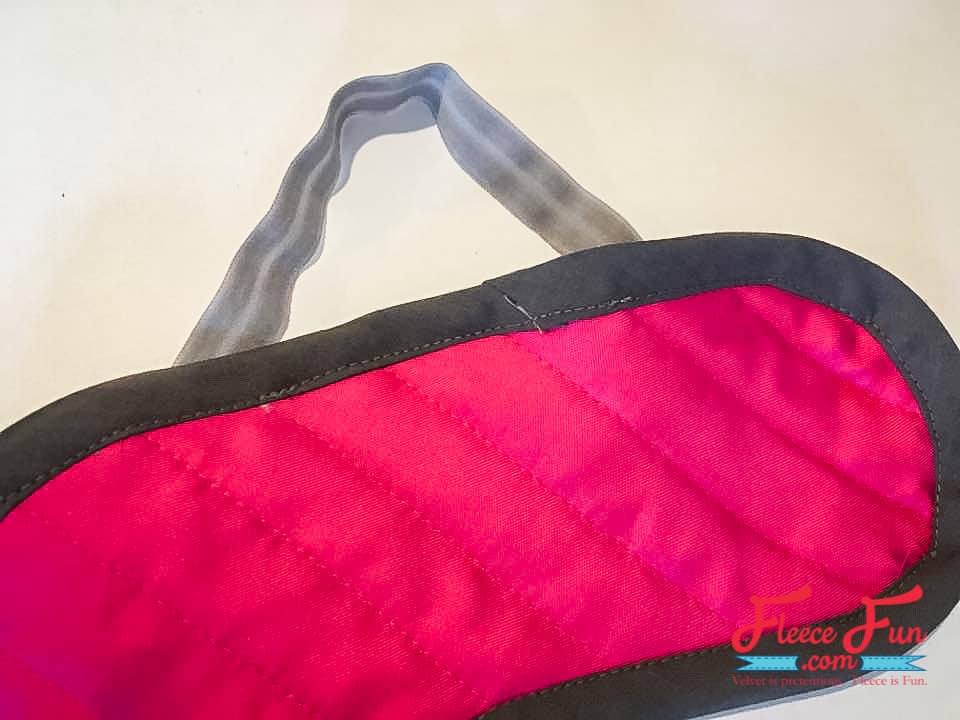
Flip the bias tape over and topstitch the remaining section.
Download the free easy sleep mask sewing pattern here:
Download the printable pattern piece by clicking on the image below and filling up the form.

More Handmade Gifts You Might Like!
- Make a Leather Journal – Handmade Gift DIY
- Luxury Gift Card Holder
- Sewing Machine Hoop Art
- Rice Heating Bag
- Fitted Face Mask DIY
- Easy Lavender Lemon Salt Body Scrub
- Make Holiday Homemade Lotion
- Homemade Body Cream Recipe – Handmade Gift Idea
- Make Holiday Foot Scrub – Handmade Gift Idea
- Easy Sweet Homemade Lip Gloss
- Holiday Foaming Soap Tutorial – Handmade Gift Idea
Other Fun Tutorials!
- Tomato Cage Ghost DIY with Free Templates
- Trick or Treat Banner DIY – Free PDF & SVG
- Muslin Baby Bib Pattern and Tutorial
- Free Baby Burp Cloth Pattern
- How to Make a Baby Busy Tag Blanket
- Big Troll Hair DIY – Easy to Make
- Princess Poppy Costume DIY – Free Pattern
- Easy Jedi DIY Costume Tutorial
- Easy Donut Costume DIY – Free Pattern
