
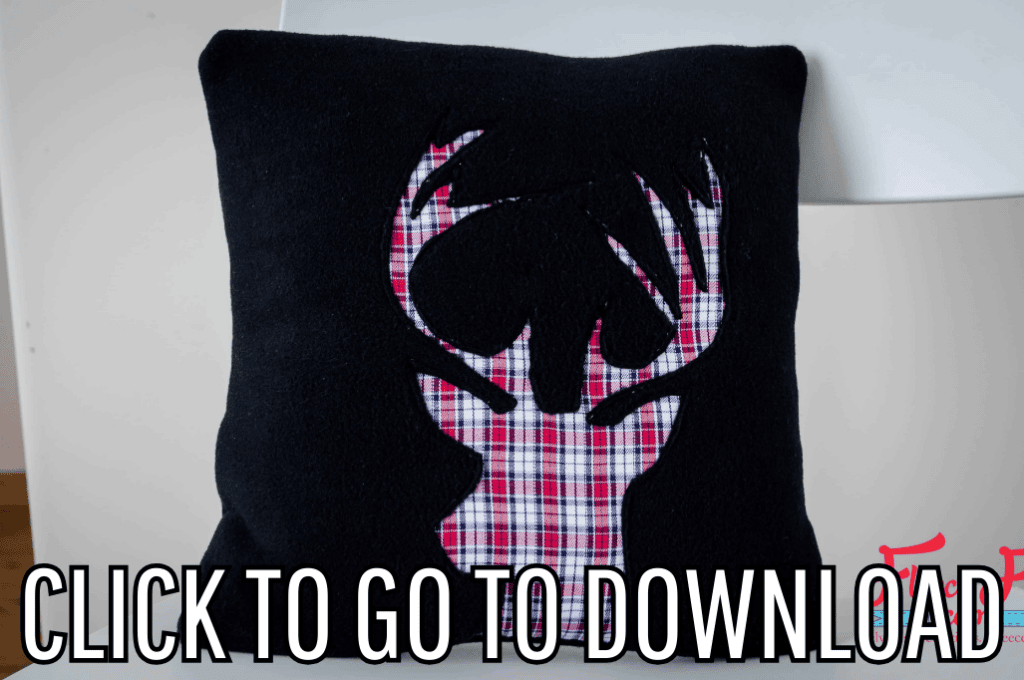
Deer Head Pillow Tutorial (free pattern)
This content contains affiliate links or sponsored elements, read our Disclosure Policy.
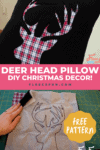

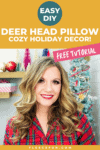
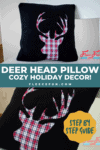
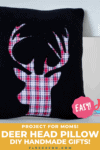
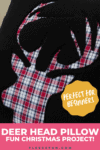
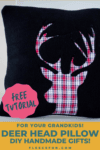
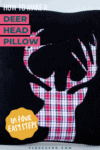
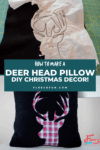
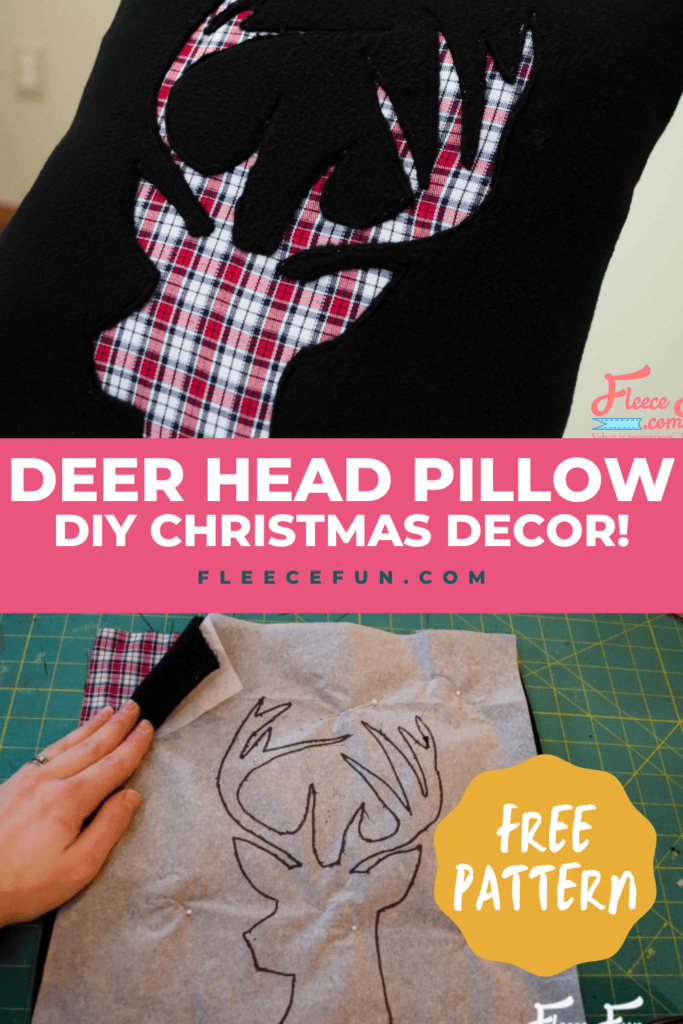
You can make a Deer head pillow with these easy to follow instructions. Perfect for home decors you can make several out of different colors and fabrics to add style to a room. This Deer Head Pillow tutorial makes a pillow slip cover that is suitable for a 12″ square pillow form. You can experiment with enlarging/decreasing it for different sizes.
YOU WILL NEED:
- 1/3 yard fleece
- 1/3 yard contrast fabric – quilting cotton works well
- tissue paper
- 12″ square pillow form
- Sewing Essentials (pins, scissors, etc.)
- Get the free pattern here.
Deer Head Pillow Tutorial:
step 1 – Cut the pattern pieces
Using the pattern piece provided, cut 1 square of fleece and 1 square of contrast fabric. You will also need 2 pieces of fleece measuring 12.5″ x 10.5″ (there is no pattern piece for these, simple measure out the rectangle).
step 2 – trace and sew the deer head design
Trace the deer design onto tissue paper.

Place the contrast fabric right side up. Lay the fleece on top, also right side up. Place the tissue paper on top of the fleece and pin all three layers together.
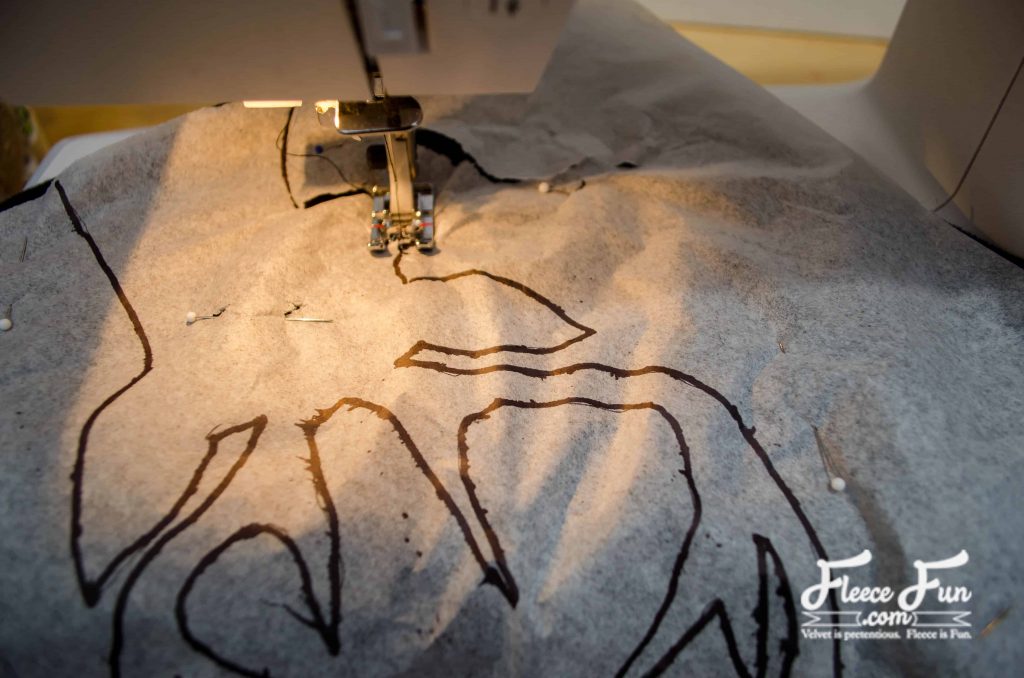
Stitch around the deer design, right through the tissue paper. The tissue paper acts as a stabilizer as well.

Once you are finished stitching, the tissue paper easily tears away.
step 3 – reverse applique

With a small pair of sharp scissors, very carefully cut away the fleece on the INSIDE of the deer to expose the contrast below. You are ONLY cutting away the fleece, close to the stitching line, and not cutting the contrast fabric. This technique is called reverse applique.
step 4 – assemble the deer head pillow
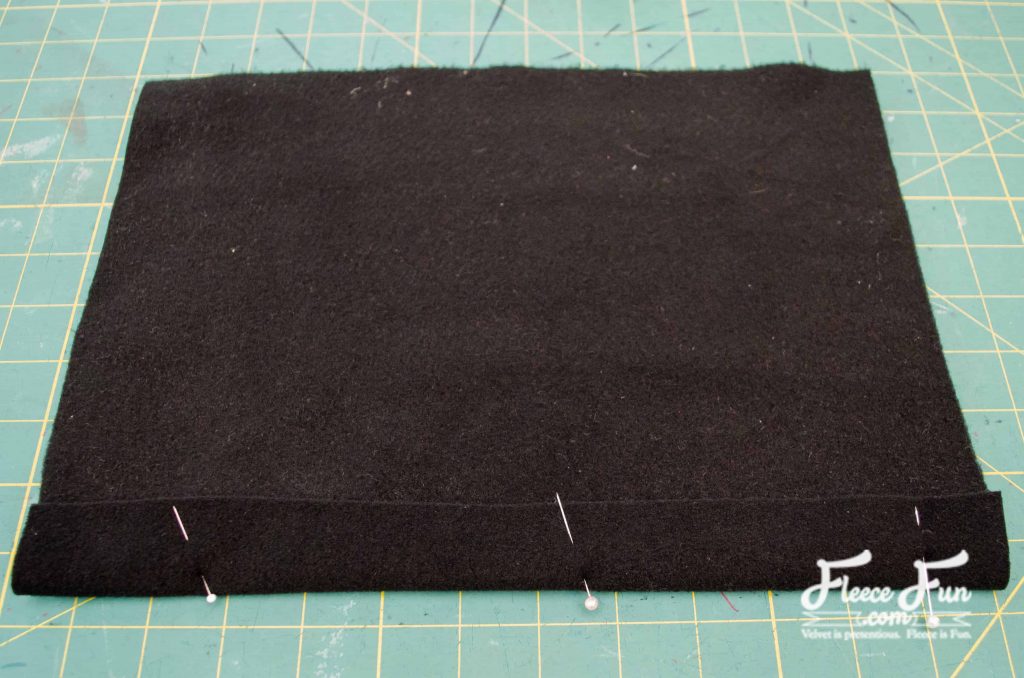
Take the two remaining fleece rectangles and fold over one long end to the wrong side by 1″. Topstitch in place.
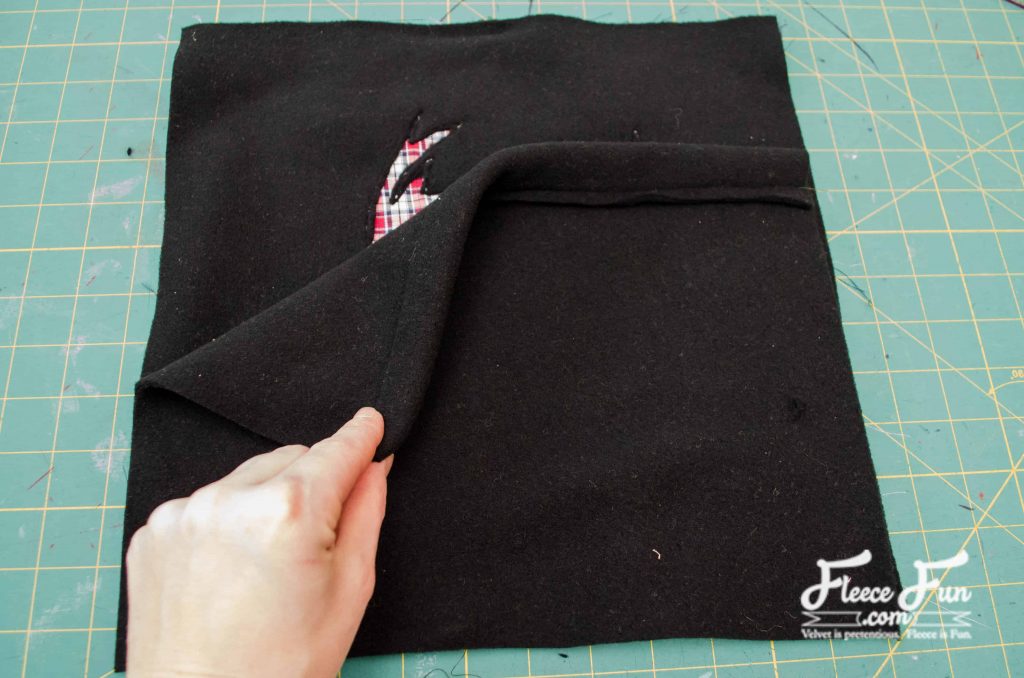
With right sides together, place both rectangles on top of the pillow front, with the hemmed edges overlapping in the middle.

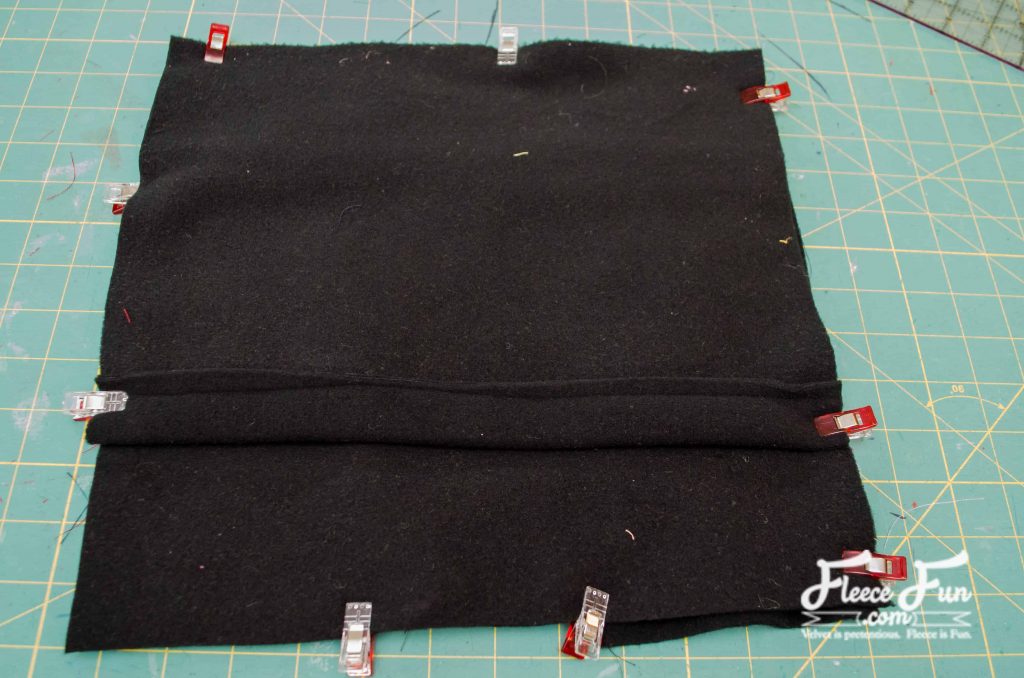
Stitch around the perimeter.
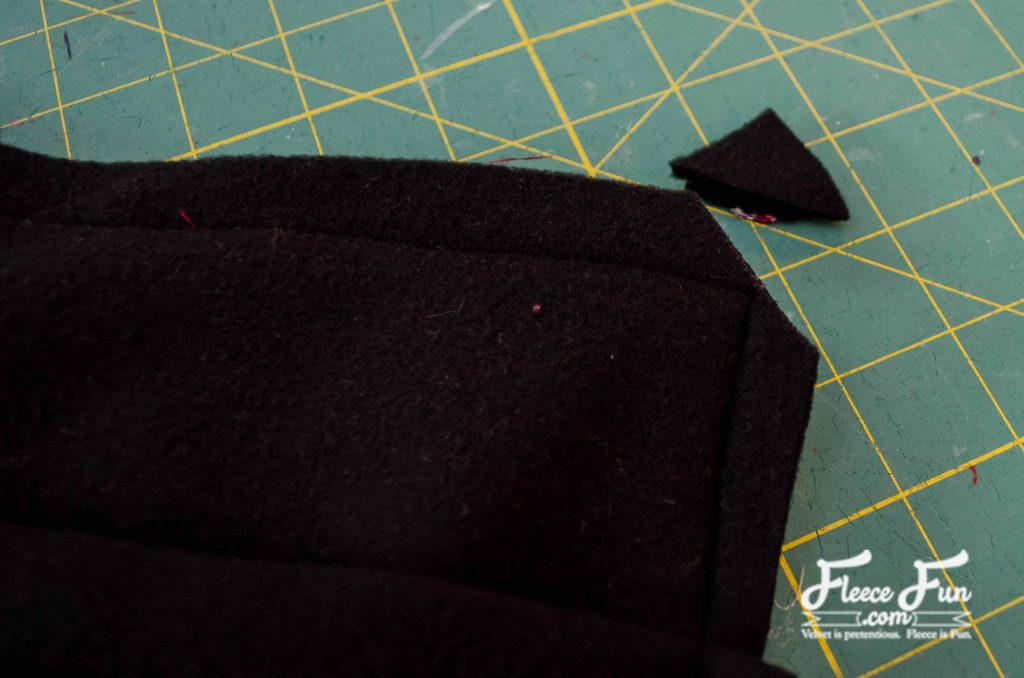
Clip the corners.

Turn right side out and insert the pillow form.
Download the Deer Head Pillow Tutorial Pdf Pattern below:
By downloading you are agreeing to pattern terms of use. Click the image below to go to the download form. Or click here.
Part of the Handmade Gifts Series you can Find more Handmade Gift Ideas Here
More Christmas Crafts and Recipes!
- Vintage Apron
- Advent Calendar Wreath
- Let Us Sew SVG Christmas Décor
- Holiday Spa Set Tutorial
- Christmas Stocking How-To
- No-Sew Christmas Stocking Patterns
- Holiday Bath Bombs DIY
- Christmas Tree Pillow
- Christmas Terrarium DIY with Cricut Maker
- Christmas Ideas
Printables and Cut Crafts this Season!
- Free Christmas Printables
- Free Christmas Picture Printables
- Personalized Christmas Pajamas
- Free Christmas Printable Joy World
- Free Christmas Printable for Hot Chocolate
- Free Christmas Printable for Apron
- Perfect Stocking Stuffers for Sewing Lovers
- Mad Hatter Tea Party Paper Chandelier
- Printable Handmade Gift Planner

