
DIY Halloween Garland – Cute and Funny Bats!
This content contains affiliate links or sponsored elements, read our Disclosure Policy.


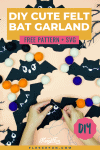
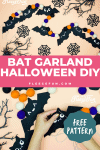
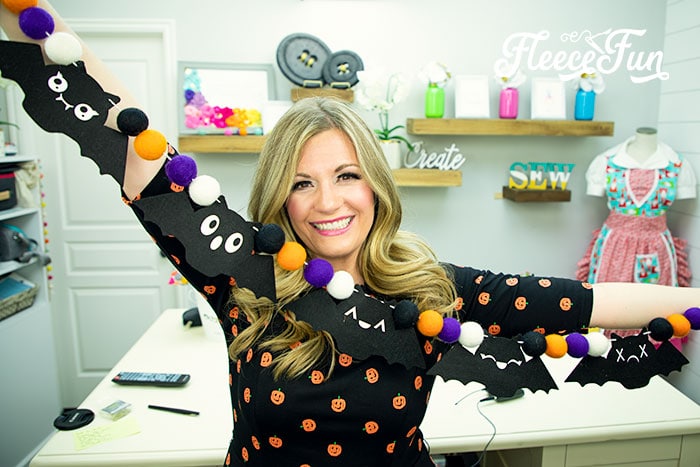
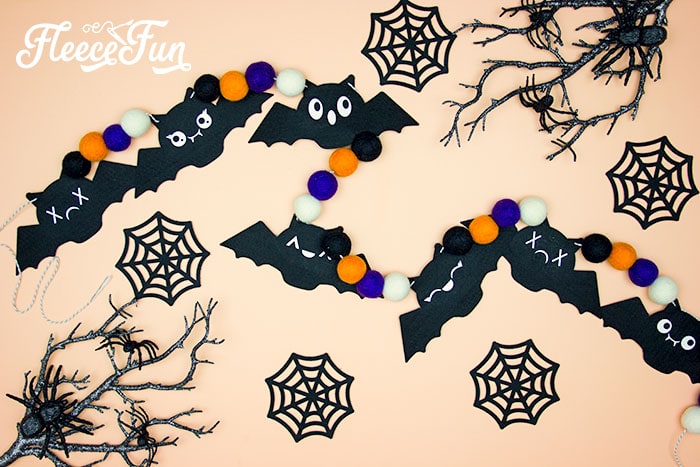
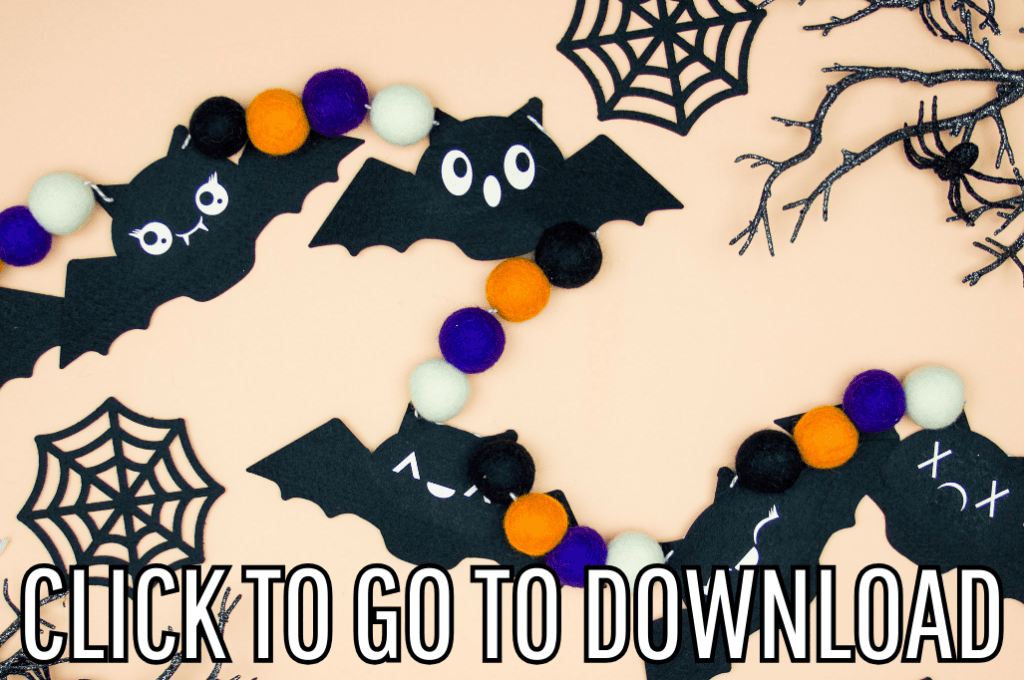
This DIY Halloween garland is cute and fun to make! Simply use the free PDF or SVG to create the bats for the garland. This garland is a perfect, not-too-spooky Halloween decoration, ideal for classrooms and other festive settings. The colors of the garland can be easily switched out to suit your theme!
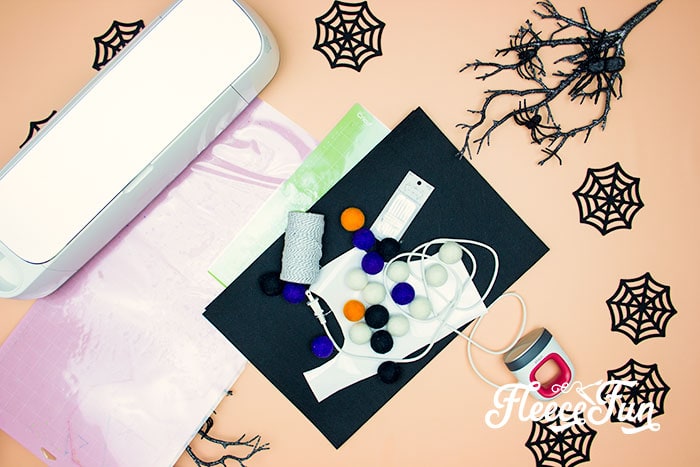
YOU WILL NEED:
- Black Stiff Felt Sheets
- Cricut Maker or Explore Air 2
- Light grip mat
- Fabric Grip Mat
- Standard Grip Mat (should work with a fine point blade)
- MiniPress
- White Everyday Iron On
- Large Felt Pom Poms in the colors of your choice (I like to get mine here – I liked using 4 large (1.25 inch balls) between each bat
- Twine, embroidery floss, thin ribbon or thin yarn for the string
- Large eyed needle for stringing
- Get the free pattern here.

DIY Halloween Garland Instructions

Step 1 – Cut Out the Bats for Your Halloween Garland
Load the bats SVG into Cricut Design Space. Or you can use the PDF to cut them out by hand.
I opted to cut out the bats using a fabric mat and rotary blade on my Cricut Maker. But you can easily also cut out the bats using a fine point blade and the Cricut Explore Air 2. The bats are 8.5 inches Wide and 3.5 inches tall. I’ve set up an SVG file so you can cut the most out of a sheet possible (it’s 7 bats).

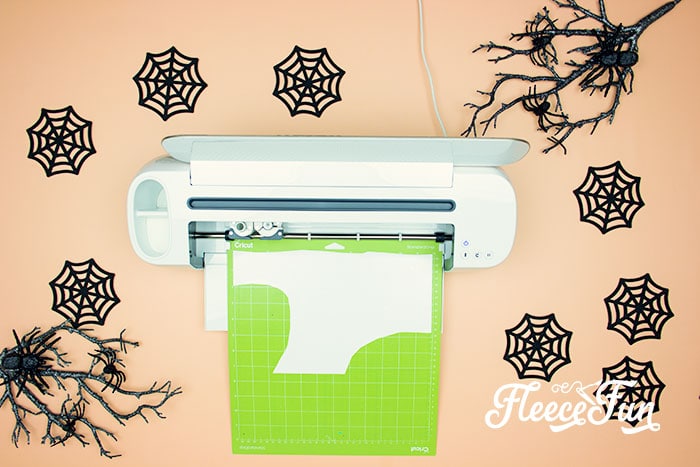
I recommend cutting at least 2 sheets – but cut what works for you! Once the DIY Halloween Garland bats are cut set them aside.
Switch out to the finepoint blade.
Cut out the eyes from the vinyl.
NOTE
You don’t have to mirror the eyes – it just depends which way you want them looking. Or if you’re making a lot mirroring some of the eyes is a nice way to get some variety.
Weed the Iron on.
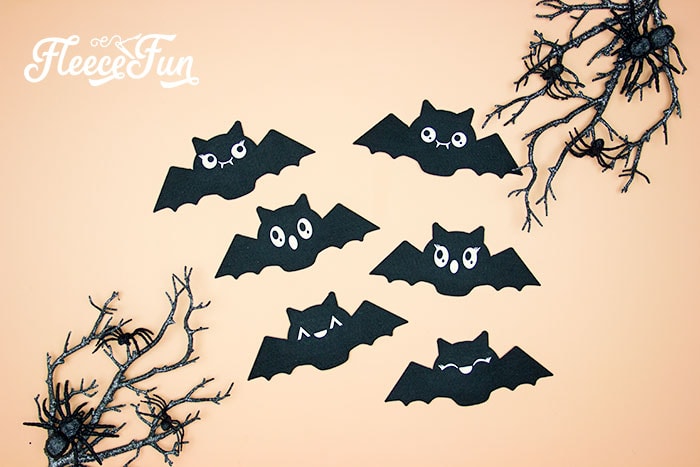
Step 2 – Add Eyes to Your DIY Halloween Bats

I’m going to break a rule and use HTV on acrylic felt. There are a couple of things you can do to prevent melting.
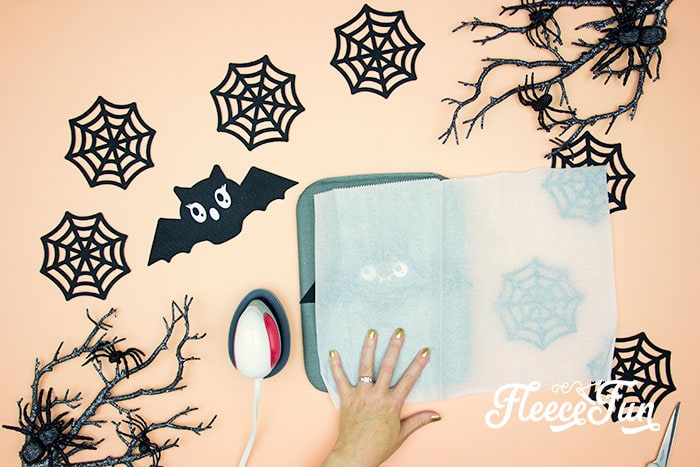
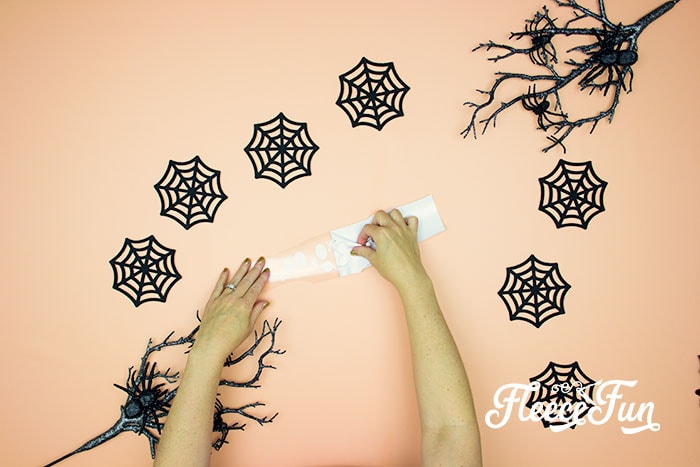
1. Make sure that you use parchment as a buffer so no part of the EasyPress touches the felt directly (so it can’t melt on the iron) .
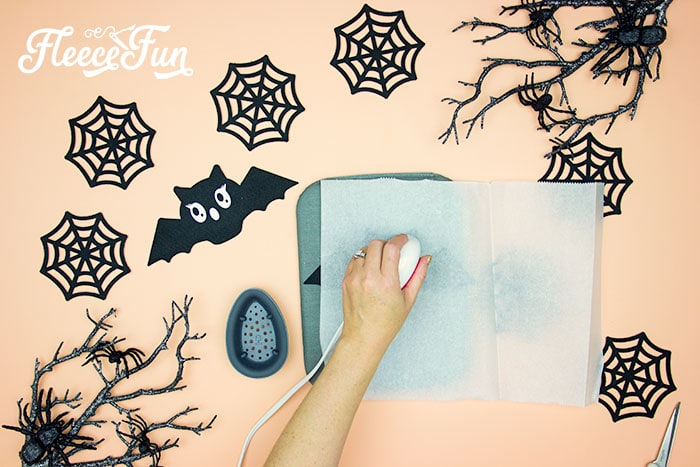
2.Try a shorter amount of time than what is recommended ( I used about 10 seconds on setting 2 of my MiniPress). Play around with it and see what works for you.
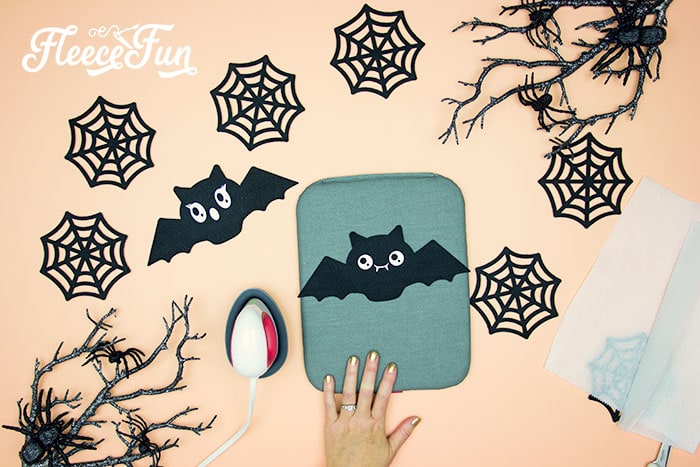
Peel the transfer away and repeat with all of your DIY Halloween Garland bats.

Don’t they look awesome?
Step 3 – String Together Your Halloween Bat Garland
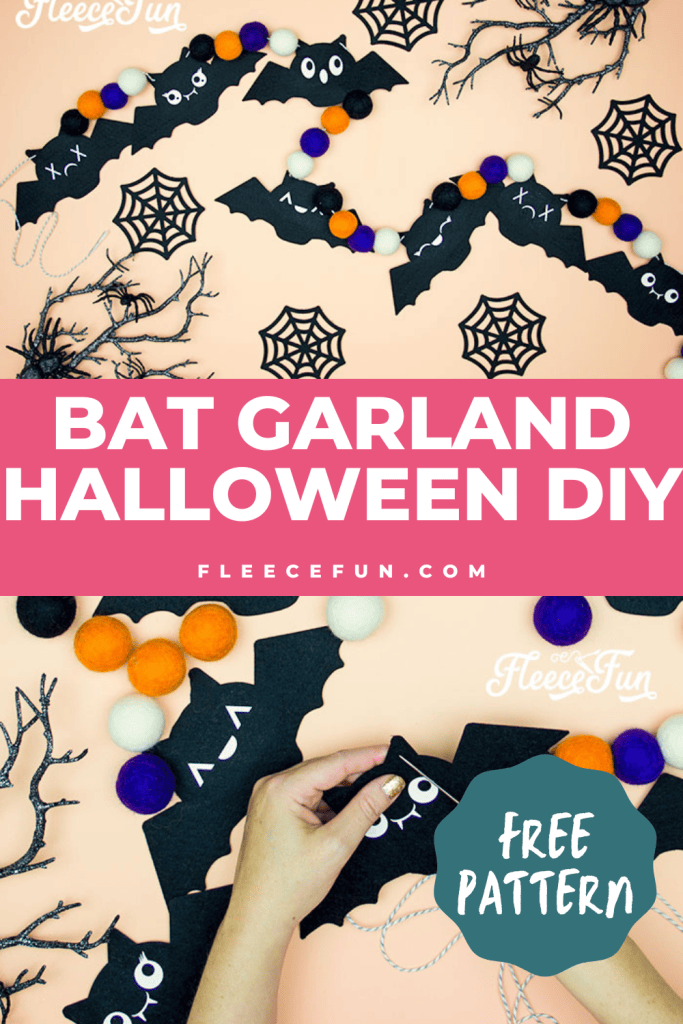
Now it’s time to string the bats together. To give them enough space between them I’m adding four 1.25 inch felt pom poms in between. Take your twine or thread and cut it to the length you desire plus 2 feet ( just to give you some wiggle room).
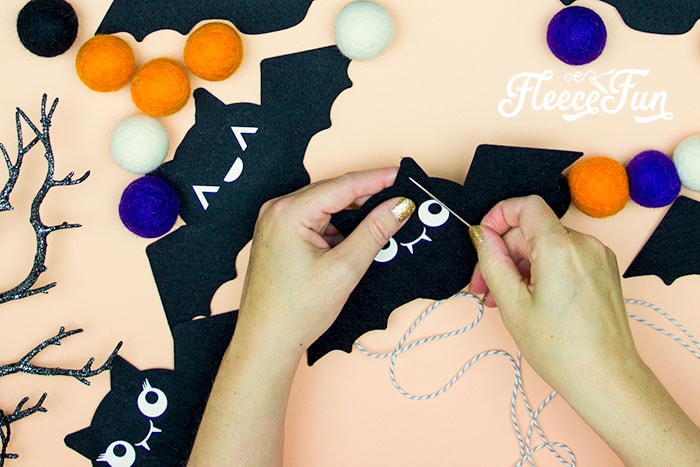
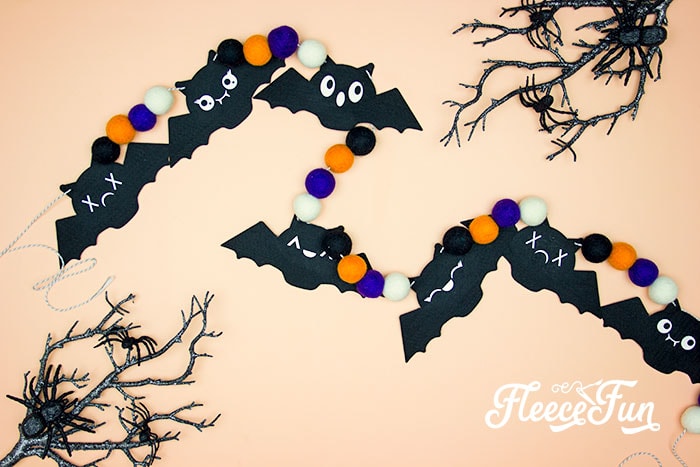
Insert the needle in the center of the bat ear on one side and up through the center of the other ear to string the bat onto the garland. String Pom Poms in between. Continue in a repeating pattern until you have filled your length of string! And that’s it you have cute DIY Halloween garland!
A couple of other ideas:
String the bats with invisible thread and hang them from the ceiling.
Use them as table decorations – just place them flat on the table
Enjoy!
GET THE FREE PATTERN BELOW:
Adobe reader is the ONLY reader I recommend. By downloading you are agreeing to pattern terms of use. Fill out the form below to get the pattern!
MORE HALLOWEEN CRAFT PROJECTS:
- Fall Fairy Costume DIY
- Trick or Treat Banner DIY
- Tomato Cage Ghost DIY with free pdf and SVG files!
- How To Build a Pirate Ship Out Of PVC Pipe (Tutorial)
- DIY Mini Witch Hat (No Sew, Free PDF and SVG)
- Free Halloween SVG Decor – Easy And Fun To Make!
- Aladdin Magic Carpet Costume DIY (Free Pattern)
- Harry Potter Spell Book DIY
- Glowing Maleficent Staff DIY For the Mistress of All Evil
- Minnie Ears DIY Maleficent Inspired Style (Free Template)
- Halloween Mason Jars or Witch Mason Jars (Free SVG File)
- Free Halloween Printable Treat Box
- Free Witch Hat Pattern
- Kawaii Halloween Softies ( so cute!)
- See all of my Halloween Projects here