
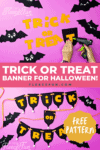
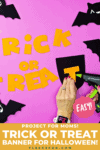
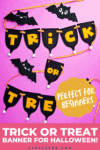
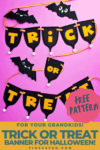
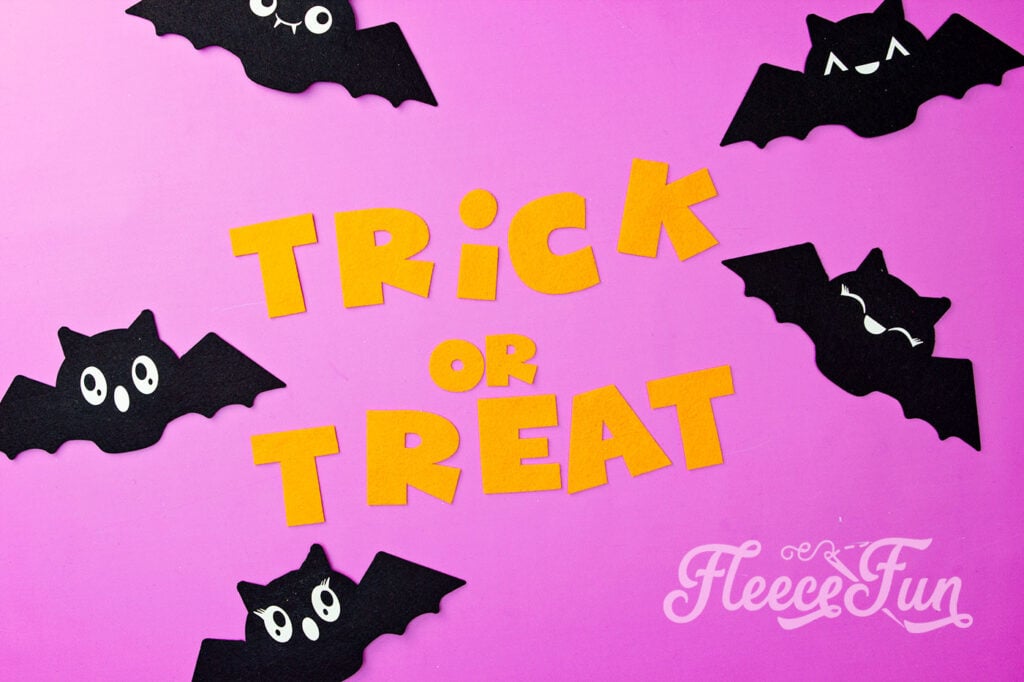
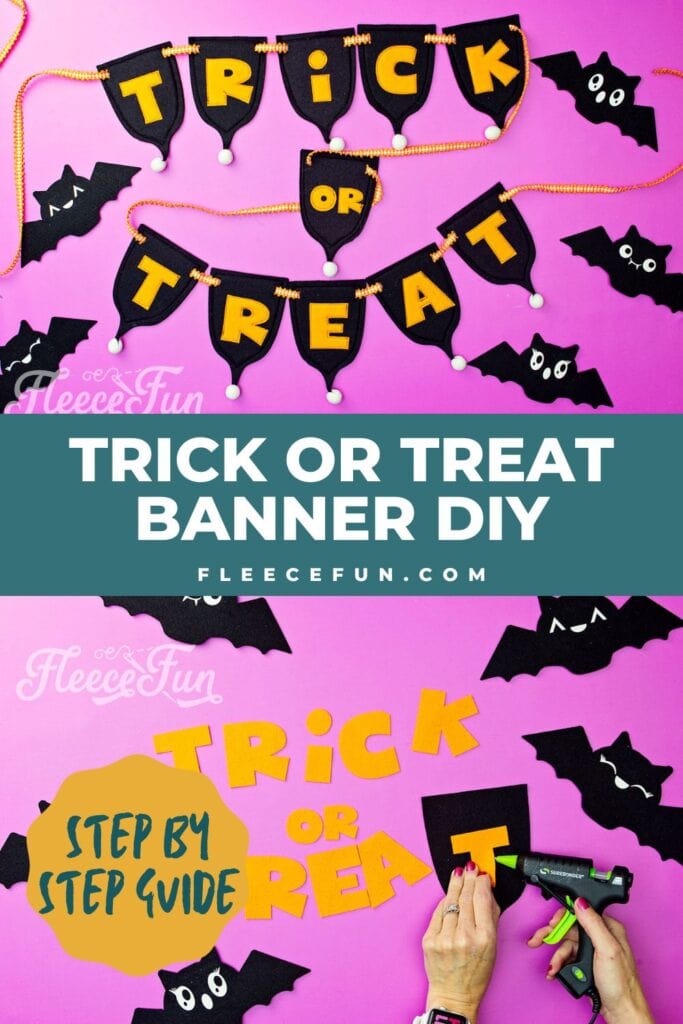
Trick or Treat Banner DIY (free pdf/SVG)
This content contains affiliate links or sponsored elements, read our Disclosure Policy.


Yes I know it’s just the end of September, but if you’re anything like me, you’re already thinking about how to add a personal touch to your spooky decor! Crafting doesn’t have to be complicated. Creating something festive can be both fun and easy—and you don’t need to spend a fortune on store-bought decorations when you can make your own. Why not start with a custom Trick-or-Treat banner?
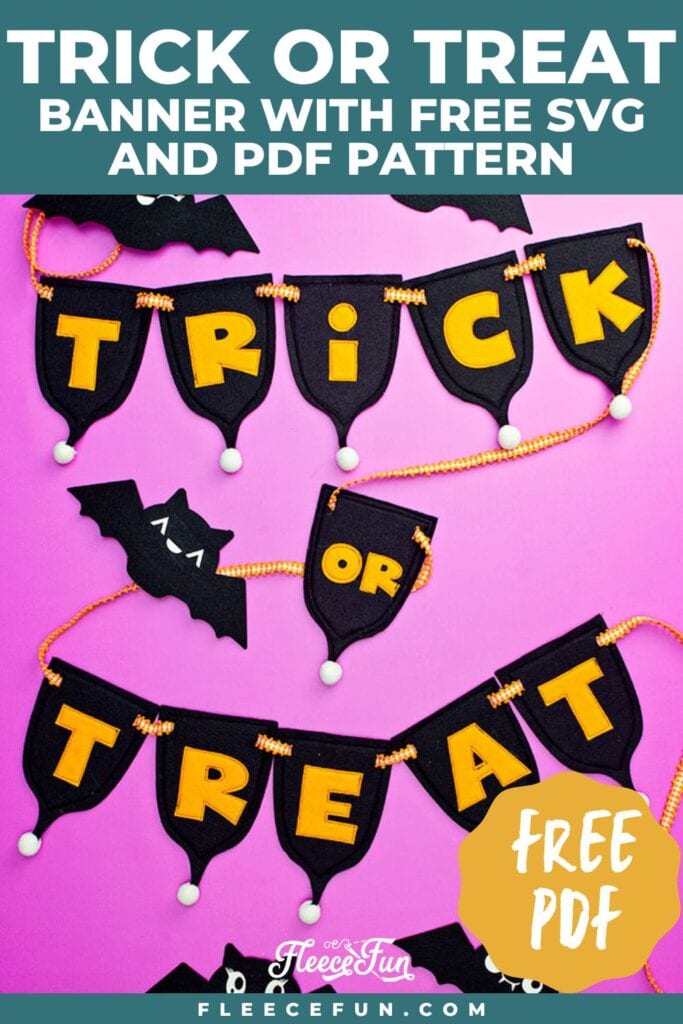
This isn’t just any banner. It’s made from sturdy felt, comes in classic Halloween colors (think black and orange), and features cute felt pom-poms for that extra touch of charm. I’m giving you the free PDF and SVG files you need to get started. Whether you’re a seasoned DIYer or trying your hand at crafting for the first time, this project will have your home looking ready for trick-or-treaters in no time.
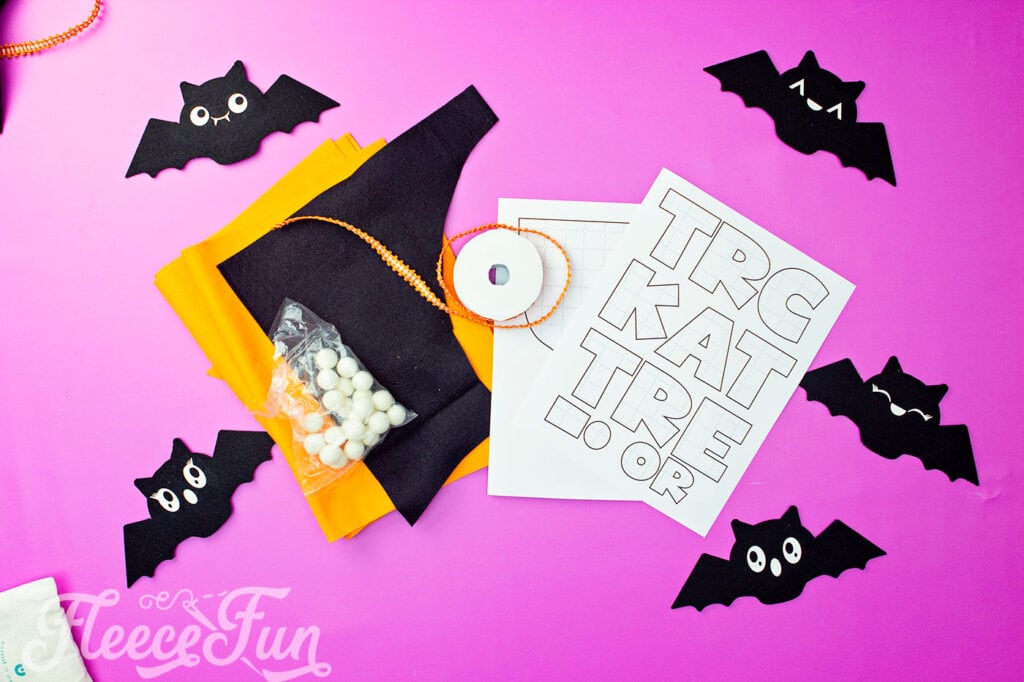
YOU WILL NEED:
I used wool blend felt in this tutorial. Wool blend doesn’t pill as much and looks nicer. Plus you can iron it if you choose to add stabilizer to the banner. This banner also would work if cut out of cardstock too!
- 2 Black Wool felt sheets (12×18)
- 1 orange wool felt sheet (12×18)
- 11 white medium pom poms
- 3 yards of ribbon
- glue gun and glue sticks
- Heavy double sided interfacing (optional)
- Scissors or die cut machine
- Sewing machine or needle and thread (optional, can be done no sew)
- Fleece Fun’s free files (available here)
Trick or Treat Banner DIY
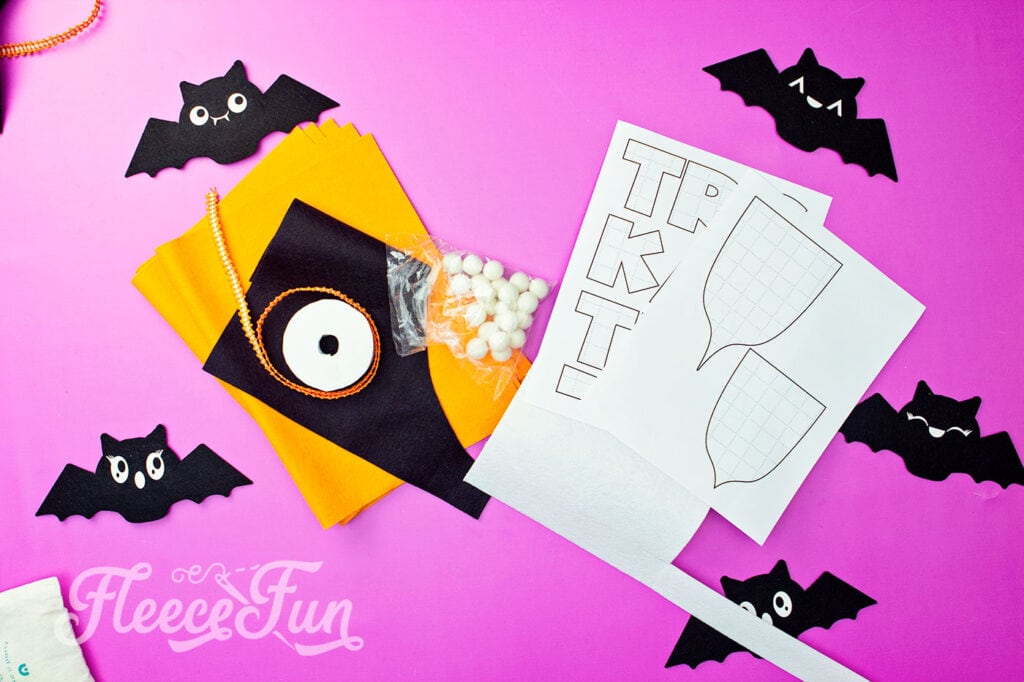
Step 1 – Cut out the Halloween Banner
Decide on what materials you plan on using to cut out the banner.
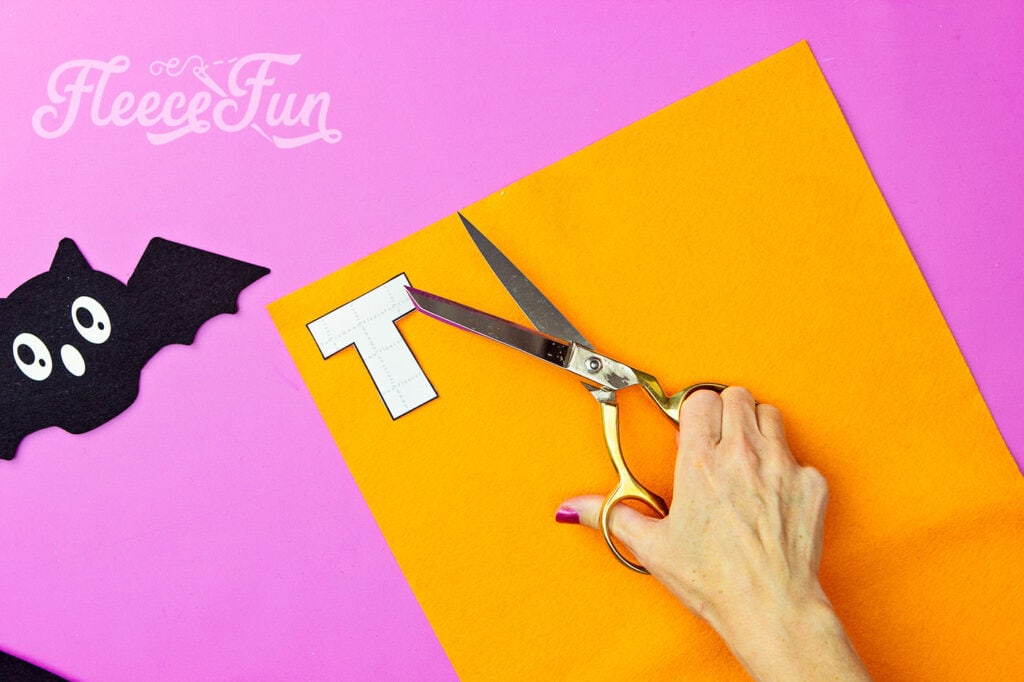
Using the pdf pattern or the SVG files cut out 1 of each of the letters.
Set aside
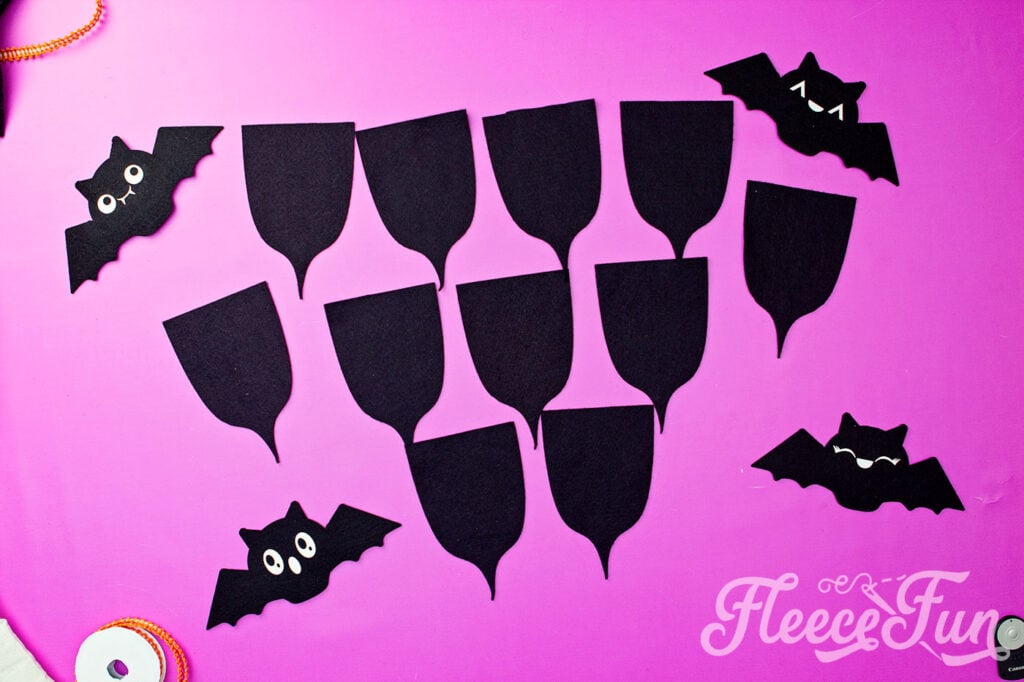
Next cut out 11 of the banner flags (22 if you decide to sew and use stabilizer).
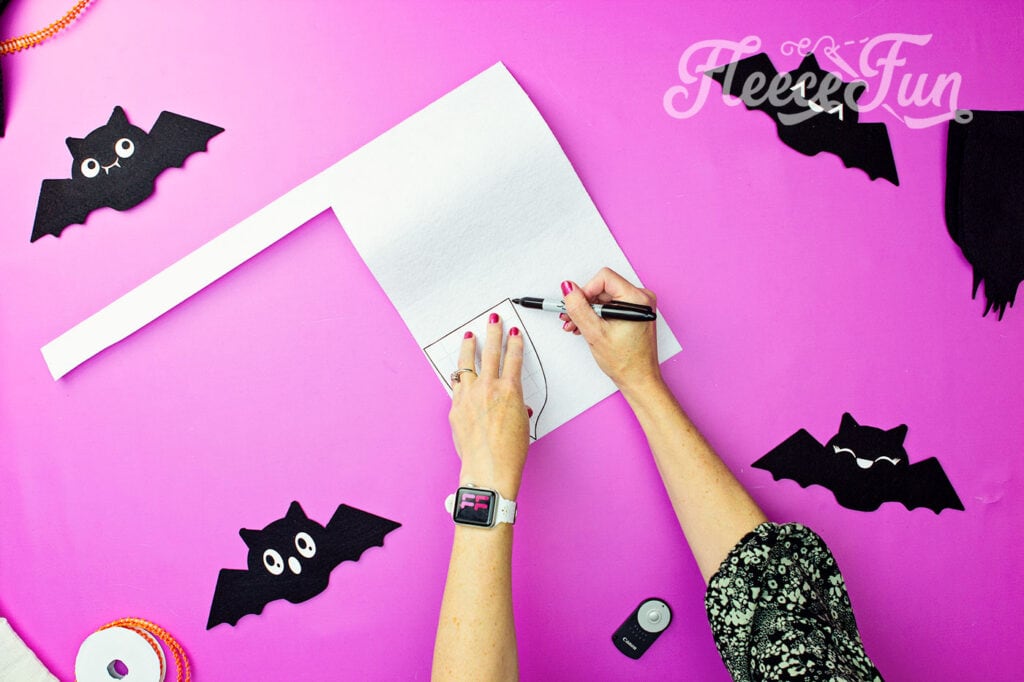
If you want to add heavy stabilizer to the banner cut out 11 of the stabilizer. The easiest way to do this is to trace the pattern onto the stabilizer.
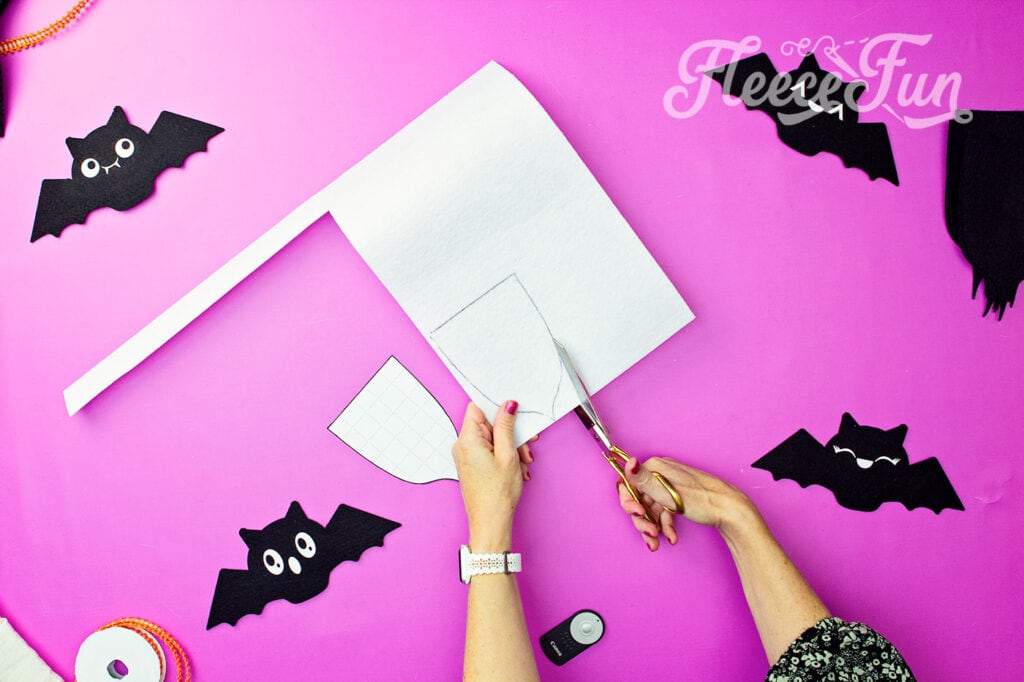
Then cut it out.
Quick Tip
Do you have to use stabilizer? No you don’t. But for the sewn version it makes it very durable and hang nicely.
Step 2 – assemble each flag to the felt TRICK OR TREAT banner
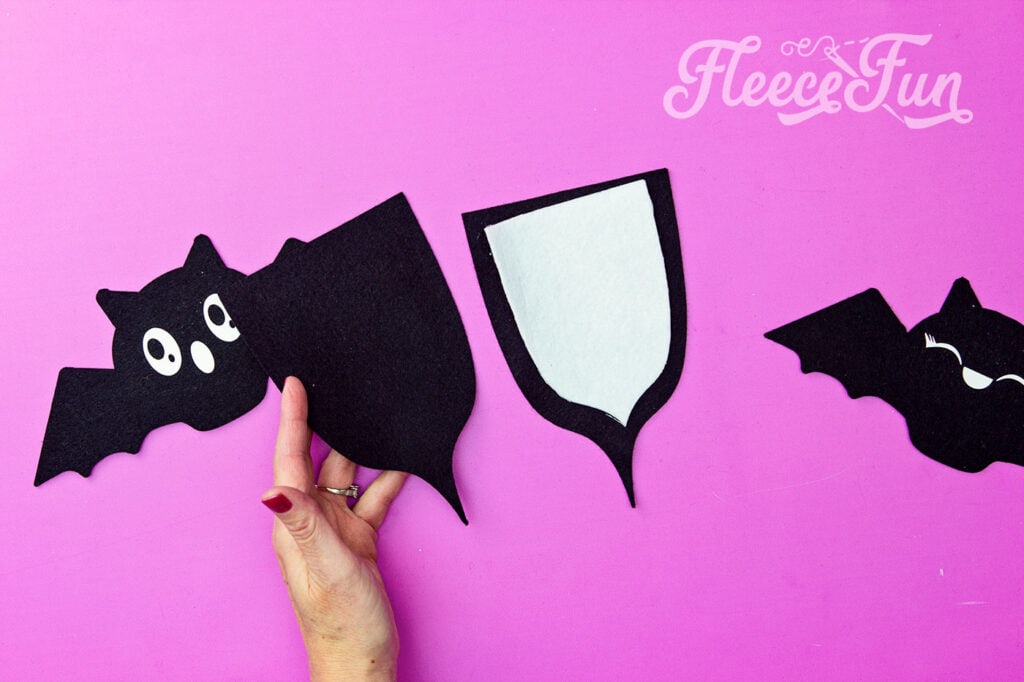
If you are opting for the sewn version with stabilizer, sandwich the stabilizer in between two flags. The stabilizer is designed to have a .25 inch gap around it.
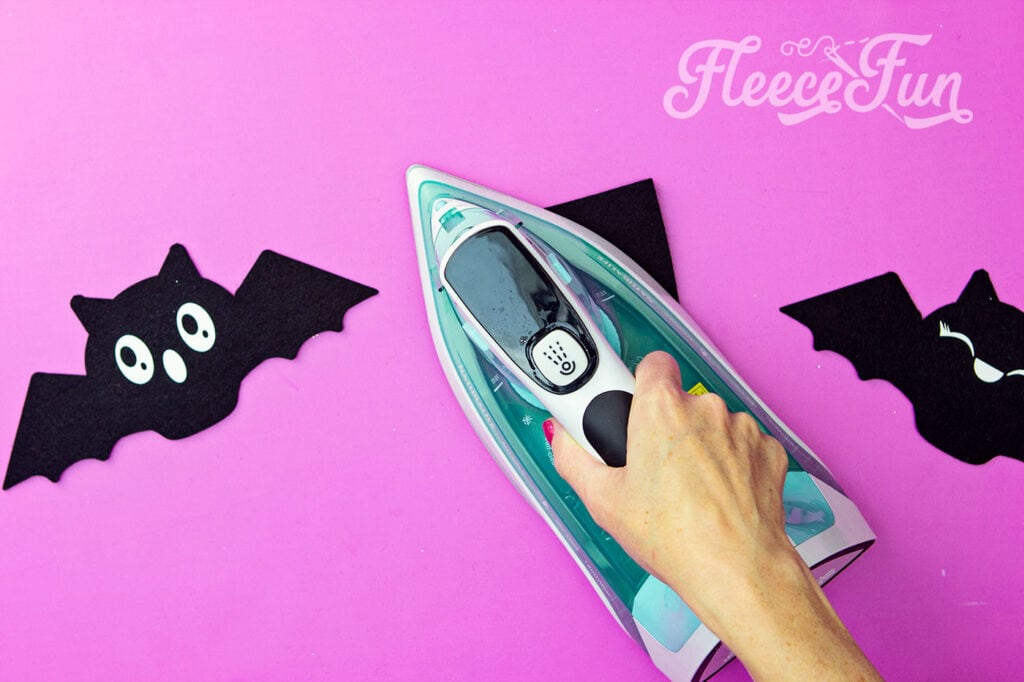
Iron the stabilizer in place.
For the the no sew version, your flag is ready to go!
Step 3 – Add the letters to the DIY Banner
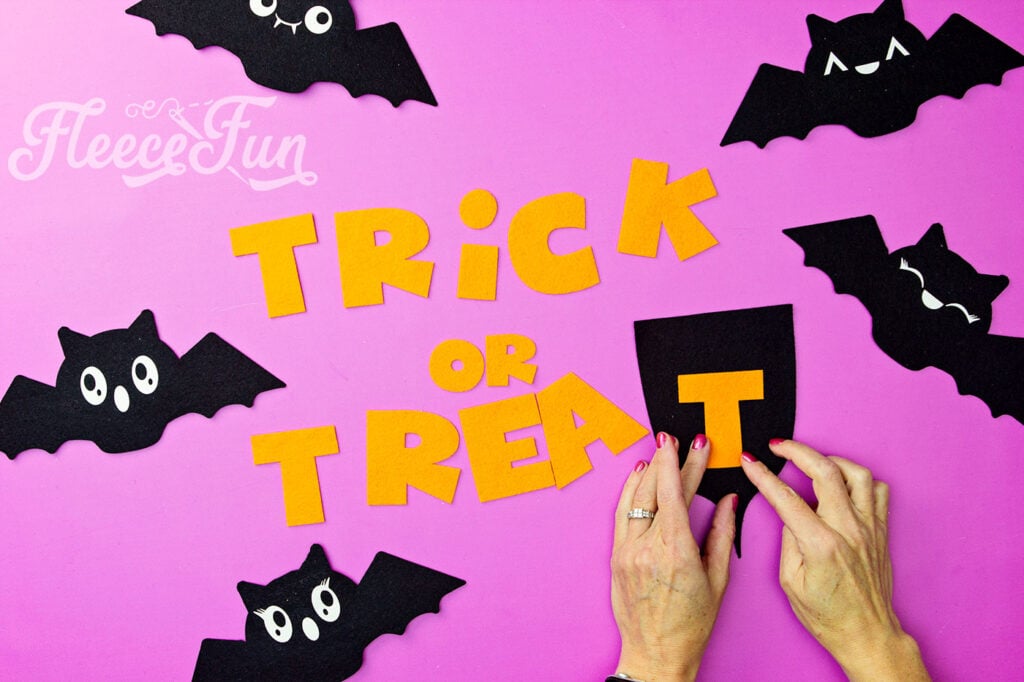
Center the letter on the banner, leaving room at the top for the ribbon to thread through.
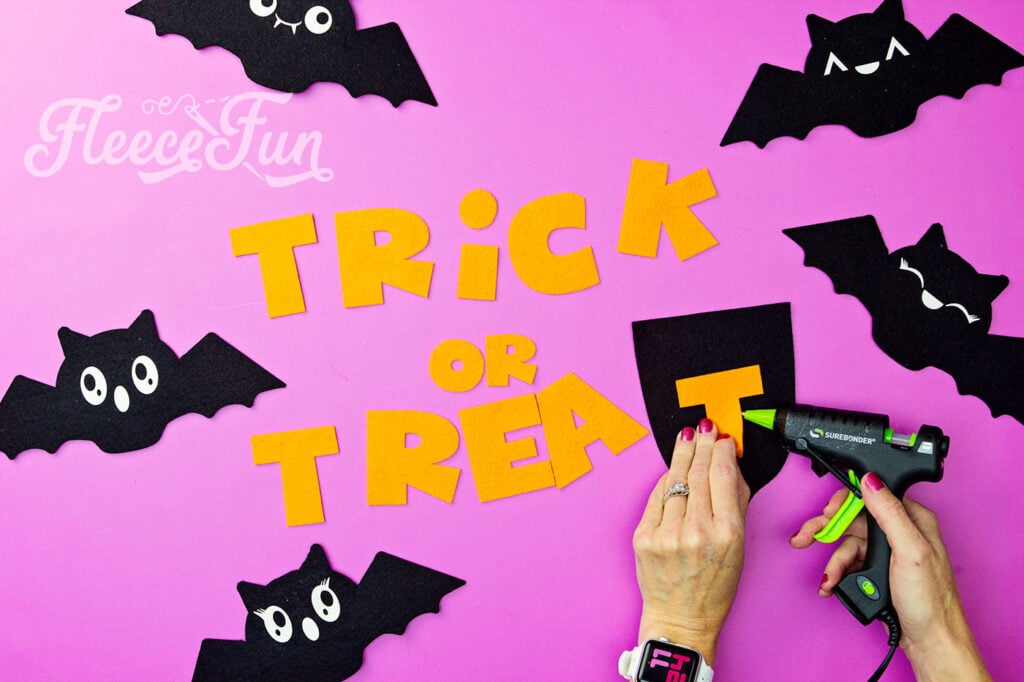
Using a glue gun glue the letters into place. Each letter gets on flag with the exception of “or” both letters are on one flag. For the sew version I also hot glue the letters into place, taking care that the glue is in the center of the letter and not towards the edges so I don’t gum up my machine/ needle.
If you choose to sew it, now is the time. I sewed along the edge of the stabilizer using my edge foot. Then I sewed around the edge of the letters using my edge foot, but with the needle off center so it would sew just inside the letters.
Step 4 – Add the pom poms to the Trick or Treat Banner

Using some sharp scissors, carefully snip a slit halfway through the ball.
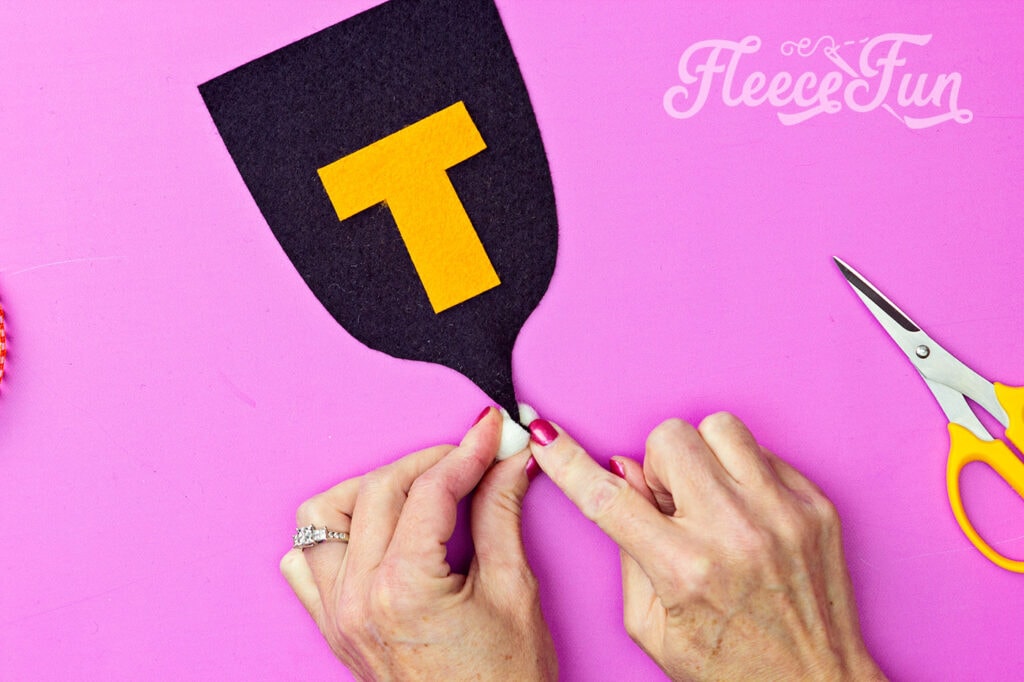
Tuck the end of each flag into a snipped pom pom and hot glue the ball closed with the tail in it.
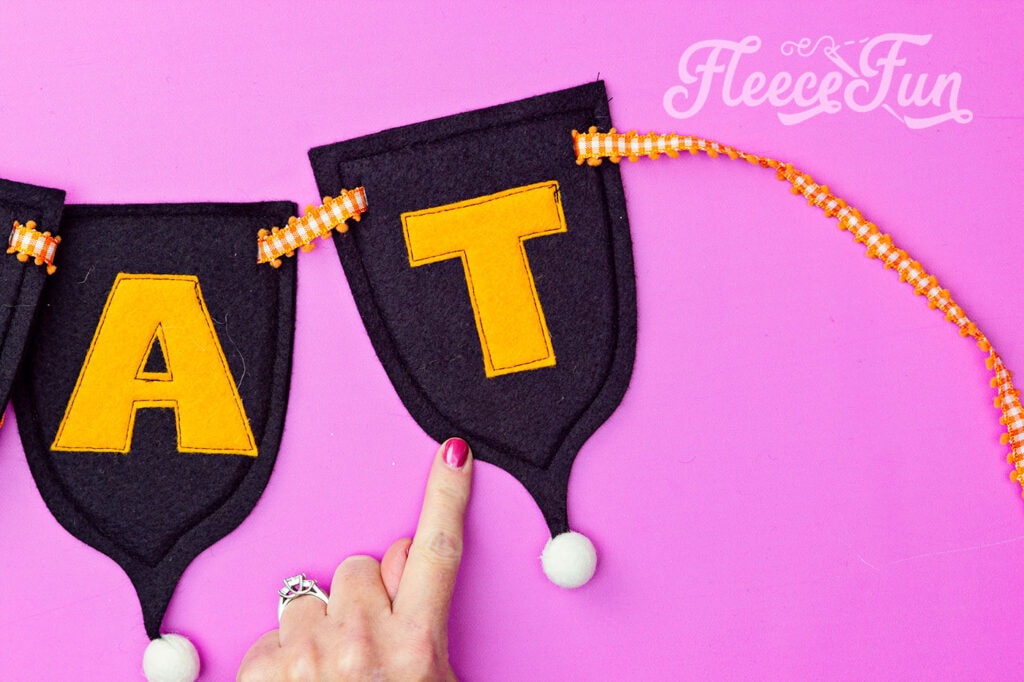
Step 5 – Thread the Banner so it’s ready to hang
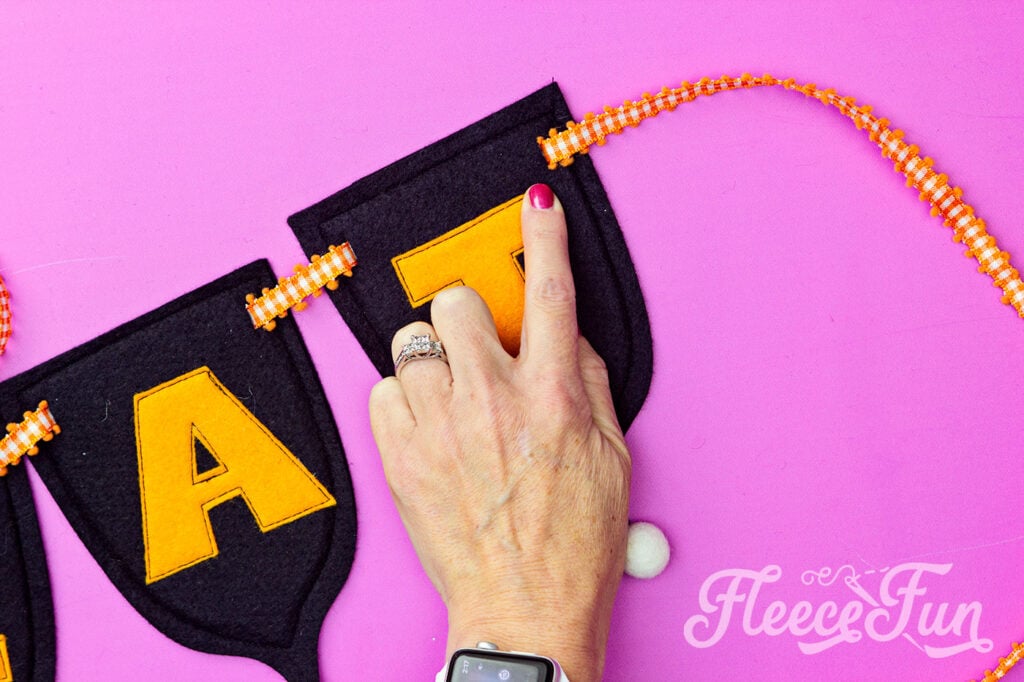
Finally, cut two slits in the top of each flag and thread the ribbon through the banner so you can hang it up!
Quick Tip
To make threading the ribbon easier. wrap tap around the ends of it to make a temporary “needle”. It will thread easier and the ribbon won’t fray.
Download free Trick or Treat BANNER pdf and svg pattern by filling out the form below:
By downloading you are agreeing to pattern terms of use. Click the image below to go to the download form. Or click here.

MORE HALLOWEEN CRAFT PROJECTS:
- How To Build a Pirate Ship Out Of PVC Pipe (Tutorial)
- DIY Mini Witch Hat (No Sew, Free PDF and SVG)
- DIY Halloween Garland – Cute and Funny Bats!
- Free Halloween SVG Decor – Easy And Fun To Make!
- Aladdin Magic Carpet Costume DIY (Free Pattern)
- Harry Potter Spell Book DIY
- Glowing Maleficent Staff DIY For the Mistress of All Evil
- Minnie Ears DIY Maleficent Inspired Style (Free Template)
- Free Halloween Printable Treat Box
More Halloween Tutorials:
- Ideas For A Candy Free Halloween And A Free Printable!
- Halloween Mason Jars or Witch Mason Jars (Free SVG File)
- Free Printable: Candy Corn Bowling!
- Free Halloween Printables – All Hallows Eve Collection
- How to Make A Fabric Pumpkin Tutorial
- How to Make a Halloween Trick or Treat Bag (Free Pattern)
More fun tutorials You Might Like!
- Make a Leather Journal – Handmade Gift DIY
- Easy Lavender Lemon Salt Body Scrub
- Easy Sleep Mask Tutorial – Free Pattern
- Make Holiday Homemade Lotion
- Homemade Body Cream Recipe – Handmade Gift Idea
- Make Holiday Foot Scrub – Handmade Gift Idea
- Easy Sweet Homemade Lip Gloss
- Holiday Foaming Soap Tutorial – Handmade Gift Idea
I love that you included both PDF and SVG files, making it easy for different crafting methods. The step-by-step instructions are super clear too! Perfect for adding a handmade touch to Halloween decor.