
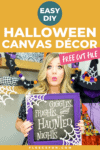
Free Halloween SVG Decor – Easy and Fun to Make!
This content contains affiliate links or sponsored elements, read our Disclosure Policy.


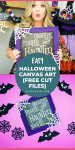

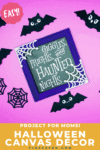
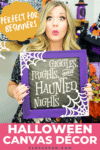
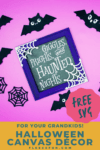

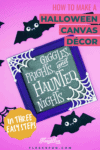
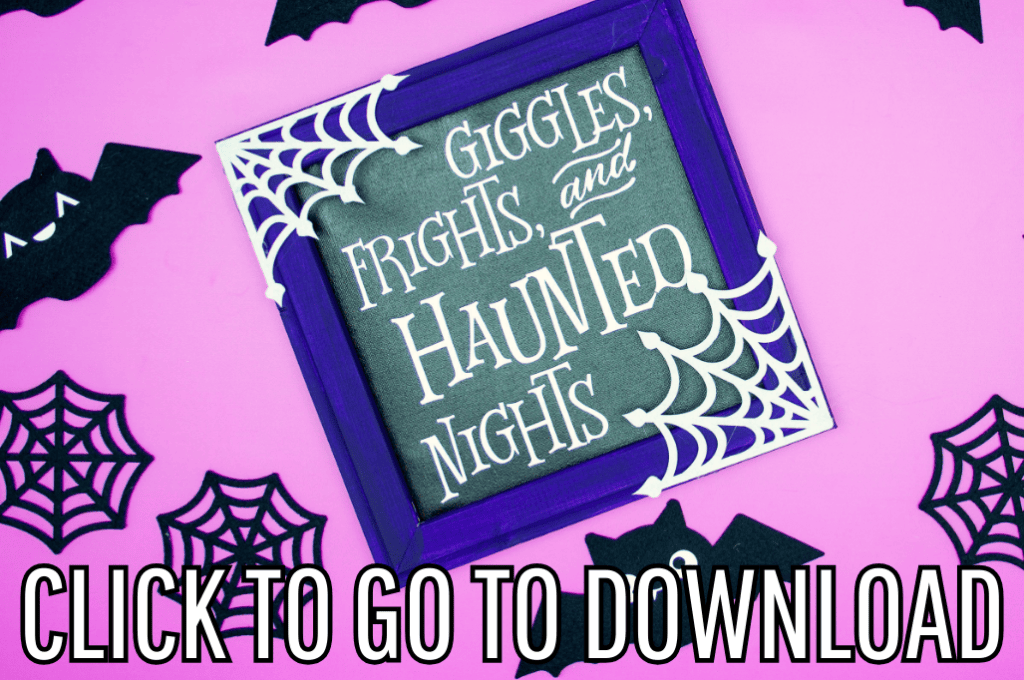
You’ll love this Free Halloween SVG décor! Halloween is just around the corner and what better way to get into the spooky spirit than by creating your own Halloween-themed art?
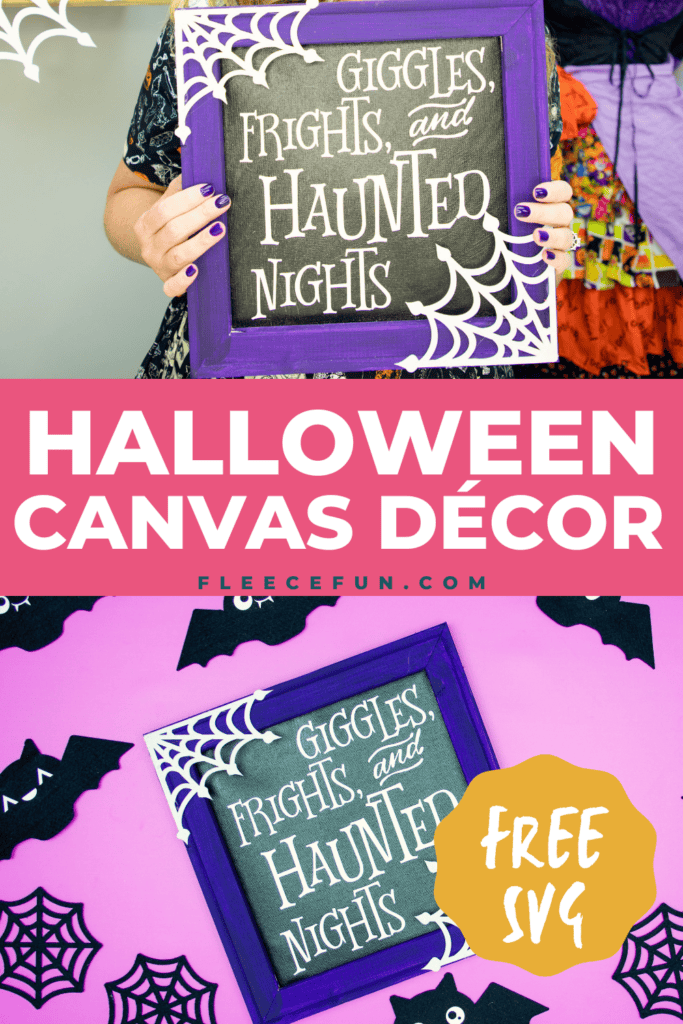
Reverse canvas art has been a popular trend in recent years, and this Halloween we’re taking it up a notch with our free SVG files and step-by-step guide! Whether you’re an experienced crafter or a beginner looking for some fun DIY ideas, this project is perfect for you. So grab your crafting supplies and let’s get started on creating some spooky yet cute Halloween reverse canvas art!

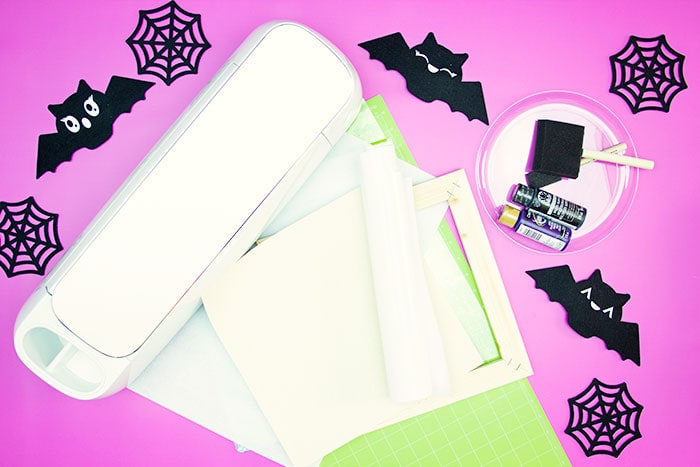
YOU WILL NEED:
- 1 12 by 12 reverse canvas (make your own or buy it)
- Craft Paint – I used black and purple
- White Heat Transfer Vinyl
- White Stiff Felt
- Cricut Maker, Cricut Explore or Silhouette Machine
- Hot Glue Gun and Glue Sticks
- Fleece Fun’s FREE SVG file (available at the end of the post)
- EasyPress or Heat Press
- Get the free cut file here.
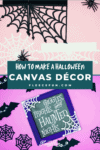
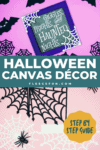
Free Halloween SVG Decor Instructions

Step 1 – Prepare the Canvas for Halloween SVG Crafting
If you haven’t already, take the canvas off the frame (needle nose pliers are great for this.
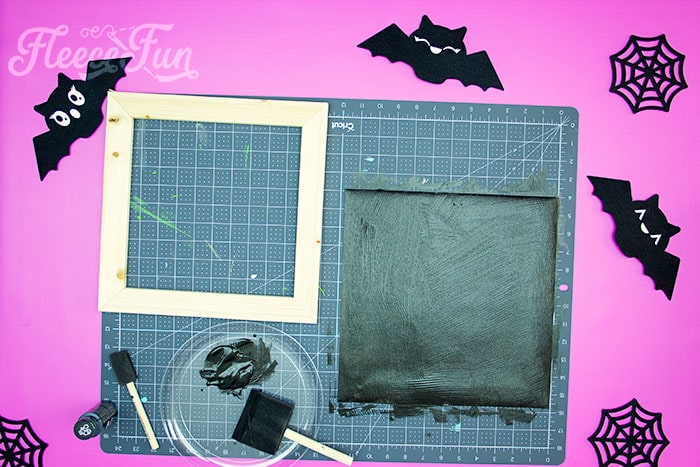
Paint the canvas (if you desire)
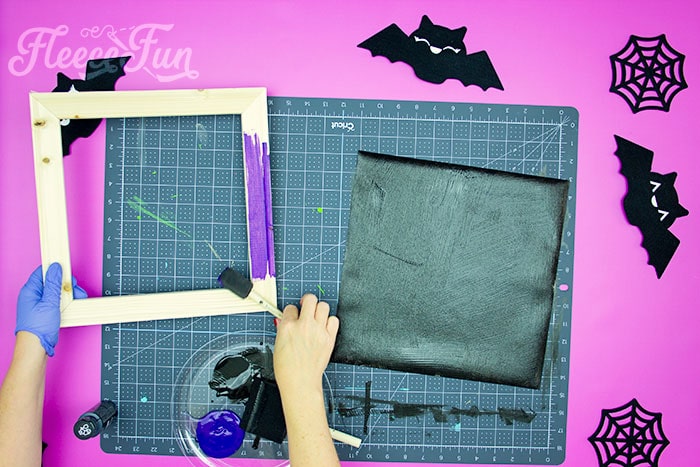
Paint the frame.
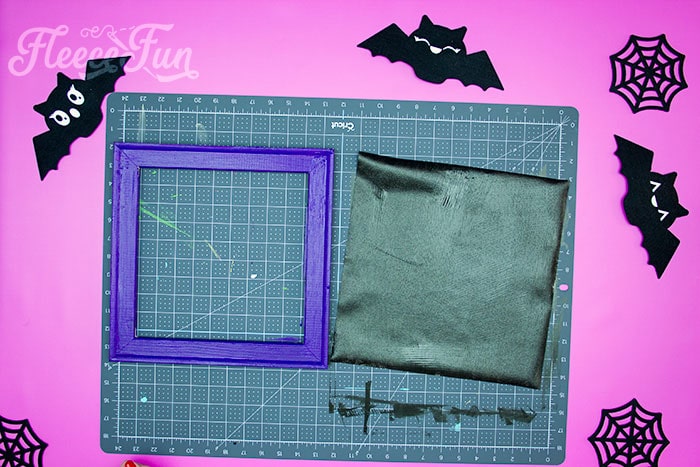
Set aside to dry while we cut out the elements
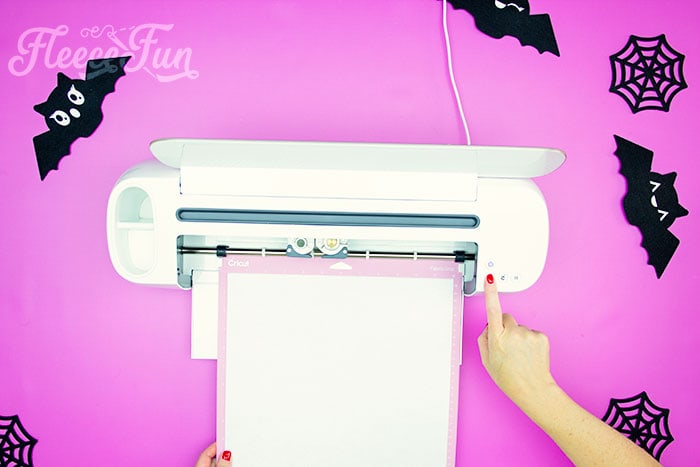
Step 2 – Cut Out the Halloween SVG Elements
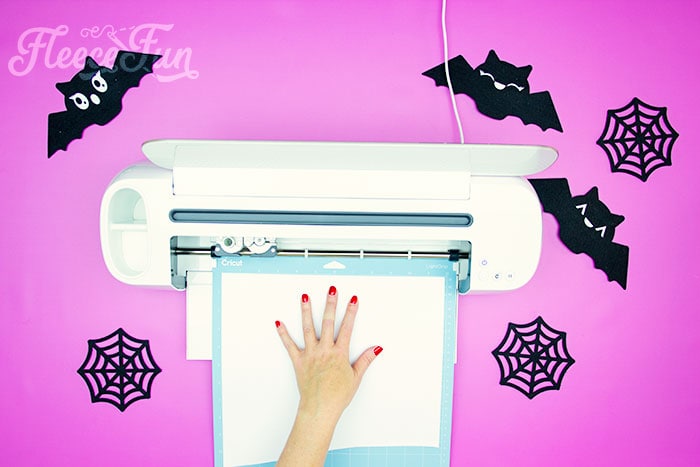
Load the free SVG in the software that works with your machine.
Cut the cobwebs out of felt. Since I’m using a Cricut Maker, I opted to use the rotary blade. But since we’re using stiffened felt a deep cut blade and a mat should cut out the felt on another machine.
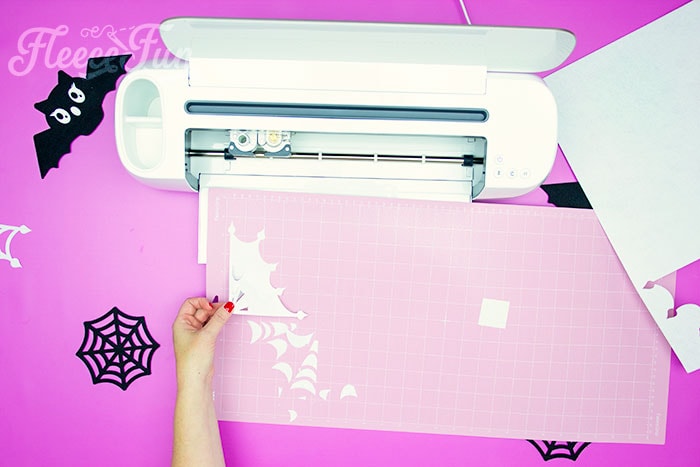
Remove the Halloween cobwebs from the mat.

Weed out all the felt so all the negative space of the web is gone.
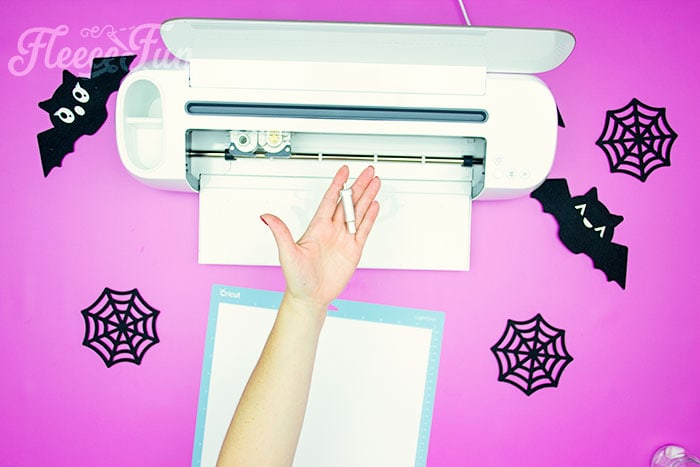
Now switch to a regular fine point blade the cut out the Heat Transfer Vinyl.
Make sure the image is mirrored in your cutting program! Cut out the wording.
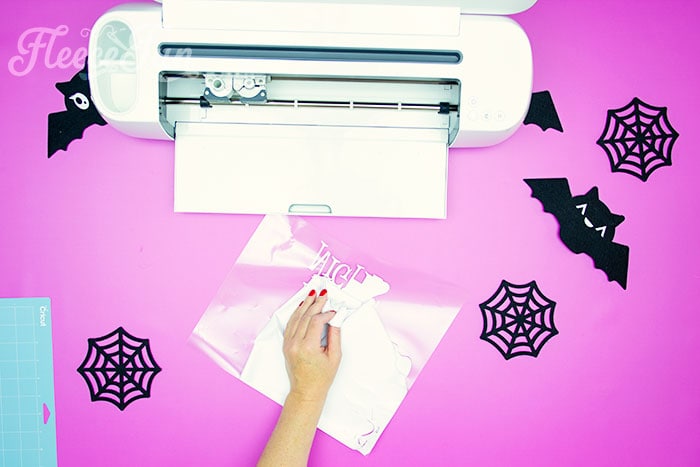
Weed the Heat Transfer Vinyl.
Step 3 – Assemble the Halloween SVG Decor Pieces
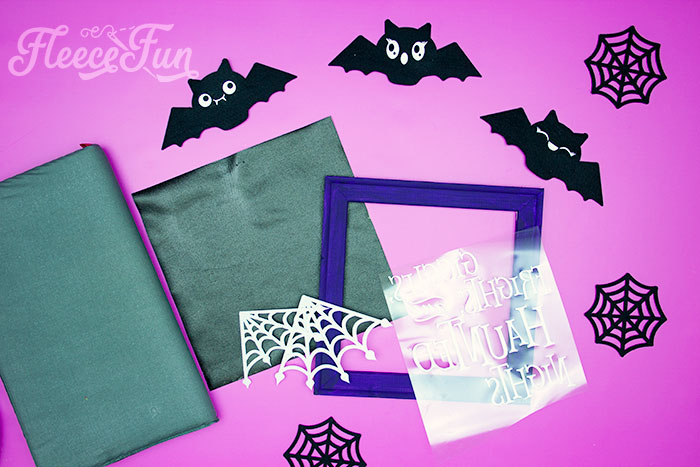
Now that we have all the elements cut out and made sure that the canvas and frame is dry – It’s time to bring it all together!
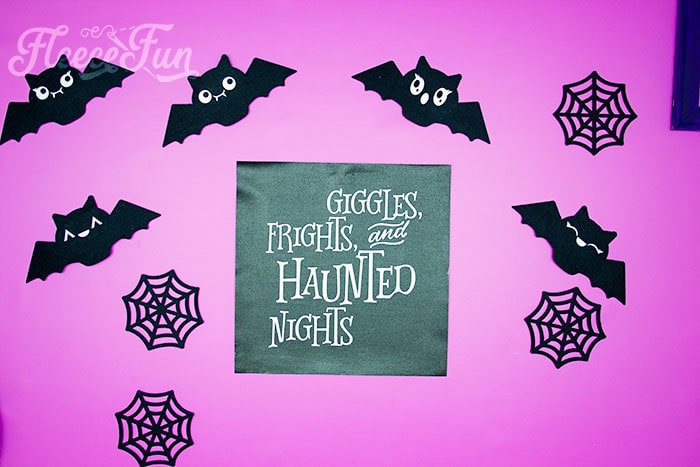
Take all the elements and place them where they will go – so you can make sure the spacing and placement on the canvas is correct.
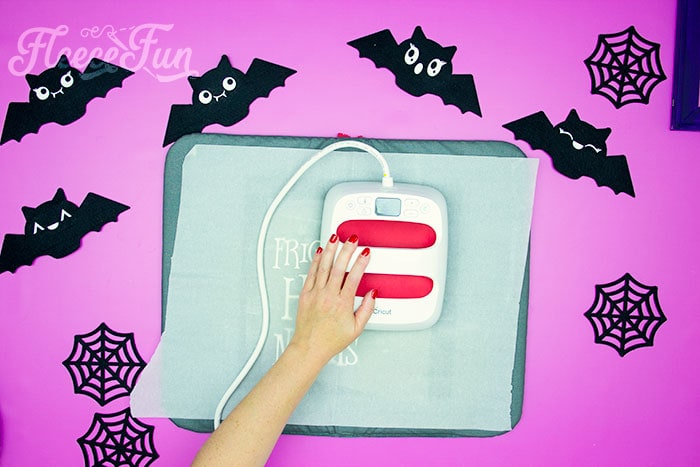
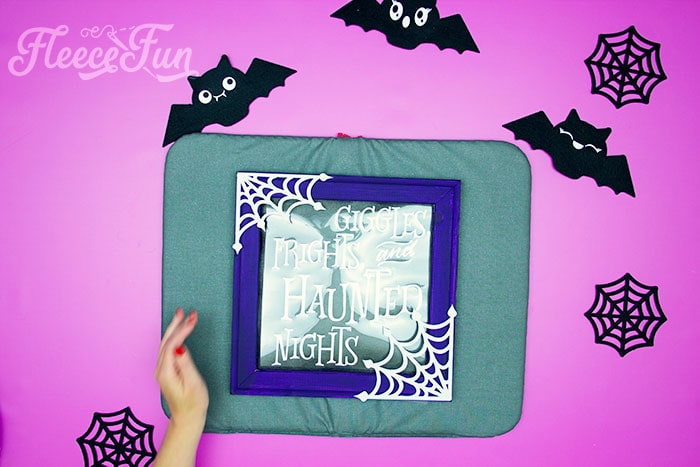
Now that the placement is perfect – iron on the HTV.
Quick Tip
Since I painted the canvas – it’s a good idea to have the parchment as a buffer – to keep the EasyPress clean.
Now it’s time to add the frame to the Halloween Decoration.
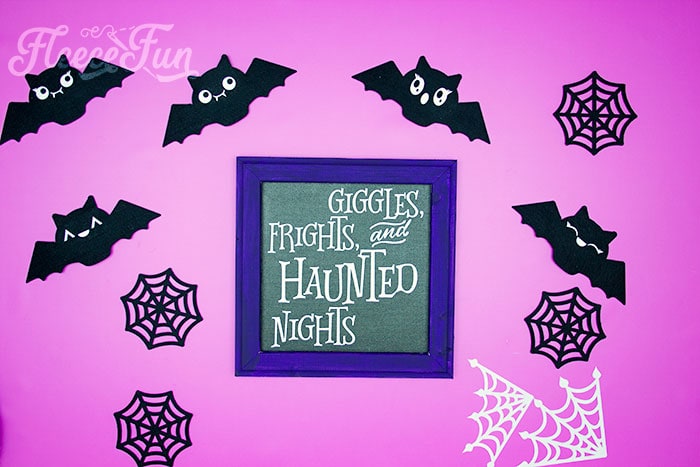
Once you like the placements Hot glue into place.

Finally add the corner cobwebs and glue into place with hot glue.
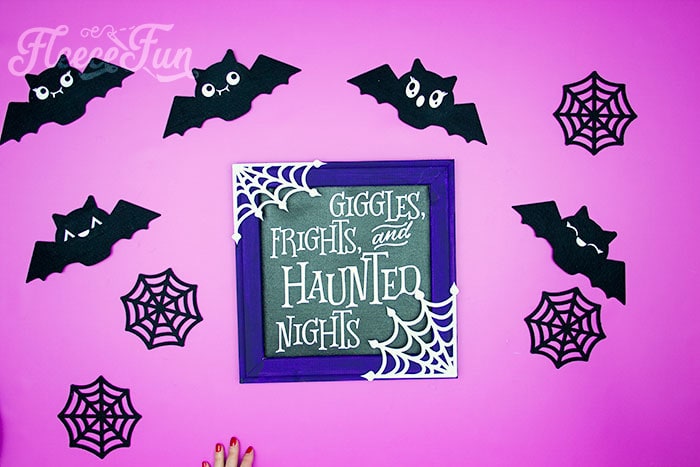
And that’s it! You just made the free Halloween SVG décor!
Get Your Free Halloween SVG Files by Filling Out the Form Below!
Fill out the form to have the FREE SVG files sent right to your inbox!
More Halloween Tutorials:
- Boo Mason Jars (FREE SVG)
- Tomato Cage Ghost DIY with free pdf and SVG files!
- No Sew Mini Witch hat (3 template sizes!)
- Free Witch Hat Pattern
- Kawaii Halloween Softies (so cute!)
- Candy Corn Bowling activity/ printable
- All Hallows Eve Printable Party Pack
- Fabric Pumpkin
- Jack O’Lantern Finger Puppet
- Halloween Printable Treat Box
- Jack O’Lantern Tote
- See all of my Halloween Projects here
MORE HALLOWEEN CRAFT PROJECTS:
- Fall Fairy Costume DIY
- Trick or Treat Banner DIY
- How To Build a Pirate Ship Out Of PVC Pipe (Tutorial)
- DIY Halloween Garland – Cute and Funny Bats!
- Aladdin Magic Carpet Costume DIY (Free Pattern)
- Harry Potter Spell Book DIY
- Glowing Maleficent Staff DIY For the Mistress of All Evil
- Minnie Ears DIY Maleficent Inspired Style (Free Template)


Thank you for the SVGs!