
DIY Mini Witch Hat (No Sew, Free PDF and SVG)
This content contains affiliate links or sponsored elements, read our Disclosure Policy.


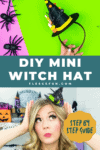


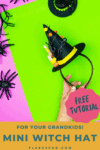


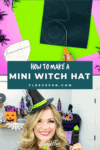
No Sew Costume: This DIY Mini Witch Hat is no sew and comes with a free PDF pattern and SVG template to make it a breeze!
Special thanks to Surebonder for sponsoring this post! The opinions expressed and tutorial are my own. Is there anything more fun than a fabulously decorated witch hat?

There are so many amazing ways you can decorate a hat to make it yours. This DIY will show you how to make the mini witch hat base and then you add your own style from there! The three sizes are large – 7.5 inches tall, medium – 6 inches tall and small – 4.5 inches tall.
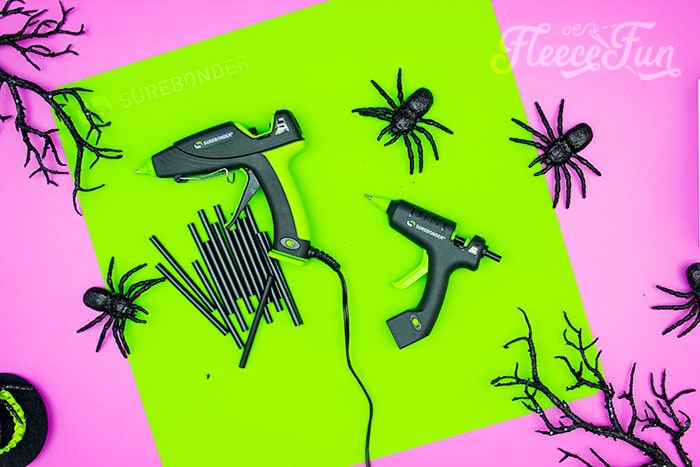
YOU WILL NEED:
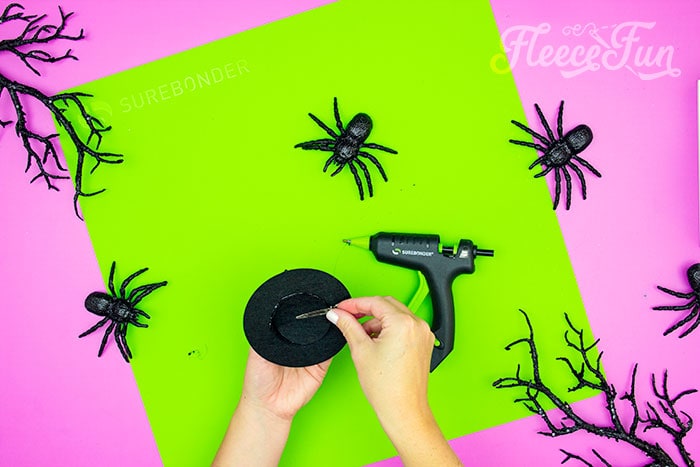
- Surebonder Cordless/Corded High Temperature Mini Hot Glue Gun With Detail Tip
- Surebonder Silicone Glue Pad
- Black Fabric Hot Glue Stick, Mini (LOVE these!)
- Stiff felt sheet (or craft foam can be an alternative)
- Ribbon and items to decorate your hat
- Somethings to trace the pattern (like white chalk -if you’re not using a machine to cut out the pattern)
- Headband or Hair clip (the hairclip works best with the smallest size)
- Get the free PDF and SVG File here.


DIY Mini Witch Hat Tutorial

Step 1 – Cut out the Mini Hat
While we’re cutting things out – be sure to have your Surebonder glue gun plugged in and warming up so it’s ready to go!
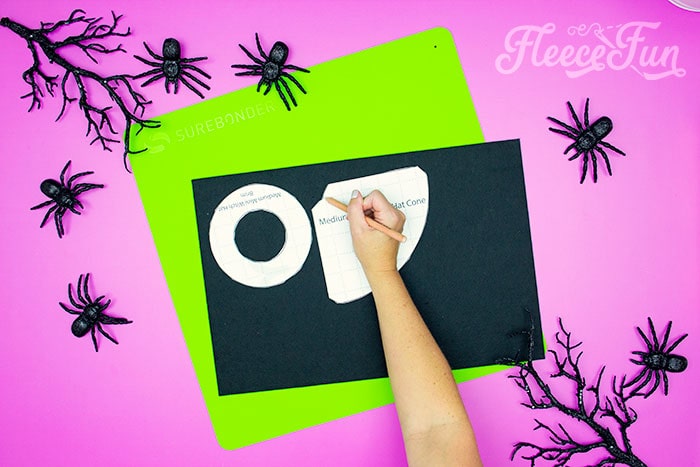
Decide which size of mini hat you’re making (there’s a small, medium and large).
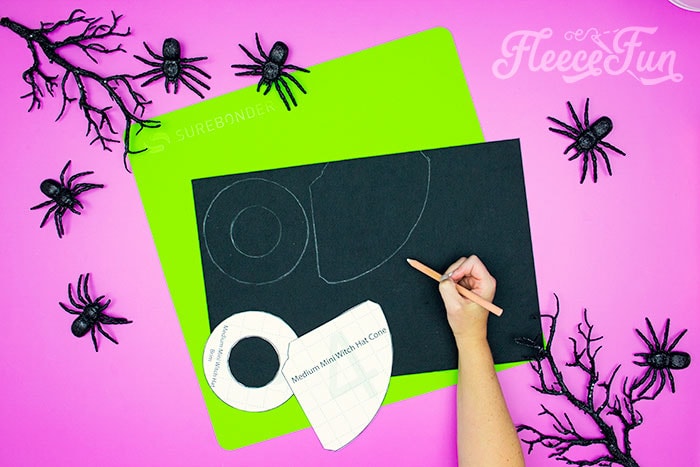
Cut out the paper pattern and trace it onto the fabric.
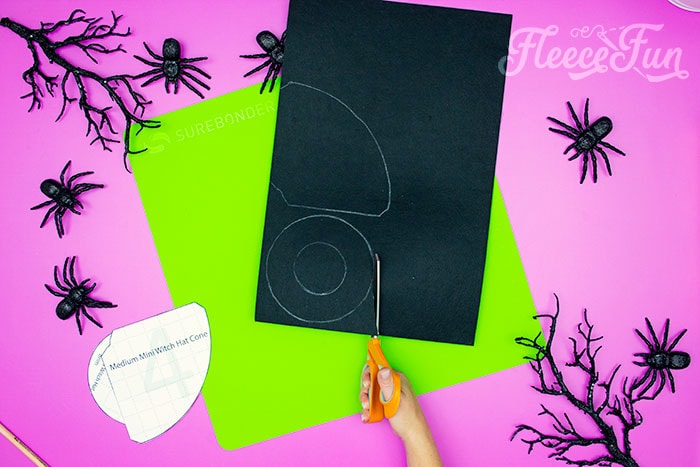
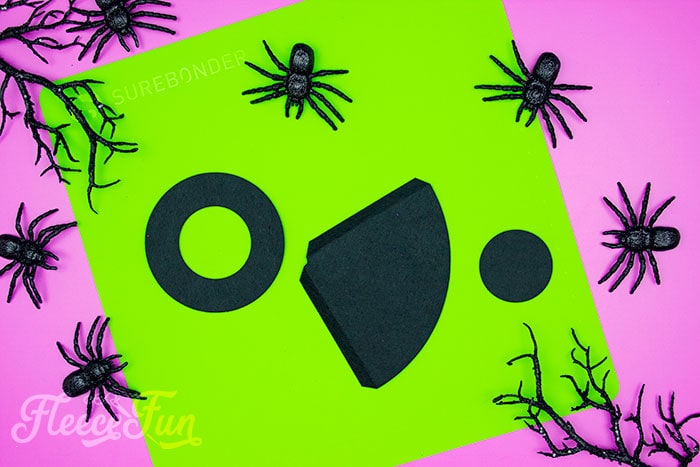
Cut out the pattern either with scissors (or using the SVG file and Cricut Machine) Be sure to keep the center hole from the brim – we’ll be using that later!
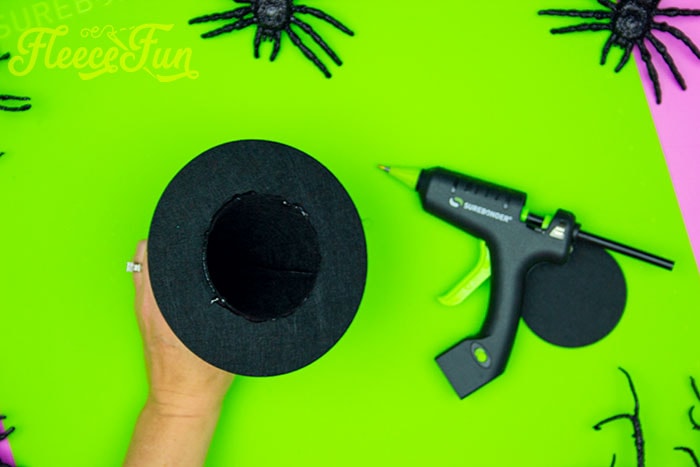
Step 2 – Assemble the Cone for the felt Witch Hat
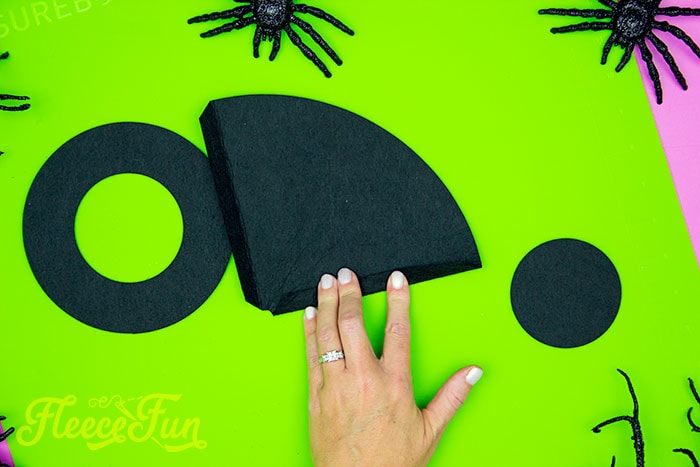
There are two “lips” on each side of the cone. fold each of them in towards the interior of the cone.

Give them a firm crease pressing with your fingers.
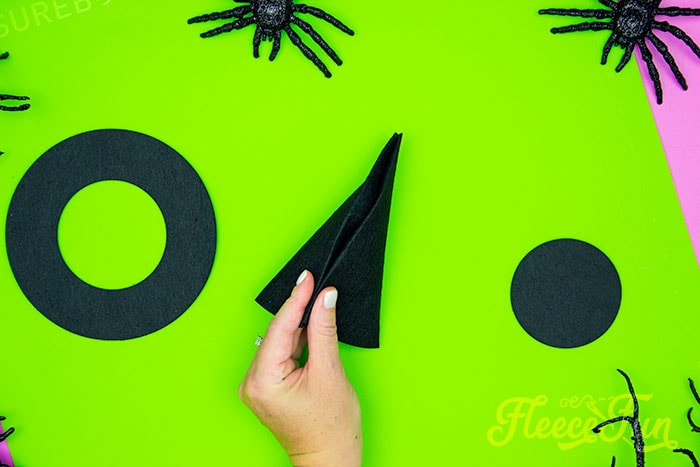
See how we’re going to glue the folds together?
Using the awesome black fabric (seriously I love this for Halloween Projects) place glue along the folded edge.
Press the two sides together – using the folds we just made as a seam.
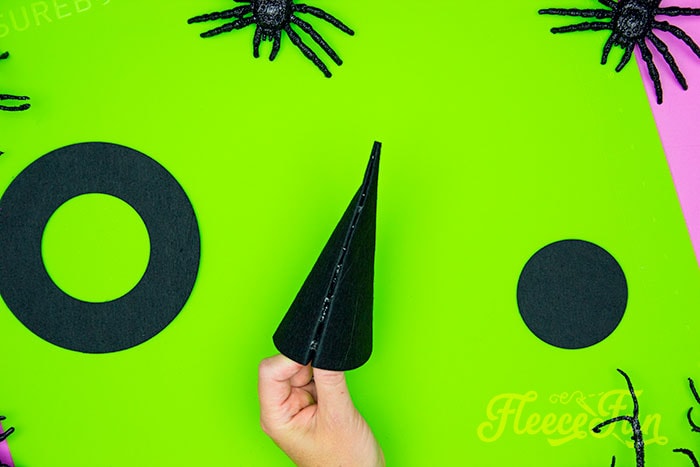
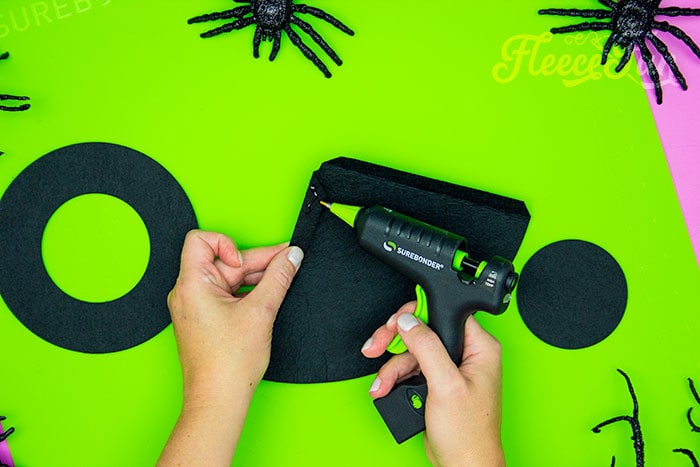
Continue to add glue all the way down the cone. Press the seam together – it’s ok if you much the cone a little in the process – we can pop it out later.
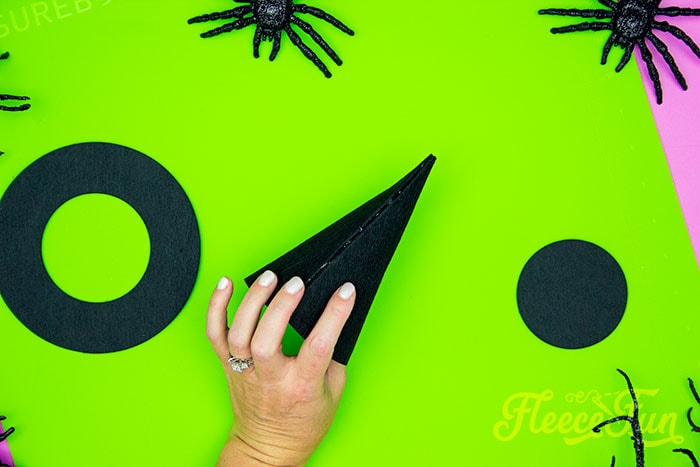
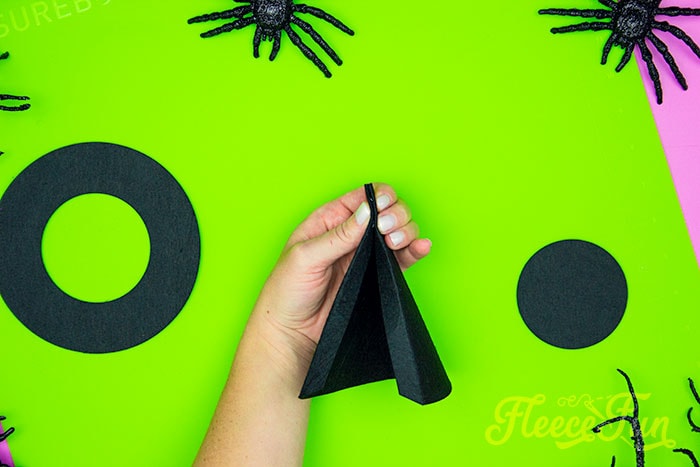
Stroighern out the cone and check the seam – I love how the black glue blends.

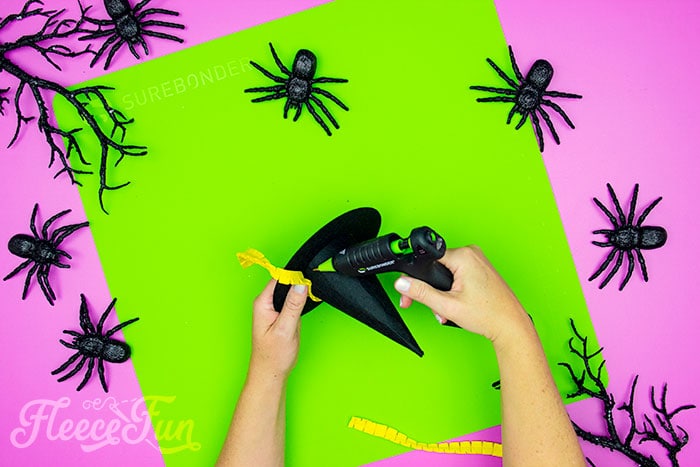
Step 3 – Bring the Brim and Cone Together.
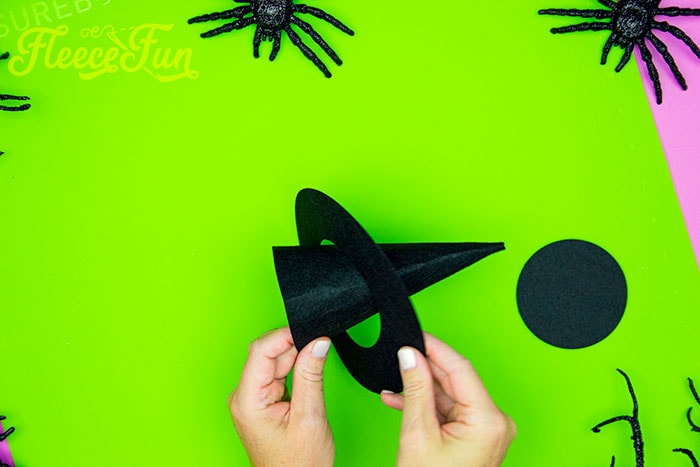
Insert the cone into the brim and bring it close to the base of the cone.
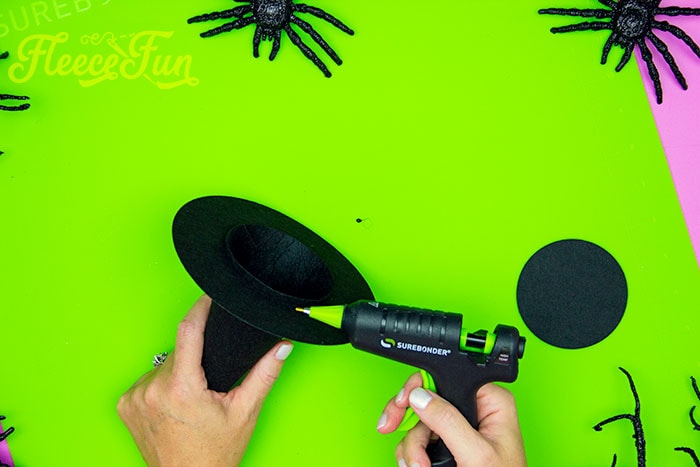
Close to the edge of the cone of the Mini Witch Hat, add a line a glue all the way around.
Gently pull the brim onto the glue and allow to dry.
Step 4 – Decorate the Mini Witch Hat!
Now to the fun part of adding some personality to the hat! I like to glue on ribbon around the base of the brim.
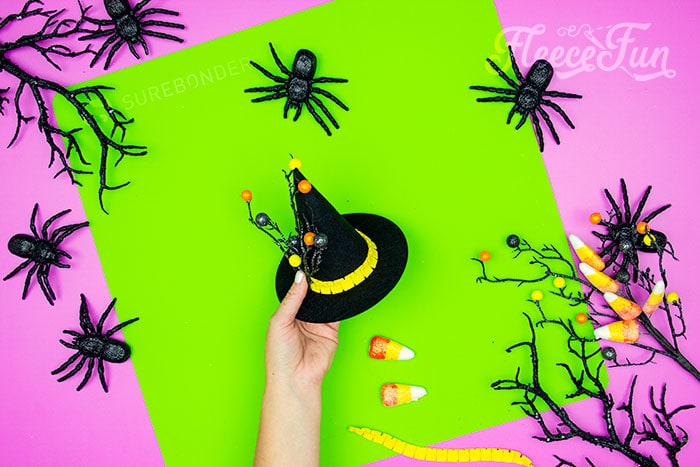
Then slowly build items to make the hat. ( Halloween wreath picks from your local craft store are perfect for this)
Once you’re happy with the look of the hat, it’s time to move onto the next step!
Step 5 – Add the Head Band or Hair Clip to the Mini Witch Hat
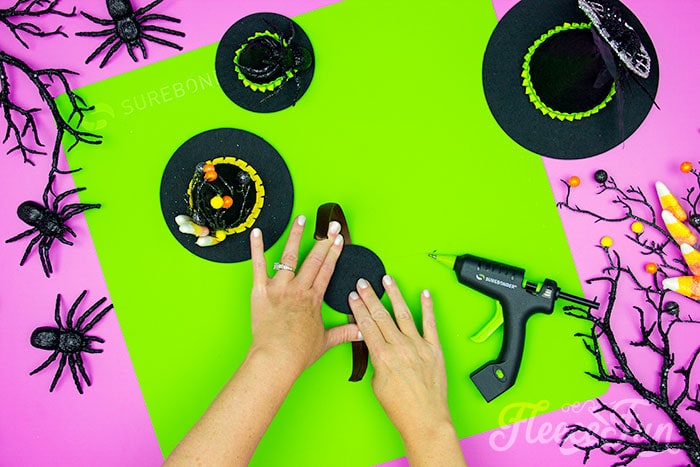
Remember that inner circle I told you to hold onto? Now it’s time to use it! Glue the circle to inside of the headband – I like to place the hat off center.

No glue the sides of the circle are 90 degrees away from the headband – leave the sides that have the head band open so it can “flex”.
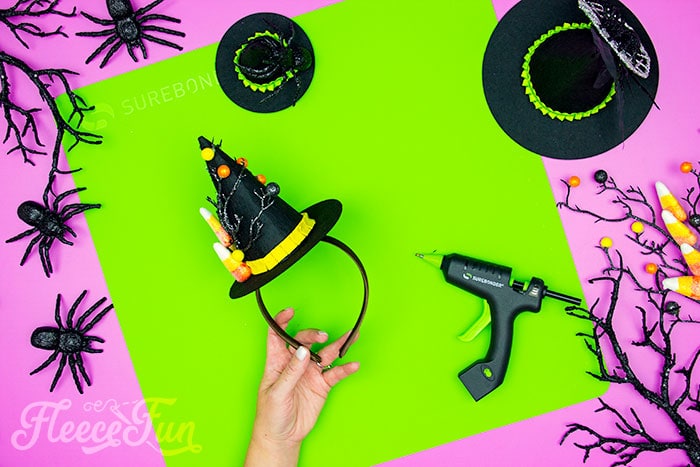
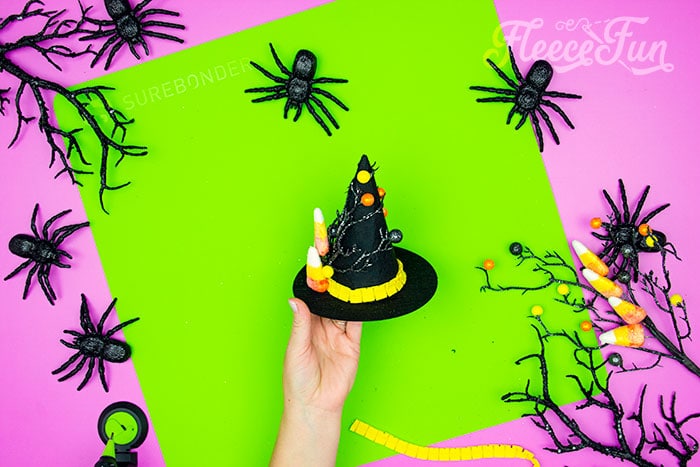
Now your mini witch hat is ready for wearing!

Or…
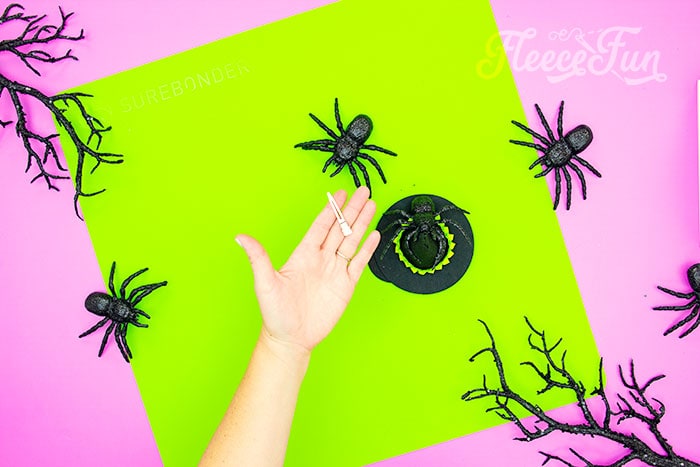
For the clip on the small mini hat.
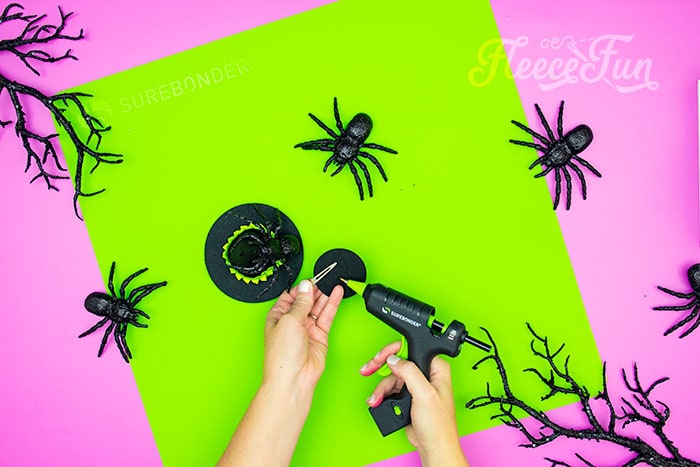
Glue half of the clip to the inside of the inner circle.
Then glue the circle to the inside of the cone. Allow glue to dry before wearing.

DOWNLOAD THE MINI WITCH HAT PDF PATTERN and svg files BY CLICKING THE PICTURE BELOW:
By downloading you are agreeing to pattern terms of use.

Witch Hat patterns:
MORE HALLOWEEN CRAFT PROJECTS:
- Tomato Cage Ghost DIY with free pdf and SVG files!
- Fall Fairy Costume DIY
- How To Build a Pirate Ship Out Of PVC Pipe (Tutorial)
- Aladdin Magic Carpet Costume DIY (Free Pattern)
- Glowing Maleficent Staff DIY For the Mistress of All Evil
- Minnie Ears DIY Maleficent Inspired Style (Free Template)
- No Sew Knight Costume DIY Tutorial
- Free Halloween Printable Treat Box
- Adorable Bat Garland (FREE SVG)
MORE HALLOWEEN TUTORIALS:
- Boo Mason Jars (FREE SVG)
- Giggles and Frights SVG Decor
- Free Witch Hat Pattern
- Kawaii Halloween Softies ( so cute!)
- Trick or Treat Banner DIY
- Candy Corn Bowling activity/ printable
- All Hallows Eve Printable Party Pack
- Fabric Pumpkin
- Jack O’Lantern Finger Puppet
- Jack O’Lantern Tote
- How to Make a Wand
- Free Hogwarts Robe Pattern (kid to adult sizes)
- How to Make a Spell Book
- Mini Top Hat Pattern
- Mini Pirate Hat Tutorial
- Classic Witch Hat Pattern
Can’t open the zipped PDF file for the mini witches hat!
Hi Susan! You need to unzip the file. Just right click on it and select unzip.
Adobe Acrobat Reader comes up right away and says could not open “Halloween no sew mini witch hats (8), zip’ because it is either not a supported file type or because the file has been damaged (for example, it was sent as an email attachment and wasn’t correctly decoded). So it won’t let me see the file to right click on it.
Hi Sue you need to unzip the file first. If you are on an iPhone there are instructions in the email on how to handle. I just check it personally and it’s working fine. The file just needs to be unzipped. If all you need is the pdf just click the picture above the form and it will give you the PDF file.