
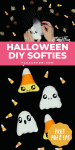
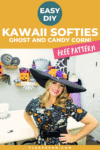
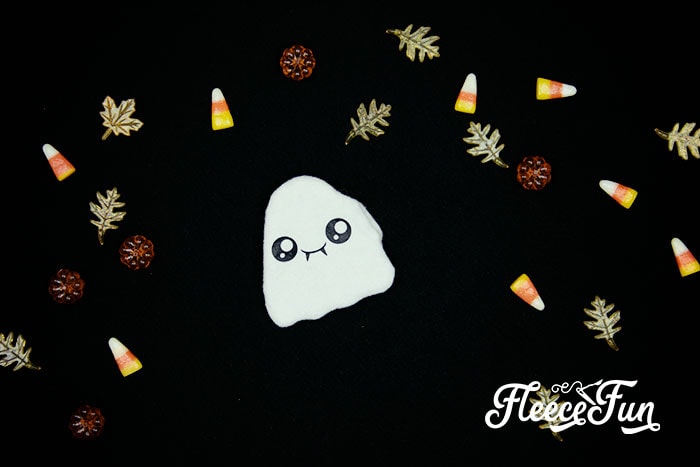
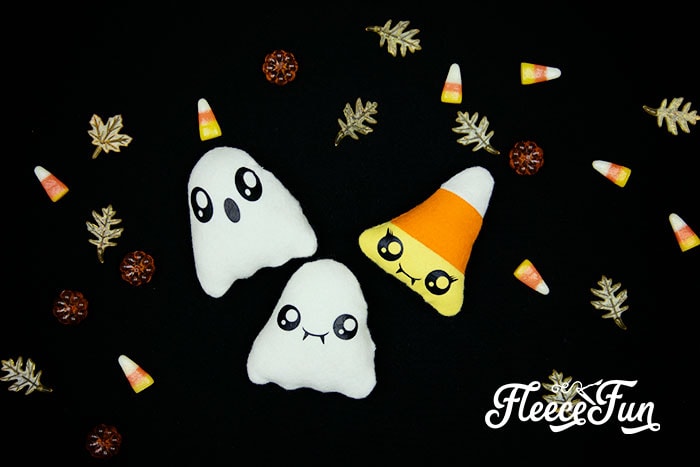
Kawaii DIY Candy Corn and Ghost Softie (Free Pattern)
This content contains affiliate links or sponsored elements, read our Disclosure Policy.

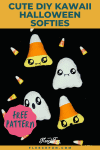

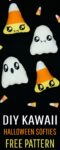
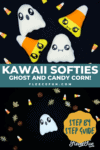

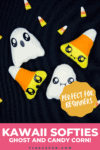
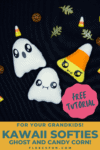
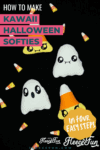
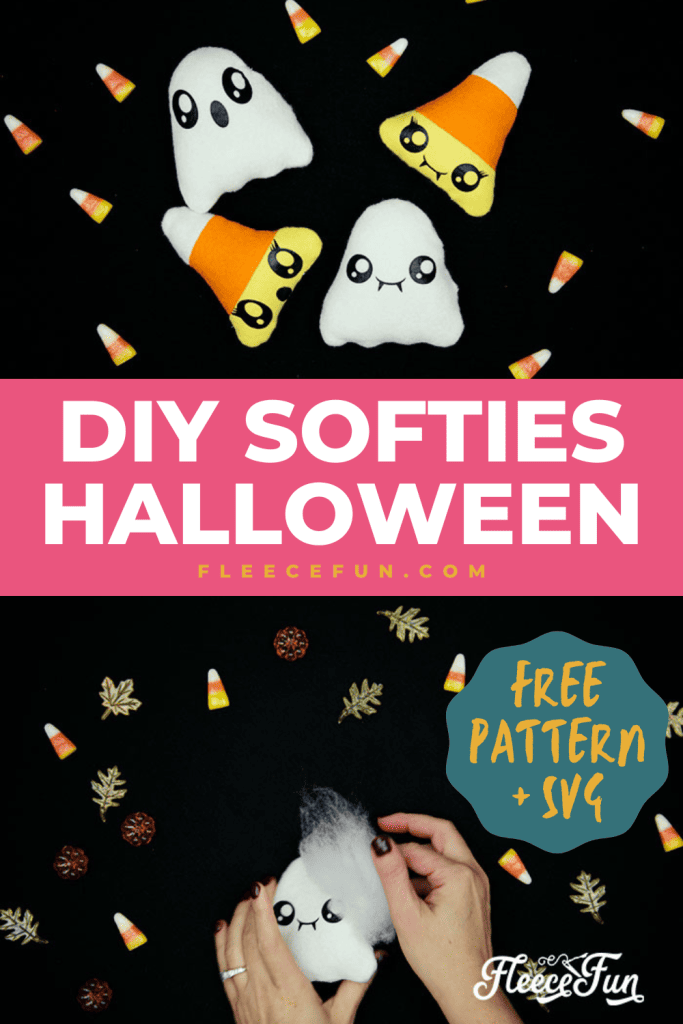
You can make this cute or I should say Kawaii DIY Candy Corn and Ghost Softie with this free pattern and step by step tutorial. Even better if you have a Cricut Maker I’ve included and SVG file so you can have these cute guys cut out with the rotary blade! These handmade toys are a perfect alternative to treats at Halloween – and a good go to for those with allergies.

YOU WILL NEED:
- 1 sheet of White wool felt
- 1 sheet of Yellow wool felt
- 1 sheet of orange wool felt
- black iron on vinyl
- Cricut Maker or other machine that can use an SVG file
- Stuffing/Poly fill
- Sewing Essentials
- Get the free template here.
Kawaii DIY Candy Corn and Ghost Softie Tutorial:

Step 1 – Cut out the Candy Corn and Ghost Softie pieces
If you’re using the Cricut maker with a rotary blade simply cut out the items in the corresponding color using the SVG file.
If you don’t have Maker – no worries I’ve included a pdf file so you can hand cut out the shapes, but you will need a machine to cut out the faces.
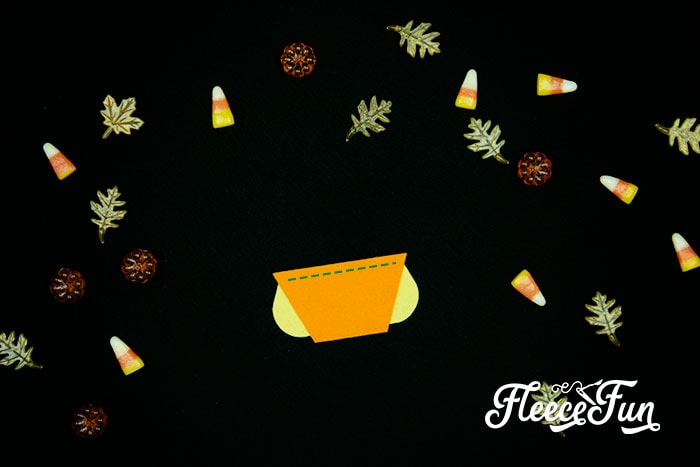
Out of the white cut out the following:
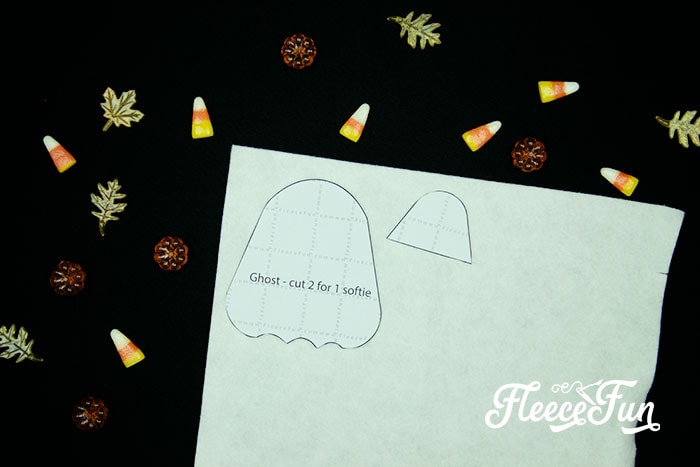
Cut out 2 of the Ghost shapes for 1 ghost softie, cut out 2 of the candy corn top for 1 candy corn softie.
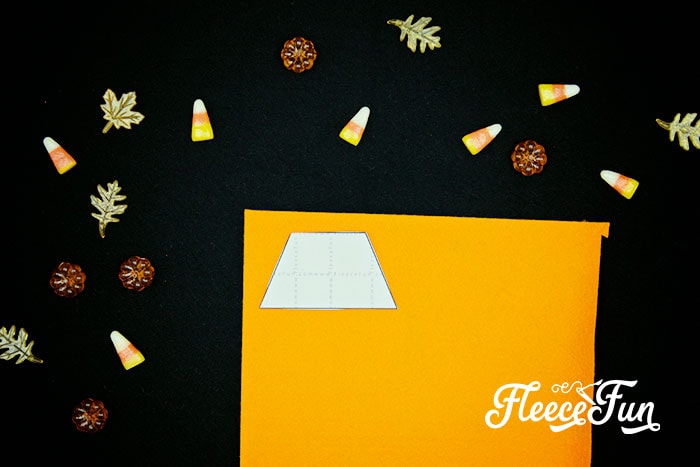
From the orange cut 2 of the candy corn middles.
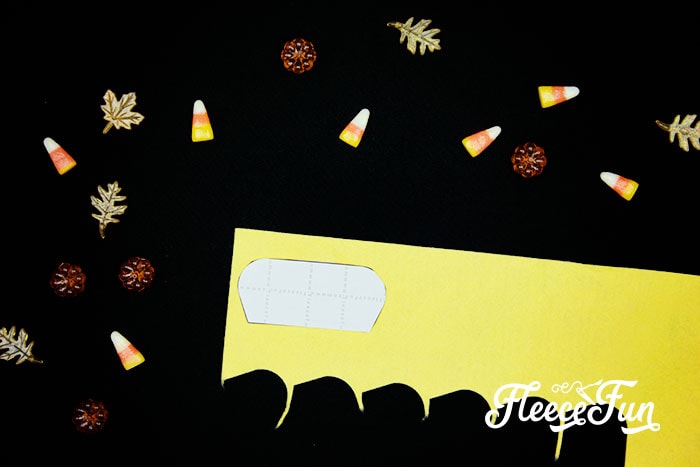
From the yellow cut 2 of the candy corn softie bottoms.

This is how the candy corn should look.
Using your Cricut machine cut out the faces from Heat transfer vinyl and weed.
Step 2 – Add the Kawaii faces to the softie toys
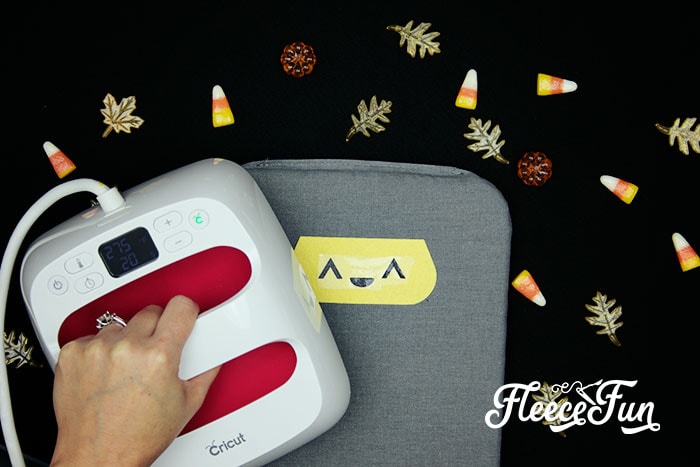
Decide on what cute face you want to add to your toy and iron it on to the yellow (bottom) of the candy corn and about 1/3 of the way from the top on the ghost.
Step 3 – Begin to sew the Candy Corn and Ghost pieces
Seams are .25 of an inch.
For the Candy Corn softie toy:
Line up the widest section of the orange middle to the top of the yellow – make sure it’s centered.
Quick Tip
The bottom will look too long but once it’s sewn on it will work – trust me.
Sew on.
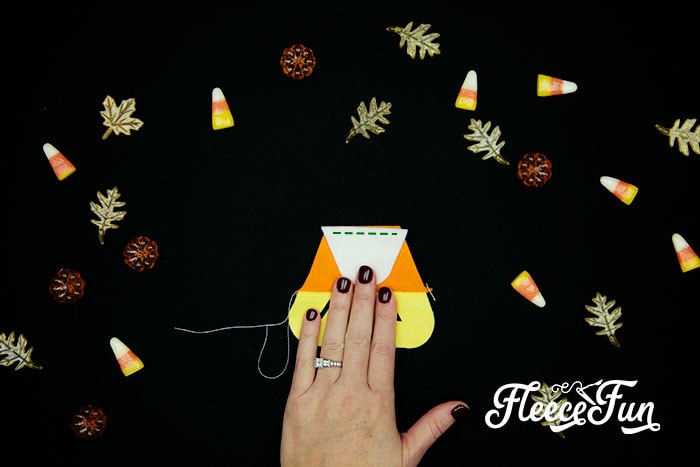
Next line up the widest section of the white top to the orange top – make sure it’s centered.
Again it will look too long but work out.
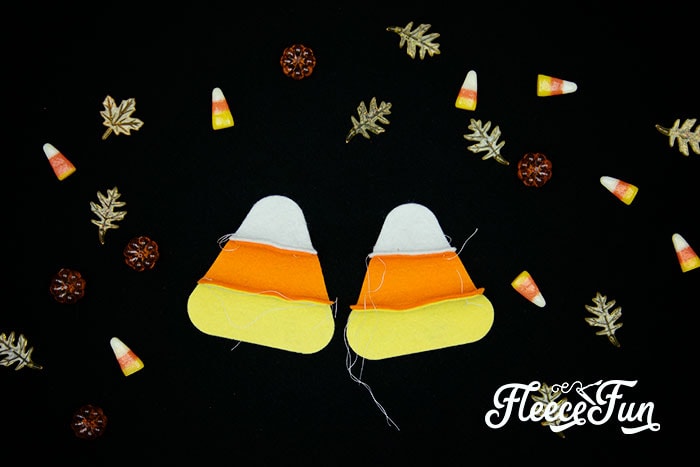
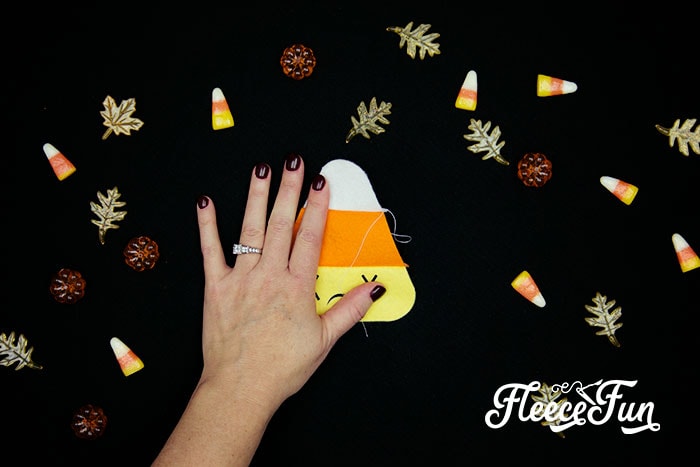
Repeat to make the back.
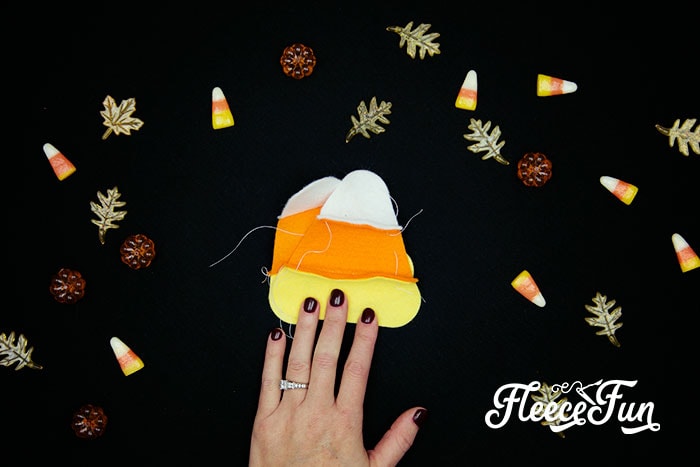
Sew around the candy corn leaving the bottom open for turning.
Quick Tip
Since felt has zero give make sure that the gap is a couple of inches wide.
Follow the direction same as the ghost after sewing.
For the Ghost:

Put right sides together.
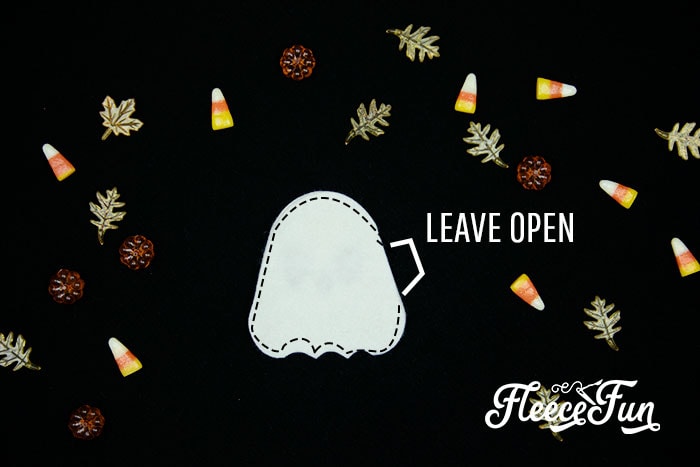
Sew all the way around leaving a turning gap on the side.
note
For Ghost and Candy corn: Snip notches in the curves so they form better when turned.
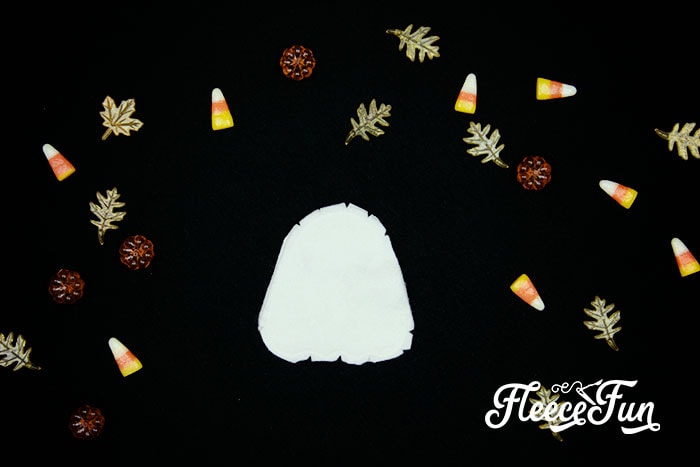
Turn right side out, using something (I like to use a crochet hook) to make curves defined.
Step 4 – Finishing up the Softie
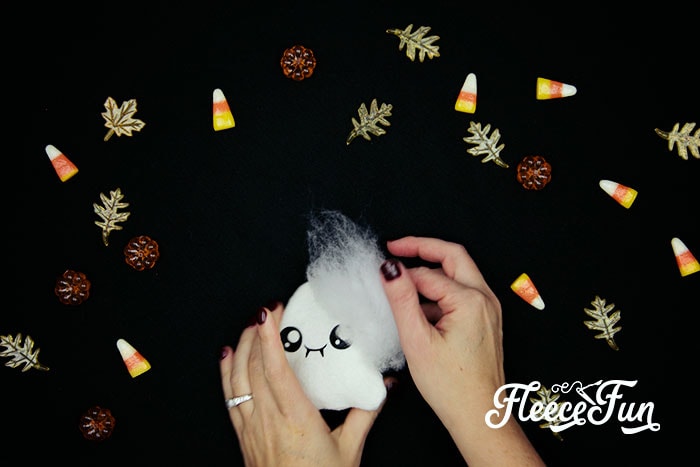
Stuff to desired firmness.
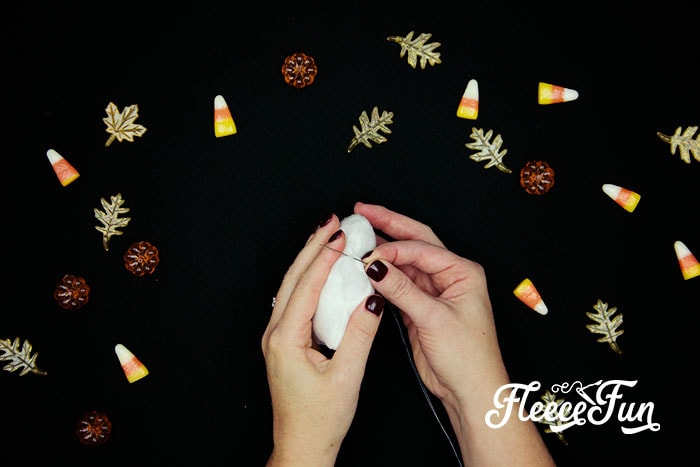
Sew the gap shut with a ladder stitch.

That’s it you just completed the Kawaii DIY Candy Corn and Ghost Softie tutorial!
DOWNLOAD THE FREE Candy Corn and Ghost Softie TEMPLATE
You can get a free copy of Adobe reader here. By downloading you are agreeing to pattern terms of use. Fill out the form to have the zip file sent to your inbox – the file will include the svg and pdf files.
Benefits of choosing handmade toys over traditional treats
When it comes to Halloween celebrations, choosing handmade toys over traditional treats can bring a whole new level of excitement and charm to the festivities. Handcrafted toys offer a personal touch that store-bought candies simply can’t match. By opting for unique handmade creations, you are not only treating children to something special but also supporting small businesses and local artists.
Handmade toys are often made with love and attention to detail, making them lasting keepsakes that kids will cherish long after Halloween is over. Unlike sugary treats that are quickly consumed and forgotten, these toys can be enjoyed for years to come. Additionally, handmade toys promote creativity and imagination in children as they engage in playtime activities beyond just eating candy.
Furthermore, choosing handmade toys aligns with eco-friendly practices by reducing waste from disposable packaging typically found with mass-produced treats. It’s a sustainable choice that benefits both the environment and your community. So this Halloween season, consider adding a touch of uniqueness by incorporating handcrafted toys into your celebrations!
More Halloween Fun!
- Boo Mason Jars (FREE SVG)
- How to Make A Harry Potter Wand
- Spider Web Doilies for Halloween!
- Adorable Bat Garland (FREE SVG)
- Giggles and Frights SVG Decor
- No Sew Mini Witch hat (3 template sizes!)
- Free Witch Hat Pattern
- See all of my Halloween Projects here
- Candy Corn Bowling activity/ printable
- All Hallows Eve Printable Party Pack
- Fabric Pumpkin
- Jack O’Lantern Finger Puppet
- Halloween Printable Treat Box
- Jack O’Lantern Tote
- Ideas For A Candy Free Halloween And A Free Printable!
like this Candy Corn and Ghost Softie? see more Toy Tutorials:
- Monster Softie Pattern (Free)
- Sunshine Softie – Free Baby Toy Sewing Pattern
- ABC Baby Blocks Free Pattern and Tutorial
- Softie Book Baby Toy Tutorial
- How to Make a Softie Baby Block
- Fun Felt Guitar Softie Toy (Free Pattern)
- Easy Block Pillow Tutorial
- Monster Finger Puppets Tutorial
- Toddler Bean Bags – Handmade Gift Idea by Chrissy from Muse Morning
- Fleece Eggs and Fleece Basket Pattern
More Adorable Baby Projects!:
- Towel Bibs for Babies – Bandana Style Ultimate DIY
- No-Sew Baby Car Seat Canopy Tent How-To
- Easy Crochet Edge for Baby Blanket
- Free Diaper Bag Tutorial
very cute …love them and not real scary …