
Free Ladybug Hat Pattern
This content contains affiliate links or sponsored elements, read our Disclosure Policy.
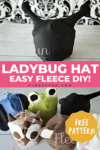


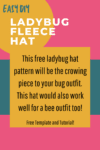


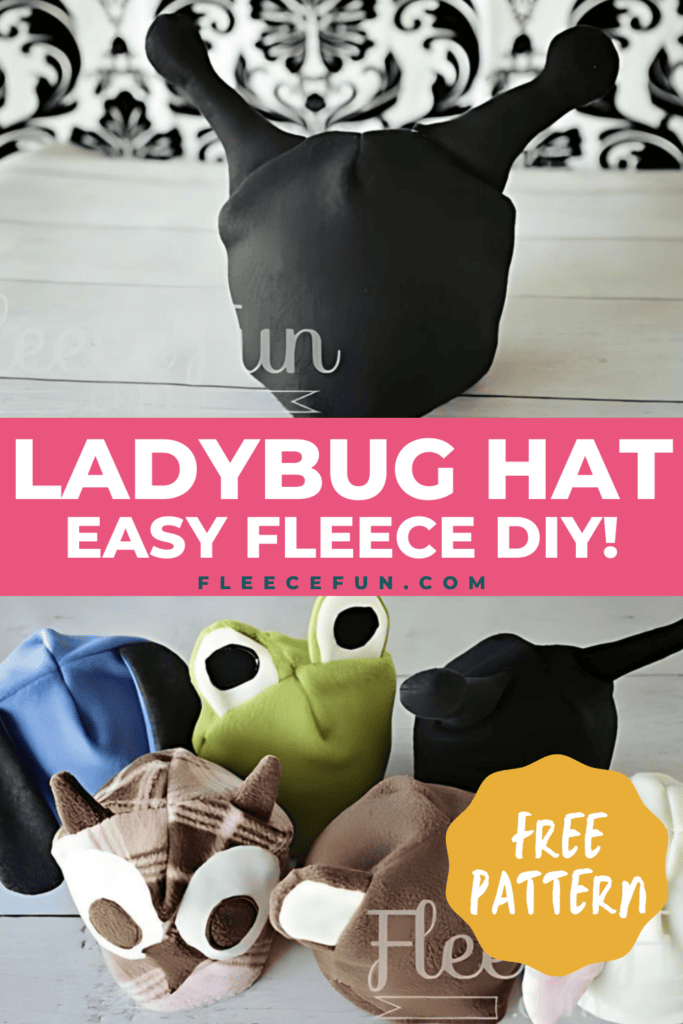
This free ladybug hat pattern will be the crowing piece to your bug outfit. This hat would also work well for a bee outfit too!
YOU WILL NEED:
- 1/3 yard fleece
- 1/8 yard contrasting materials for pieces (might need 2 colors)
- Thread
- Assembled printed pattern
- scissors
- Sewing Essentials (pins, scissors, etc.)
- Sewing Machine
- Get the free pattern here.
Check out the Rest of Halloween Hat pack 2:

Free Ladybug Hat Pattern Tutorial
Step 1 – Cut Out the Ladybug Hat Pattern Pieces and Pin
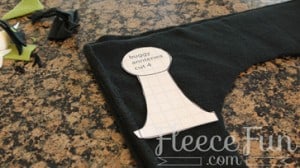
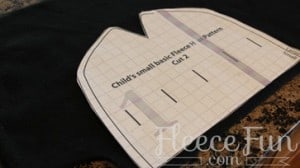
You can find instructions on how to assemble the pattern here. Cut out 4 of the bug antennae, plus 2 of the basic hat pattern.
Step 2 – Sew and Attach the Antennae to the Fleece Hat
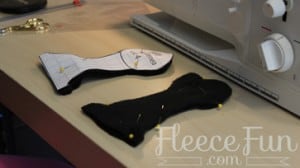
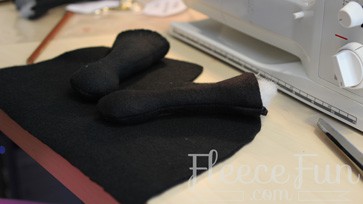
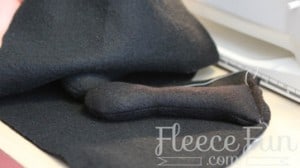
Sew each antennae together. For Baby hats use a .5 inch seam. For children and adult hats use a .25 inch seam. Sew two sides of the antennae, leaving the straight side open for turning. Snip curves taking care not to snip through seam. Turn antennea right side out, pushing the fabric so you will have a curve. Stuff each antennae with a little bit of poly fill or fleece scraps, making sure that there is a finger width’s of space at the bottom with no filling.
note
Pattern has been tweaked since I made the sample – the antennae is slightly shorter so it will stand up better.
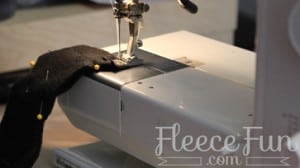
Step 3 – Assemble and Finish the Ladybug Fleece Hat
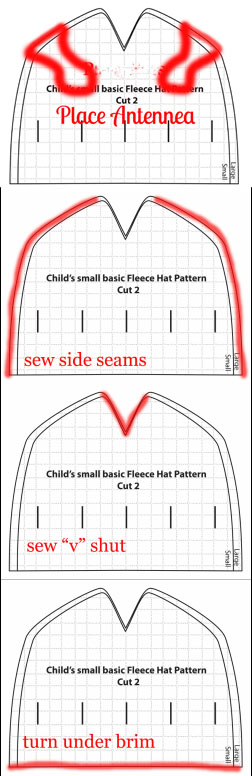
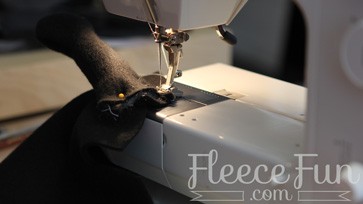
Place antennae on right side of fabric as pictured. Pin in place. Then baste in place (this will make it easier to sew together.) Place other side of hat right side facing in on top, sandwiching the ladybug hat antennae.
quick tip
Be sure the antennae are facing inward.
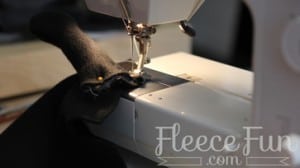
Using a .25 inch seam allowance sew the antennae into place (this will make it easier to sew the hat all together) Using a 1/2 inch seam allowance sew each side of the hat (the long curved side to the point before it dips into a “V”.) Be sure to leave the bottom (the brim) open.
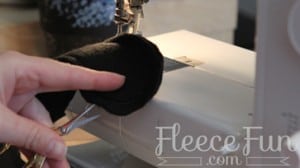
Now that you’ve sewn the sides of the hat it’s time to close the top. Fold the hat in half so the seams you just sewed are touching. Pin the “v” on each side closed. Sew one seam along the top of the hat closing the “v” on both sides. (This will make a rounded top.) Turn the brim edge under 1 inch (or more/less if you like) pin and sew a zig-zag stitch over the edge of the fabric. Snip any loose threads and turn right side out.
Download the Free Fleece Ladybug Hat Pattern Here
You can get a free copy of Adobe reader here. By downloading you are agreeing to pattern terms of use. Click the picture below or fill up the form to download the .pdf !

More Winter/Halloween Fleece Hats:
- Halloween Hat Pack – Dragon, Viking, Apple, Pumpkin
- Halloween Hat Pack 2
- Monster Mash Fleece Hat
- Fleece Bunny Hat
- Fleece Dog Hat
- Basic Hat with Horns
- Basic Hat with Bear Ears
- Fleece Unicorn Hat
- Fleece Frog Hat
- Monkey Hat
- Fleece Owl Hat
More Fleece Projects!
- Baby Hat with Chin Strap
- Children’s Boutique Style Pants
- Fast Fleece Tie
- Trapper Hat
- Basic Hat with Top Knot
- Child’s Fleece Robe
- Child’s Fleece Pants

files are damaged and can not be repaired
Hi Shan,
I’ve checked the files in two different browsers and they both came up for me. Pleae empty your chache and try again or try in a different browser.
Thanks,
Angel
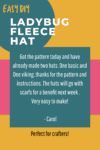
got the pattern today and have already made two hats. one basic and one viking
thanks for the pattern and instructions. the hats will go with scarfs for a benifit next week .
very easy to make