
Free Monkey Hat Pattern
This content contains affiliate links or sponsored elements, read our Disclosure Policy.

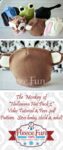


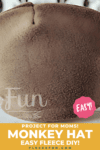


This Free Monkey Hat Pattern is easy to put together.
YOU WILL NEED:
- 1/3 yard fleece
- 1/8 yard contrasting materials for pieces (might need 2 colors)
- Thread
- Assembled printed pattern
- scissors
- Sewing Essentials (pins, scissors, etc.)
- Sewing Machine
- Get the free pattern here.
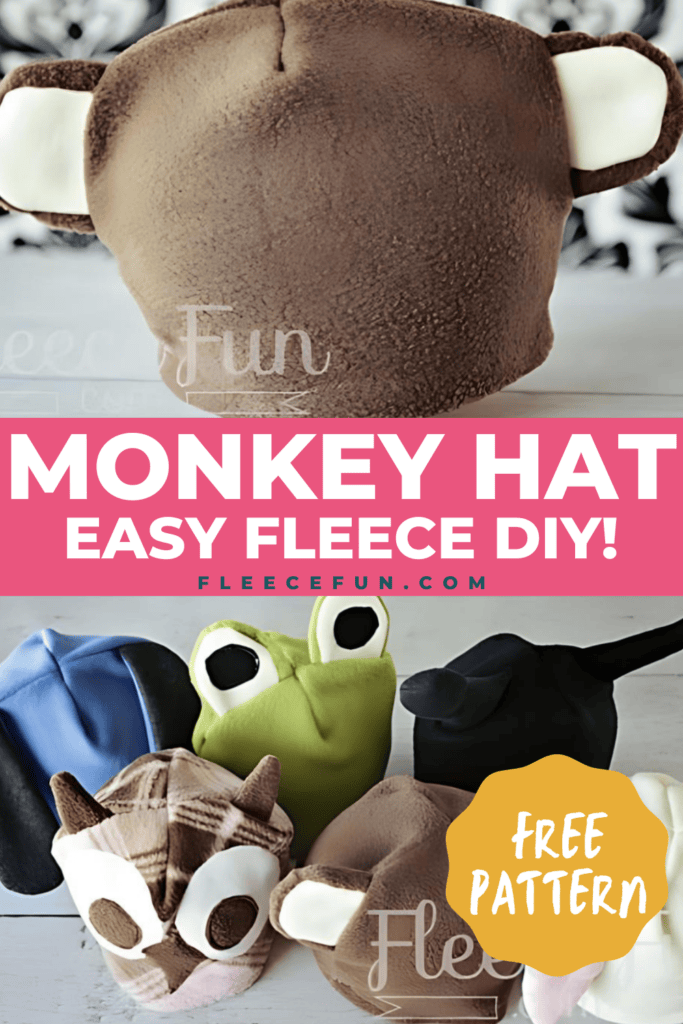
Check out the Rest of Halloween Hat pack 2:

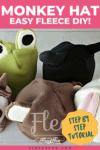
Free Monkey Hat Pattern Tutorial
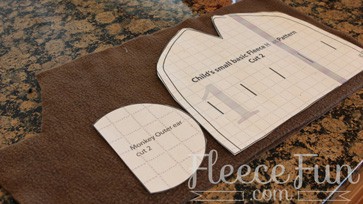
Step 1: Assemble and Cut Out the Monkey Hat Pattern
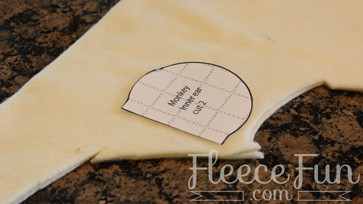
You can find instructions on how to assemble the pattern here.
For contrast I recommend cutting out the ear interior (the smaller piece) with a contrasting fabric. Plus two of the basic hat pattern.
Step 2: Pin and Sew the Monkey Ears
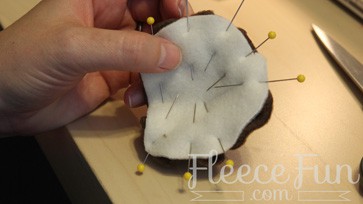
This is the trickiest part of the Fleece Monkey Hat Sewing pattern. Taking and exterior and interior ear piece, put right sides together and line up the bottoms of the pieces. The exterior is larger than the interior so your ear will have a nice outline. Line up the exterior edges of the piece and pin (this will cause the back to bubble). I like to use a lot of pins to get this right. For a baby hat use a .5 inch seam, for a child or adult hat use a .25 inch seam. Turn right side out.
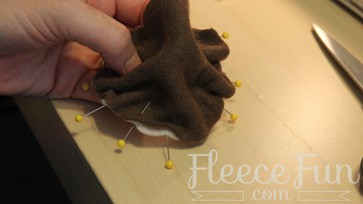
Step 3: Attach the Ears and Sew the Fleece Hat
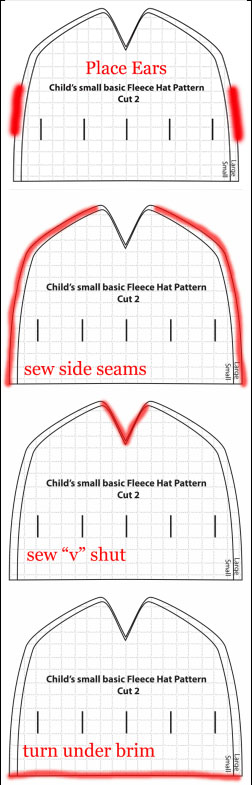
Place and pin the monkey ears where you would like them to be on the fleece hat (a halfway down seams to work well). You want the tops of the ears facing in, sitting on the right side of the fabric. Sew on the ears using a .25 inch seam allowance. This will make the hat easier to sew. You will then place the other half of the hat (right side down) on top.
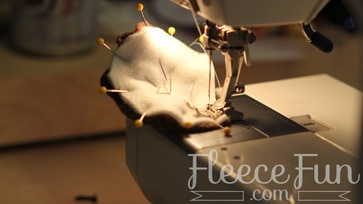
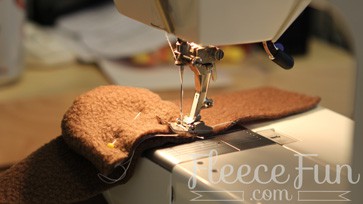
Using a 1/2 inch seam allowance, sew each side of the hat (the long curved side to the point before it dips into a “V”. Be sure to leave the bottom (the brim) open. Now that you’ve sewn the sides of the hat it’s time to close the top. Fold the hat in half so the seams you just sewed are touching. Pin the “v” on each side closed. Sew one seam along the top of the hat closing the v on both sides. (This will make a rounded top.)Turn the brim edge under 1 inch (or more/less if you like) pin and sew a zig-zag stitch over the edge of the fabric. Snip any loose threads and turn right side out.
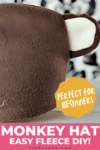
Tada! Your Fleece Monkey Hat is finished.
Quick Tip
Because of the layers, sew slowly over the sections with the ears – it will keep the stitches more even.
Download the Free Fleece Monkey Hat Pattern Here
You can get a free copy of Adobe reader here. By downloading you are agreeing to pattern terms of use. Click the picture below or fill up the form to download the .pdf !

More Winter/Halloween Fleece Hats:
- Halloween Hat Pack – Dragon, Viking, Apple, Pumpkin
- Halloween Hat Pack 2
- Monster Mash Fleece Hat
- Fleece Bunny Hat
- Fleece Dog Hat
- Basic Hat with Horns
- Basic Hat with Bear Ears
- Fleece Unicorn Hat
- Fleece Frog Hat
- Ladybug Hat
- Fleece Owl Hat
Hi!
I would like to sew one of your hats and already got the pdf and the material.
I was only wondering about the measurements since we have different paper formats. Are the little squares 1 square inch? There might be a difference once I print it…
Thanks and all the best from Germany!
Janina
PS: Your page is really awesome!
As long as you print @ 100% and NOT to page size you should be OK. But you’re right that I need to add a 1 inch square reference on the patterns for people so they can make sure they’re getting the right size.