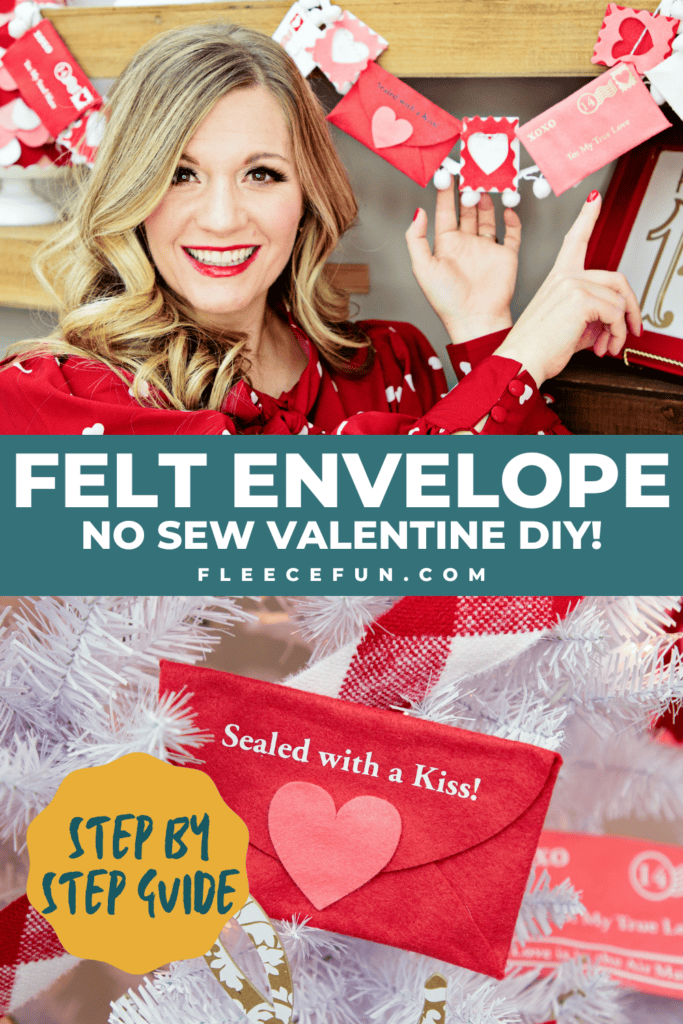
Felt Valentine Envelope DIY (No Sew + FREE template)
This content contains affiliate links or sponsored elements, read our Disclosure Policy.


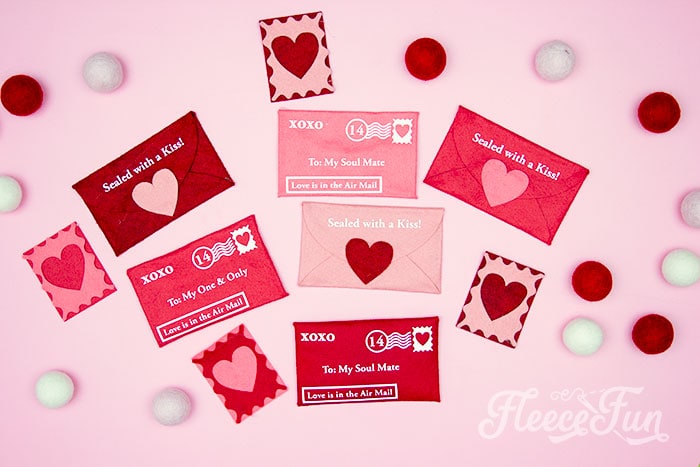
This Felt Valentine Envelope DIY (No Sew + FREE template) is versatile. Use it as a tree decoration, a garland or strewn about your centerpiece. They can serve as functioning envelopes or can be just for décor – it’s your choice! While I’ve used felt in this tutorial – the envelope pattern will work with cardstock – but I don’t think it will look as cute!
Hate The Ads?
This pattern with video and printable instructions is available in the Makers Studio. The Maker’s Studio is an ad free experience, no video ads, no forms, no zip files, just creating.

YOU WILL NEED:
- Fleece Fun’s free files (available by using the form at the end of the post)
- A Sheet of red and pink felt (preferably wool blend – I love this place for felt)
- HTV in white
- A 12 by 12 sheet of cardstock
- Cricut Maker
- Fabric Grip Mat
- Light Grip Mat
- EasyPress Mini
- HeatPress Mat
- Glue Gun
- Glue sticks
- Get the free pattern and SVG files here.
Felt Valentine Envelope DIY (No Sew + FREE template) Instructions:

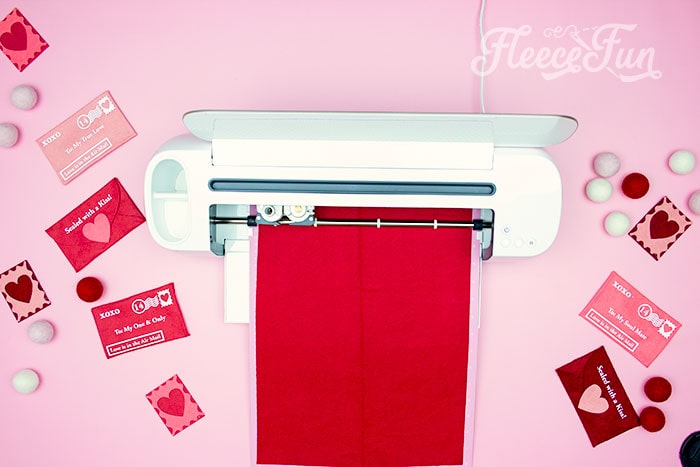
Step 1 – Gather your Envelope materials and cut out the pattern

Once you have all of you materials and tools gathered, load the free files (available by filling out the form below) into Cricut Design Space.
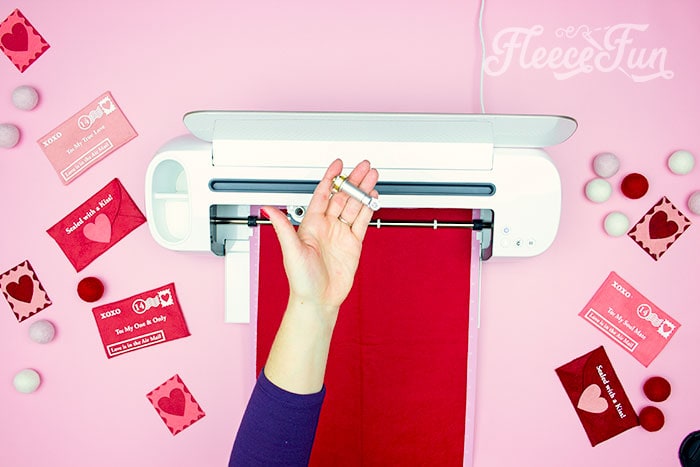
If using felt like me, lay it on a Fabric Grip Mat, and make sure the rotary blade is properly mounted into the Cricut Maker.
Cut out the felt envelope, heart and stamp.
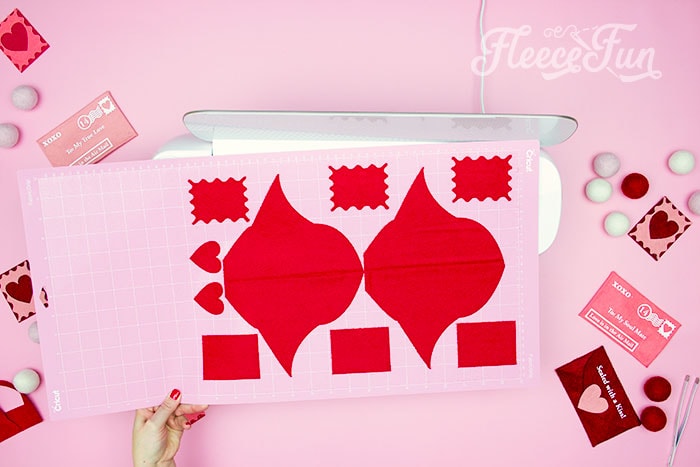
Cut multiple at a time to make a bunch.
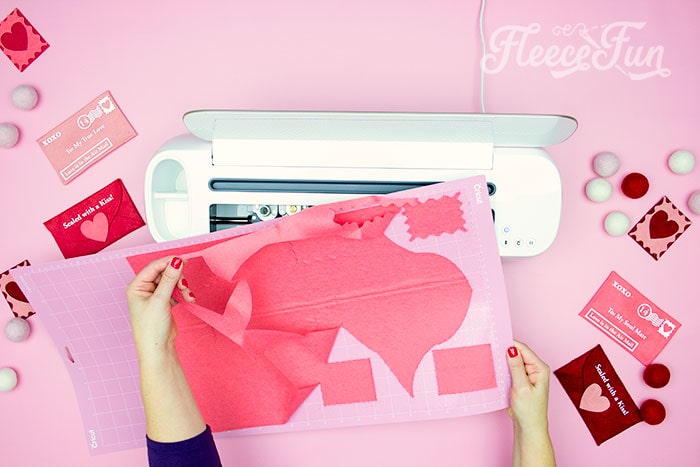
Also cut different colors so you can mix and match the look. Remove the elements from the mat and set aside.
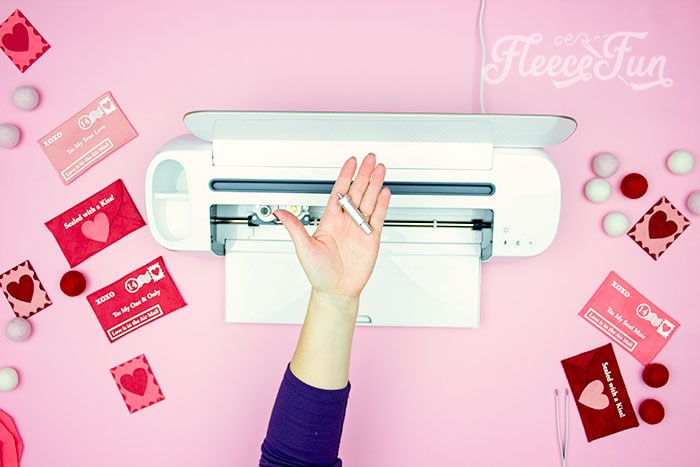
Switch out the the fine point blade.
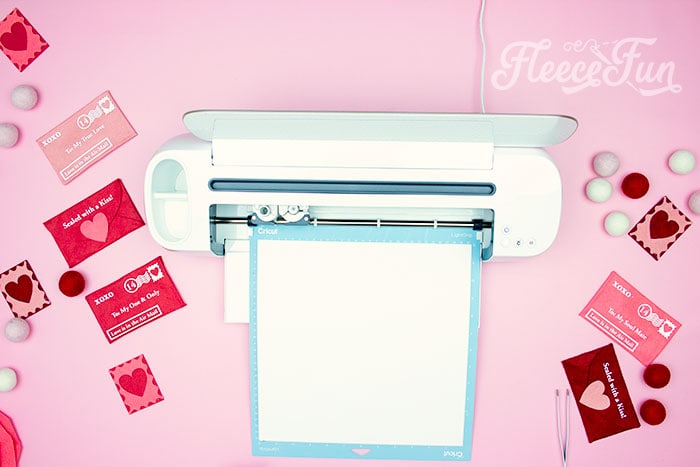
Using the light grip mat, and a sheet of cardstock cut out the rectangles.
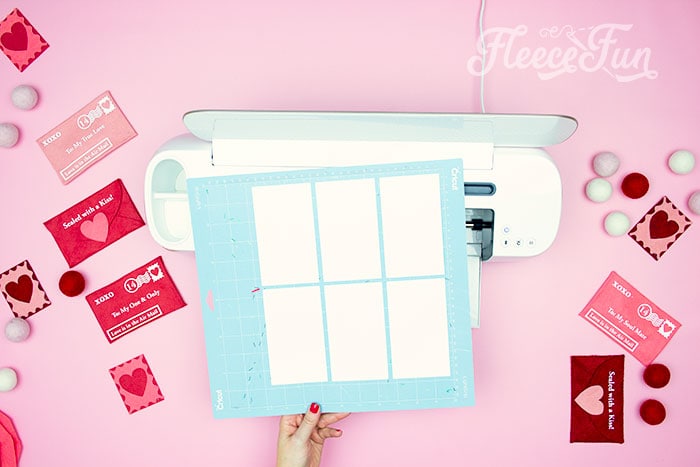
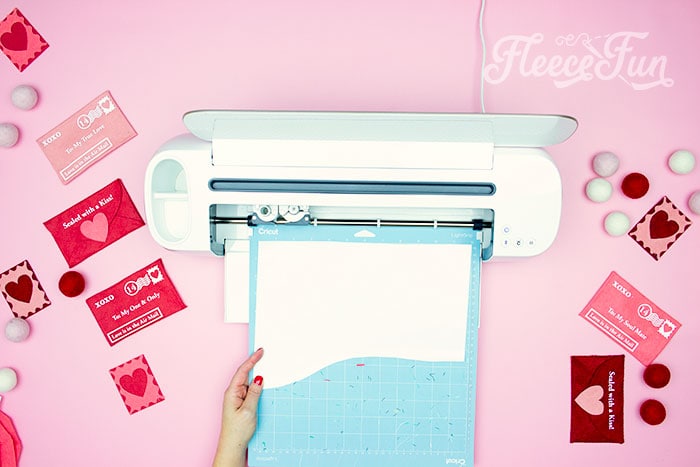
Remove from mat and set aside.
Finally cut out the wording elements from (be sure the MIRROR it!!!)
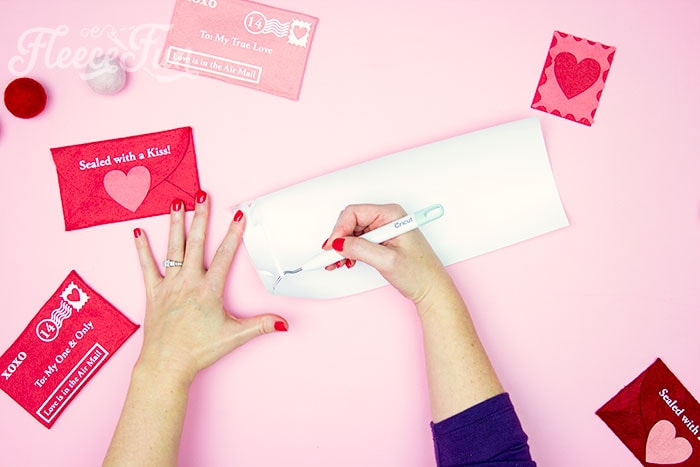
Weed the Vinyl and set aside.
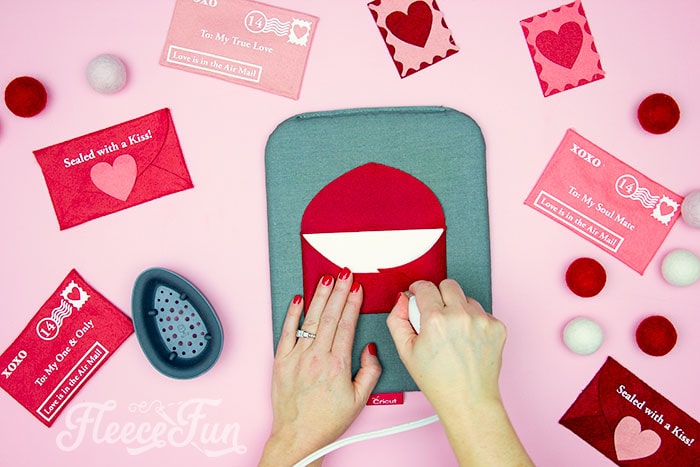
Step 2- Set the Creases in the felt Valentine Envelope
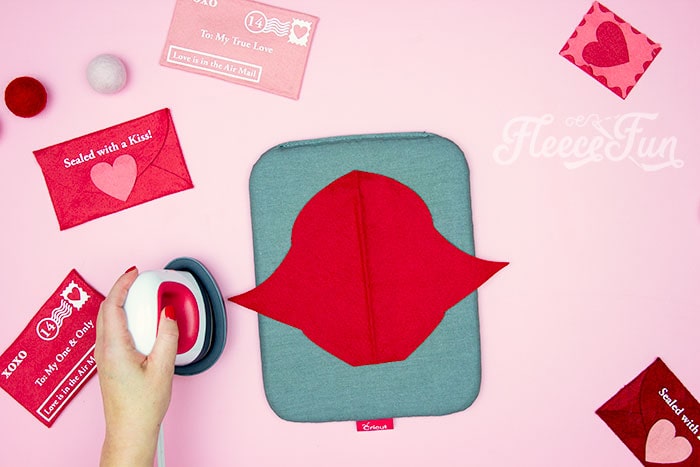
Set the MiniPress to a “2” and iron out any creases in the fabric.
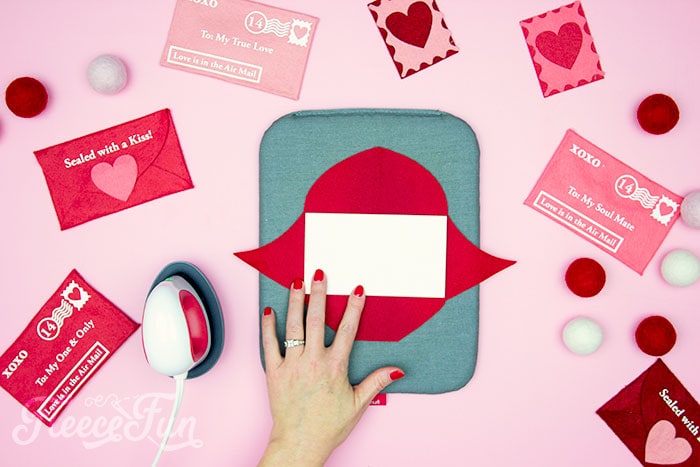
Take one of the cards – this will serve as a template for the folds on the felt envelope. Center it on the envelope cut out.
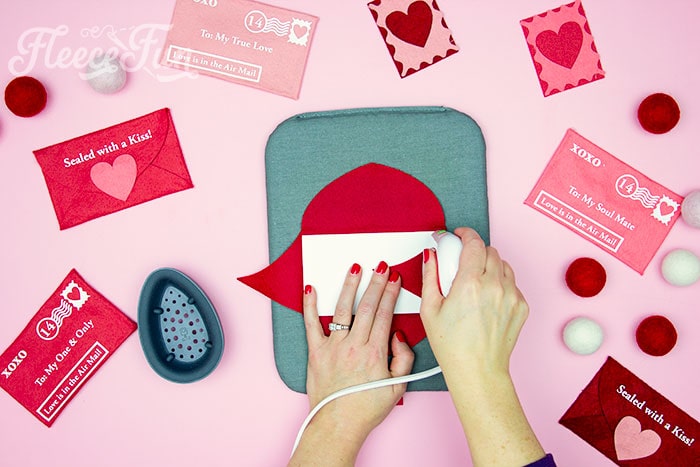
Take the right side panel and fold it towards the center, using the edge of the card as the fold point. Iron along the edge to make a crease.
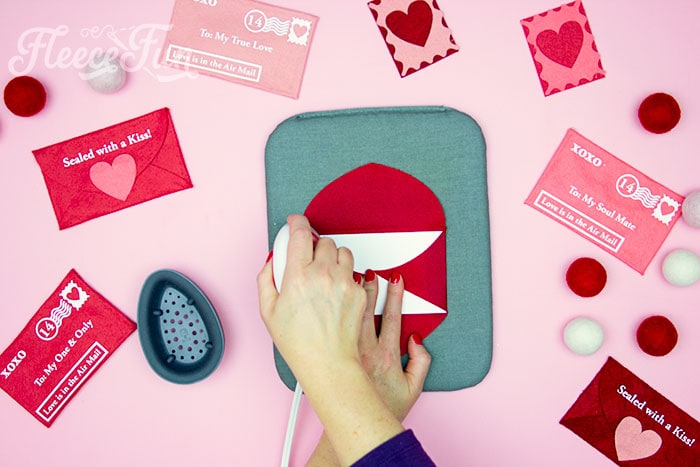
Repeat this process on the left side – the two side should meet in the center.
Now fold up the bottom and iron a crease along the fold.
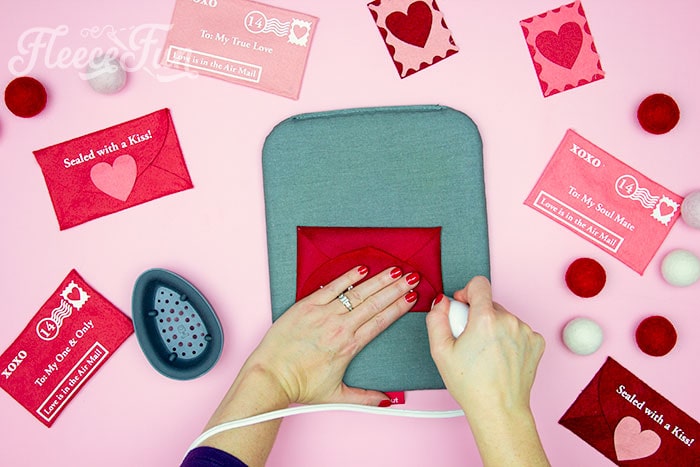
Finally fold down the top to complete the valentine envelope and iron a crease along the top edge, using the card as a guide.
Step 3- Iron on the wording in HTV
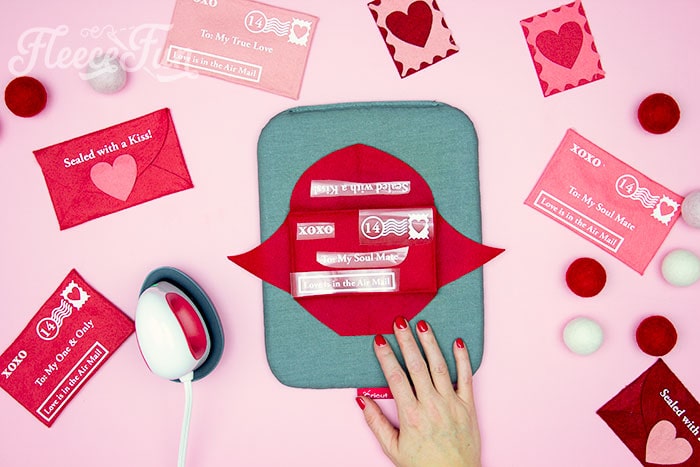
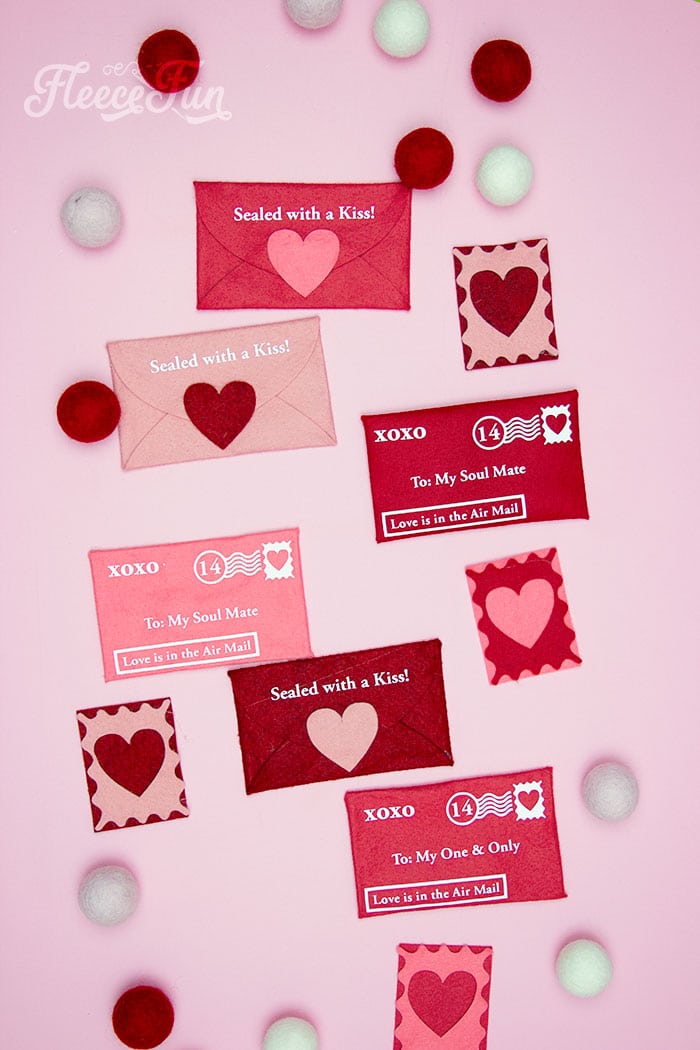
Now that all the creases are in the envelope we can use them to help place the HTV. I like to place the elements as shown – the stamp in the top right, the xoxo, on the top left. The “Love is in the air mail” on the bottom left corner and the “to” in the center. Mind that the “Sealed with a kiss” needs to be upside down (so when it’s folded over it will be right side up).
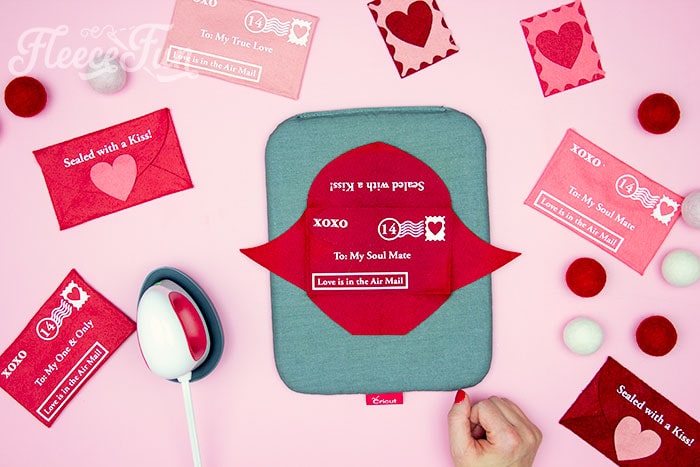
Iron on all of the elements and remove the backing.
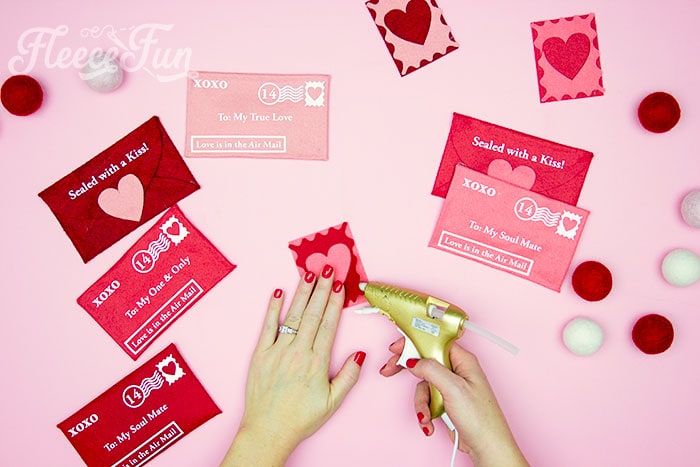
Step 4: Assemble and Finish Your Felt Valentine Envelope

Now that we have the creases set and the HTV on it’s time to complete the envelope. The envelope can be functional or purely decoration. It’s up to you and how you glue it together.
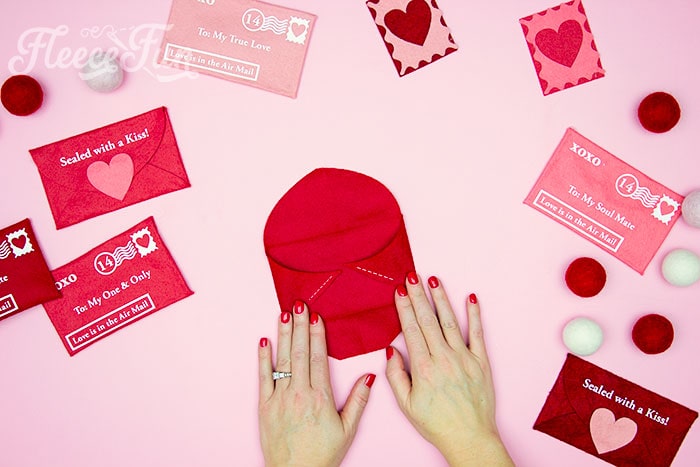
To keep it functional, fold in the right and left side flaps and place beads of hot glue along the lower edge of the side envelope flaps.

Fold up the bottom flap to glue them together.
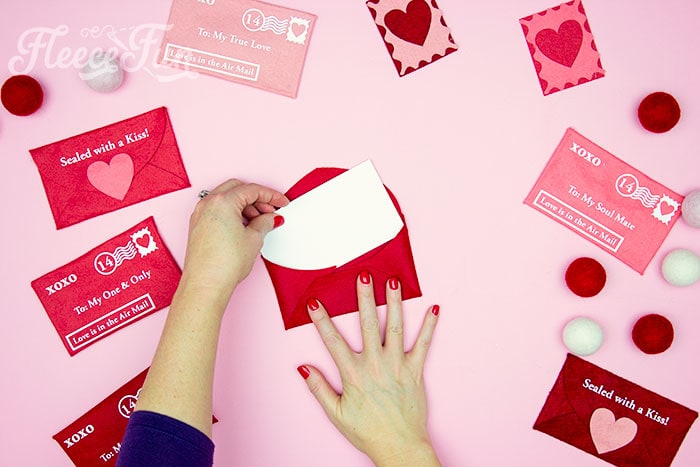
Check to make sure that the card can fit in the envelope, this will help it maintain it’s shape.
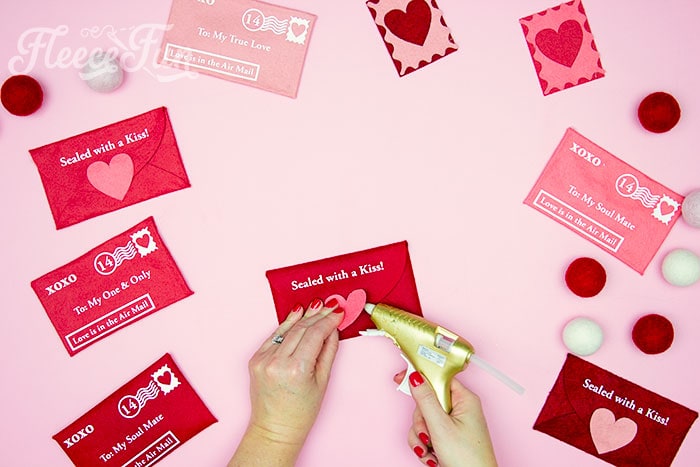
Add a heart to the back flap (this will help weigh it down stay closed – or you can just glue the flap down completely if it’s just for decoration).
Step 5- Make the stamps
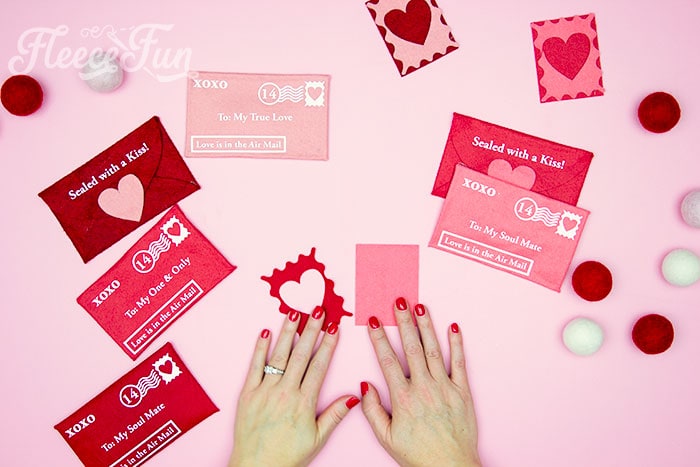
For the stamps, grab on rectangle and one stamp topper.
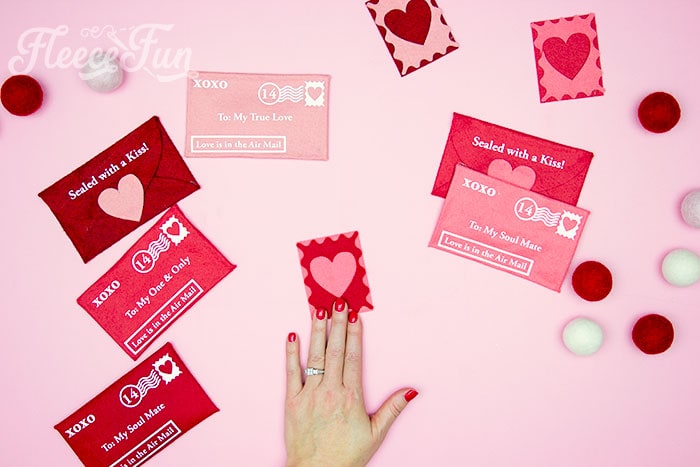
Place the topper on the rectangle an center it as best you can.
Place a little bead of glue in each corner to complete the stamp.
Make several in different colors to complete the look!
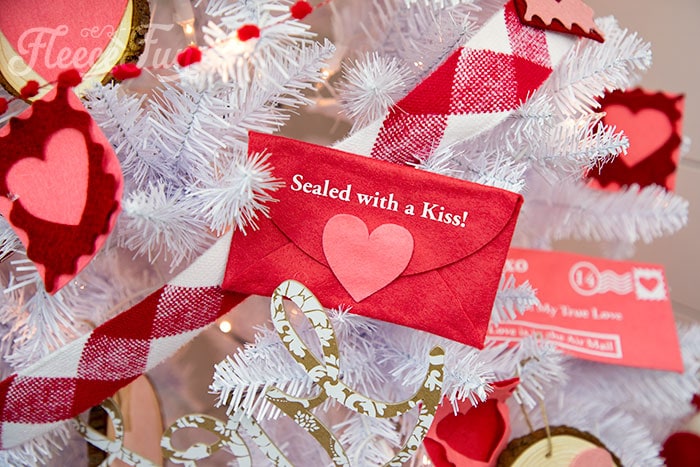
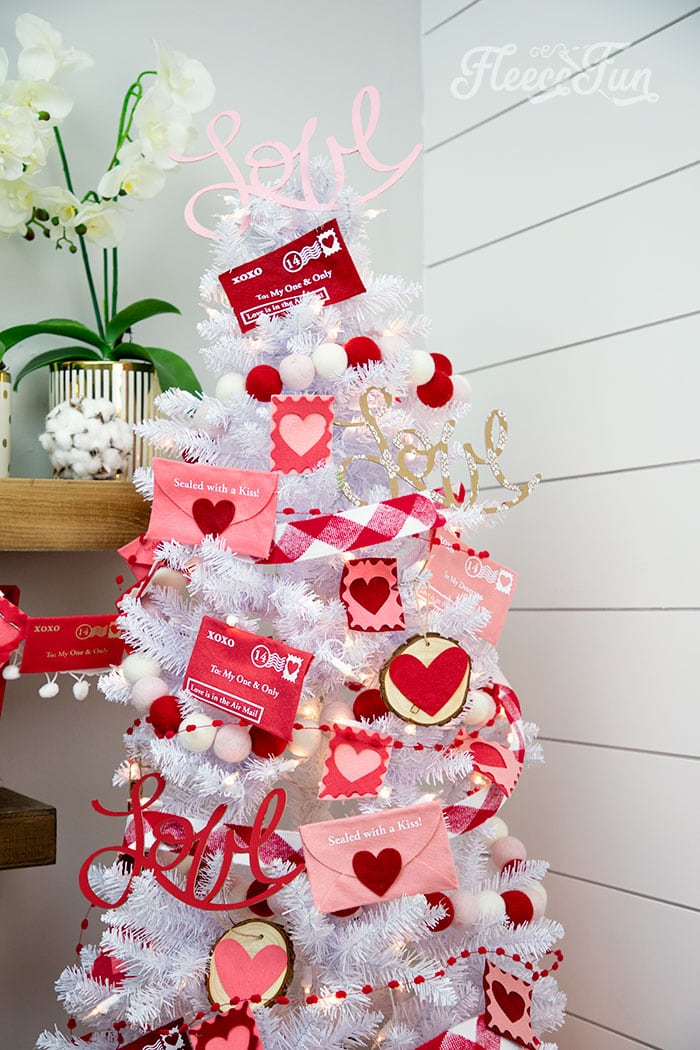
For tree decorations, simply set in a tree.
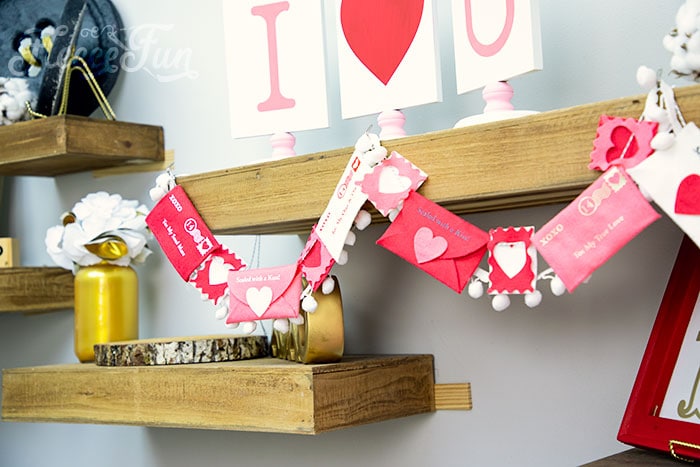
For garland, simply get some string and hang the envelopes and stamps along it.
Download the Free Valentine Envelope diy Template Below (FILL OUT THE FORM)
By downloading you are agreeing to pattern terms of use. Fill out the form to get the SVG/PDF files.
Check out more Valentine’s Day Gift Ideas and Accessories
- Valentine Wreath DIY Sweater Look Love
- Make Heart Hand Warmers Handmade Gift Idea
- Heart Pillow
- Heart No Sew Satin Hair Clip
- Make Beaded Cake Stand
More Free Valentine’s Day Tutorials!
- DIY Valentine Craft Cozy Home Sign
- Valentine Decoration Ideas Rustic Heart Branch DIY
- Free Valentine’s Day Printable Banner True Love
- Easy Free Valentine Sign Printable Tutorial
- See all of Fleece Fun’s Valentine’s Day Tutorials here!
Creative Sewing & Cricut Projects You’ll Love!
- DIY Placemats for the Holidays
- How to Sew a Quilt the Easy Way
- Acorn Template (Free JPEG & PDF)
- DIY Custom Sewing Labels
- DIY Matching Game
- DIY Birthday Crown (Free PDF & SVG)
- Freezer Paper Stencil for T-Shirts Tutorial
- Tips for Working with Iron-On Mesh
- DIY Tiara (Free Pattern & SVG)
- How to Make a Knight Helmet (Free Template)
More Cricut Projects!
- How to Use JPEGs to Make a T-Shirt in Cricut Design Space
- 25 Personalized Gift Ideas Using Cricut Tools
- St. Patrick’s Day Upcycle Book Craft
- Patriotic Pinwheel Wreath DIY
- See all of FleeceFun’s Cricut Tutorials!