Sunflower DIY (Free Template and SVG)
This content contains affiliate links or sponsored elements, read our Disclosure Policy.


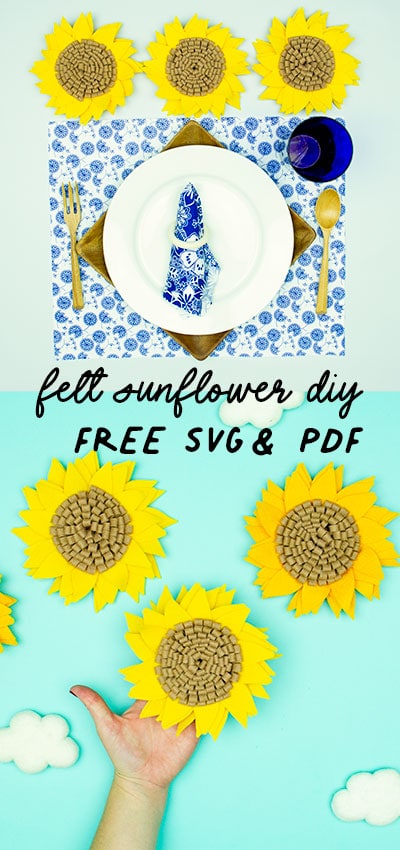
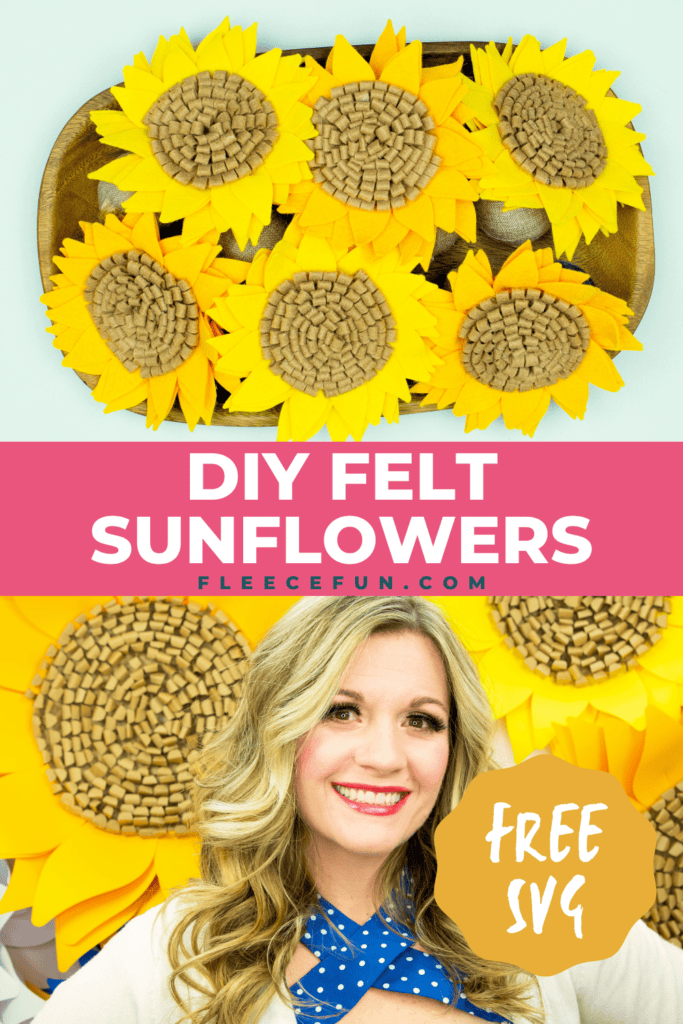
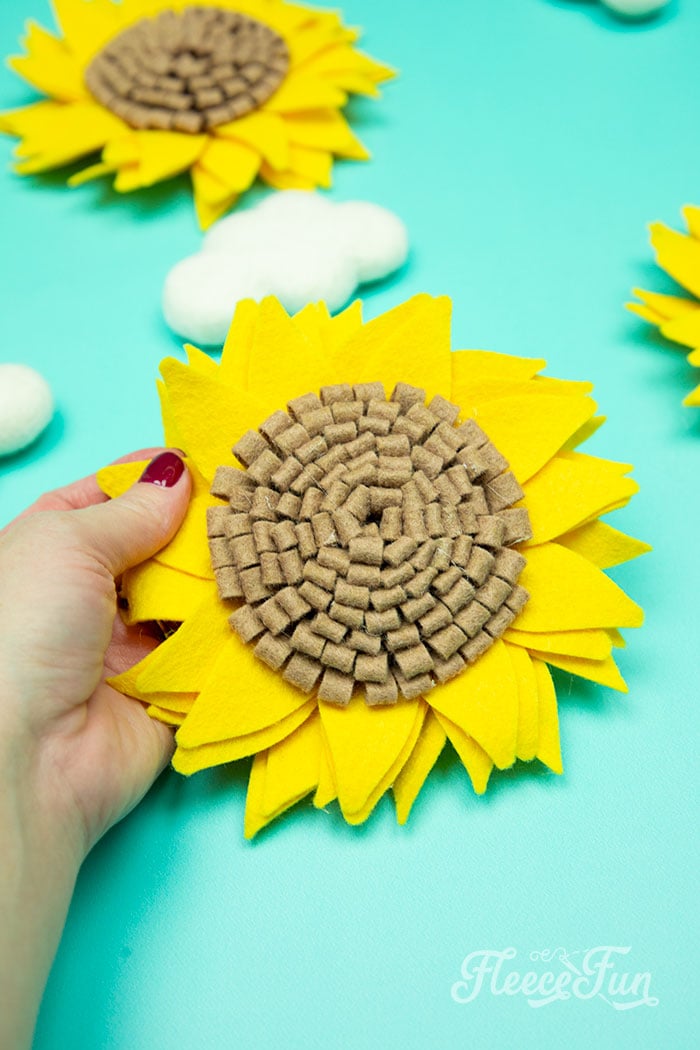
This Sunflower DIY is the perfect fall touch. Add these flowers to a centerpiece or use them as a place card holder. They also make a wonderful addition to garland! They are very durable and long lasting. Need to get a little dust off of them? A little compressed air is my hack for keeping felt flowers looking clean and dust free.
YOU WILL NEED:
- Fleece Fun’s Free PDF template or SVG files (available at the end of the post)
- 4 yellow 12″ by 17″ felt or fleece sheets
- 1 brown 12″ by 17 inch felt or fleece sheet
- Glue gun and glue sticks
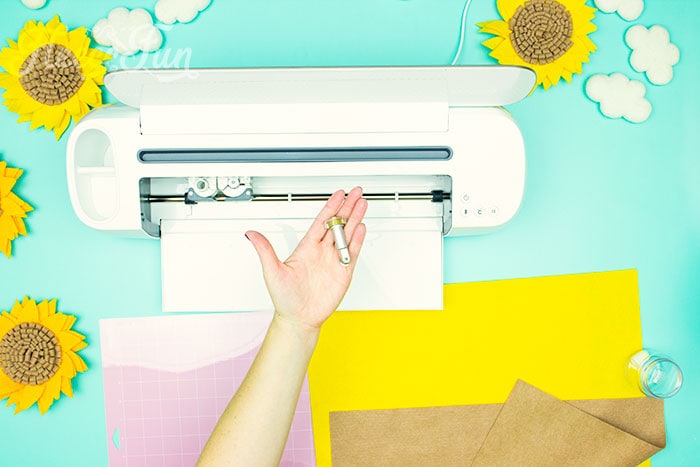
- Cricut Maker (optional)
- Fabric grip mat
- Rotary blade
- or
- scissors
- pins or a a pen to trace the pattern
- Get the pattern and SVG files here.

Sunflower DIY Instructions with Free Template and SVG

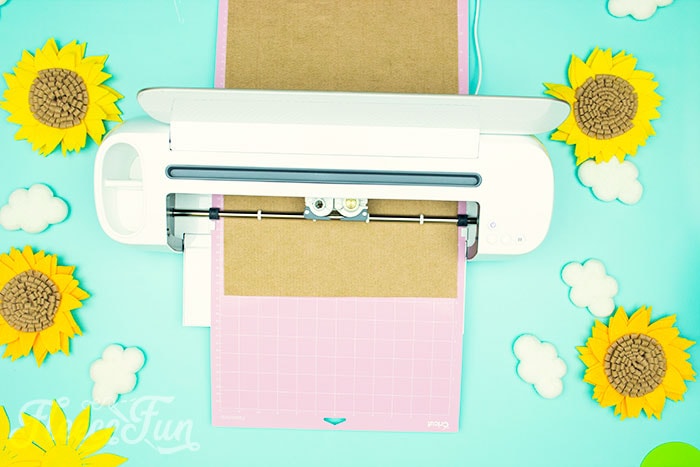
Step 1 – Cut Out the Felt Flowers
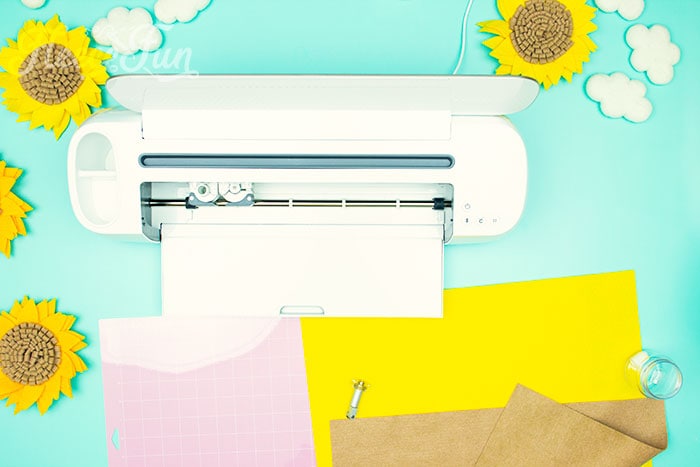
Print up the pdf pattern or load the SVG files into design space. The SVG files are designed to cut out 4 flowers total. If using the PDF you can modify to allow for what you want to make.
Using the rotary blade on the Cricut Maker cut out the following:

Cut 4 of the yellow sheets.
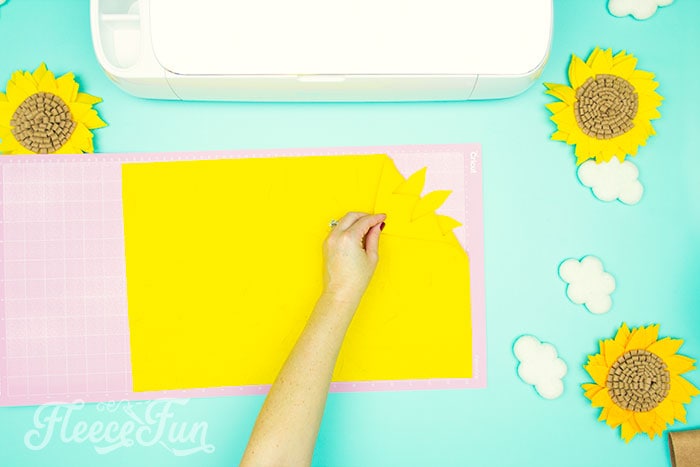
Remove the excess fabric.

Delicately pull each petal inward to the center of the circle.
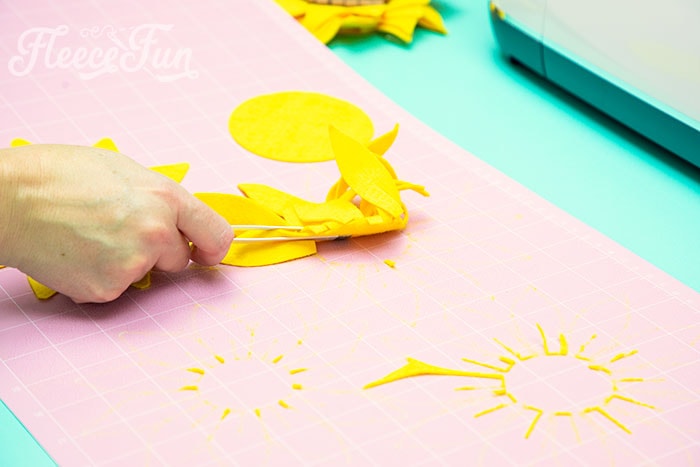
Then lift the flower layer off the mat. This will prevent any petals from tearing off onto the mat.
Continue until all of the elements are removed.
Cut out the seed strips and the centers.

Gently remove from the mat.

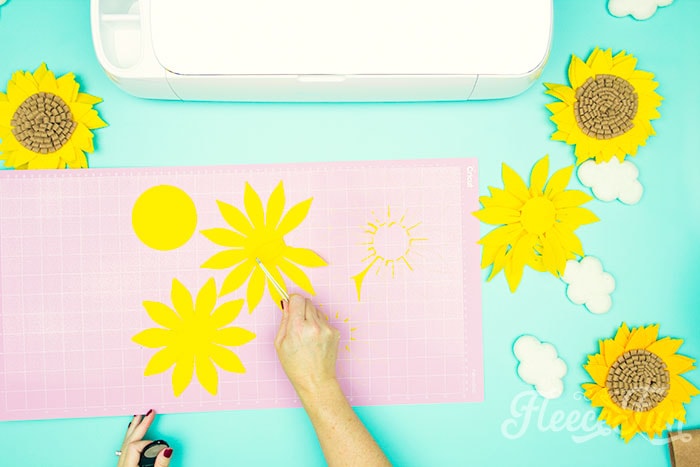
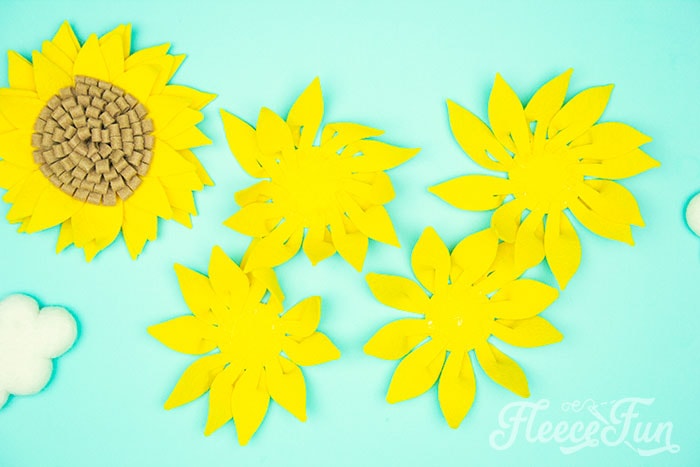
To make one flower you will need one of each yellow flower petal center (totaling 4), 1yellow circle backing, 1 brown circle of the seed center, and 3 – 4 brown seed strips.
Step 2 – Begin Crafting the Sunflower diy

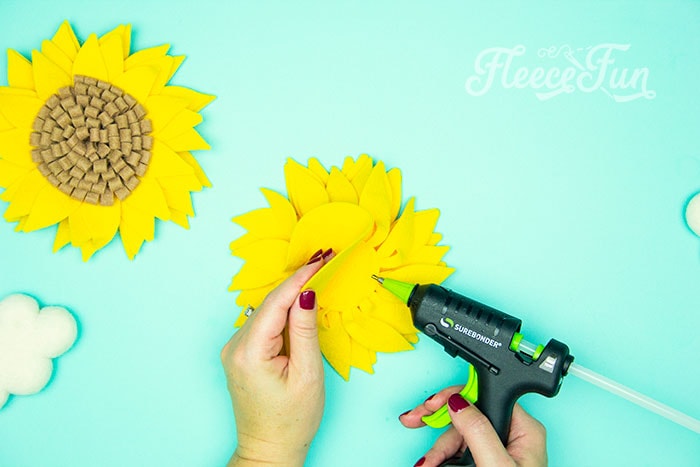
We need to give the sunflower some shape. to do this we’re going to help the petals look ore three dimensional.

Take the side of the petal that is not attached to the center and fold it over so it is on top of where the petal is attached. Glue it into place.

Continue to do this all the way around the flower.
Repeat with all the layers of the flower.
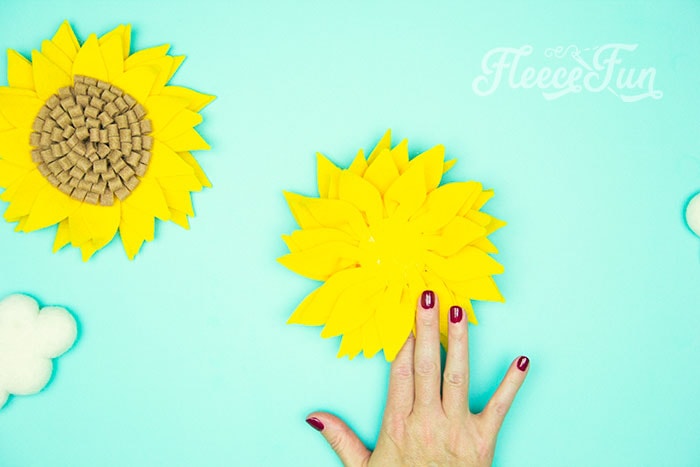
Step 3 – Build the Layers of the Felt Sunflower

Starting with the bottom layer ( the one with the largest center circle) Place each layer on top of each other ending with the smallest center circle.
Twist the layers until the flower has the desired look. Make sure to do this before gluing the layers down so you can get just the right staggering of the petals on the each sunflower.
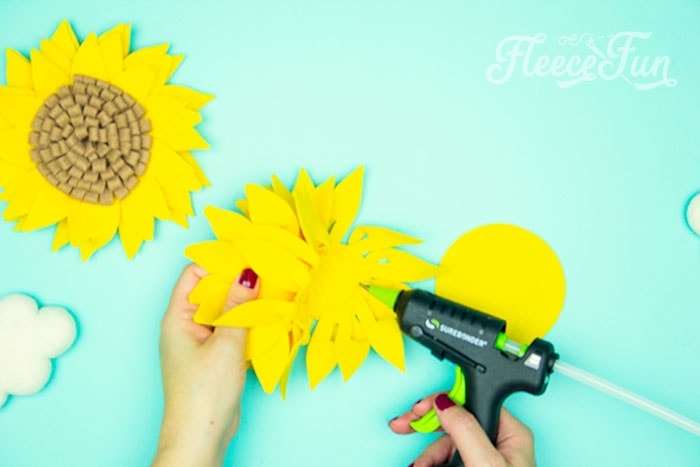
Glue each layer into place.
On the back of the flower (the bottom has the largest circle) glue the large yellow circle to finish the back of the fabric flower.
Set the flower aside.
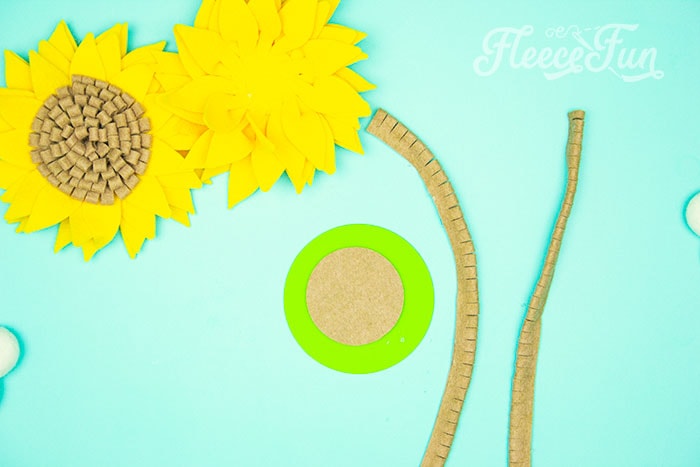
Step 4 – Create the Sunflower Seed Center
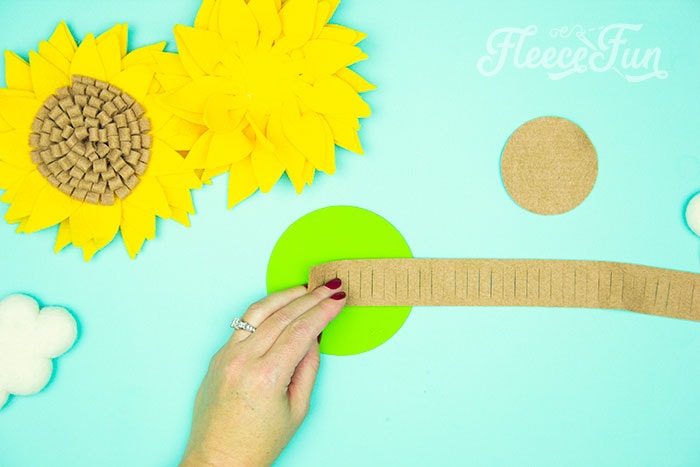
Take one of the seed strips.
Fold it in half and glue along the solid edge to hold into place.
Take the brown center.
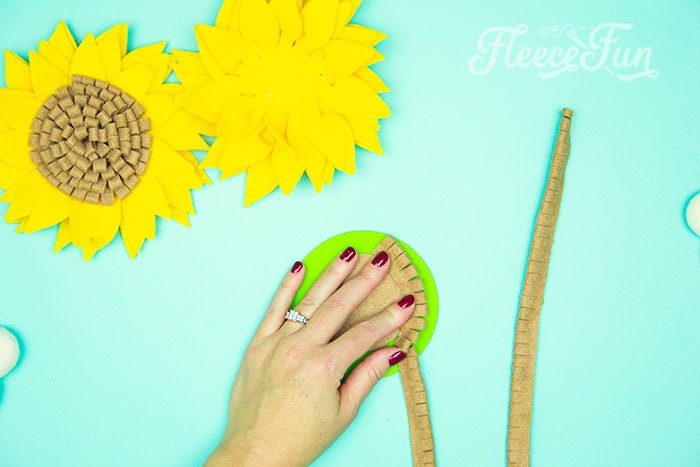
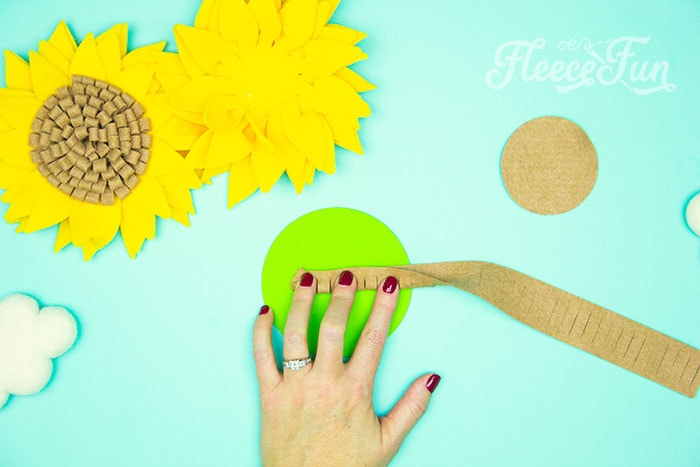
Starting at the outer edge glue the non separated side of the seed strip down.
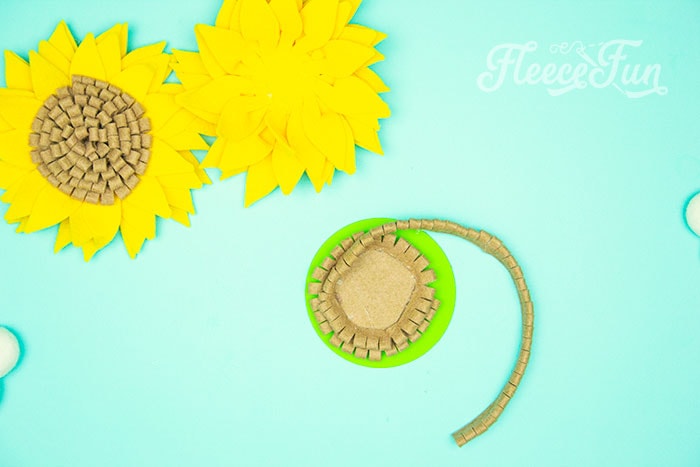
Continue to glue down the strips spiraling in to the center.
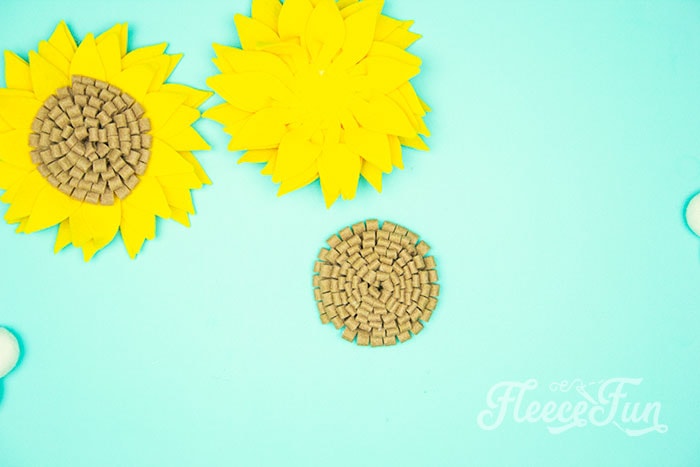
Depending on the tightness of your spiraling you might need to trim a strip to make it fit.
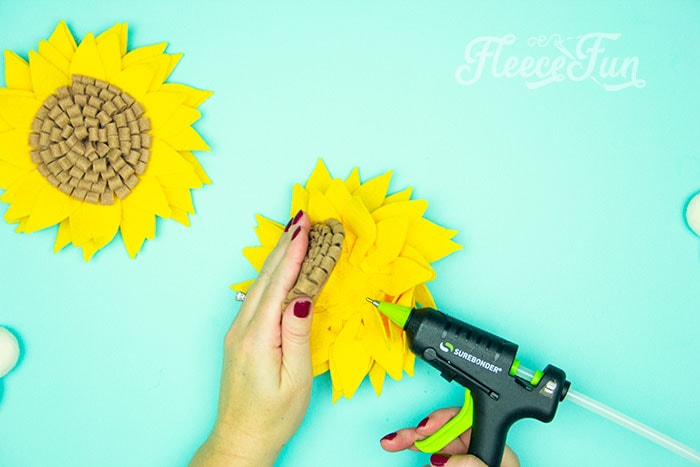
Finally glue the center into the center of the flower.
You just completed the Sunflower DIY! There are so many things you can do with them.
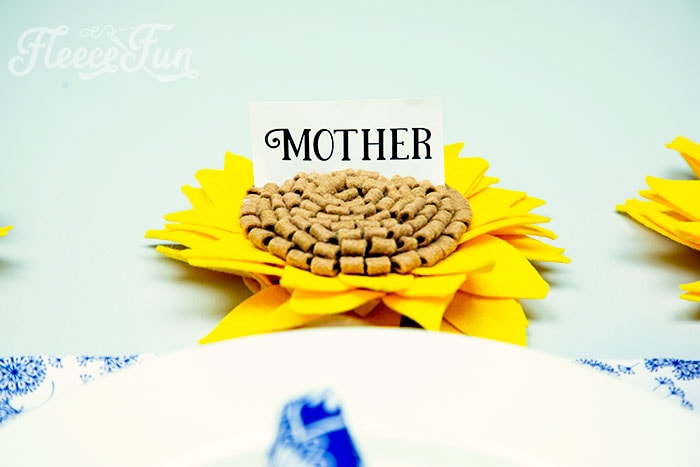
Insert a little paper tag in them to make them a cute place card holder.
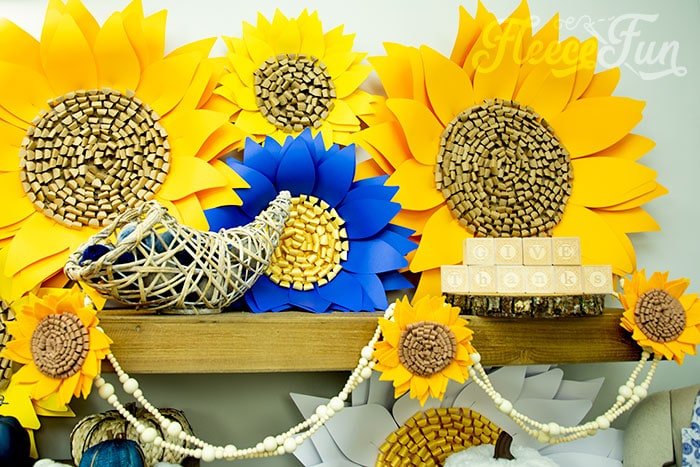
Use them are a nice addition to some garland
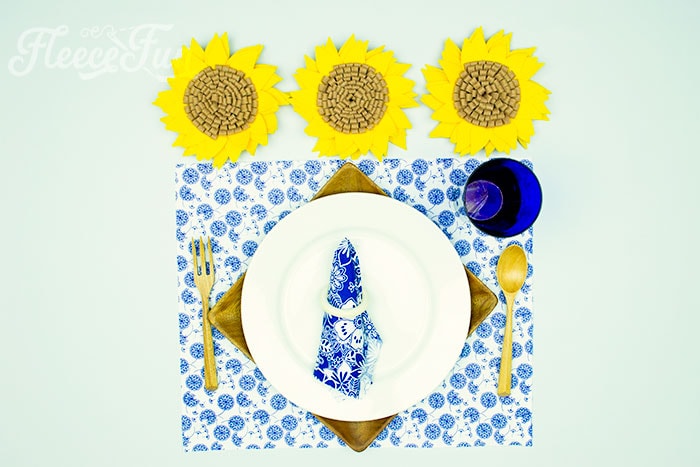
They work as a nice addition to a table.
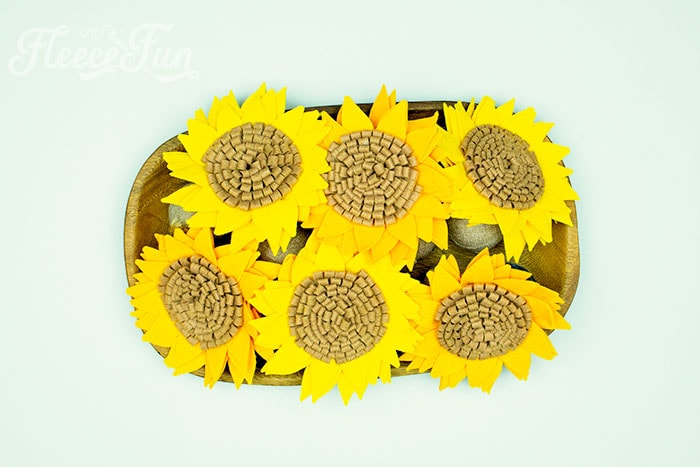
Or toss them into a wood tray for an easy centerpiece.
Fill Out the Form Below to Get the Free sunflower diy Template and SVG Files Sent to Your Inbox
More Flower Projects:
- DIY Fabric flowers
- No sew Fleece Flower
- DIY Felt Flower Art
- Giant Paper Sunflower
- How to Make a Flower Fascinator
More Thanksgiving tutorials:
- Giant Maple Leaf Template DIY
- Acorn Template Fall Décor
- Fall Cupcake Wraps and Toppers Printables
- Give Thanks Platter Decor
- Gather Banner DIY (Free SVG Files)
- Giant Paper Sunflowers
- Free “Thankful” printable banner
- Pin the Tail on the turkey game DIY
- Thankful Apron Free Pattern
- Hostess Apron Tutorial
- Thankful for Cake Toppers
- Autumn Leaves Pillow
- Fall Topiary Trees Craft
- Thanksgiving Printable to frame
- Thanksgiving Apron
- Idea for Thanksgiving- Thankful Tree
- See All of the Thanksgiving Projects Here