
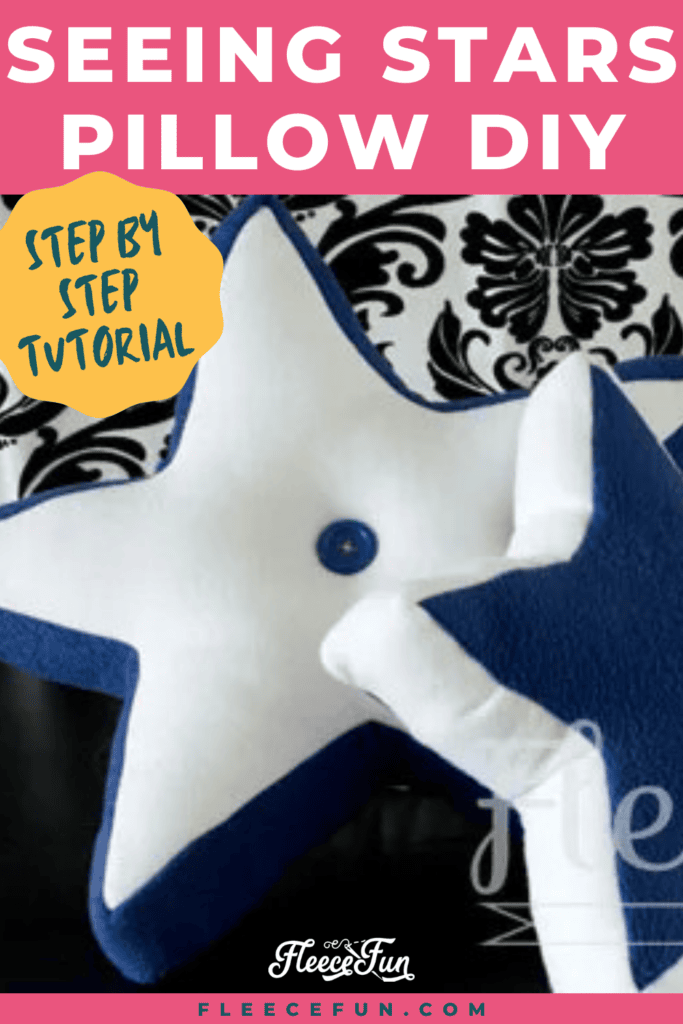
Seeing Stars Pillow
This content contains affiliate links or sponsored elements, read our Disclosure Policy.

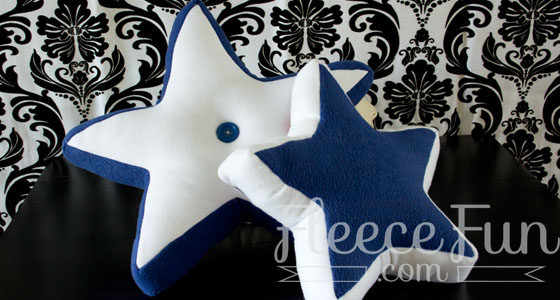
You can make a great looking seeing stars shaped pillow that adds color and style to a room and takes minutes to make.
YOU WILL NEED:
- 1/2 to 2/3 yard fleece (you could really use several different kinds of fabric for this pillow)
- Stuffing (batting for fill)
- 1 package of cording (optional)
- Button (optional)
- Needle and thread
- Sewing Essentials (pins, scissors, etc.)
- Sewing Machine
- Get the free pattern here
Hate The Ads?
This pattern with video and printable instructions is available to members of the Maker’s Studio. The Maker’s Studio is an ad free experience, no video ads, no forms, no zip files, just creating.

Seeing Stars Pillow video Tutorial

Seeing Stars Pillow Tutorial
Step 1 – Cut out the pattern
Print up the pattern (you can get assembly instructions here). Cut out 2 of each of the pattern pattern piece.

In addition to the pattern, you will need to cut a 3.5 by 78-inch-long strip (you will need to sew a couple of pieces together for the large star), a 3.5 by 64-inch strip for the medium pillow, and a 3.5 by 48-inch strip for the small pillow.
Step 2 – Begin to sew
If you are adding cording, pin and sew it around the star (I like to sew the cording by itself with a zipper foot). Then, with right sides together, pin the long strip all the way around and sew on using a .5-inch seam allowance (.25-inch if using cording).

Sew the ends of the strip together. Then sew around the seeing stars pillow.
Quick Tip
While you can sew one continuous line around the star, I recommend sewing from point to point rather than trying to turn at the top of each point. So basically, you will sew 6 lines instead of one long continuous one.
Step 3 – Pin and sew back of the star
With right sides together, pin the back of the star onto the star pillow—but this time, be sure to leave a 3-inch gap for turning and stuffing.

Sew it together using the same seam allowance that you used on the front of the pillow. Trim the threads and points, then turn it right side out.
Step 4 – Final Steps
Stuff to desired firmness (I like it to be a little firmer so it can stand better without sagging.)

Hand-sew the opening shut. If desired, sew a button onto the center. That’s it, your Seeing Stars Pillow is finished!
Download the seeing Stars Pillow Pattern Here
You can get a free copy of Adobe reader here. By downloading you are agreeing to pattern terms of use. Click the picture of the pattern envelope to download the .pdf !

love this stars pillow? Explore More 4th of July Projects
- 4th of July Printable Thank You Tags
- Fourth of July Printable Tent Cards
- Fourth of July Printable Straw Toppers
- Patriotic Printable Pinwheel (Large)
- Fourth of July Printable Cupcake Wraps
- 4th of July Cupcake Toppers (Pinwheel Cupcake Toppers)
- 4th of July Banner Printable
- How To Make a Fourth of July Wreath
- Printable 4th of July Party Decorations
- Star in Stripes Forever Pillow
- All Americana Stars Pillow
- Fourth of July Printable Invitation
- Free Printable Drive-In Theater Candy Label
- Holiday Projects: Fourth of July
More Pillow Tutorials!
- All Americana Stars Pillow
- Easy Ribbon Pillow
- Lego Brick Pillow
- Valentine’s Day Fleece Pillow Slipcover
- Ruched Pillow
- Cozy Christmas Tall Tree Pillow
- Heart Pillow
- Chenille Heart Pillow
- Pinwheel Quilt Block Pillowcase
- Faux Fur Pillow
- Easy Block Pillow
Thank you. I will use the pattern for a manual art at the Vacation Bible School program.