DIY Custom Sewing Labels (Easy)!
This content contains affiliate links or sponsored elements, read our Disclosure Policy.

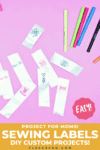
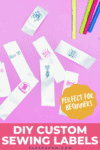
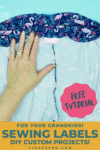
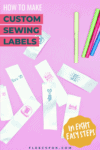
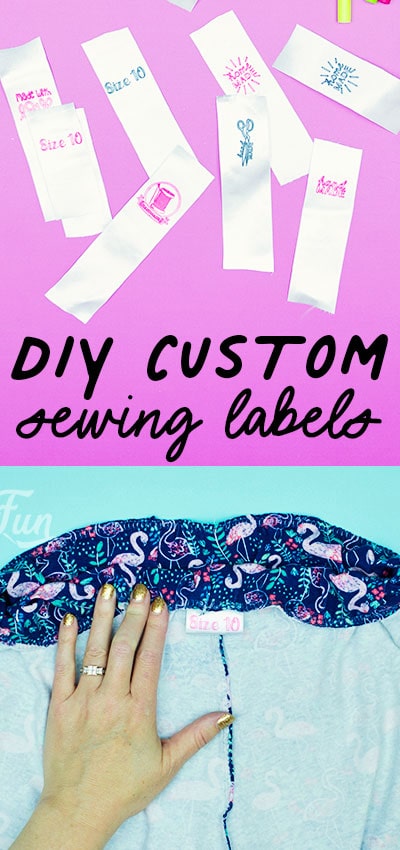
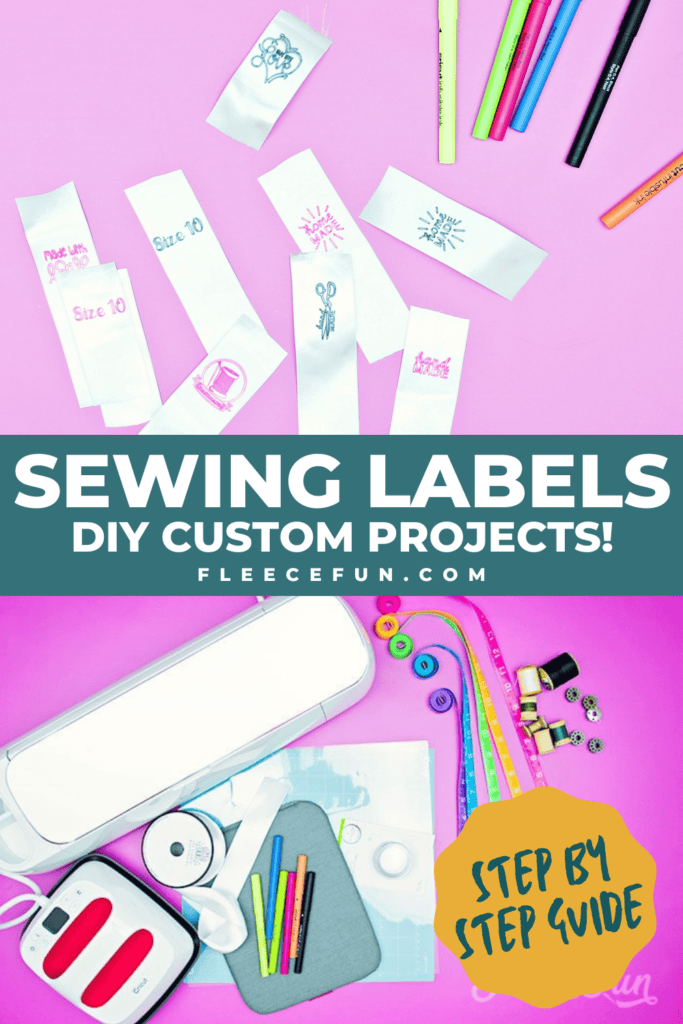
These DIY Custom Sewing Labels (easy) are the perfect finishing touch to your handmade project. Made using infusible ink markets they can take a beating in the wash and stay clear and vibrant.
A cinch to make and once you have purchased all the materials the project can be done at a fraction of the cost of professionally designed labels. While I’ve used my Cricut Maker for this project you can easily do this on a Cricut Explore Air 2 or Cricut Joy.
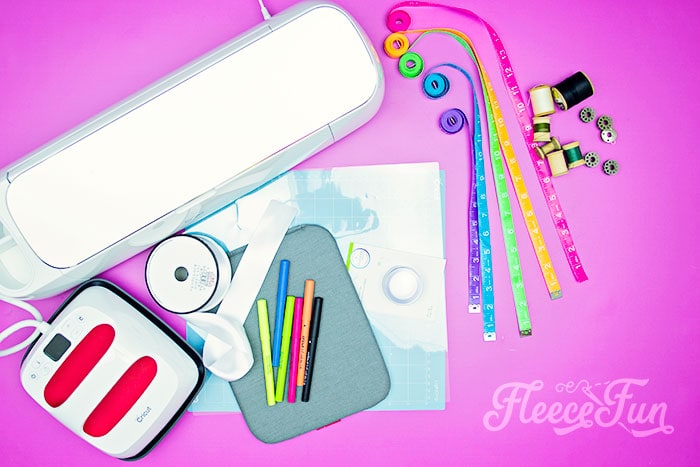
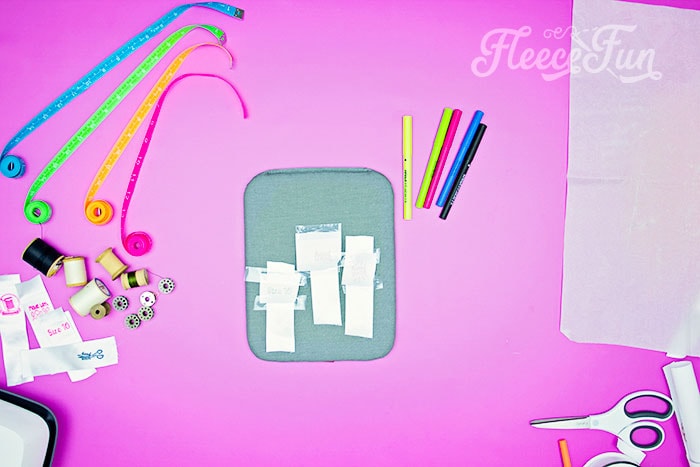
YOU WILL NEED:
- Cricut Machine
- Cricut Access or graphics for your labels
- 1- 2 inch wide satin ribbon (the ribbon must be satin – mostly polyester- so it can take the sublimation)
- Cricut EasyPress 2
- EasyPress Mat
- Infusible Ink Pens
- Laser Printer Paper
- Light Grip Mat
- Heat Resistant Tape
- Piece of Baking Parchment
- Lint Roller
DIY Custom Sewing Labels (easy) Instructions:
Step 1 – Choose the Best Graphics for Your Handmade Sewing Labels
Since we’re using pens for the labels you need to make sure that the graphics.
You can take a look at the file that I have set up or you can use your own graphics. But you need to be mindful about what you choose. It needs to work with a pen and look good small (you don’t want lines blurring into each other).
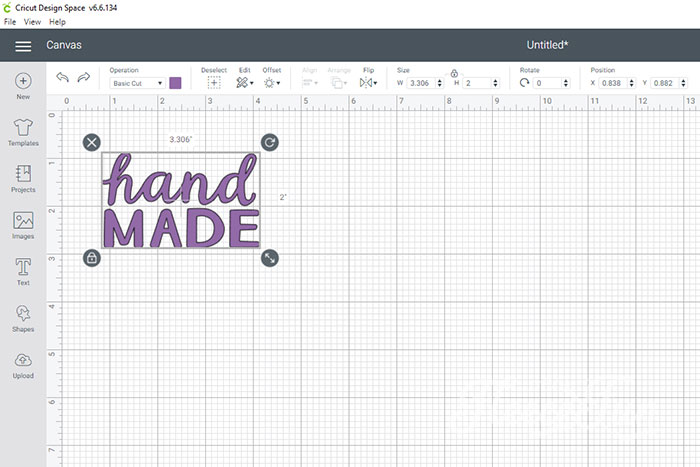
Finding a Graphic in Cricut Access is easy. I searched “Hand Made” and found this. Perfect for a gift label. (You can upload your own custom graphics to Design Space too!)

The graphic as is won’t work. I need to select the graphic then got to Operation >> then click on pen. This then makes the graphic a pen outline. It looks good and clean to me so now all I need to do is size it.
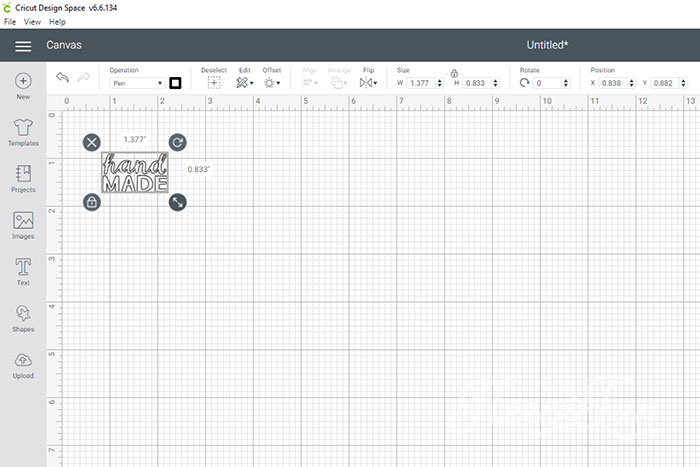
Since I’m using 1.5 inch wide ribbon I want the graphics to be smaller than that so by dragging the corner button of the two arrows pointing away from each other I resize it so it will fit.
Step 2 – Make the Transfer Sheet for the Sewing Labels
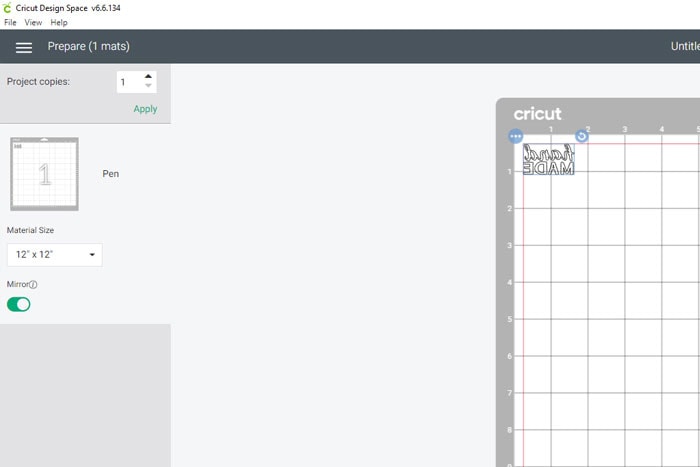
Now I’m ready to write the labels I make sure to mirror the image so it will transfer correctly to my custom sewing labels.
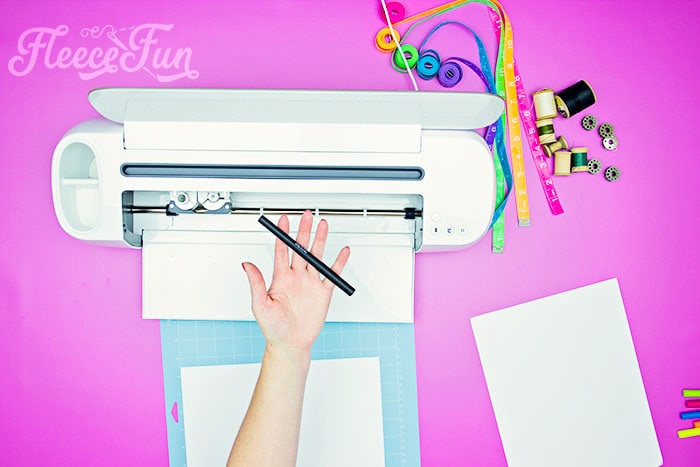
With an infusible ink pen and laser printer paper on a Light Grip Mat I let the Cricut machine work it’s magic.
(It’s a much neater writer than me).
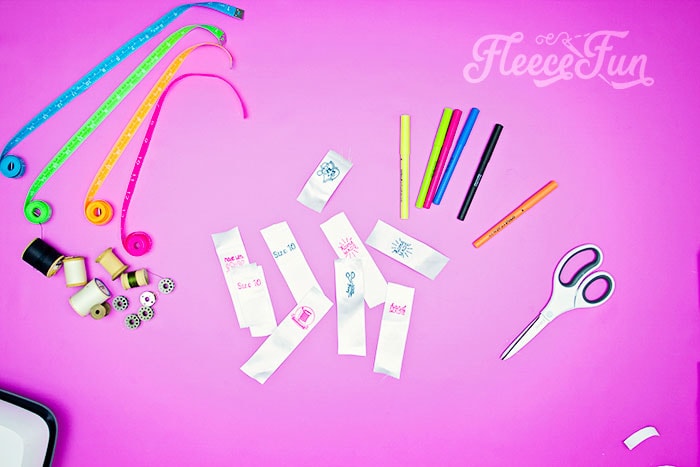
Step 3 – Transfer the Images to the DIY Custom Sewing Labels
Now that I have my labels all written out it’s time for infusible ink magic!

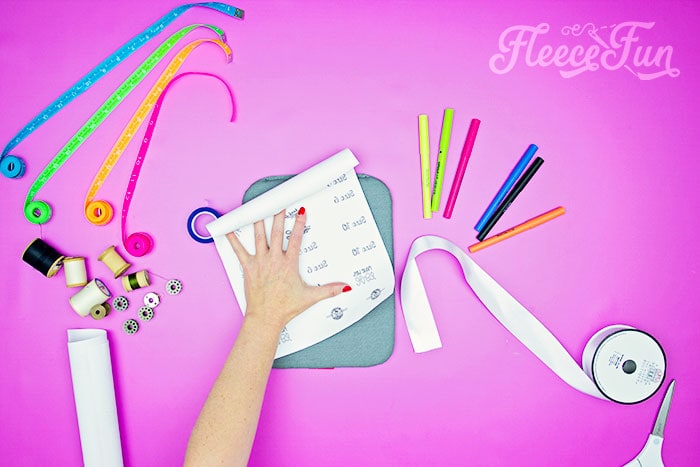
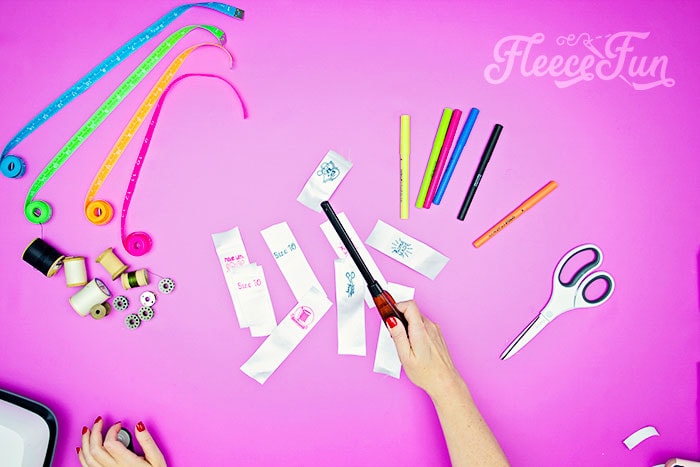
I cut a strip of ribbon (about 4 inches long) and give it a quick swipe with a lint roller. Then I place one of my graphics toward the top of the ribbon. The spacing is important so you have enough room to fold over the ribbon, and space to sew the top to an item.
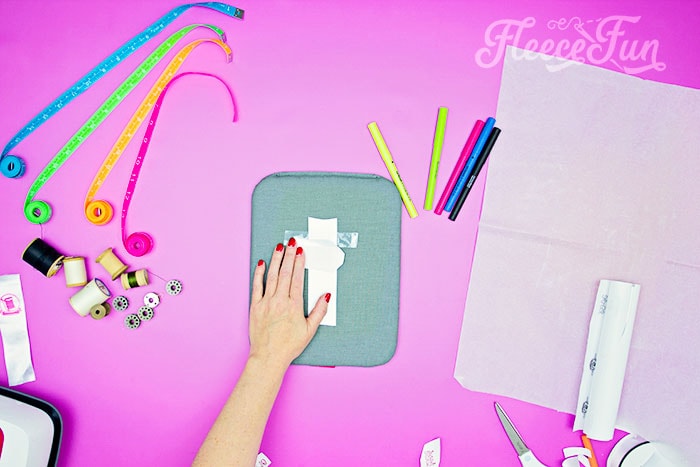
Once you have the spacing figured out, use the heat resistant tape to keep the paper in place by taping it to the ribbon and mat.
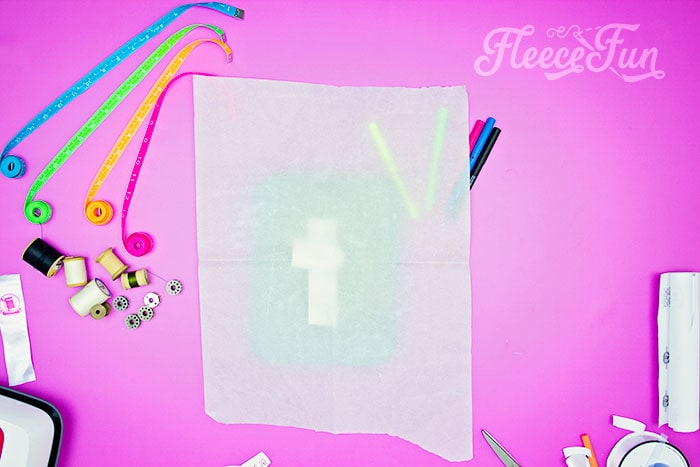
Cover the ribbon and paper with baking parchment.
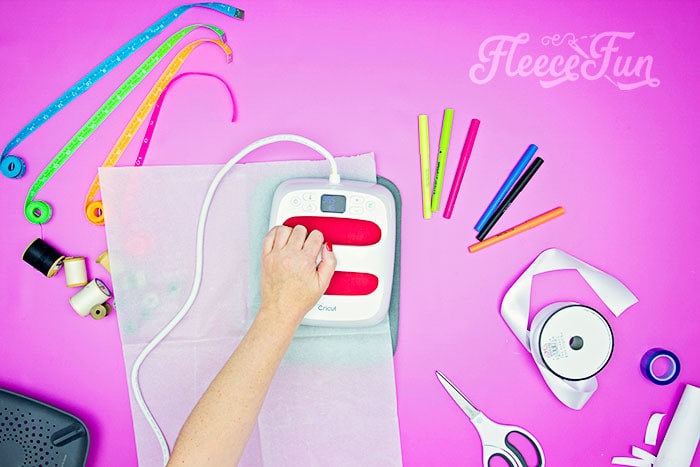
Then using the proper settings on your EasyPress 2 iron the image on using pressure on the EasyPress 2.
Once you get comfortable with the process it’s easy to make several at a time!
Step 4 – Finish the edges of the Sewing Labels
Now that all of those labels are set it’s time for one more thing to completely finish off the labels.
Using a lighter or a candle (be careful!!) melt the ends of the ribbon so the label won’t fray.

Now they are ready to add to your projects – just fold in half and make sure the label is facing out.
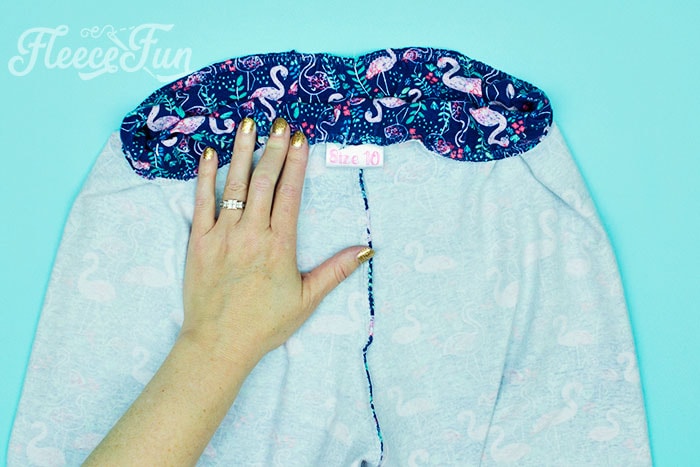
That’s it – you just made a bunch of custom sewing labels!
Creative Sewing & Cricut Projects You’ll Love!
- DIY Placemats for the Holidays
- How to Sew a Quilt the Easy Way
- Acorn Template (Free JPEG & PDF)
- Felt Valentine Envelope DIY (No Sew)
- DIY Matching Game
- DIY Birthday Crown (Free PDF & SVG)
- Freezer Paper Stencil for T-Shirts Tutorial
- Tips for Working with Iron-On Mesh
- DIY Tiara (Free Pattern & SVG)
- How to Make a Knight Helmet (Free Template)
like these DIY Custom Sewing Labels? see More Cricut Projects!
- Cricut Maker Cover Tutorial
- 3 Last Minute Gifts with a Cricut Joy
- DIY Felt Flower Art
- Valentine Cozy Home Sign DIY
- See all of FleeceFun’s Cricut Tutorials!