
DIY Tiara (Free Pattern and SVG file)
This content contains affiliate links or sponsored elements, read our Disclosure Policy.


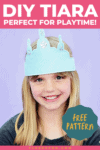
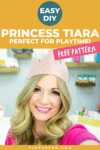


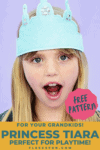
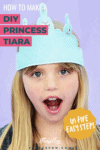
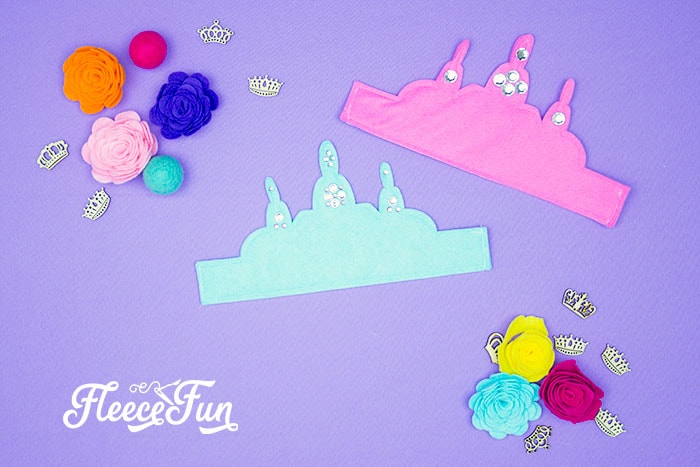
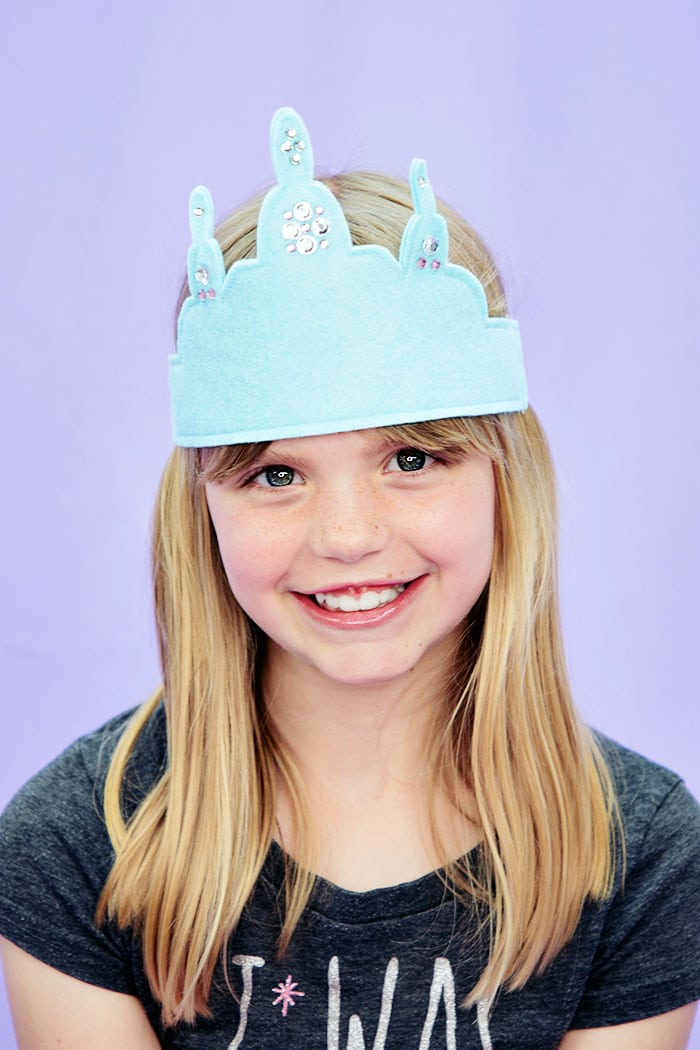
This DIY Tiara is perfect for your little princess’s play box! This cute tiara can be made from felt, but also can be made from craft foam, cardboard, cardstock, etc. Sky’s the limit with what you can do. Use this tutorial as a jumping off point to make something wonderful for your kiddo (or heck even yourself!) Also makes a great birthday crown to make the day extra special. I love making it our of felt, because it folds flat for easy storage (perfect for a dress up box).

Are you tired of overspending on flimsy, disposable party accessories that end up in the trash after just one use? Say goodbye to wasteful spending and hello to sustainability with our reusable felt tiaras! Not only will you save money in the long run, but you’ll also be doing your part for the environment. Join us as we explore how this eco-friendly accessory can add some sparkle to your celebrations while reducing waste.
What is a reusable felt DIY tiara and why it’s a great option for both sustainability and saving money
Have you ever dreamed of feeling like royalty without breaking the bank or harming the environment? Enter the reusable felt tiara – a charming accessory that not only adds a touch of whimsy to your outfits but also promotes sustainability and thriftiness.
Crafted from durable and eco-friendly felt material, these tiaras are designed to be used over and over again, reducing waste from single-use accessories. By opting for a reusable felt tiara, you can make a stylish statement while being conscious of your environmental footprint.
Moreover, choosing to DIY your own felt tiara allows you to unleash your creativity and save money in the process. With just a few simple materials that you likely already have at home, you can customize your tiara to match any outfit or occasion effortlessly.
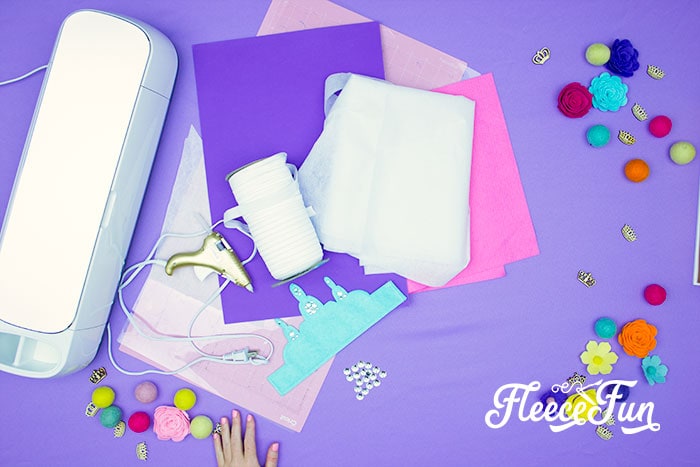
YOU WILL NEED:
- 12” by 12” piece of felt ( or craft foam, cardboard, cardstock, paper etc.)
- 12 by 6 inch scrap of iron on interfacing
- 21 inches fold over elastic
- Crystals/ Jewels (optional)
- Sewing Essentials (scissors, pins, etc.)
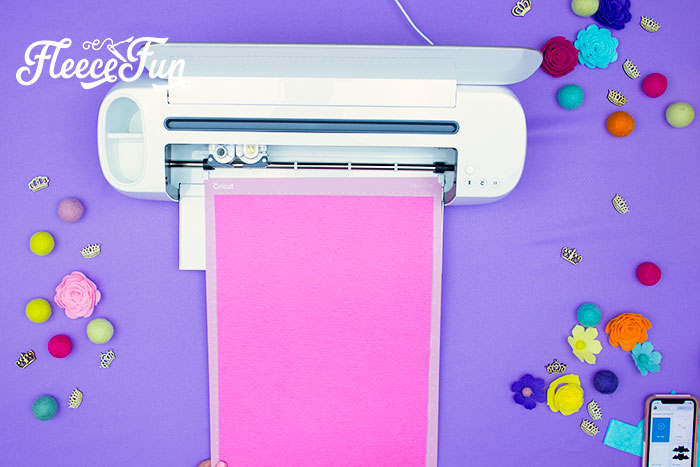
- Cricut Maker (Optional)
- Fabric Cutting Mat (Optional)
- Glue Gun
- Sewing Machine
- Fleece Fun’s Free pattern and SVG file. Get it here!
DIY Tiara (Free Pattern) Instructions:
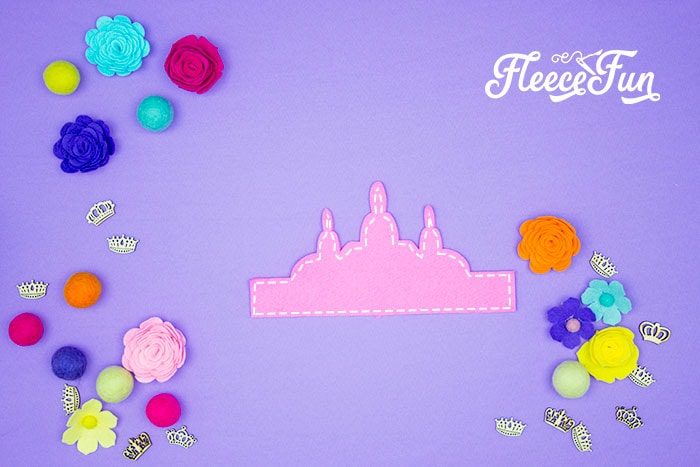
Step 1 – Cut Out the Pieces Using the Free Tiara Pattern
Once you’ve gathered all your materials it’s time to cut out the elements.
Using the free SVG or pdf pattern provided cut out 2 of the DIY tiara from felt (this will be the interior and exterior).
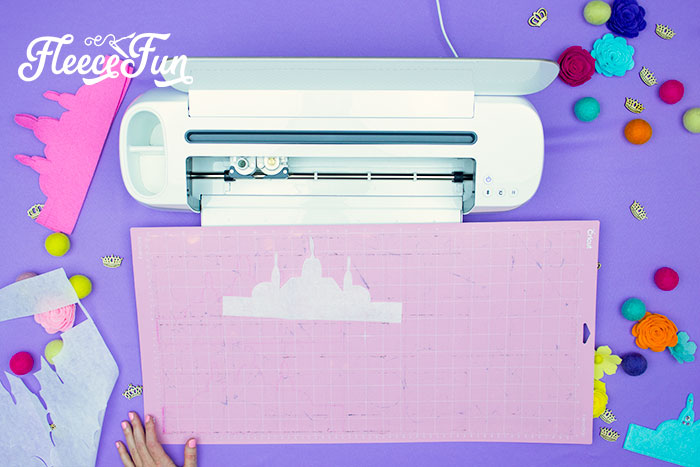
Then cut out 1 of the interfacing.
note
If you’re making it out of craft foam or cardstock you’ll just need to cut 2 of the tiara
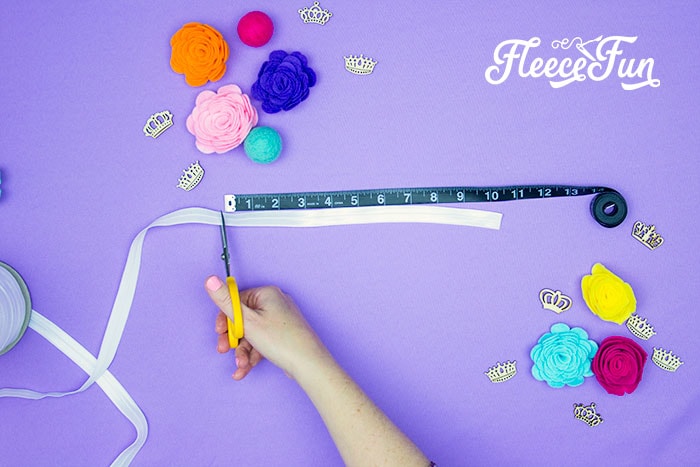
For the fabric DIY Tiara cut two 10.5 inch strips of fold over elastic.
For other materials cut a 2 inch by 12 inch strip to place the tiara on the head.
Step 2 – Assemble Your FELT DIY TIARA
If you aren’t sewing the tiara, you can skip this step.
Time to make the tiara sandwich.
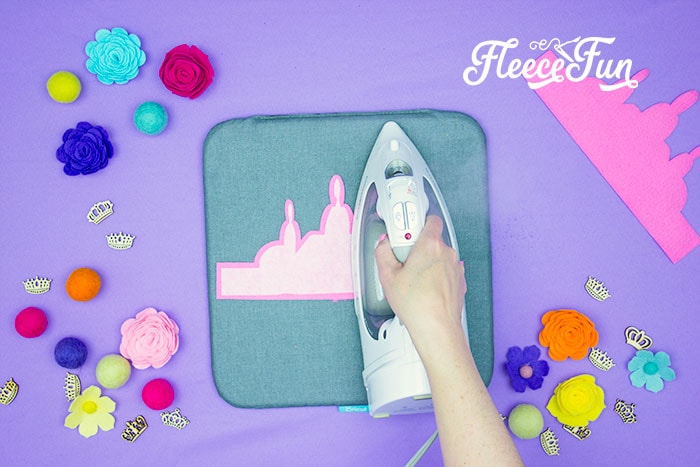
Place the interfacing (glue side down) and iron onto one of the felt exterior pieces. Center it so there is a border all around the interfacing.
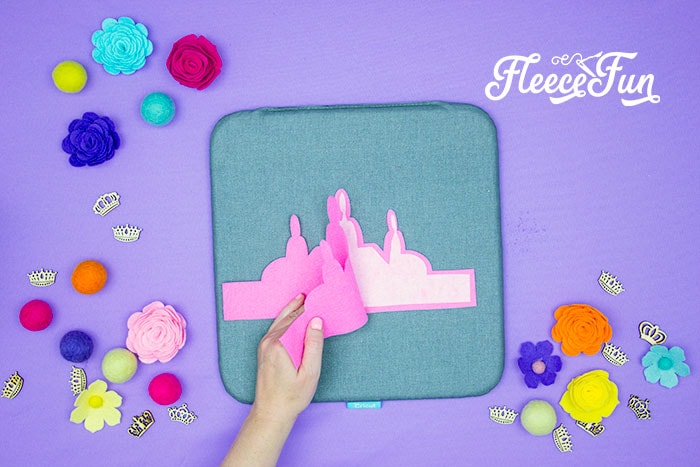
Next line up the other exterior piece on top of the piece with the interfacing. .
Quick Tip
If the tiara isn’t lining up, flip the outer piece over.
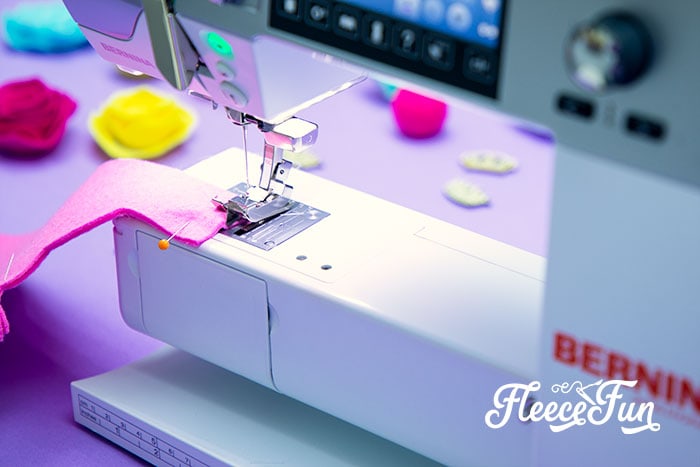
Step 3 – Sew and Secure the Tiara Pieces
Pin the tiara together.
Quick Tip
Pin at each of the tiara points and ends to keep things from shifting. Using an edging foot, sew around the tiara.
Step 4 – Embellish Your DIY Tiara with Gems or Decorations
Using a glue gun, glue on embellishments. I opted for some jewels but you could use a number of things. For the felt you can use HTV, embroidery, beads, jewelry charms, buttons, etc. Just look around your house or junk drawer – I bet you can find everything your need!
Step 5 – Make your tiara wearable
Now that you’re done decorating it’s time to add the elastic to the back so you can wear it.
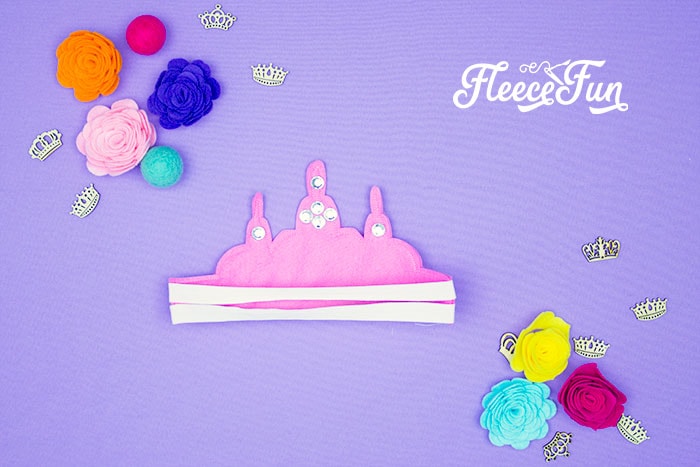
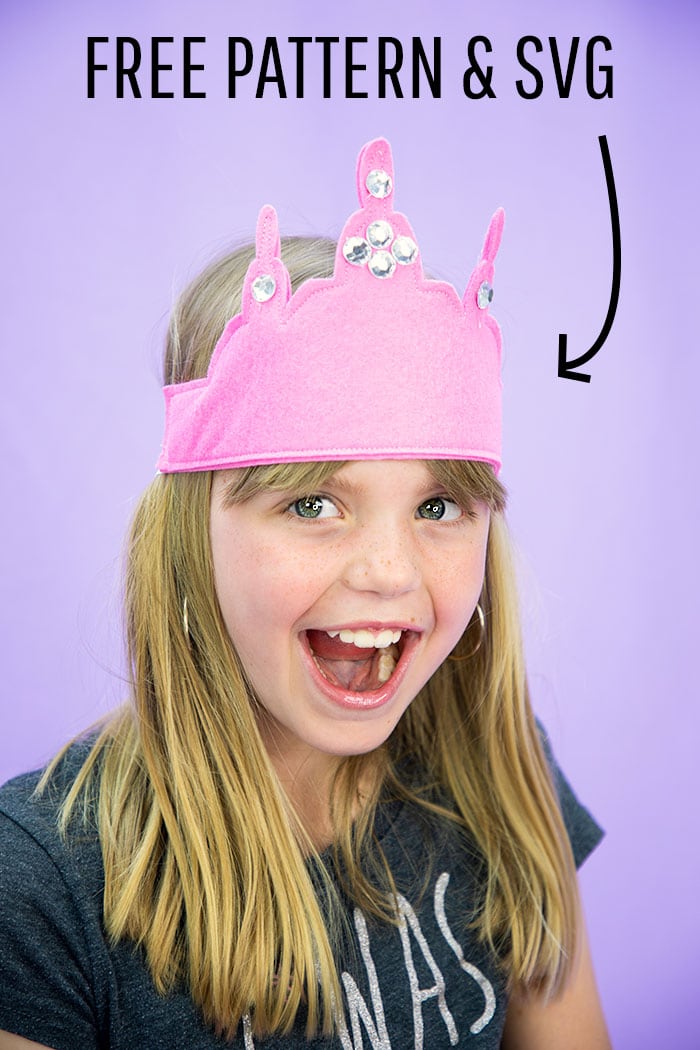
Sew the elastic strips to the inside of the tiara on either side. Place the DIY tiara on your head and let your inner queen shine.
Download the Free DIY Tiara Pattern and SVG Here:
You can get a free copy of Adobe reader here. By downloading you are agreeing to pattern terms of use. Fill out the form by clicking the picture just below to get the pattern and the SVG file sent right to you.

More Girl Costumes!
- Moana Costume Tutorial
- Butterfly Wings Costume
- Belle Costume Tutorial Beauty and the Beast
- Princess Anna Hat Tutorial Free PDF Pattern
- Aladdin Magic Carpet Costume DIY Free Pattern
- Bonus Craft Tutorial Fall Fairy Costume
- Costume Patterns
More Costume Tutorials you might like!
- Halloween Dress Up Vest
- How to Make a Birthday Crown Free PDF and SVG File
- Easy Superhero Cape Tutorial
- DIY Mini Top Hat
Creative Sewing & Cricut Projects You’ll Love!
- DIY Placemats for the Holidays
- How to Sew a Quilt the Easy Way
- Acorn Template (Free JPEG & PDF)
- DIY Custom Sewing Labels
- Felt Valentine Envelope DIY (No Sew)
- DIY Matching Game
- DIY Birthday Crown (Free PDF & SVG)
- Freezer Paper Stencil for T-Shirts Tutorial
- Tips for Working with Iron-On Mesh
- How to Make a Knight Helmet (Free Template)
More Cricut Projects!
- Is It Time to Upgrade Your Cricut Machine?
- Luggage Tag DIY with Cricut
- How to Decorate a Notebook
- DIY Sewing Room Décor
- See all of FleeceFun’s Cricut Tutorials!
