
How to make a conference tote or a blogger bag
This content contains affiliate links or sponsored elements, read our Disclosure Policy.


Fleece Fun Blogger Bag A fun big bag that proudly displays your logo. Great for hauling swag at blogger events and letting people know who you are! I’ve had other people stop just to take pictures of the bag. It’s also a great icebreaker andmakes it easy for people to spot you at conferences.
For this project you will need:
2.5 yards of fabric 1 (I recommend a duck cloth or sturdy cotton )
2.25 yards of fabric 2 (preferably white to look better with the transfer)
4.5 yards of cording (optional – but it makes it look really nice)
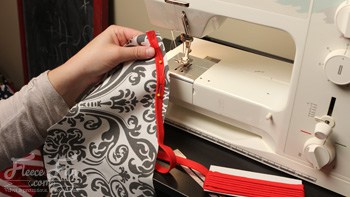
2 yards of double fold bias tape ( will vary depending on the pockets your want inside)
Thread
Printable fabric transfer paper
Iron
Scissors
Sewing Essentials (pins, scissors, etc.)
Sewing Machine
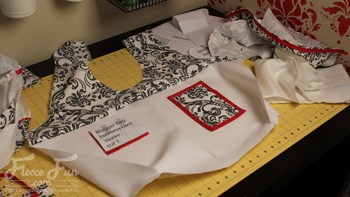
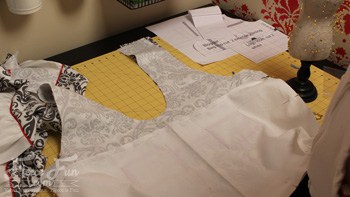
Step 1 – Cut out the pattern pieces
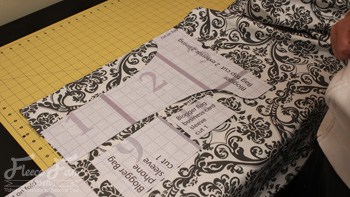

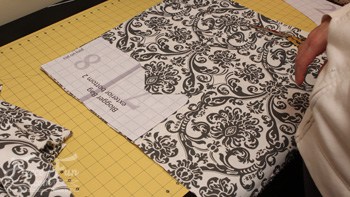
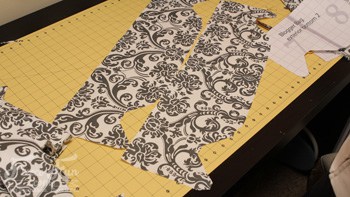
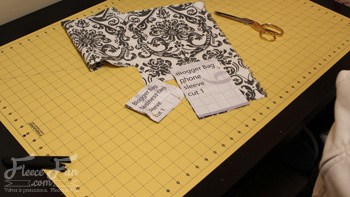
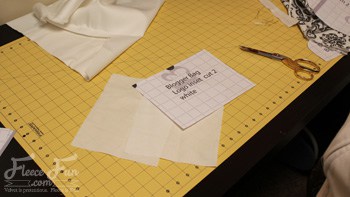
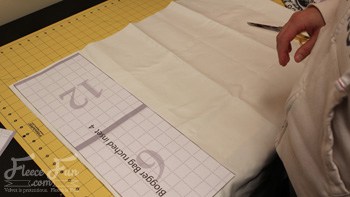
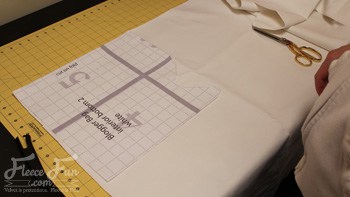
Cut out:
Four handle pieces from fabric 1 ( place on fold)
two exterior bottoms from fabric 1 (place on fold)
any interior pockets desired from fabric 1 (optional)
Two logo inserts from fabric 2
four of the ruched logo inserts from fabric 2
two Interior bottom pieces from fabric 2 (place on fold)
Step 2 – Assemble the interior

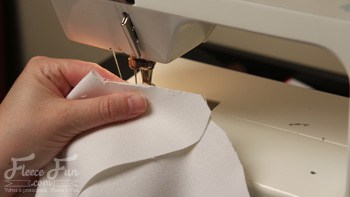
Take one of the handle pieces and one of the interior bottom pieces and sew them together using a .5 inch seam allowance. Repeat with another interior pieces and handle piece.
Next Sew the bottom corners of the bag. Line up the bottom sections to make a straight line. Sew together using a .5 inch seam allowance.
Step 3 – Interior Pockets

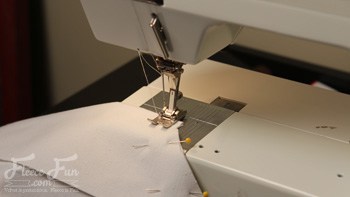
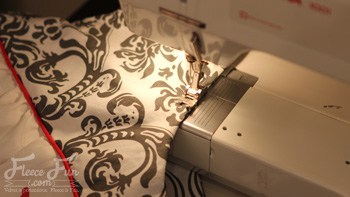
While this is completely optional it’s really handy to have a few pockets. You will need to finish the edges of the pockets you’ve cut out by edging them with bias tape. Simply sandwich the fabric between the bias tape and sew all the way around.
Once you have the edges finished, lay out pieces on each side of the bag and decide where you want to place the pockets. Pin. Then top stitch just inside the edge of the pocket, all the way around leaving the top section open.
Step 4 – sew the interior sections together.

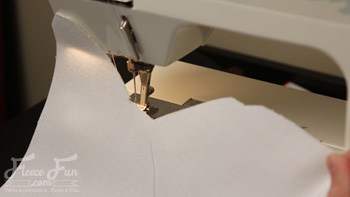
With right sides together sew the two sections together, starting at the curve just before the handle and ending at the curve just before the hand on the other side. Set Interior aside.
Step 5 – Add cording to the top and bottom sections
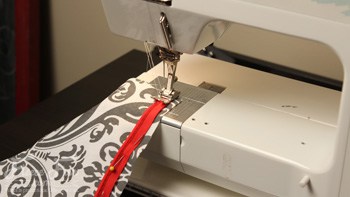
Add cording to the bottom of the handle sections and the top of the bottom sections for the exterior. Make sure cording is .5 inches away from the edge to account for the seam allowance. Sew cording on.
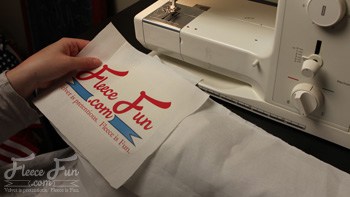
Step 6 – Make the logo section for the exterior
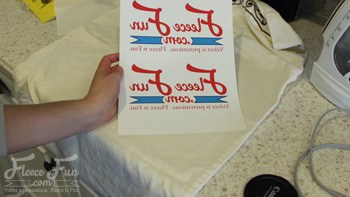
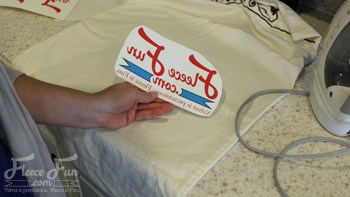
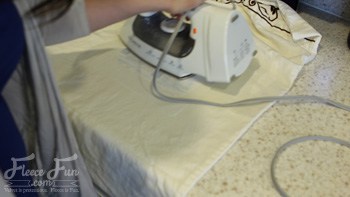
Print the desired logo on the fabric transfer paper.
Note: make sure that you print a mirror image or when you transfer your logo it will come out backwards.
Following the directions given with the transfer sheets, iron logo onto Logo section fabric piece. Repeat once more.
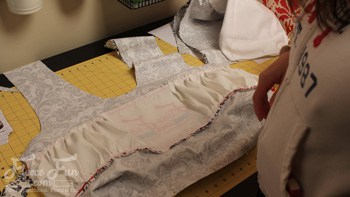
Step 7 – Add ruched side pieces.
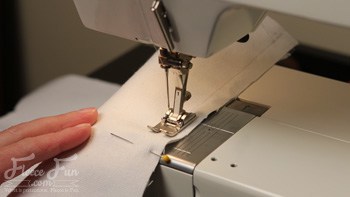
On either side of the logo piece you just made, using a .5 inch seam allowance sew a ruched piece to either side of the logo. Then add a basting stitch to the top and bottom of each ruched piece ( but not to the logo section).
Repeat with other logo.
Lay a top handle piece flat, center logo with it. (You can lay the pattern pieces on top of the fabric to make the circles line up.) Pin top of logo in place. Then gather the tops of of each side so it becomes the same width as the handle piece, pin.
Repeat the gathering process with the bottom piece and pin.
Repeat the entire process for the other side.
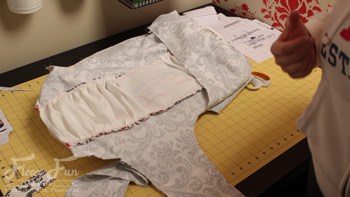
Step 8 – Sew bottom corners
As shown with the interior, pin the bottom corners together and sew using a .5 seam allowance.
Step 9 – Sew the exterior together
With right sides together, sew from the curve before the handle to the curve before the handle of the exterior using a .5 inch seam allowance, same as you did for the interior.
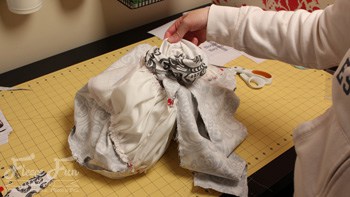
Step 10 – Bring the bag together.


Turn the interior bag section right side out. Stuff interior bag into the exterior bag (which should still be inside out), lining up the handles. Using a .5 inch seam allowance, sew the handles together, leaving the tops open.
Step 11 – Turn right side out
This step takes time and patience – don’t pull too hard or you’ll pop your seams.
Taking one handle and begin to pull the bag right side out through it. Work slowly and gently, taking your time.
Once the bag is right side out stuff the interior of the bag inside the exterior.
Step 12 – Sew the handles
Taking each handle (on the same side of the bag) Turn one side under ¾ of and inch and then stuff the other inside it ( so the one that is not turned under is surrounded by the one that is turned under). No raw edges should be showing. Top-stitch together. Repeat with the other handle
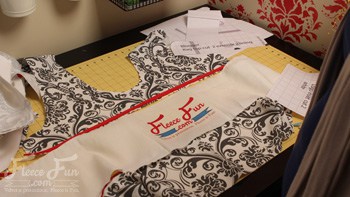
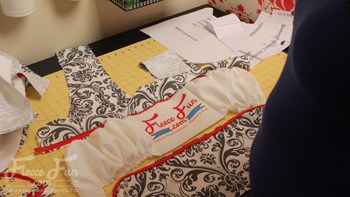
To finish up top stitch around the handles and top of the bag to make it look nice. Trim your threads and you’re finished!
Download the Pattern here, tutorial below.
You can get a free copy of Adobe reader here. By downloading you are agreeing to pattern terms of use. Click the picture below and fill up the form to download the .pdf !

Other Free Bag Patterns:
- All of the Free Bag and Purse Patterns available
- How to Make a Binder Pouch Tutorial
- Pokeball Toddler Backpack
- Pumpkin Tote Bag
- No Sew Hobo
- Leather Tote Bag
- Quick Sew Hobo
- Wine Bottle Gift Bag
- The Easy Book Bag
- Diaper Bag Tutorial
- The Man Satchel
- Shave Kit Case
- The Tablet Cover
- Quilted Leather Clutch
- Little Purse Tutorial
- Child Sheep Purse Tutorial
- Drawstring Backpack Tutorial
- Sleeping Bag Pack
This is wonderful. Thank you for sharing the pattern and instructions.
This would be cute to put some of the Christmas presents in.