
How to make a tote bag or easy book bag
This content contains affiliate links or sponsored elements, read our Disclosure Policy.
This is a sponsored post that contains affiliate links for Fairfield World. This easy to sew tote is perfect for putting books and treasures in. I’ll show you how to make a tote bag or easy book bag that your kiddo can decorate and make their own. Made from Oly*Fun cloth it’s perfect for sewing and crafting.
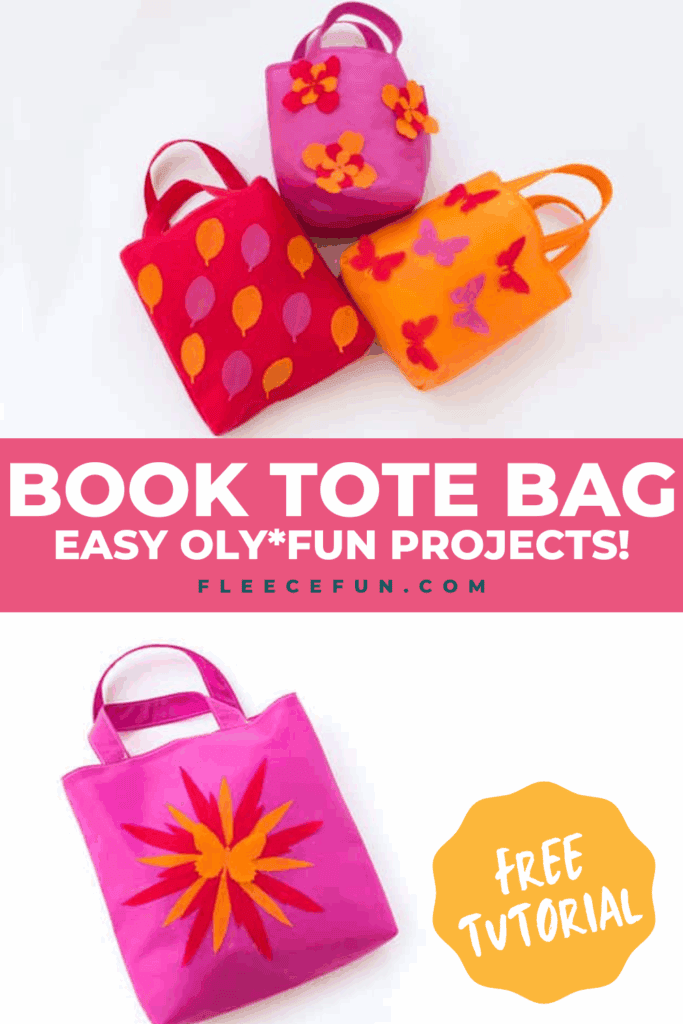
Just sew up and then add cut out shapes and glue on. Or paint and draw to on the cloth to add your personal touch. This is also a great beginner sewing project. The line are simple and the cloth won’t slide under the needle. It’s really easy to cut out.

YOU WILL NEED:
- 1/2 yard of Oly*Fun Fabric (But you can use several to mix and match colors – I used three)

- Glue (you can use fabric glue or a glue gun)
- Thread
- Rotary Cutter, Ruler and Mat
- Sewing Essentials (pins, scissors, etc.)
How to make a tote bag or easy book bag:
Step 1 – Cut out the main bag pieces

For the main part of the tote bag you will need 2 sheets of the OLY*FUN fabric.

Using a rotary cutter, ruler and mat, cut off the side with the hanging punch out – about 1 inch.

Next decide how you want your bag shaped. To make it thin and tall, only cut out a 1 inch square from the bottom corners.

To make it a little wider and shorter, cut out a 2 inch square.

Or if you want to make it a a lot wider cut out a 3 inch square. You get to be the designer!
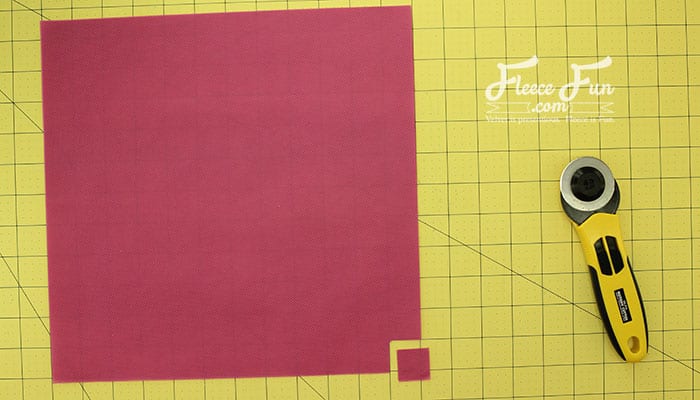
Cut out the desired size square from both bottom corners.
Step 2 – Cut out the handles and the decorations

Cut two strips of cloth that are 3 inches wide and fold in half – pin.

Using die cut machine cut out shapes for decorating (optional).
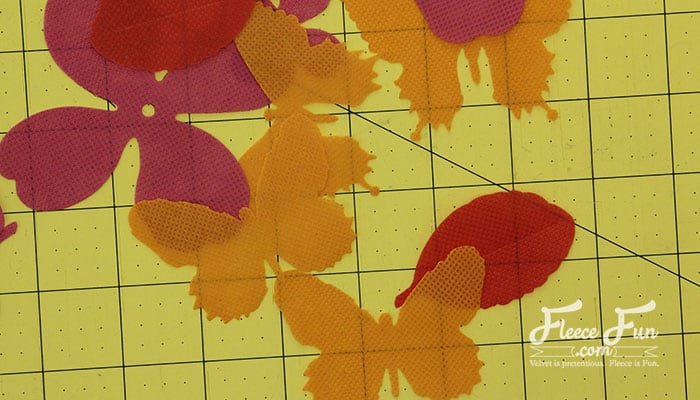
You can also use the provided flower pattern to trace the pattern on the fabric and cut out.

Step 3 – Sew the main body of the tote bag

Using a 1/4 inch seam allowance sew the sides and bottom of the bag

– leaving the squares open.
Step 4 – Sew the Squares
Take the square and pull it open

so the two seams meet in the middle and it forms a flat line.
Sew the seam using a 1/4 inch seam allowance.
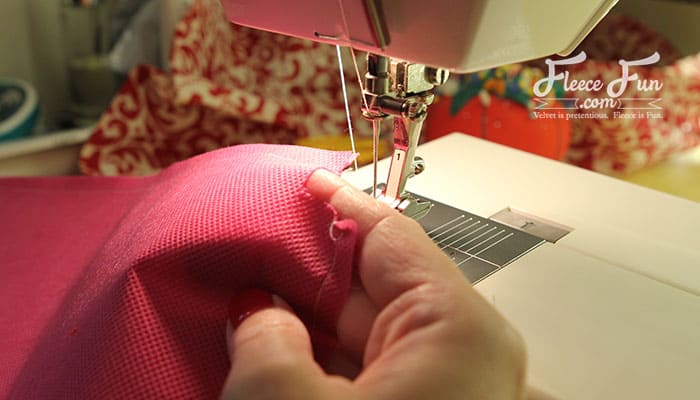
Step 5 – Sew the handles

Using a 1/4 inch seam allowance sew each handle.
Turn right side out

Top stitch on either side of the handle (optional)
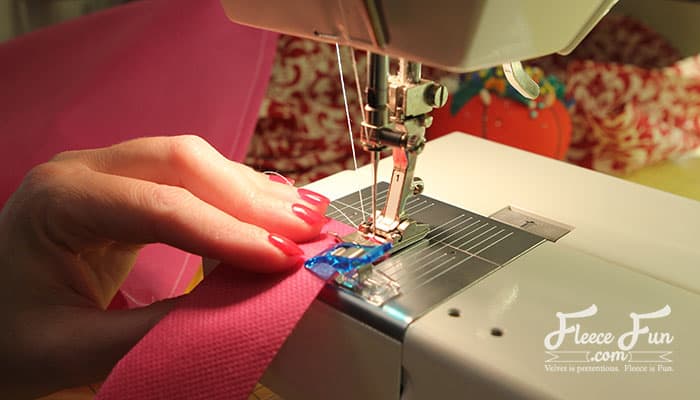
Step 6 – Bring all the tote bag pieces together

Turn the bag right side out.

Pin handles on either side of the bag – with the tops pointing to the bottom of the bag.
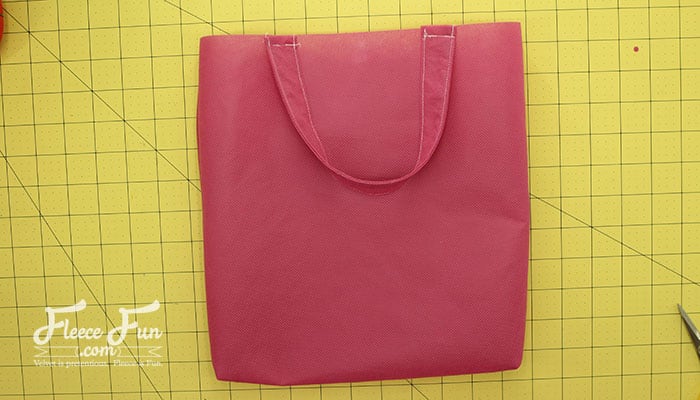
Sew the handles on using a 1/4 inch seam allowance.

Flip handles right side up and turn the top of the bag under 1/4 inch. Pin

Top stitch along the top of the bag to finish.

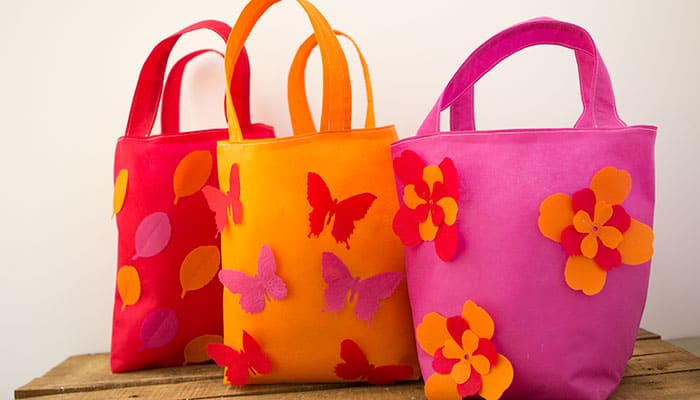
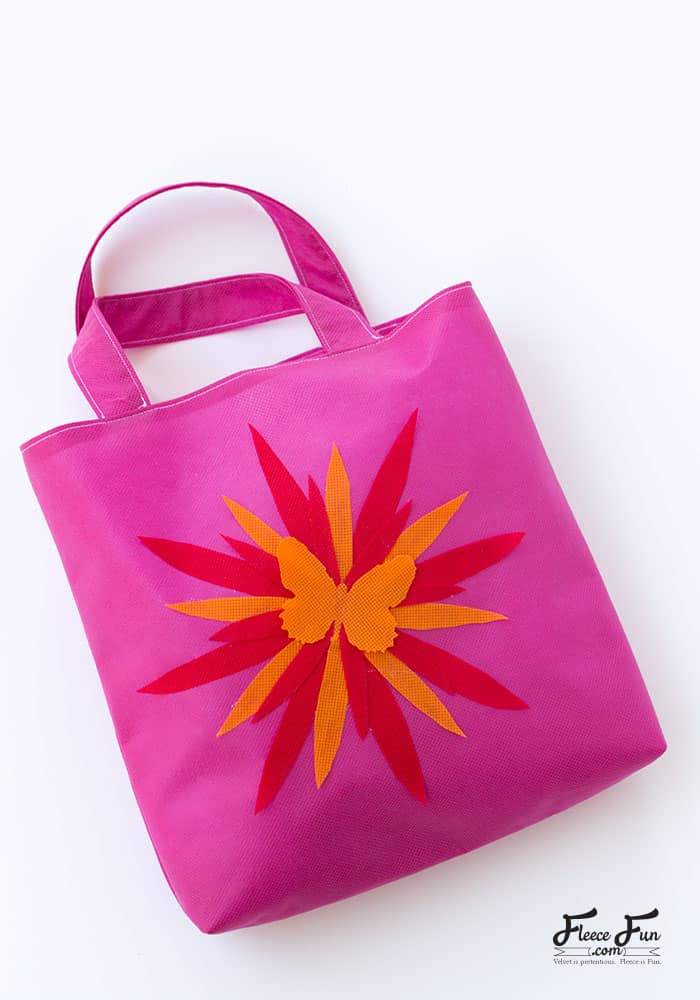
Step 7 – Decorate your tote bag!

Now here’s the best part! Use the cut out shapes and glue them to the bag to decorate.
Quick Tip
Place a piece of paper in the bag to keep markers and glue from bleeding through the fabric.
More Oly Fun Projects:
- Puppet/ Play Theater
- Play Castle perfect for toddlers!
- No Sew Art Smock
- Flag Football Belt
- No Sew Knight Costume
- Butterfly Costume Pattern & Tutorial
- You can see all of my Oly Fun Projects here
Other Free Bag Patterns:
- All of the Free Bag and Purse Patterns available
- How to Make a Binder Pouch Tutorial
- Pokeball Toddler Backpack
- Pumpkin Tote Bag
- No Sew Hobo
- The Blogger Bag
- Leather Tote Bag
- Quick Sew Hobo
- Wine Bottle Gift Bag
- Diaper Bag Tutorial
- The Man Satchel
- Shave Kit Case
- The Tablet Cover
- Quilted Leather Clutch
- Little Purse Tutorial
- Child Sheep Purse Tutorial
- Drawstring Backpack Tutorial
- Sleeping Bag Pack
