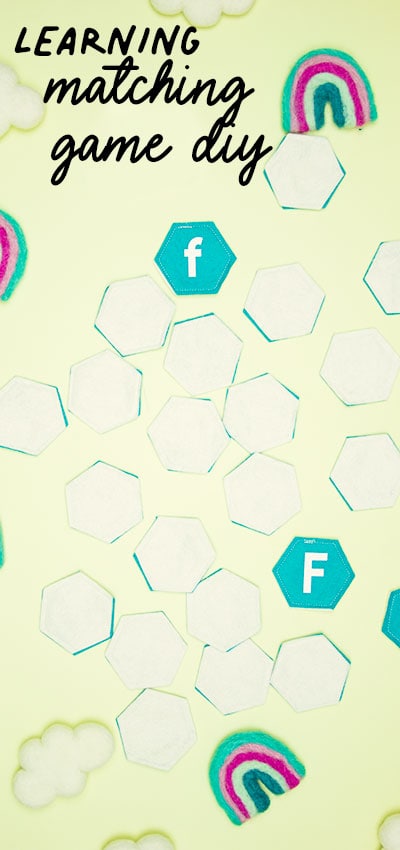
Matching Game DIY Learning and Durable!
This content contains affiliate links or sponsored elements, read our Disclosure Policy.


This Matching Game DIY is perfect for learning and made to be durable to last for several years of abuse from kids! While I’ve opted to match lower case letters with uppercase letters. You can do shapes, colors and other images!

YOU WILL NEED:
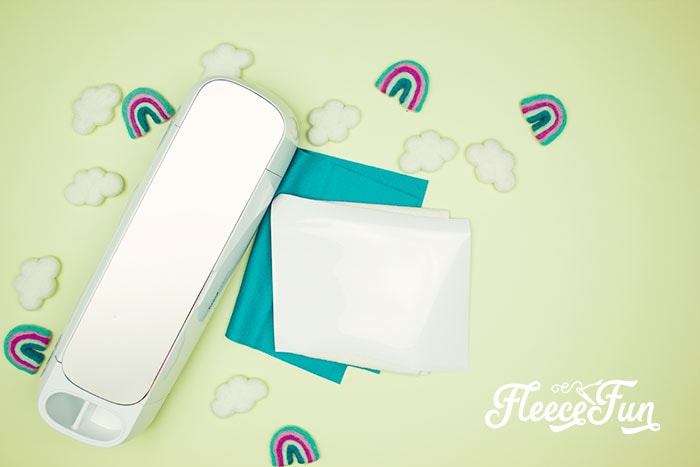
- 4 (I opted for 2 sheets teal and two sheet cream) 12″ by 19″ sheets of wool felt ( some wool is needed for the iron on – I love this place for felt)
- White or black Everyday iron on
- Cricut Maker
- Fabric Mat
- Light Grip Mat
- EasyPress
- EasyPress Mat
- Weeding Tools
- Everyday Iron On
- Sewing essentials ( Pins, scissors, thread, sewing machine)
- This Design Space File that I have all set up for you.
Video tutorial here (written below):
Matching Game DIY Instructions:
Step 1 – Cut out the materials
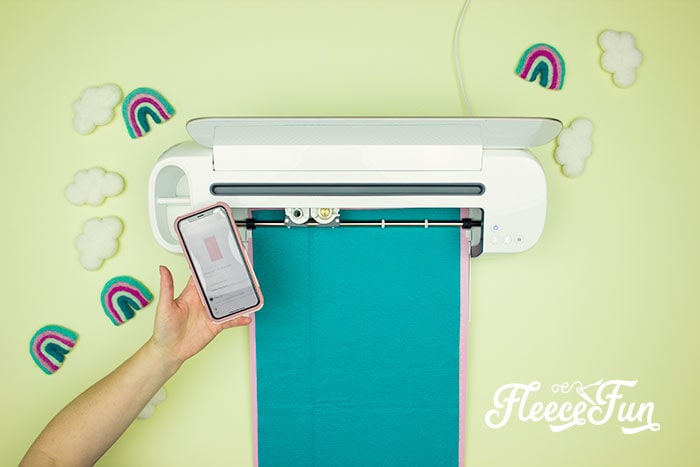
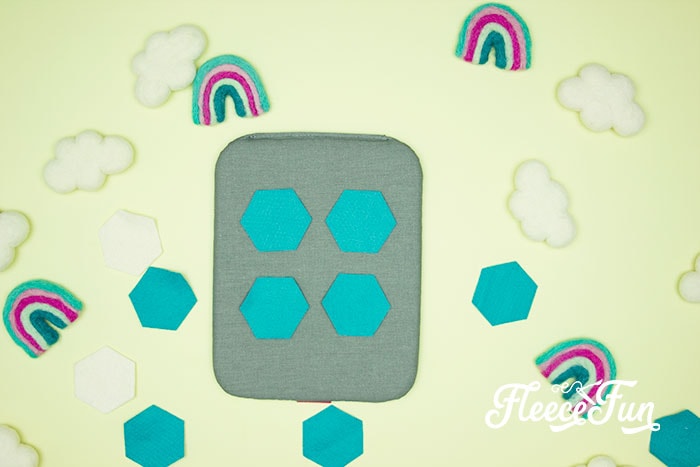
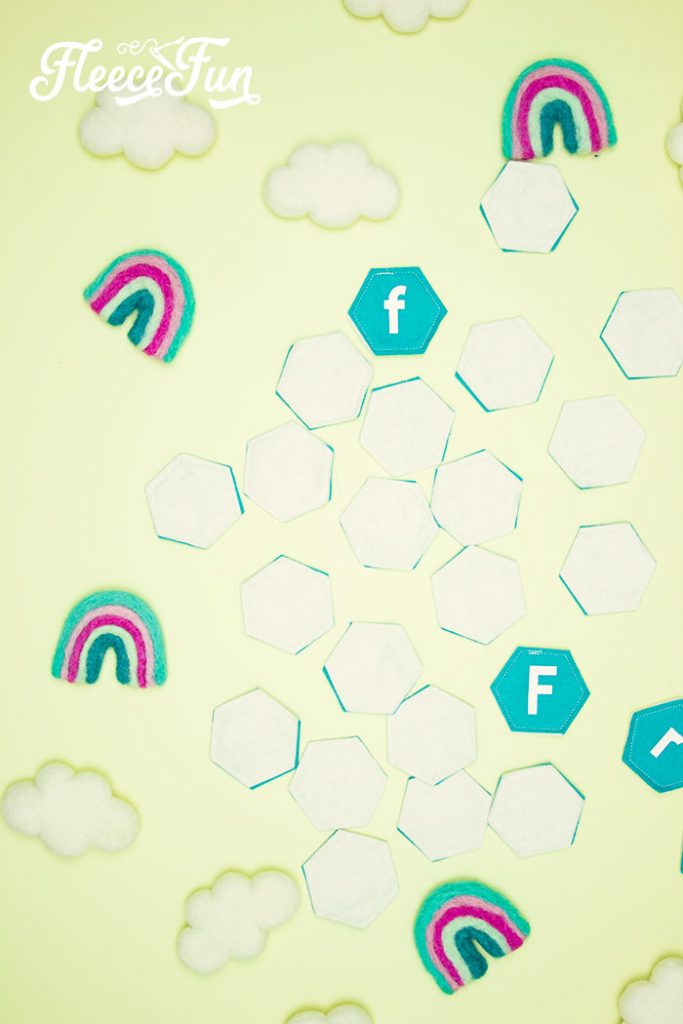
I have the felt shapes (hexagons are all set and ready to go for you in design space. They are purple and peach in color. Using the rotary blade, cut out all four sheets.

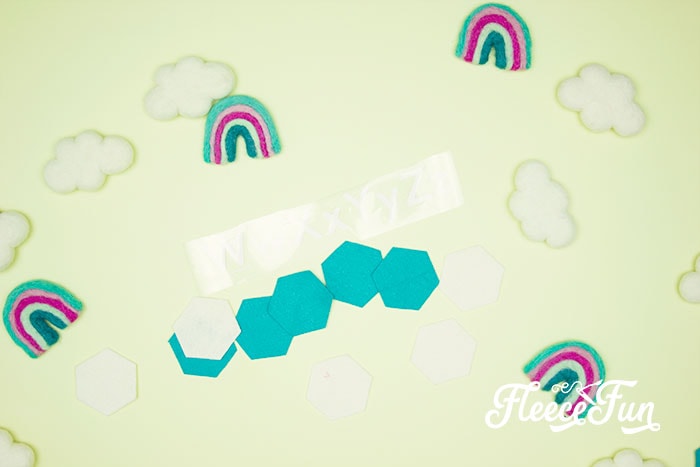
You should have a bunch of hexagons for the Matching Game DIY!

Set the hexagons aside.
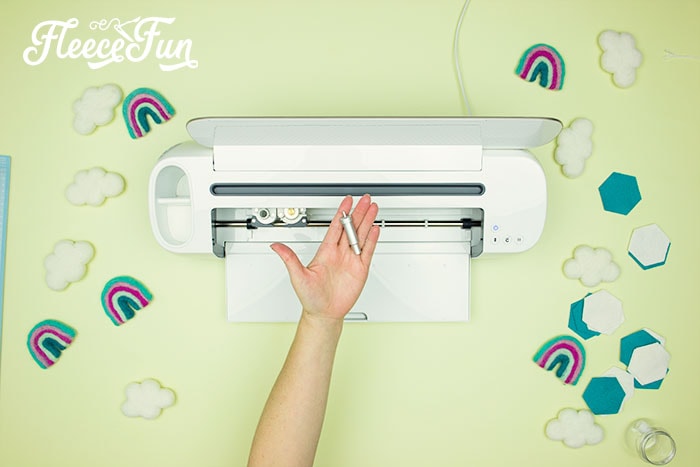
Switch to the fine point blade and cut out the Heat Transfer Vinyl.
Weed the vinyl.
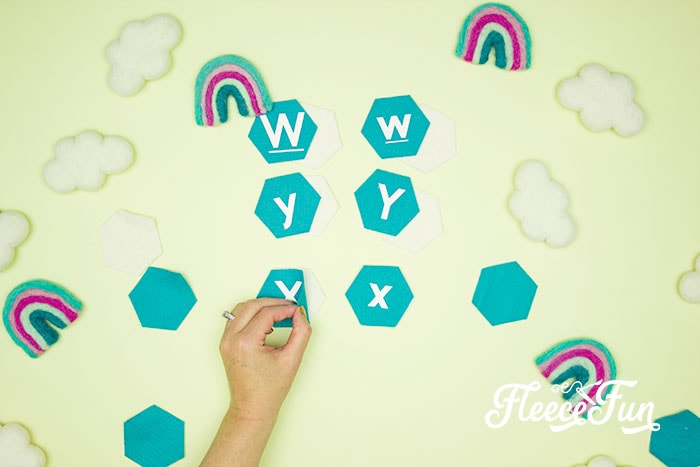
Step 2 – Add the Everyday Vinyl to the matching game pieces
You can do several pieces at a time. Layout the color of Matching Game DIY that you want the letters/ images to go on.
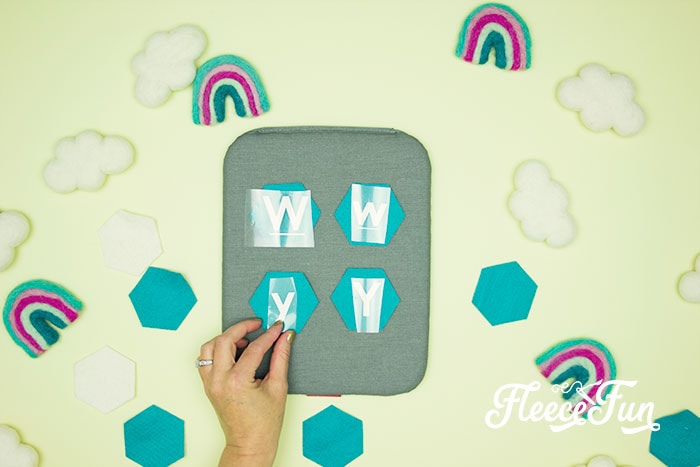
Cut the letters / images apart and center them on the felt.
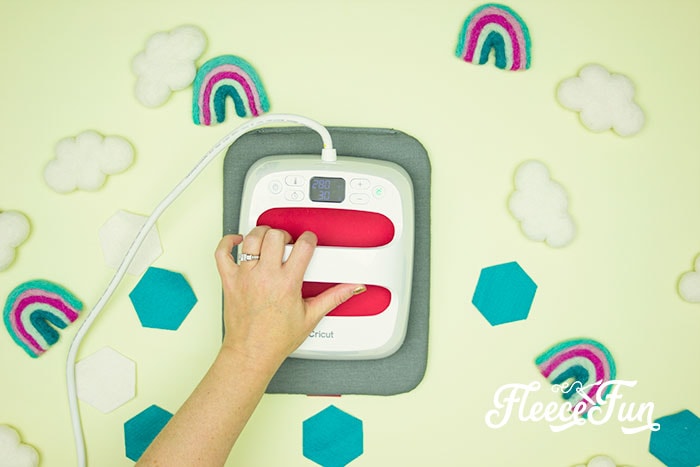
Using the correct setting on the EasyPress adhere the Iron on.
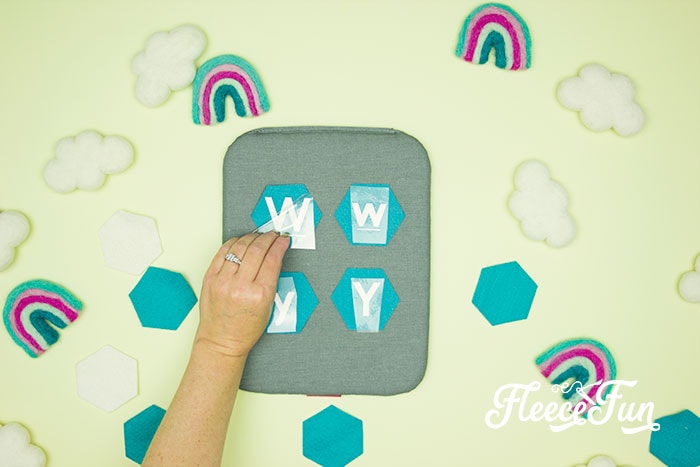
Warm peel the transfer plastic.
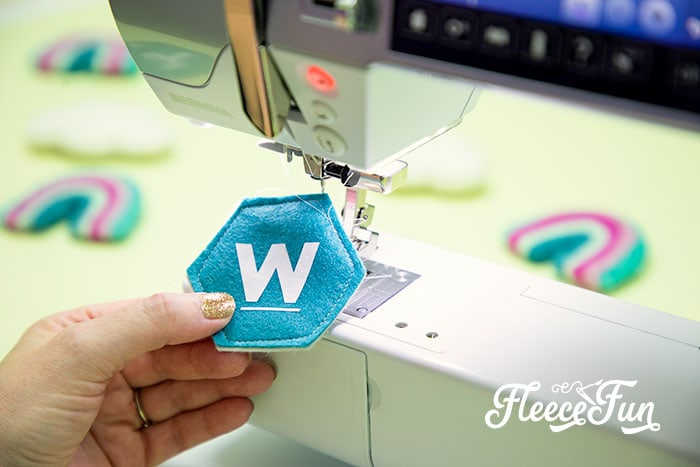
Step 3 – Finish the Matching Game DIY pieces
You can technically glue the felt backs to the pieces – but if your kids are like mine… they’d peel them apart! The best way is to sew them together. This makes them less flimsy, and last longer.
Match up one of the pieces with iron on on it with a blank (for me I made the back is a different color than the front)
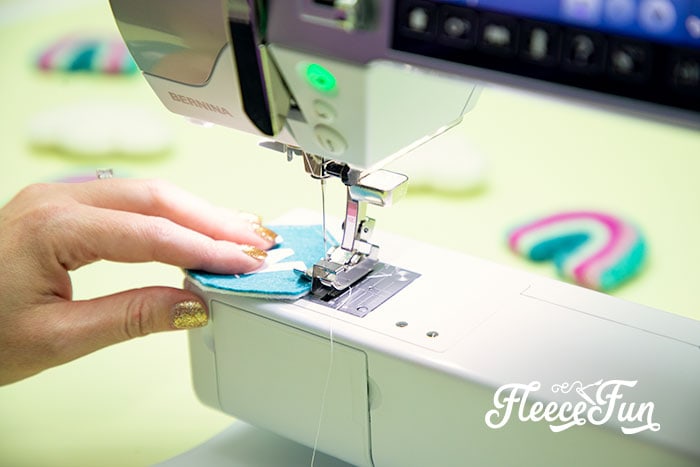
Using and edge foot stitch around the outside with a straight stitch to finish the DIY matching game.
Since this takes a little time – my advice is to do it in batches.
Creative Sewing & Cricut Projects You’ll Love!
- DIY Placemats for the Holidays
- How to Sew a Quilt the Easy Way
- Acorn Template (Free JPEG & PDF)
- DIY Custom Sewing Labels
- Felt Valentine Envelope DIY (No Sew)
- DIY Birthday Crown (Free PDF & SVG)
- Freezer Paper Stencil for T-Shirts Tutorial
- Tips for Working with Iron-On Mesh
- DIY Tiara (Free Pattern & SVG)
- How to Make a Knight Helmet (Free Template)
More Cricut Projects!
- How to Use JPEGs to Make a T-Shirt in Cricut Design Space
- 25 Personalized Gift Ideas Using Cricut Tools
- St. Patrick’s Day Upcycle Book Craft
- Patriotic Pinwheel Wreath DIY
- See all of FleeceFun’s Cricut Tutorials!