
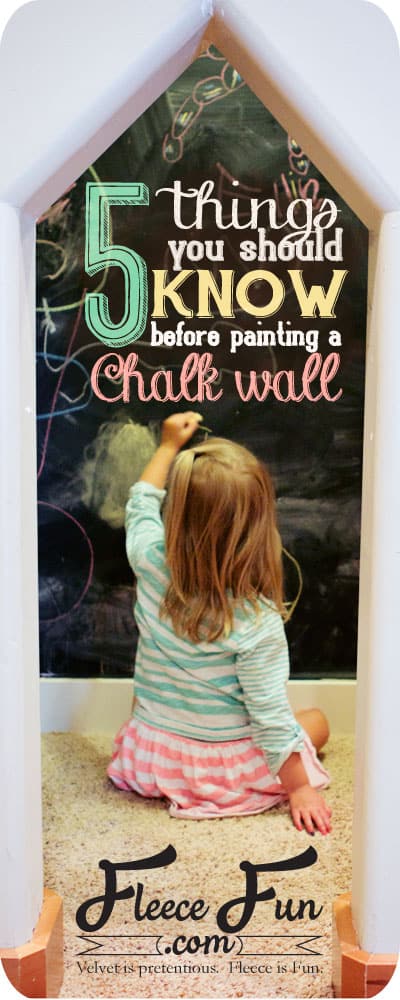
5 Things you should know before painting a chalkboard wall
This content contains affiliate links or sponsored elements, read our Disclosure Policy.
You’ve seen them on Pinterest: huge chalkboard walls, usually in a prominent place in the house. Perhaps in the kitchen with a beautifully hand-drawn menu for the week, or in the family room with the family’s schedule perfectly scrawled. I’ve had an itch with painting a chalkboard wall for a while. I couldn’t figure out where I wanted to put it. I wasn’t ready to commit to a main area in the house. And then I realized the perfect spot.
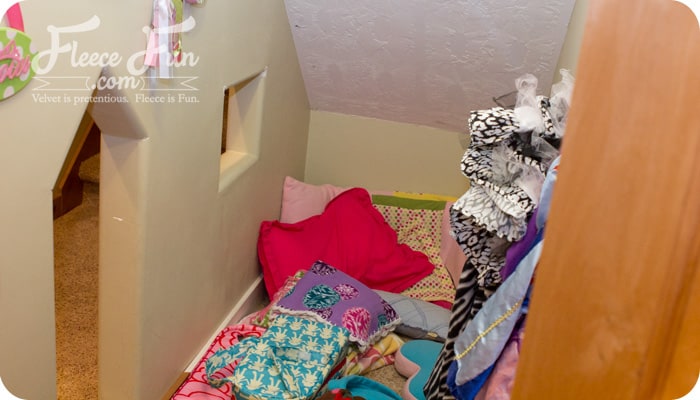
In our finished basement, we have this cute little “house” under the stairs. While it’s a cute area, most of the time it’s the convenient place to throw the toys to quickly clean up. I decided that this would be the perfect place for my “chalkboard” wall.
Which brings me to the first thing you should know:
5 Things you should know before painting a chalkboard wall
step 1 – Don’t do it at a major focal point
I know I just mentioned those fabulous pictures on Pinterest. But let’s be honest—this whole chalkboard thing is a fad, and one day a chalkboard wall is going to be up there with wood wall paneling. By placing it in a less obvious part of your house, it won’t become a past-trend eyesore.

Plus, while those pictures show beautifully hand-drawn, artistic menus, let’s be honest: the kids are going to draw all over that perfect, clean-looking menu. And if it’s in a main part of the house, it’s going to make your living room look like a graffiti-infested subway station.
By choosing a less obvious wall (like under the stairs in the basement), you can keep the main public areas a little less “underground urban chic.”
step 2 – Sand the wall – even if it’s only a little bumpy
Yet another reason not to do this to a main wall. You will want to lightly sand down the texture on the wall. The smoother the surface, the better. Chalk will catch on every little bump and pimple on the wall. Smooth the wall, and then wipe it down before painting the wall with Chalkboard paint.
step 3 – Season the Wall Properly When Painting a Chalkboard Wall
You know how you need to “season” a kettle before you use it? You need to also season a chalkboard wall. Once you’ve painted it and it’s that nice, beautiful black matte color, take a piece of chalk and rub down the entire wall so that every bit of paint has been touched by chalk. Then erase it, and your wall will be ready. This is to make it easier to erase and use.
step 4 – Understand that your floorboards are going to take a beating
Here’s something they don’t tell you about painting a chalkboard wall: chalk is messy. Chalk dust gets everywhere, especially when kids use chalk. It will get all over the floor. If you use colored chalk, that dust falls onto your baseboards and stains them. Now aren’t you glad that’s not in your kitchen?
step 5 – Have a place to store chalk and erasers
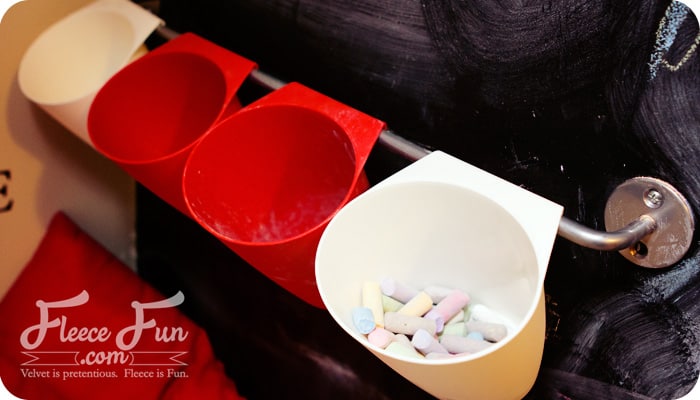
It’s important to make the wall functional. Have chalk and erasers nearby so when inspiration strikes (or unexpected company arrives), the tools will be within reach.

We’ve really enjoyed our chalkboard wall. Painting a chalkboard wall was such a fun project, and our kids’ friends enjoy it (and their babysitters). I know of a few adults who also can’t resist and love to doodle on it as well.
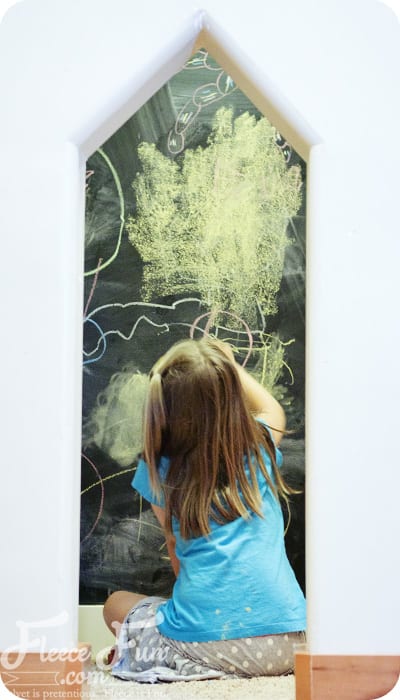
The nice part is it’s in a fun little, out-of-the-way spot. And yes, the floorboards in there look terrible. Oh well.
love this project: painting a chalkboard wall? see More tutorials for Organizers!
- Origami Fabric Basket Tutorial
- IKEA Fabric Stool
- Ribbon Book Mark
- Sewing Machine Mat Tutorial
- Craft Room Hanging Organizer Tutorial
- How to Make a Giant Pegboard for Your Craft Room
- How to Make a Pin Cushion Tutorial (Bracelet Style)
- Make Giant Buttons Wall Decor
- Tips on How to Paint Stripes on Walls
- See all of our Organizer Tutorials
Love these Craft Room Makeovers and Decor Ideas!
- Craft Closet Organization: The Ultimate Guide
- Sewing Room Ideas: My Studio Makeover (Part 1 of the Makeover Series)
- How to Choose Colors for Your Sewing Studio (Part 2 of the Makeover Series)
- Sewing Room Ideas: How to Pick Furniture (Part 3 of the Makeover Series)
- Cute Craft Room Decor Ideas (Part 4 of the Makeover Series)
- Craft Room Ideas: Makeover Final Reveal (Part 5 of the Makeover Series)
- Honest Craft Room Tour!
- See all Studio Space and Decor Tutorials!

I love the place you choose!
Thank you for that insight about chalkboard walls. I was considering adding one to my spare bedroom for the grandkids to use whey they stay, but since I just replaced the floors with light colored carpeting, that’s probably not the best place for chalk dust to accumulate. Thanks for the very useful tips!
Well, passing fad or not, I plan to do a small wall in my kitchen, near the fridge, where I already have a large vintage framed chalkboard hanging. I figure it’s only paint. If I tire of it, I’ll paint over it. As for chalk dust, if the walls are being sealed with Kilz or some other primer/sealer, chalkboard markers should work well (without absorbing into the wall). Easy, erasable, no dust to content with.
I painted my fridge with chalkboard paint thinking I would use chalk markers. Big mistake! Chalk markers are nearly impossible to erase without a ton of work. I had to go back to the messy chalk. My kids still love it though.
If you’re worried about the floorboards, try chalkboard markers:)
I have the literal opposite experience. I purposely moved our chalk board wall to a more visible area of the house so that I can do things like have guests sign or doodle it at a party and then snap a picture for a memory. I painted 5 chalkboard “frames” on one wall as if it was a picture frame collage and yes, my kids draw on them in varying skill levels but because of the arrangement it looks as awesome as it would if I had framed their artwork. I have one in my bathroom that always has a great quote on it depending on my moods. And I have one in our living area that is constantly used to welcome guests or have a holiday message. It never looks bad or messy beyond visual appeal though, so it can be done.
My only suggestion would be to keep in mind that different surfaces work better with chalk than with markers, etc. A rough surface seems to work better with chalk than chalk markers. It also helps to apply quite a few coats of paint. Another thing to remember is that if you use a color other than black it won’t be as likely to be a passing fad. You’ll be able to keep the paint until you don’t like the color anymore, even if you don’t want to draw on it.