How to Make a Giant Pegboard for Your Craft Room
This content contains affiliate links or sponsored elements, read our Disclosure Policy.

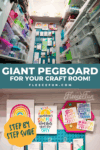
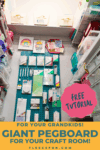
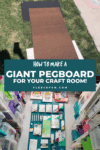
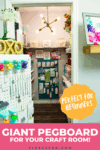
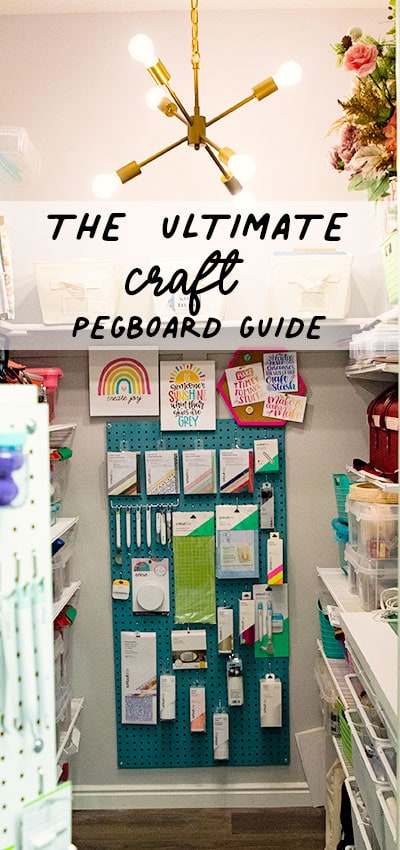
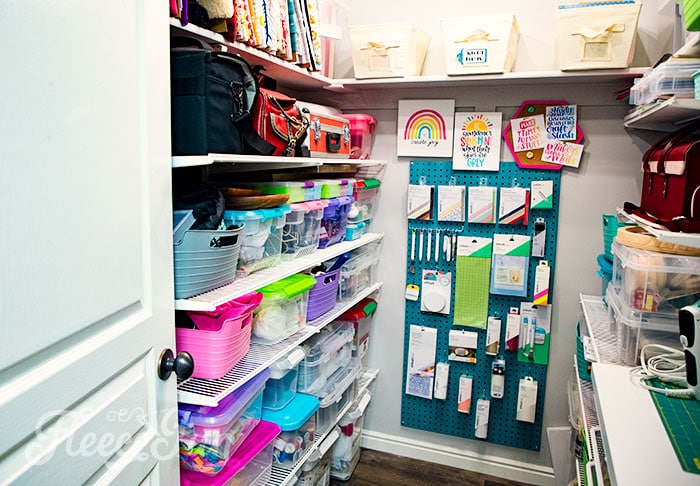
While finishing up my Craft Closet, I thought it would be fun to show you how to make a Giant Pegboard for your craft room. It’s really easy – it looks good and when you opt to do it yourself, you can save a LOT of money. All you need are a tools and materials, and you can make a cute pegboard that is functional and fashionable.
YOU WILL NEED:
- Hardboard Pegboard
- 6 Screws, drywall screws
- 12 Washers
- 12 Nuts
- Paint/spray Paint
- Pencil
- Drill
- Level
- Pegboard Hooks
How to Make a Giant Pegboard for Your Craft Room
Step 1 – Plan the size of your Pegboard
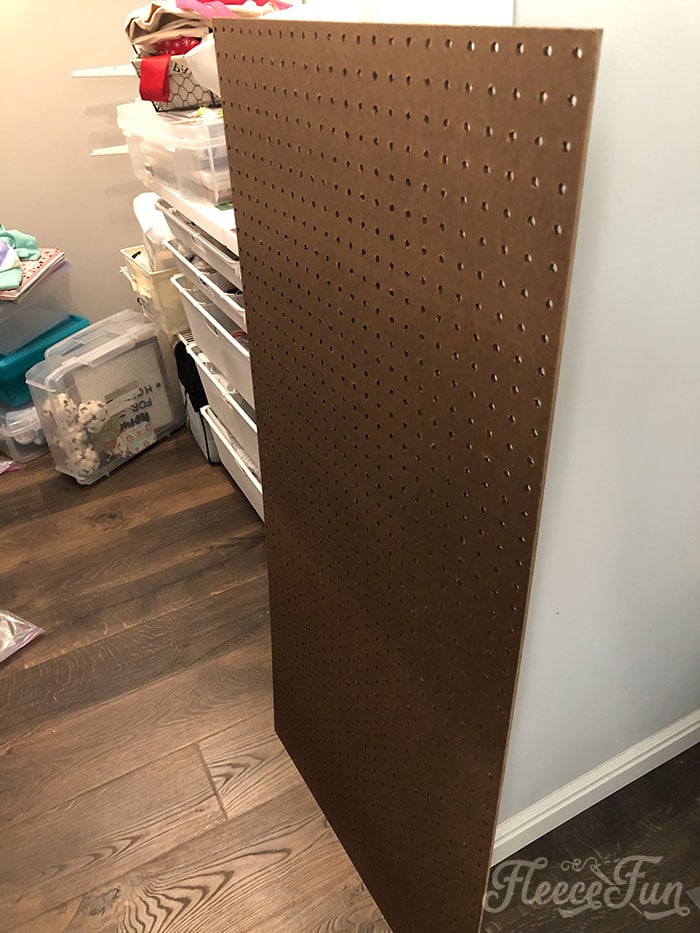
To save on money, I opted for a plain MDF pegboard that is really inexpensive. It’s worked great and only cost me about $10 at my local hardware store. I used the pegboard at the full size the sheet came in, which was about 24″ by 48″. But you can easily have it cut down to the size that you want at the hardware store before you leave, or use a bigger one!
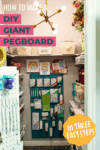
Step 2 – Paint the Pegboard
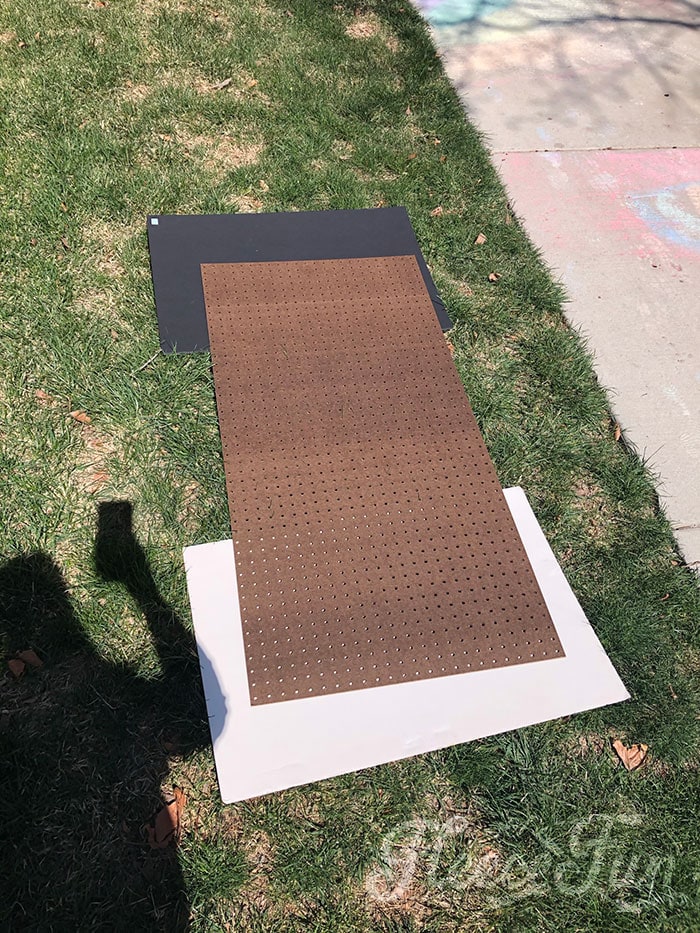
The plain brown is not the look I wanted, so I opted to take mine outside and spray paint it a solid color I used Rust-Oleum’s Vintage Teal spray paint. However, this is where you can get creative with the look of your pegboard — make it a rainbow, use a stencil — make it fit your space.
Make sure to give it plenty of time at least (12-24 hours) to dry before hanging.
Step 3 – Prep for hanging your Giant pegboard
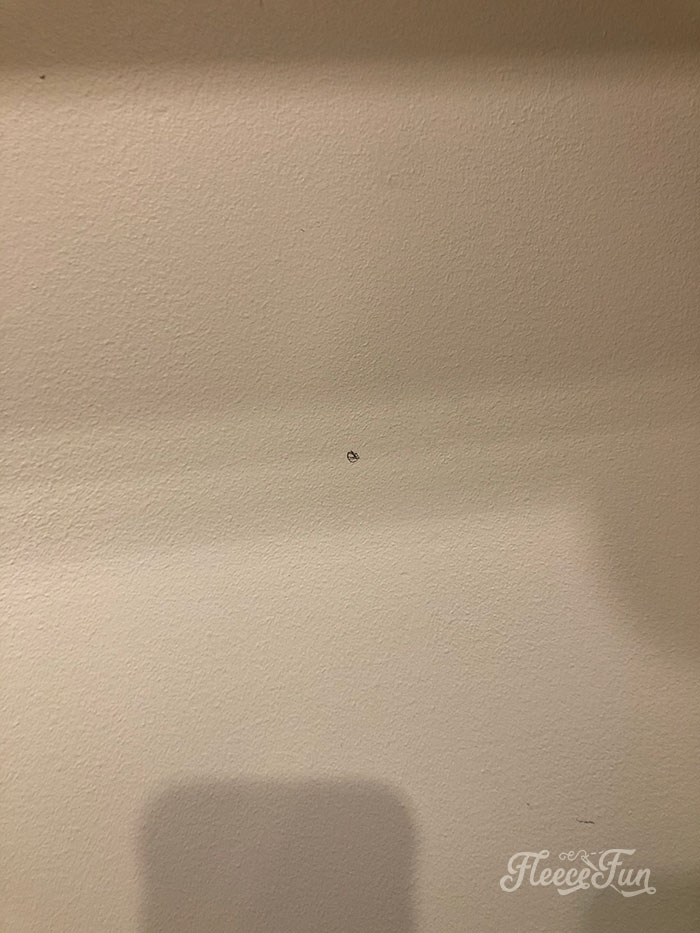
If your pegboard is extremely large, an extra pair of helping hands will be needed to figure out the placement of the board. Use a level to make sure it’s straight and make the sports you’re going to place your screws with a pencil.
Since this is a larger pegboard I opted to place screws in the corners and on either side half way down for extra support.
The key to making a good giant pegboard is the hardware you use to hang it.
For my pegboard, I used 6 1/4 inch screws that came with drywall inserts, so I could place the board where I wanted and didn’t have to worry about hitting studs.
I help up my pegboard and marked each spot where the screw would go.

I then drilled the spots.
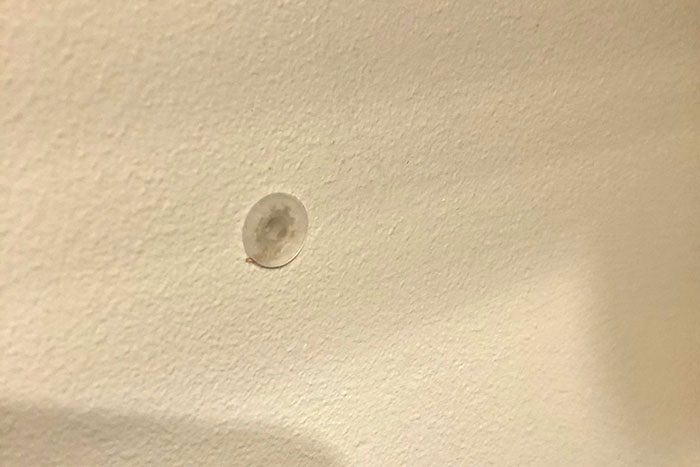
Gently hammer in the drywall screws.
quick Tip
It’s important to do all of these first as when you begin to put up the pegboard, you won’t be able to reach the spots.
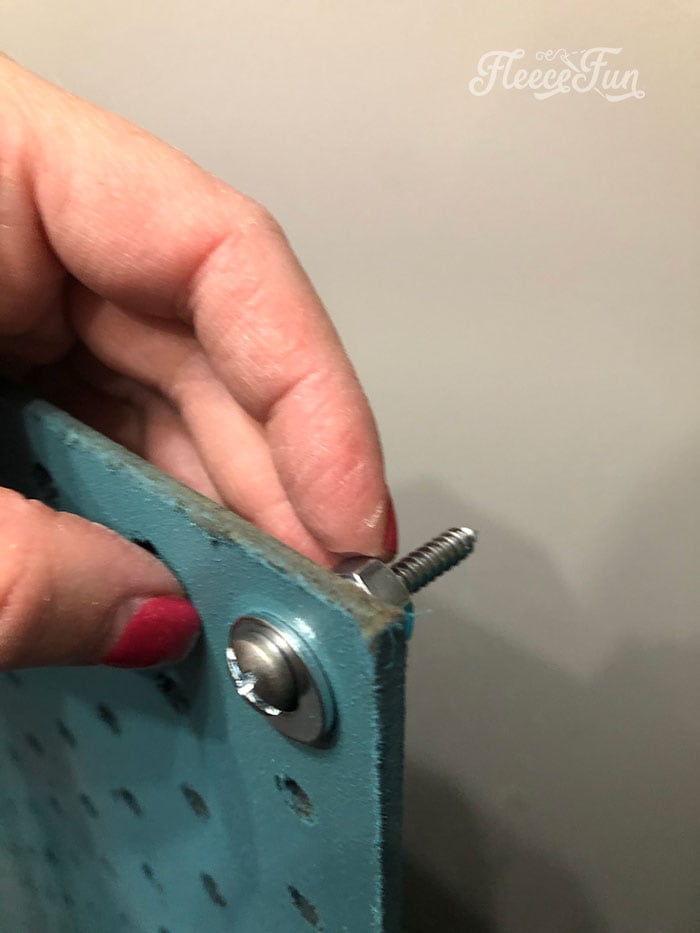
Then place the screws, nuts, and washers into the hole you want. Place in this order: Screw through a washer, then place it in the giant pegboard.
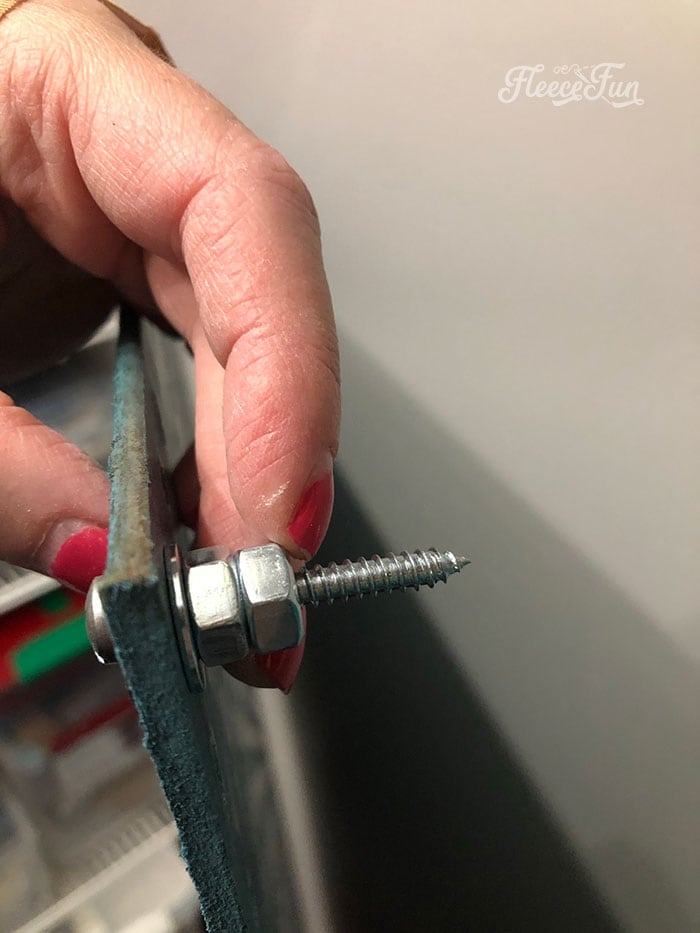
Then place another washer and two nuts. The nuts are important to allow enough space behind the pegboard for the hooks to go in.
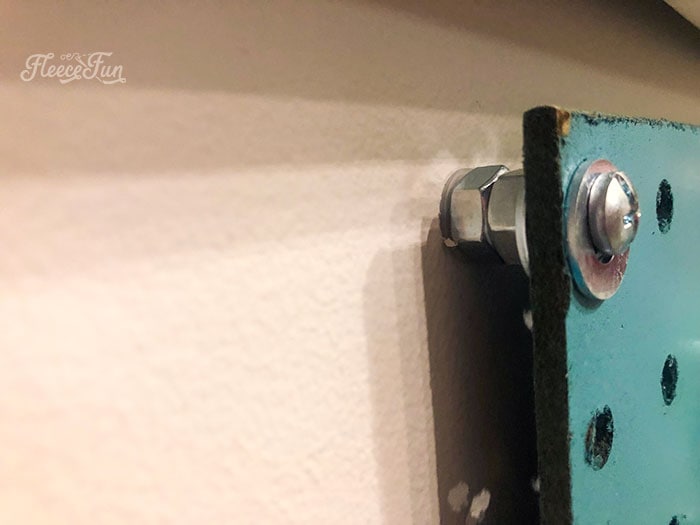
Screw into the spot you prepped in the wall.
Quick Tip
Don’t screw in one spot completely and then move onto the next one. I find it’s better to partially screw in all the screw and then tighten them all, as this gives you a little wiggle room if the placement of your screws is slightly off.
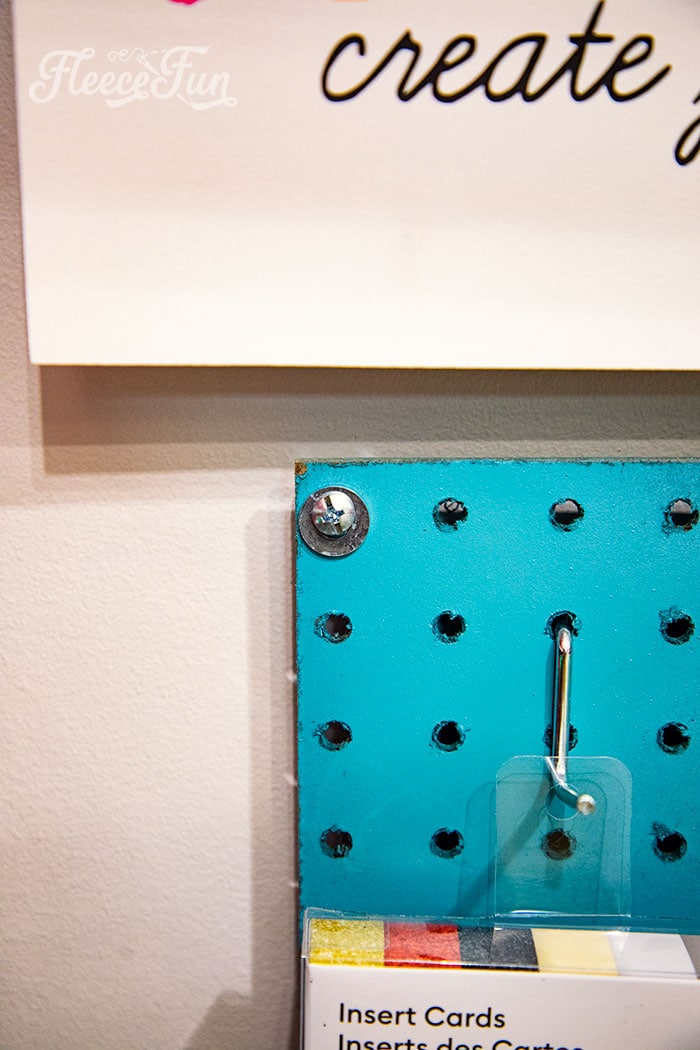
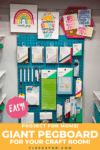
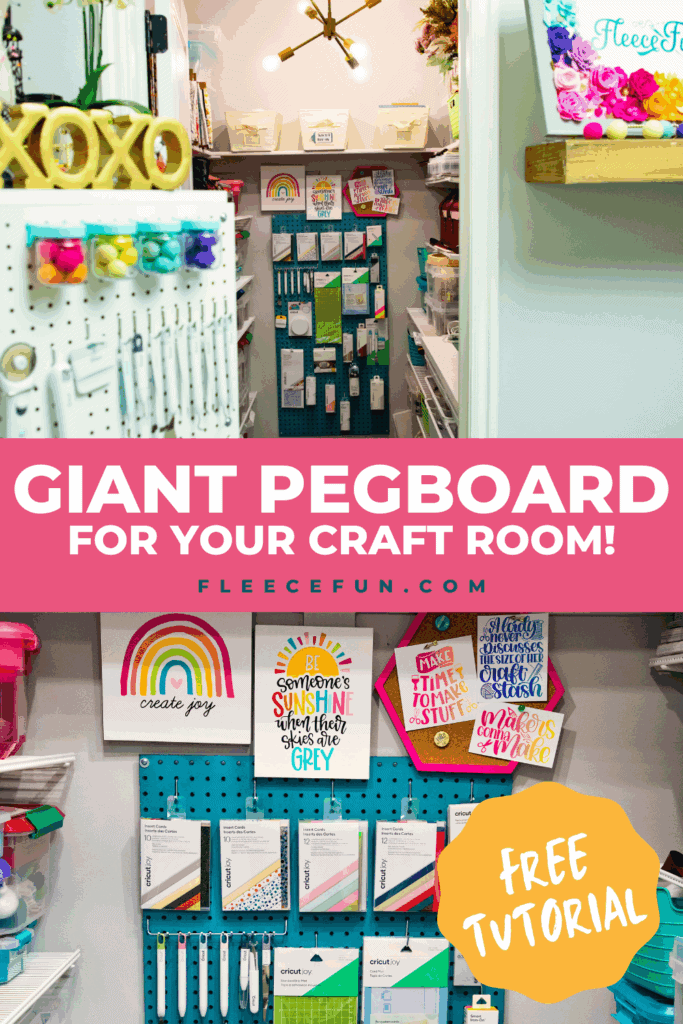
Now the fun part – start adding hooks and items to your giant pegboard.
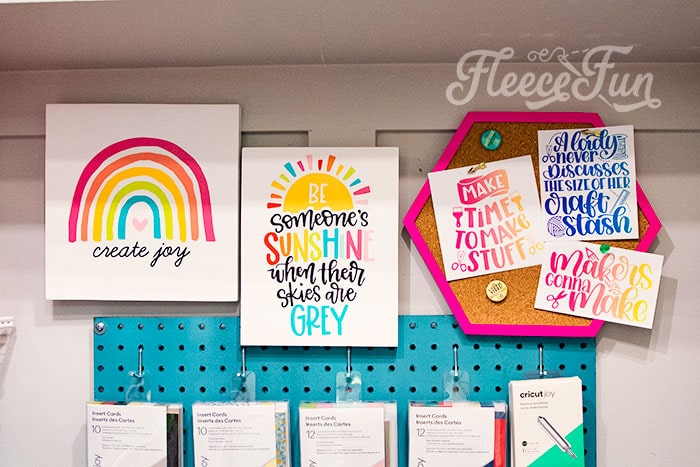
I added some artwork to the top so it wouldn’t look so industrial.
Love this giant pegboard? see More tutorials for Organizers!
- Origami Fabric Basket Tutorial
- IKEA Fabric Stool
- How to Make a Binder Pouch Tutorial
- Ribbon Book Mark
- Sewing Machine Mat Tutorial
- Craft Room Hanging Organizer Tutorial
- Cricut Maker Cover Tutorial
- How to Make a Pin Cushion Tutorial (Bracelet Style)
- Cute Trash Can DIY Craft Room Decor
- Make Giant Buttons Wall Decor
- Tips on How to Paint Stripes on Walls
- Painting a Chalkboard Wall – 5 Things to Know
- See all of our Organizer Tutorials
Love these Craft Room Makeovers and Decor Ideas!
- Craft Closet Organization: The Ultimate Guide
- Sewing Room Ideas: My Studio Makeover (Part 1 of the Makeover Series)
- How to Choose Colors for Your Sewing Studio (Part 2 of the Makeover Series)
- Sewing Room Ideas: How to Pick Furniture (Part 3 of the Makeover Series)
- Cute Craft Room Decor Ideas (Part 4 of the Makeover Series)
- Craft Room Ideas: Makeover Final Reveal (Part 5 of the Makeover Series)
- Honest Craft Room Tour!
- See all Studio Space and Decor Tutorials!