
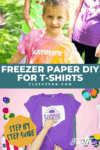
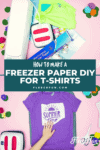
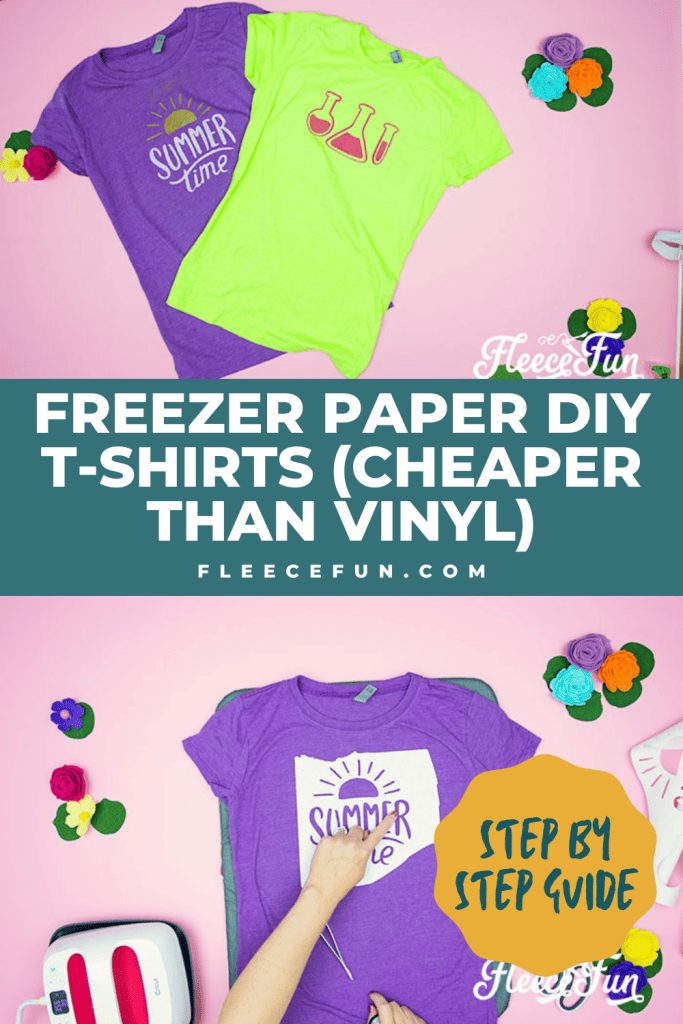
Freezer Paper Stencil for T-Shirts Tips and Tutorial
This content contains affiliate links or sponsored elements, read our Disclosure Policy.


Making a Freezer Paper Stencil for T-shirts is fun, fast and inexpensive. With just a few tips you can make T-shirts for your tribe! But there are a few things when it comes to Freezer Stencil that you need to be aware of.
YOU WILL NEED:
- Cricut Maker, or Cricut Explore Air 2 or Cricut Joy
- Light Grip Mat
- Freezer Paper (MUST be freezer paper with a plastic backing – you can get this in any grocery store)
- Clean T-shirt
- Simple graphics (I used a few I found in Cricut Access)
- Paper Tweezers
- Easypress or EasyPress Mini
- Spray Paint or Fabric Paint
- Masking Tape
- Paper Scraps (for masking)

Freezer Paper Stencil for T-shirts Tips and Tutorial (Video and written):

Step 1 – Prep the shirt properly

I always was dry my shirts before I create with them. I also take care to was only using detergent, no fabric softener or dryer sheet. This is so no “film” is on the shirt that can mess with my paint.
Step 2- Prep the graphics in Design Space
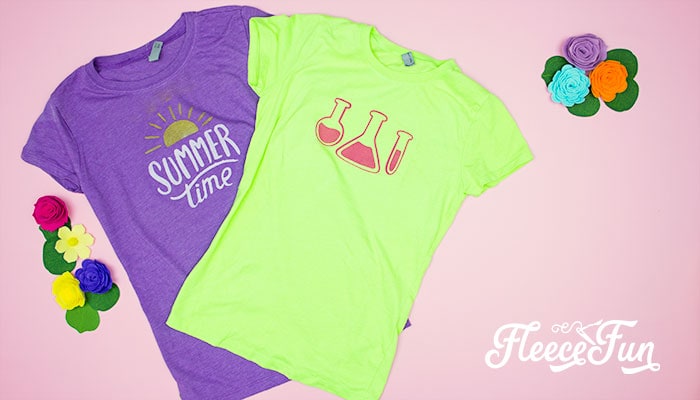
When choosing graphics for Freezer paper, keep in mind that you’ll be dealing with the negative space to make the stencil. For this reason it’s best to stick to simpler graphics with minimal negative spaces (mind the d, b, g, a, r, e, o, and p’s). This is one of the graphics I chose:
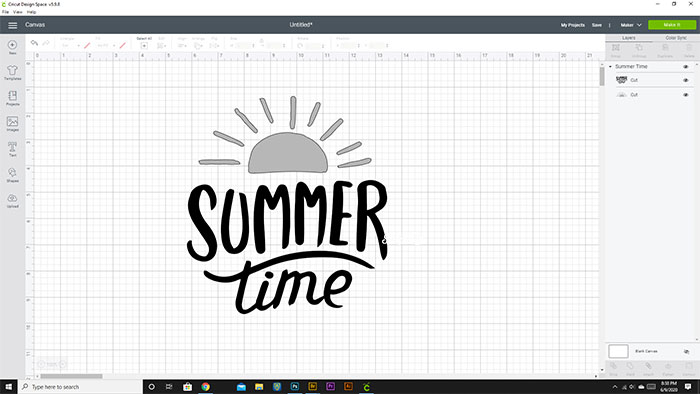
This graphic is technically 2 colors. I need it to cut out as one stencil.
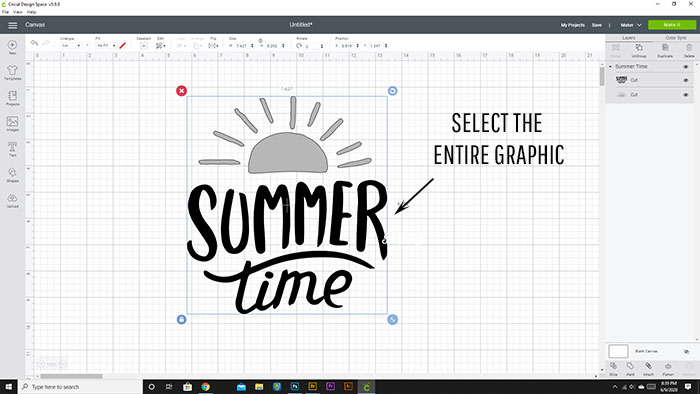
I need to select the whole graphic (all the layers)
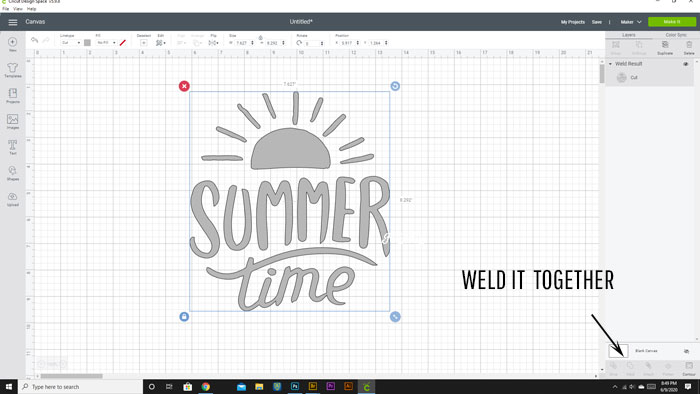
Then click on the “Weld” button. The graphic then becomes one color and layer. Now it will cut out all together. Now it’s time to make it.
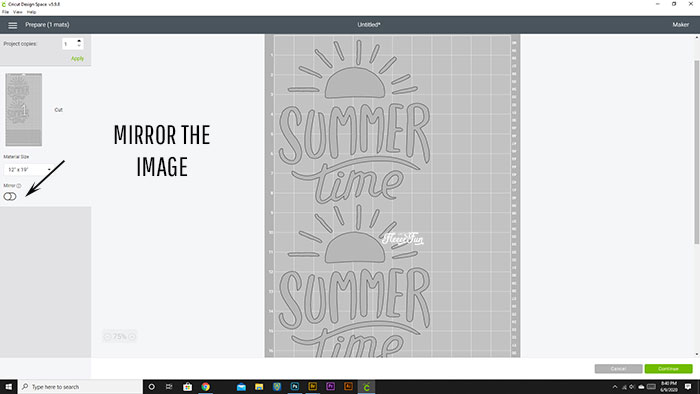
We’re keeping the shiny/slick side up for cutting so the paper can grip the mat better. Because of this we will need to “mirror” the image.
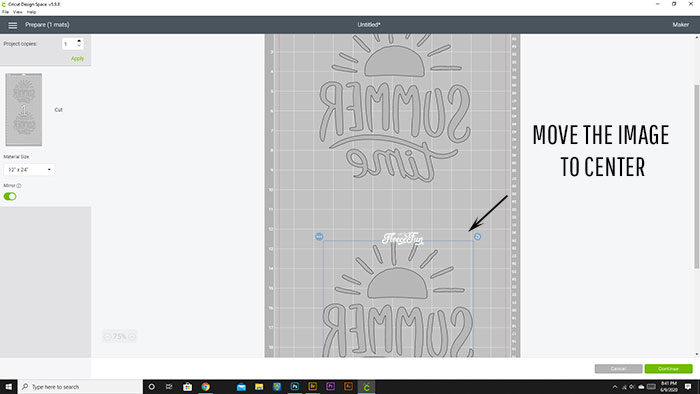
Also when placing items on the mat – I want as much space as I can give between items – this will make the stencil more effective. Since Freezer paper is inexpensive give yourself some space to work with. Gab the graphics on the mat and center them and give them distance from each other if you’re cutting out more than one.
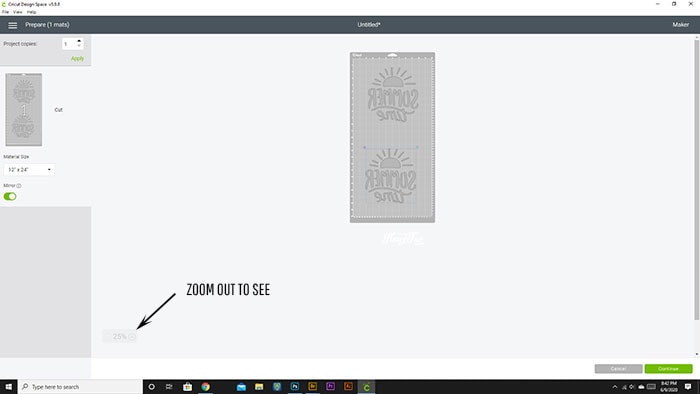
You can see how centered they are on the mat by zooming out using the plus and minus buttons in the bottom left corner.
Step 3 – Cut out the Freezer Paper Stencil with the Cricut Machine
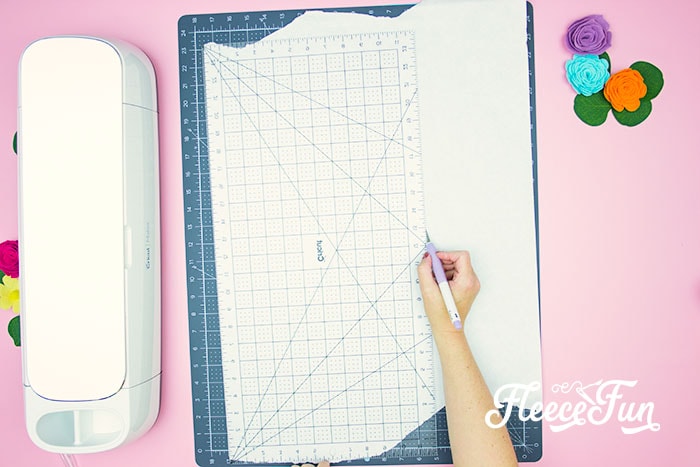
Cut down the freezer paper to the size of your Cricut mat.
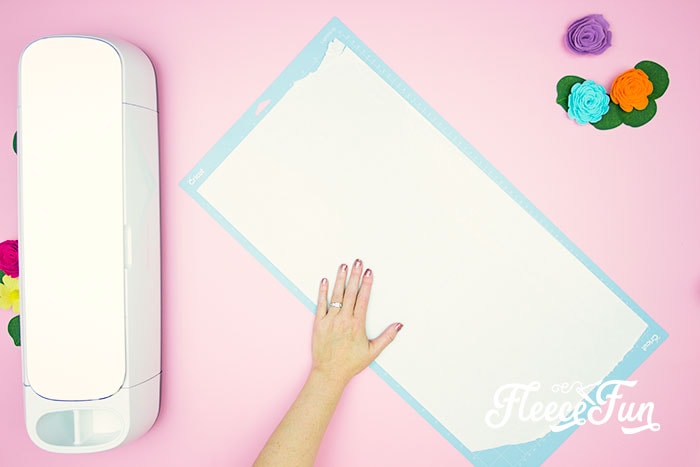
Place the paper on the mat SHINY (or slick) side up.
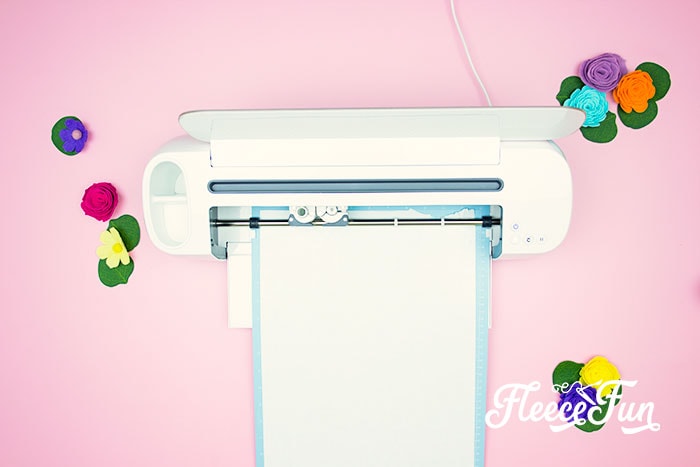
Cut using the “Freezer Paper” setting.
Step 4 – Prep the Freezer Paper Stencils for the T-shirts

Very, very carefully pull the paper up from the mat – try not to tear the paper, take your time. If you hear tearing STOP find where the tear is occurring and try to help the paper from the mat in that spot and stop the tearing from continuing.
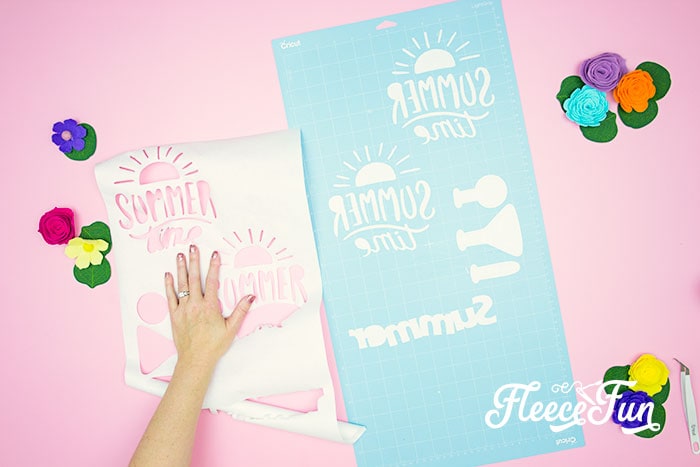
Do it until you have completely removed the paper. The Paper is your stencil- however you will need a few of the remnants on the mat – so don’t get rid of them yet. Using scissors separate each stencil.
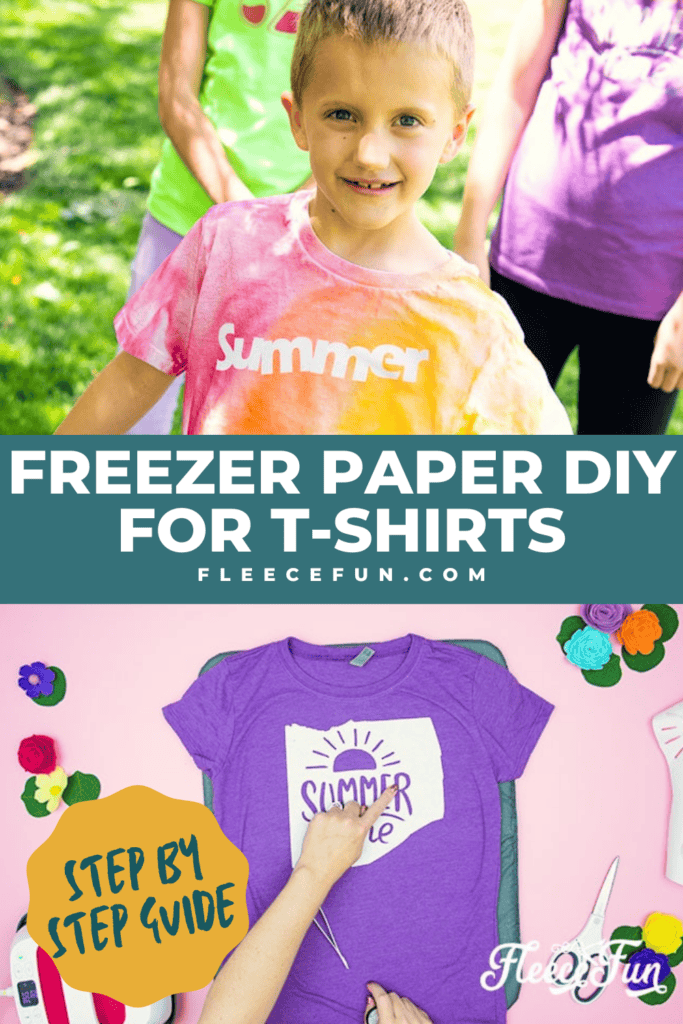
Step 5 – Add the Stencil to the T-shirt
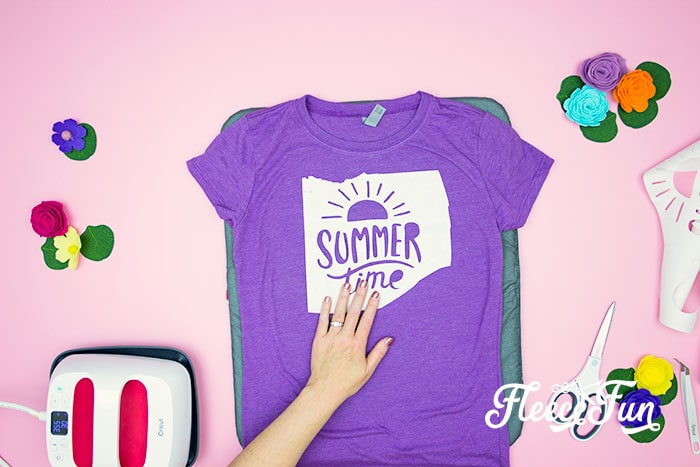
Using an EasyPress or an iron on a low setting, Place the freezer paper ( shiny side down) onto the t-shirt and iron it on. The plastic should stick to the shirt forming a seal.
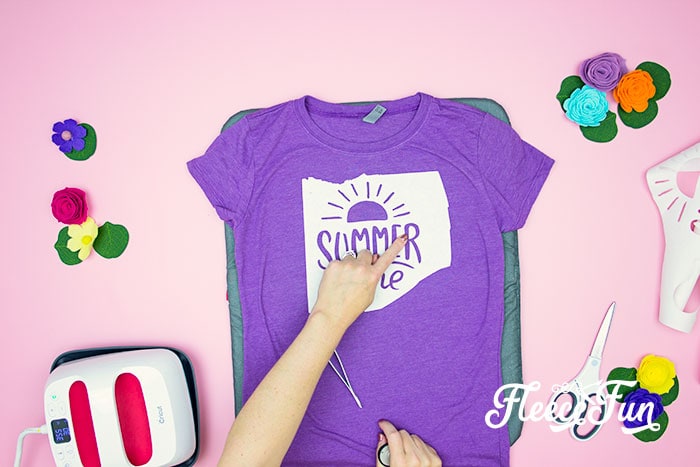
With the main part of the stencil on the shirt add any centers to letters or graphics, iron them into place.
Step 6 – Paint the T-shirt
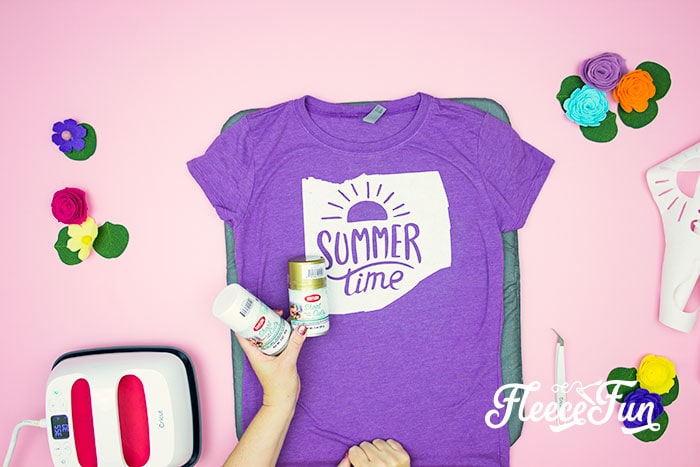
I opted to use spray paint, but you can easily use a foam brush and fabric paint. Place thick paper or cardboard inside the shirt to prevent bleeding. Using paper or cardboard mask off the T-shirt so only the stencil in visible.
Spray lightly and it might take a couple of passes.

If you don’t properly mask the stencil you can get over spray (like I did above!) So make sure that you have the shirt really covered.
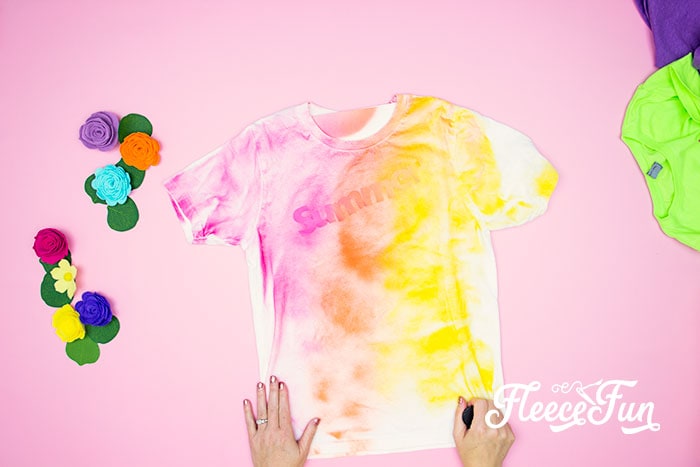
Of course you could use this to your advantage and Iron down the negative of the stencil, and paint the entire shirt.
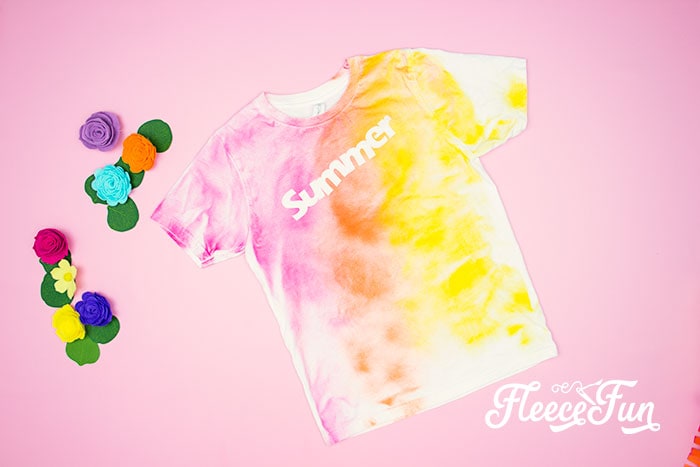
Once the paint is dry, simply peel off the paper. Heat set the paint by ironing over it at a high temperature or putting it in the drier on high.
And you’re finished with the Freezer Paper Stencil tutorial!
Extra Tips for using Freezer Paper Stencil:
I saw a YouTube tutorial that used salt to make the stencil look more vintage. It did NOT work for me. Salt when it gets wet melts…right under your stencil making a yucky mess. You’re better off doing some sanding post paint to make it look more vintage.

Freezer stencils work for bolder, simple graphics. If you have a really detailed graphic You’re better off going with Heat Transfer Vinyl.

While I used Spray paint, it can be a little stiff (it will loosen after a few washes) Fabric paint has more flex to it and hence softness.
This is part of the T-Shirt Project Series
Creative Sewing & Cricut Projects You’ll Love!
- DIY Placemats for the Holidays
- How to Sew a Quilt the Easy Way
- Acorn Template (Free JPEG & PDF)
- DIY Custom Sewing Labels
- Felt Valentine Envelope DIY (No Sew)
- DIY Matching Game
- DIY Birthday Crown (Free PDF & SVG)
- Tips for Working with Iron-On Mesh
- DIY Tiara (Free Pattern & SVG)
- How to Make a Knight Helmet (Free Template)
More Cricut Projects!
- How to Get Started Cutting a Quilt with Cricut
- How to Get Started Quilting with Cricut
- DIY Disney Savings Jar
- St. Patrick’s Day Ombre Shadow Box
- See all of FleeceFun’s Cricut Tutorials!
This is super cool!! Perfect timing. I just received my cricut.
Thanks Angel