
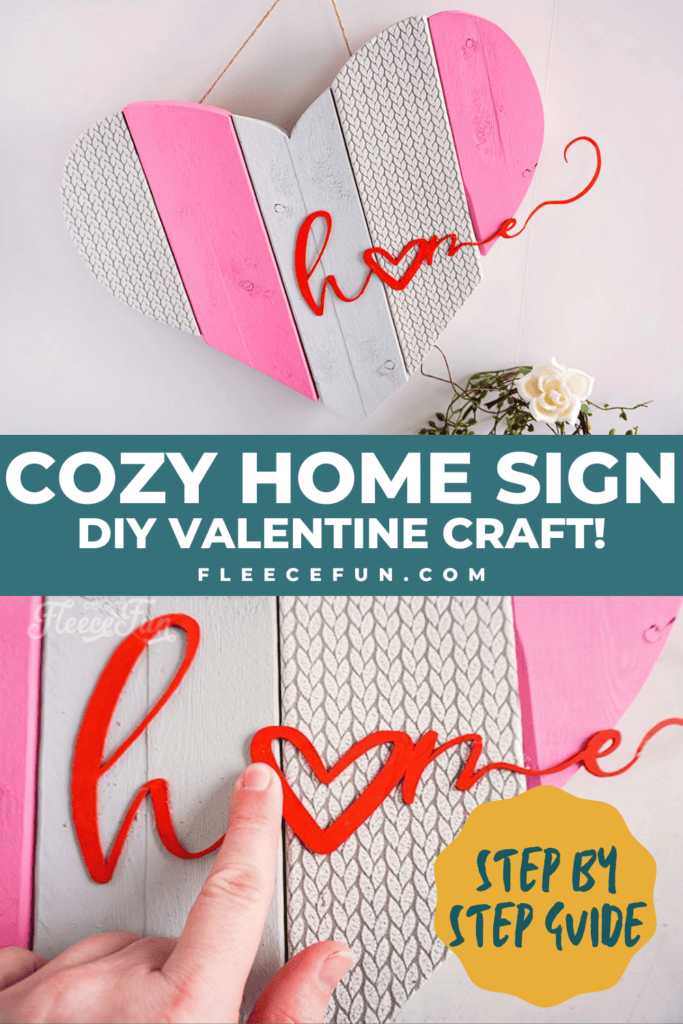
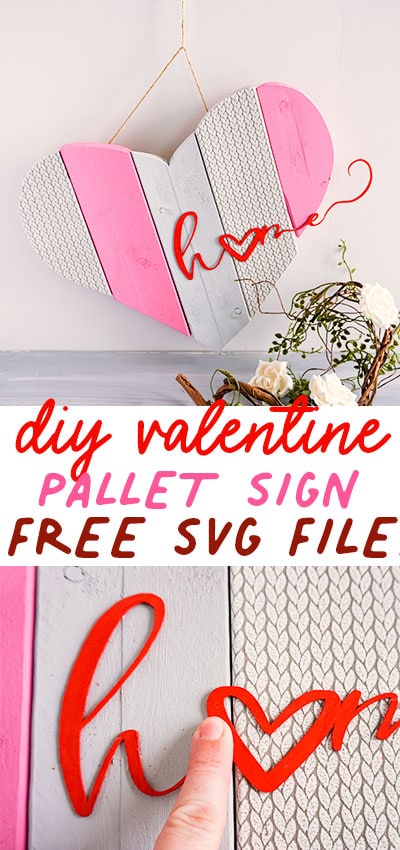
DIY Valentine Craft – Cozy Home Sign
This content contains affiliate links or sponsored elements, read our Disclosure Policy.
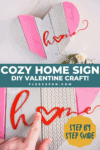


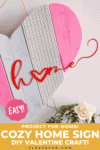
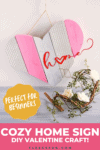

This DIY Valentine Craft is a nice addition to door, layered art or stacked tray. Change out the colors to suite your pallet – but nothing says Valentine’s Day like the mixture of red and pink! This tutorial does require the use of a jig saw – but around this time of year you can easily find wood blanks at your local craft store that can work as well!
YOU WILL NEED:
Supplies
- 6 18-inch Pallet Board Lengths (3-4 inches in width)
- Grey/White Patterned Wrapping Paper or Scrapbook Paper (I used something similar to this)
- Pink Craft Paint
- Grey Craft Paint
- Red Craft Paint
- Modge Podge or School Glue
- 1 Sheet 3/32 thickness 4×12 Balsa Wood or Chip Board will work too
- Twine
- Get the free SVG file here.
Tools
- Paintbrush
- Scroll Saw or Jigsaw
- Pencil
- Sandpaper
- Cricut Maker, Knife Blade and Strong Grip Mat
- Hot Glue Gun & Glue
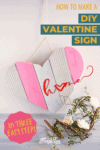
DIY Valentine Craft – Home Sign Instructions:
Step 1 – Cut out the Free SVG file
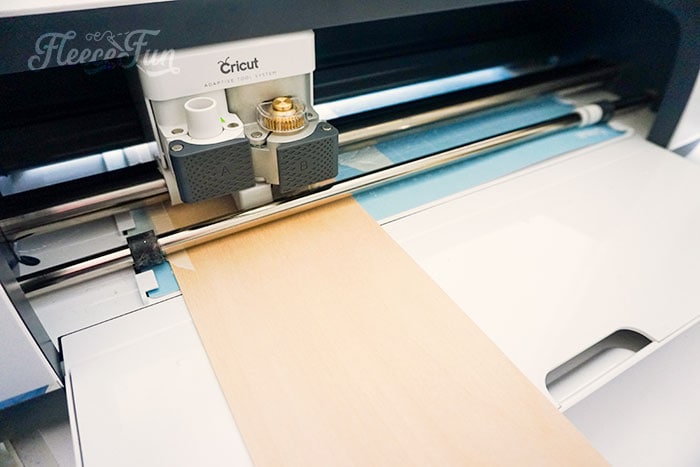
Cut the “home” lettering from the balsa wood or chipboard using your Cricut. Be sure to tape down the wood to the mat.
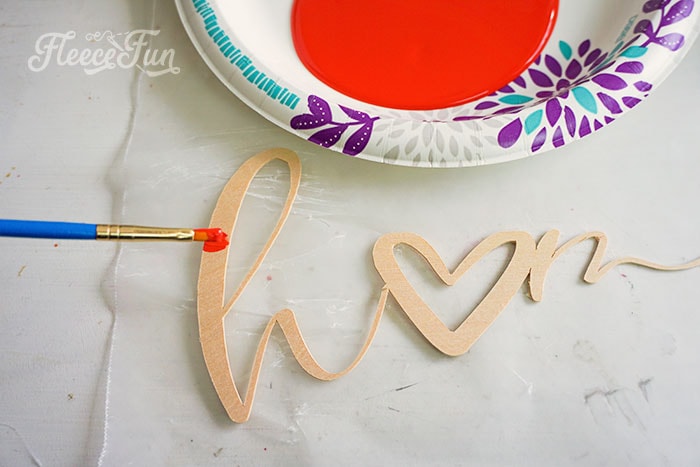
Paint the “home” lettering with the red paint. Allow paint to dry fully.
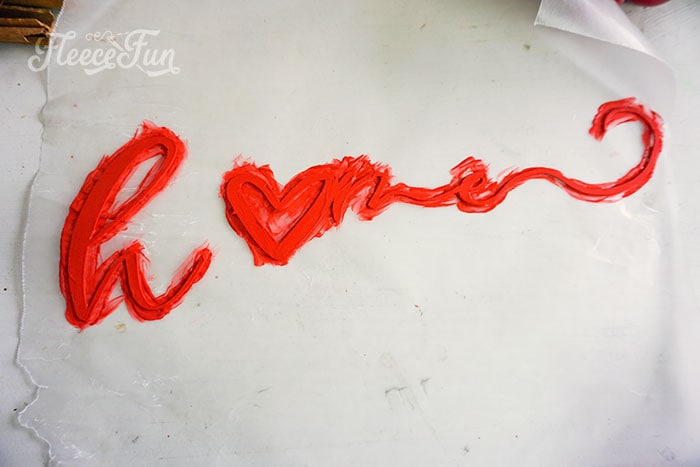
If the home writing breaks (which it may) do not panic. Simply hot glue it back together when you’re putting it on the heart in the final step.
Step 2 – Make the Pallet Heart
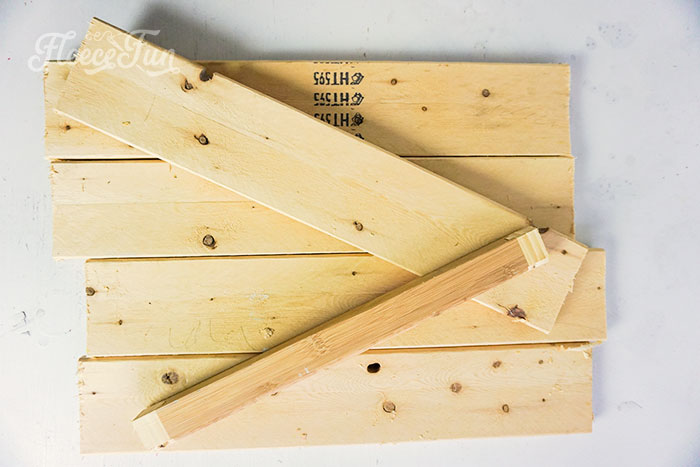
Now it’s time to make the pallet looking heart base.
Lay out 5 of the board lengths side by side.
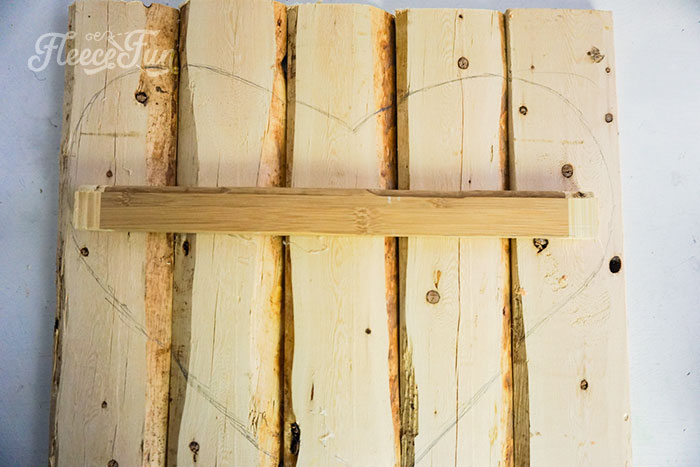
Use your home lettering to help you gauge the size, draw your heart shape on the wood. Set aside the 6th piece of wood for use later with holding the heart together.
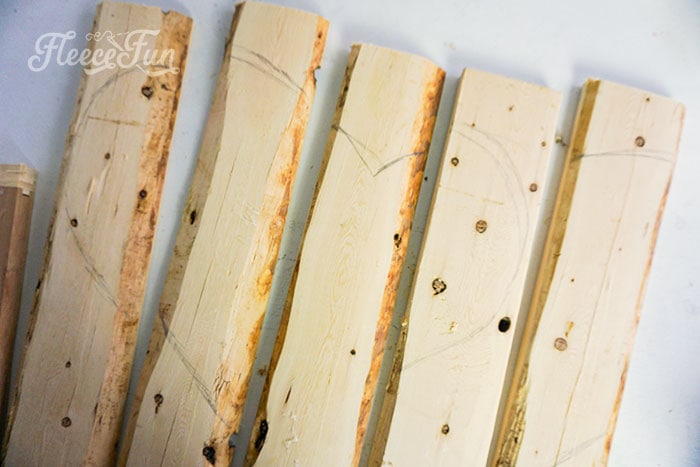
With the scroll saw or jigsaw, cut out each piece of the heart from each piece of wood.
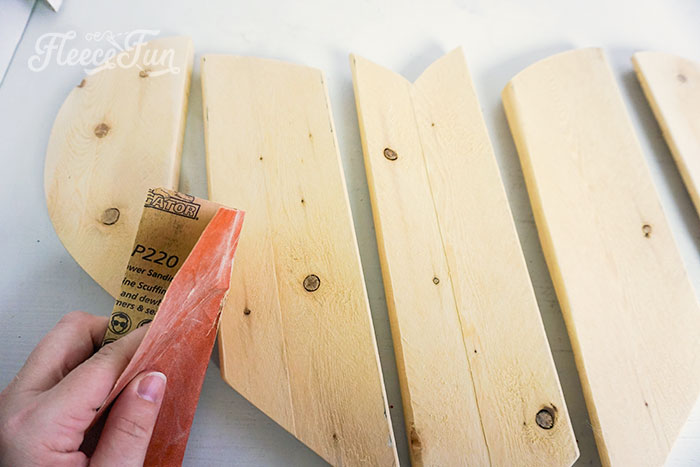
Sand each piece of wood for the DIY Valentine Craft.
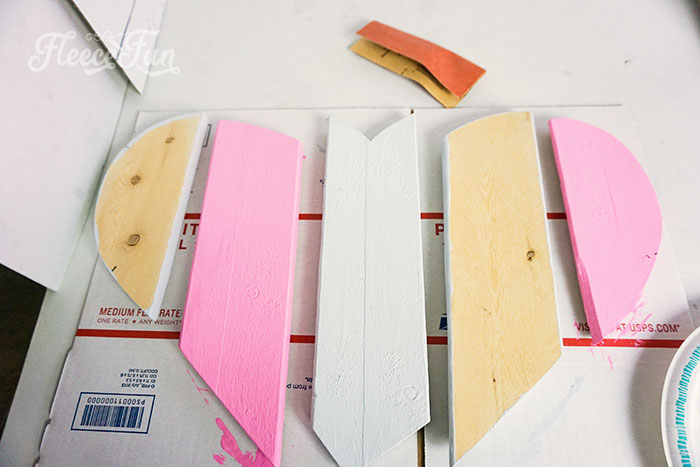
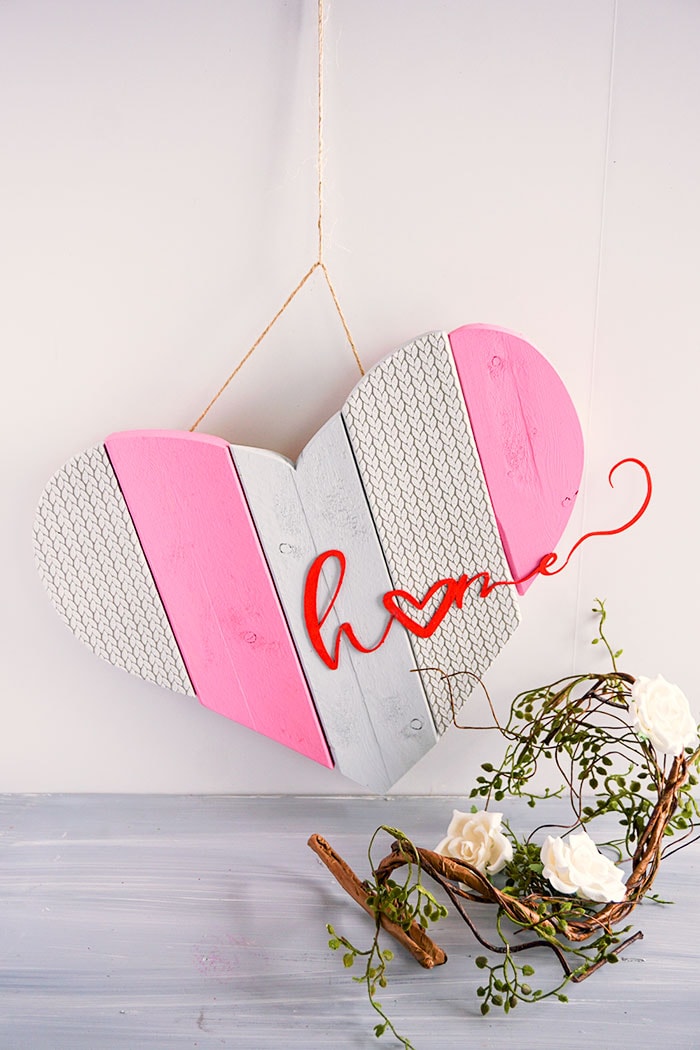
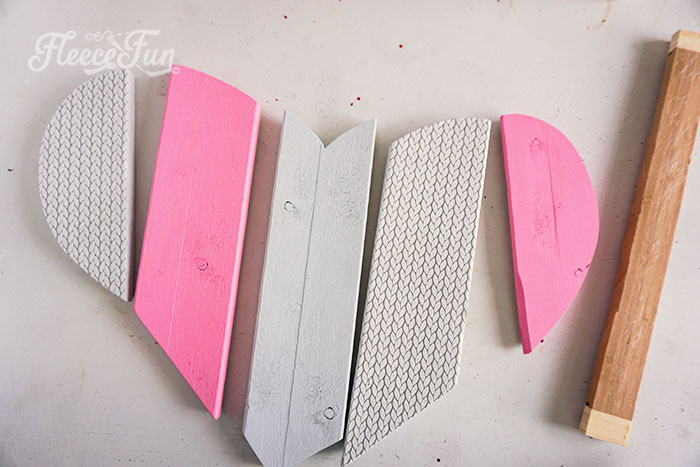
Paint two pieces of wood pink and one grey. Paint the edges of the remaining two pieces of wood with the grey paint. Allow paint to dry fully.
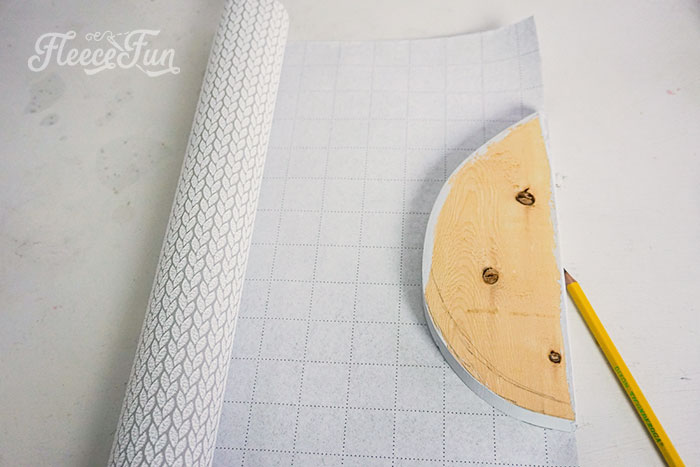
Cut pieces of wrapping paper to fit the front of the two pieces of wood with grey edges.
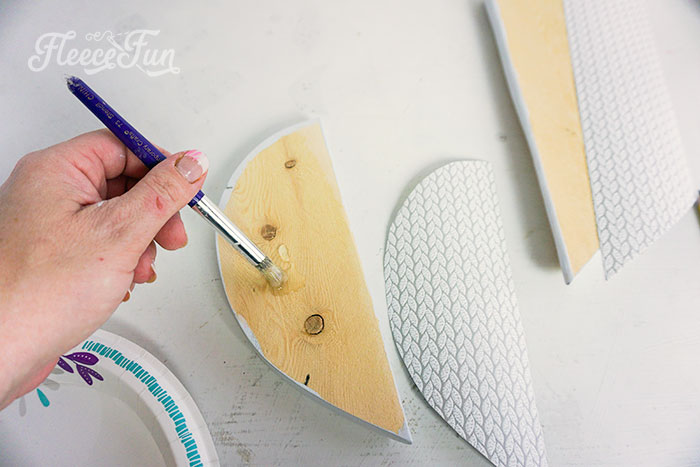
With the Modge Podge or the school glue, paint the wood, then immediately place the wrapping paper cutouts on top.
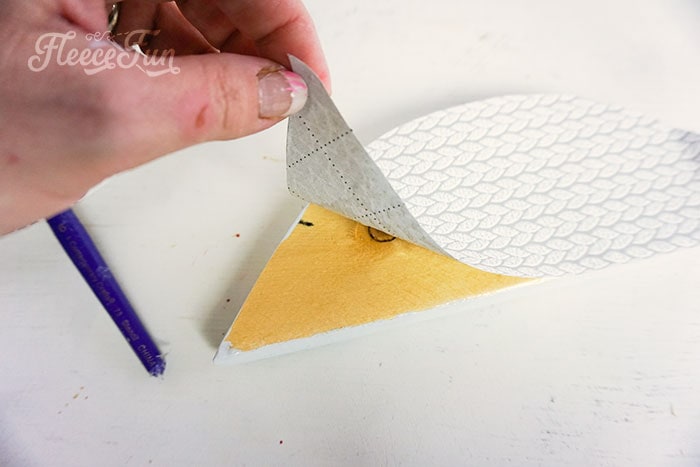
Immediately coat the top of the wrapping paper with the Modge Podge or school glue. be careful not to oversaturate the paper as it can easily tear when wet.
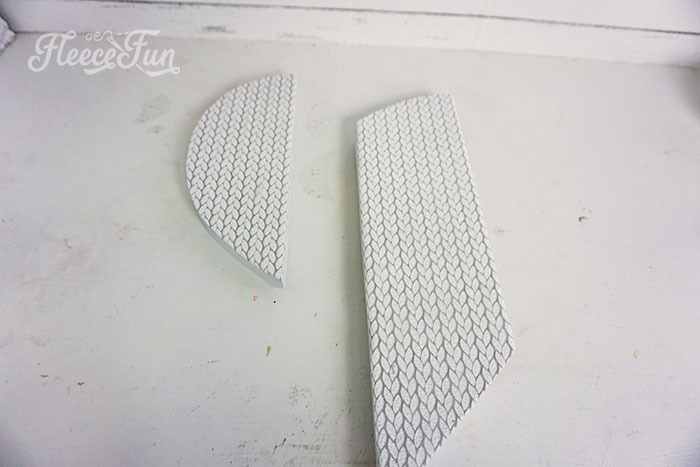
Allow glue to dry fully.
Once everything is dry,
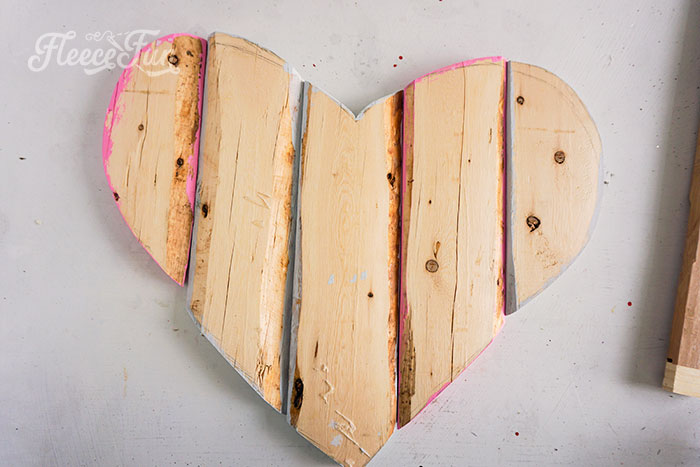
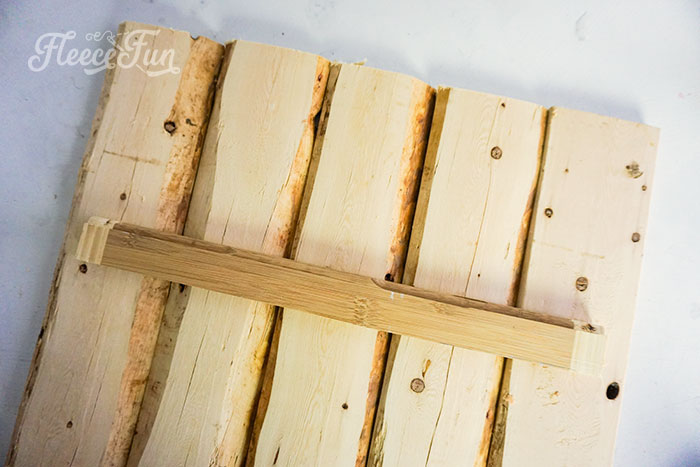
Lay the heart out, facedown, in the desired final layout.
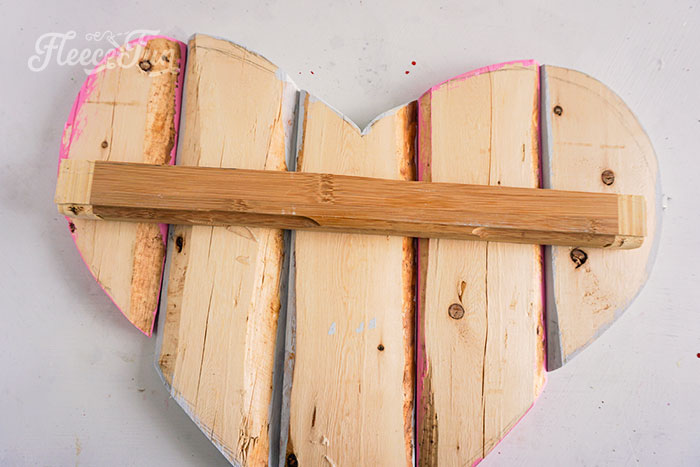
Hot glue the 6th piece of wood across the back of the heart, securing each piece of the heart.
Step 3 – Bring the DIY Valentine Craft Together
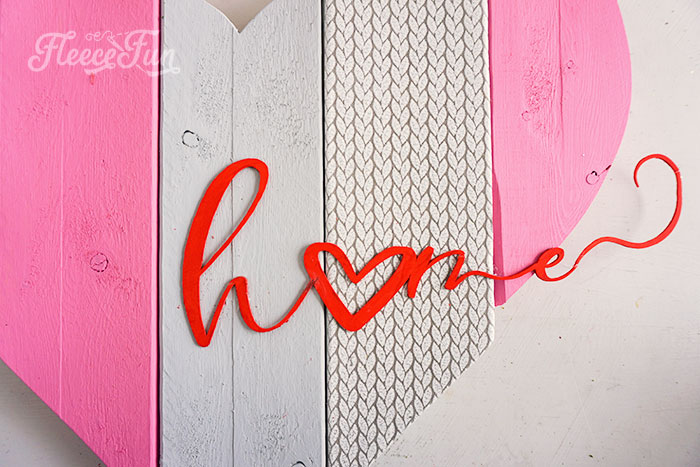
Turn the heart over and hot glue your heart lettering onto the heart, with the tail hanging off the end.
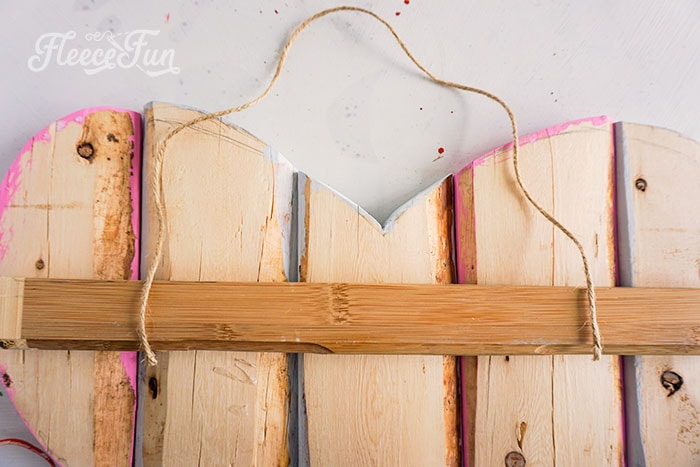
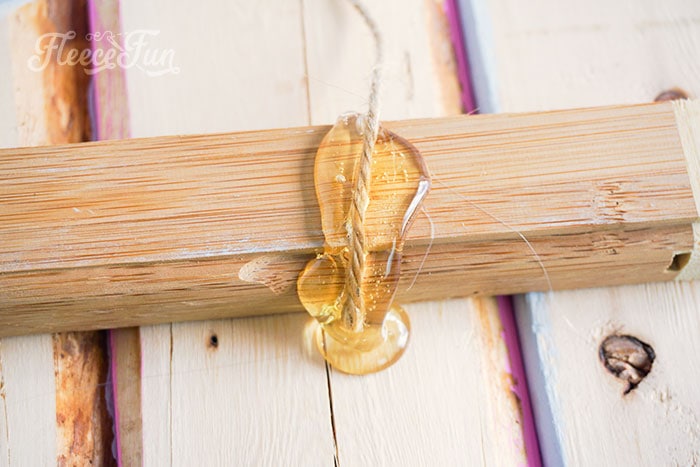
Hot glue a 12-18 inch length of twine to the 6th piece of wood on both ends to hang the heart on the wall.
Enjoy!
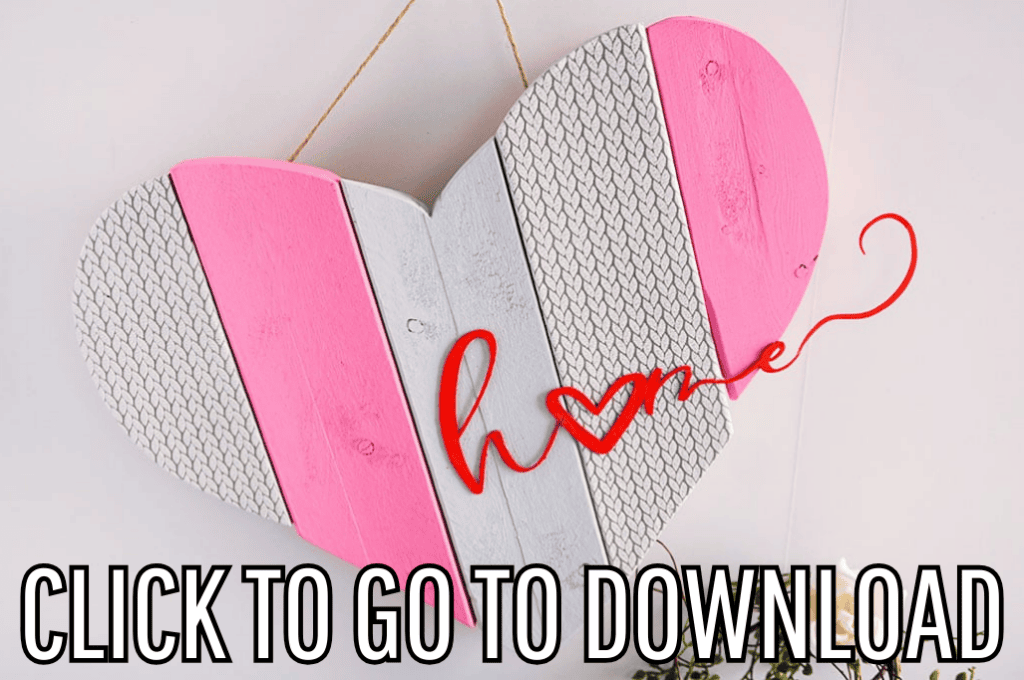
DOWNLOAD THE TEMPLATE FILE BELOW (FILL OUT THE FORM)
By downloading you are agreeing to pattern terms of use. Click the picture below and fill out the form to download the free SVG file.
See more DIY Valentine’s Day Crafts and Decorations
- Valentine Decoration Ideas Rustic Heart Branch DIY
- Valentine’s Day Table Decorations Heart Tree DIY
- How to Make Giant Love Letters Tutorial
- How to Make a Chenille Heart Pillow Tutorial
- Easy Valentine’s Day Fleece Pillow Slipcover Tutorial
More Free Valentine’s Day Tutorials!
- Free Valentine’s Day Printable Banner True Love
- Easy Free Valentine Sign Printable Tutorial
- Valentine Wreath DIY Sweater Look Love
- Felt Valentine Envelope DIY No Sew Free Template
- See all of Fleece Fun’s Valentine’s Day Tutorials here!
You might like these fun Cricut DIYs for every room!
- DIY Pineapple Décor
- Cute Craft Room Trash Can DIY
- DIY Felt Flower Art
- St. Patrick’s Day Upcycle Book Craft
- Patriotic Pinwheel Wreath DIY
- DIY Disney Savings Jar
- St. Patrick’s Day Ombre Shadow Box
- DIY Sewing Room Décor
More Cricut Projects!
- Cricut Maker Cover Tutorial
- 3 Last Minute Gifts with a Cricut Joy
- Acorn Template (Free JPEG & PDF)
- DIY Custom Sewing Labels
- See all of FleeceFun’s Cricut Tutorials!
Thank you. My daughter and granddaughter will have so much fun at family craft night. Linda