No Sew Art Smock DIY Tutorial (includes template)
This content contains affiliate links or sponsored elements, read our Disclosure Policy.
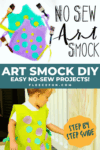
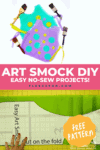


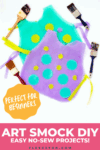

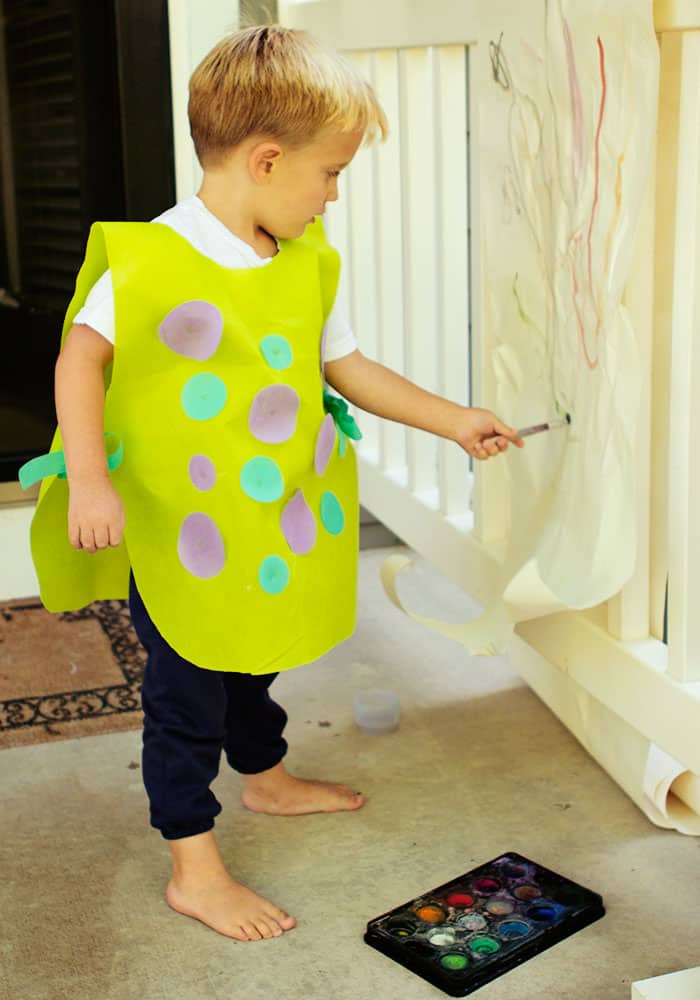
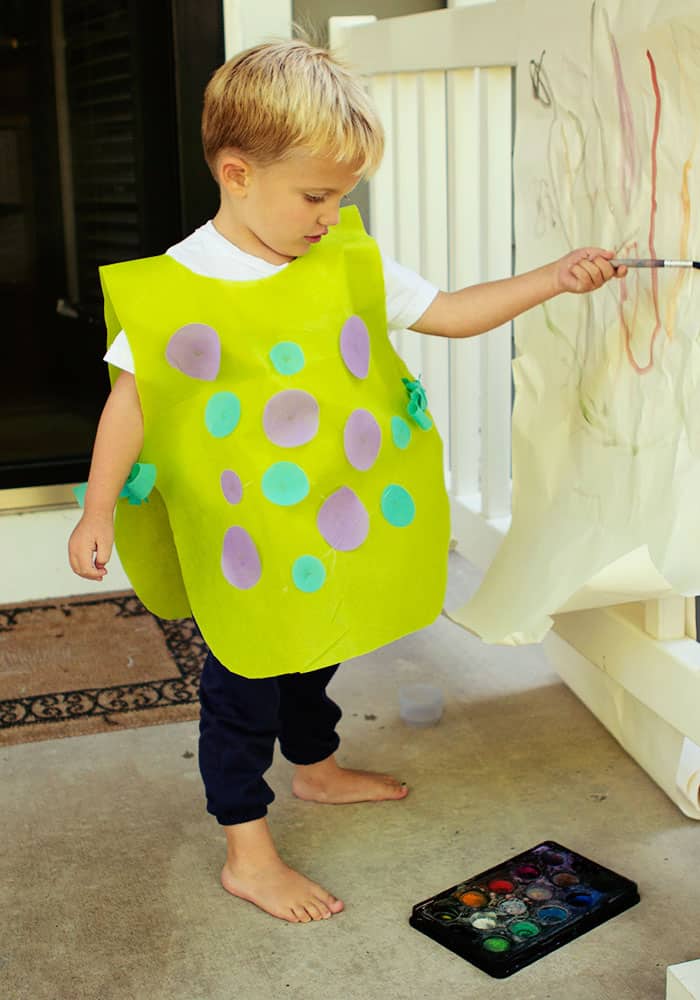
This easy No Sew Art Smock DIY is perfect for keeping you little artist’s clothes protected. It also is fun to decorate with different shapes and cut outs to make is unique and fun to wear. These smocks are perfect for parties where little ones are crafting and painting.

Hate The Ads?
This pattern with video and printable instructions is available to members of the Maker’s Studio. The Maker’s Studio is an ad free experience, no video ads, no forms, no zip files, just creating.

YOU WILL NEED:
- 1-3 yards Oly*Fun (I like to use 3 for color variety – the colors in this tutorial are Kiwi, Orchid and Sea Green.)
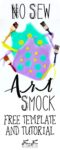
- Fleece Fun’s Free template (see below)
- Rotary Cutter, Ruler and Mat
- Low Temp Hot Glue Gun and Glue Sticks
- Die cutter or circular cutter
- Get the free template here.
No Sew Art Smock DIY Video Tutorial

No Sew Art Smock DIY Tutorial
Step 1 – Cut out pieces to the smock

You will need to assemble the pattern. For instructions on how to assemble the pattern click here.

With the fabric folded in half. Place the template on the fabric with the correct side on the fold.

Cut out the template.

Open the smock up to the neck hole is at the top.
Step 2 – Cut the ties and decorations

Cut 4 strips that are 1 inch wide by 10 inches long.

Then, cut 2 strips that are 1/2 inch by 10 inches long

Cut out circles or other shapes to decorate the smock.
Step 3 – Bring the no sew art smock all together

Cut a slit that is about 4 inches long at the back of the neck.

Glue on the two 1/2 inch ties to either side of the top of the slit.

Just below the arm curve glue the 1 inch ties to either side of the smock to tie the sides.
Quick Tip
When using the hot glue gun only a little glue is necessary
Step 4 – Decorate the no sew art smock

Adhere cut outs to the front of the smock using the glue gun to decorate.
Download the no sew art smock diy Pattern Below:
You can get a free copy of Adobe reader here. By downloading you are agreeing to pattern terms of use. Click the picture below and fill out the form to download free pattern .pdf!
More No Sew Projects:
- No Sew Blanket Tutorial (with flannel!)
- Make a No Sew Fleece Tie Blanket (better method with templates!)
- How to use the Tie Blanket Ruler!
- How to Make a No Sew Tie Quilt
- Printable Pinwheels for Spring!
- No Sew Hobo purse
- Satin Flower hair clip
- No Sew Fleece Flower
- Ragged Tassels ( Cute for decorating)
- The Lucet Scarf
- No sew baby car seat Canopy
- No sew cape
More Oly Fun Projects:
- Puppet/ Play Theater
- Play Castle perfect for toddlers!
- Easy Book Bag Tutorial
- Flag Football Belt
- No Sew Knight Costume
- Butterfly Costume Pattern & Tutorial
- You can see all of my Oly Fun Projects here