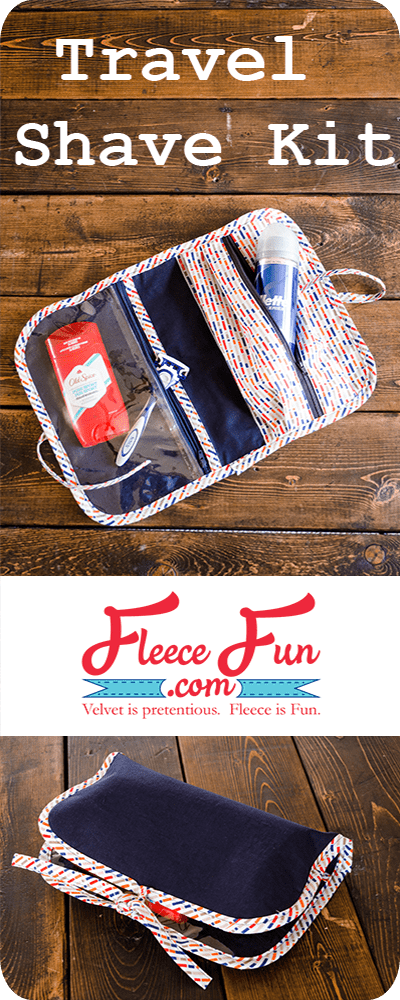
Travel Shaving Kit Free pattern
This content contains affiliate links or sponsored elements, read our Disclosure Policy.
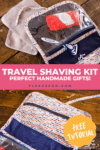

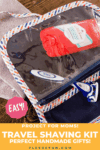
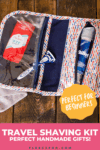
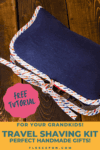
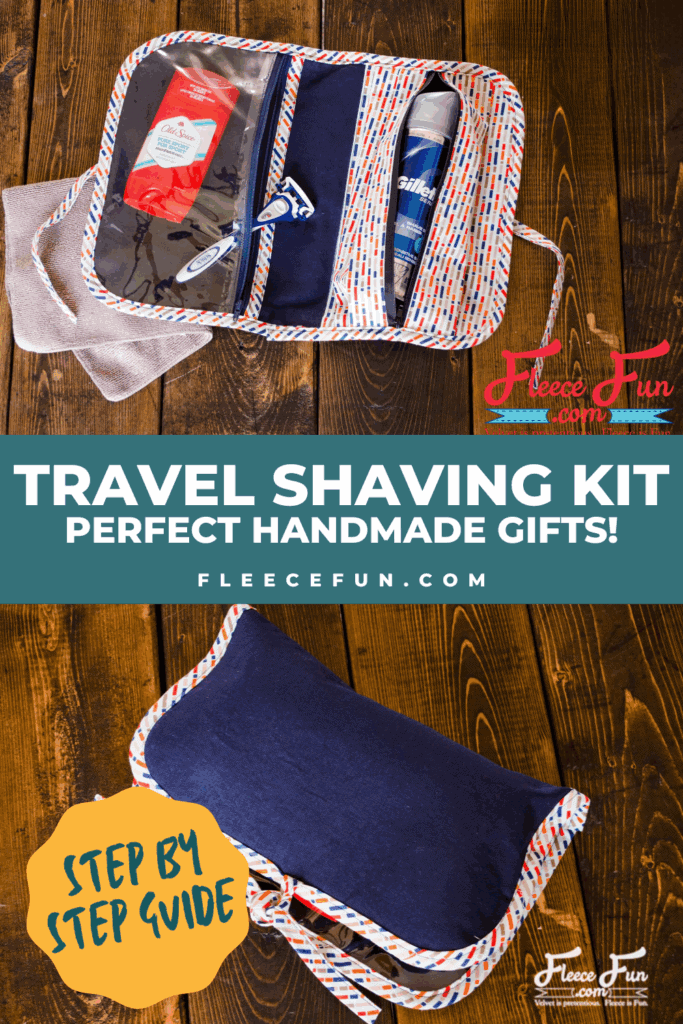
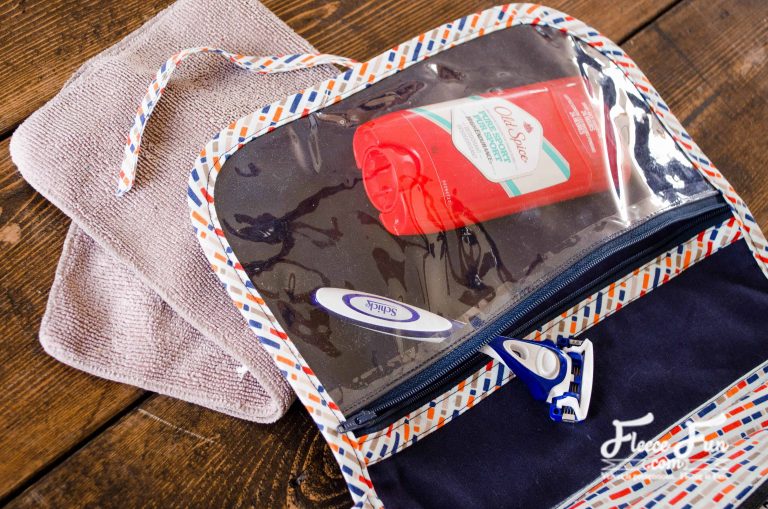
This travel shaving kit free pattern is perfect handmade gift for that special fella in your life! With handy compartments and a sleek design you can easily personalize it with fabric that reflects his personality.
YOU WILL NEED:
- 1/2 yard light to midweight cotton fabric for the outside and lining
- 1/3 yard medium weight fusible interfacing
- 1 yard quilting cotton or other lightweight cotton fabric for the inside pocket and the bias binding if you are making your own
- 2 – 12″ zippers
- clear vinyl
- 2 1/2 yards wide double fold binding (1/2″ folded) – prepackaged or you can make your own
- Sewing Essentials (pins, scissors, etc.)
- Sewing Machine
Travel Shaving Kit STEP-BY-STEP TUTORIAL:
Step 1 – Cut and Prepare Your Fabric Pieces
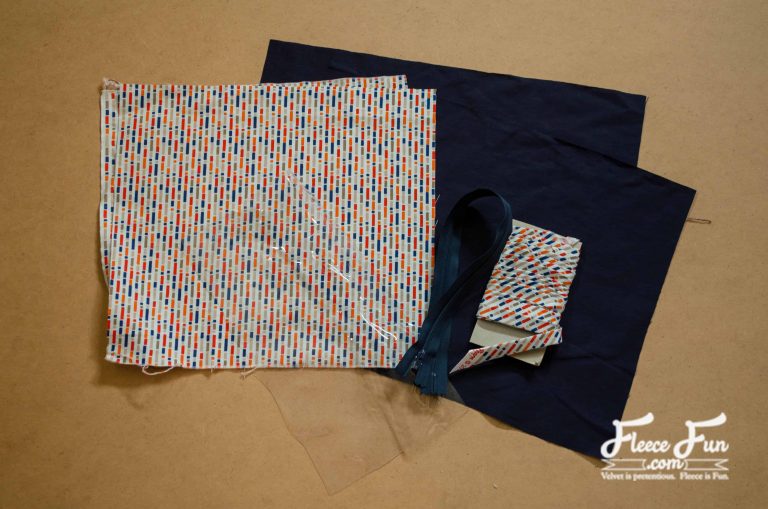
Cut out your pieces (all measurements are length x width).
solid fabric: 2 – 15″ x 11″
contrast fabric: 2 – 12″ x 11″
vinyl: 1 – 6″ x 11″
interfacing: 1 – 15″ x 11″
fuse interfacing to the wrong side of the outer fabric.
Step 2 – Attach Bias Tape and Vinyl to Zipper
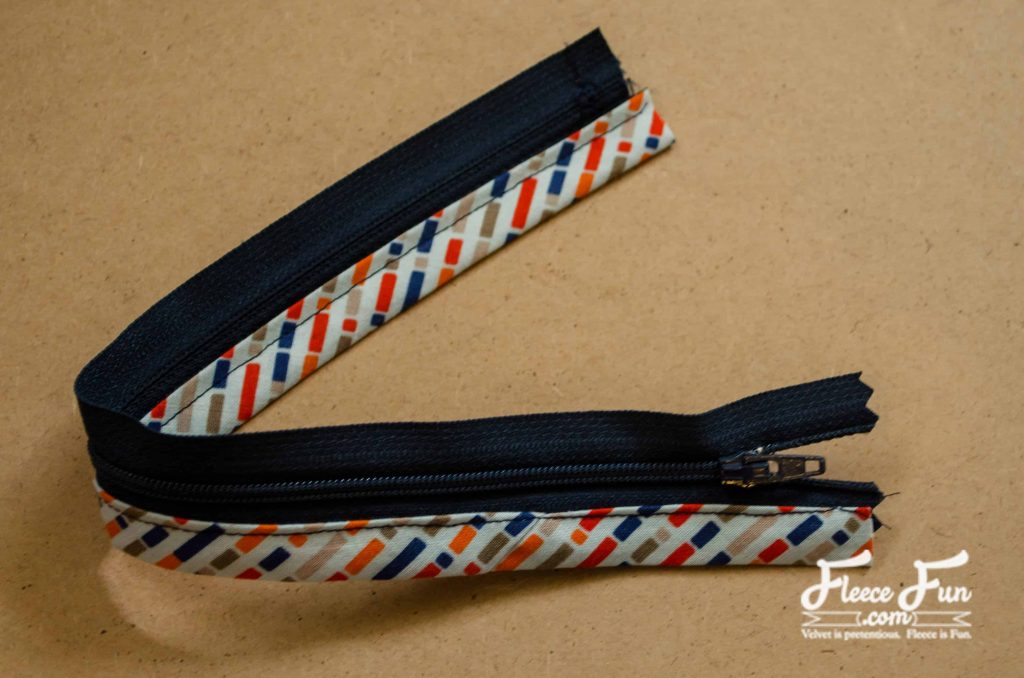
Sew bias tape to the right side of the zipper tape.
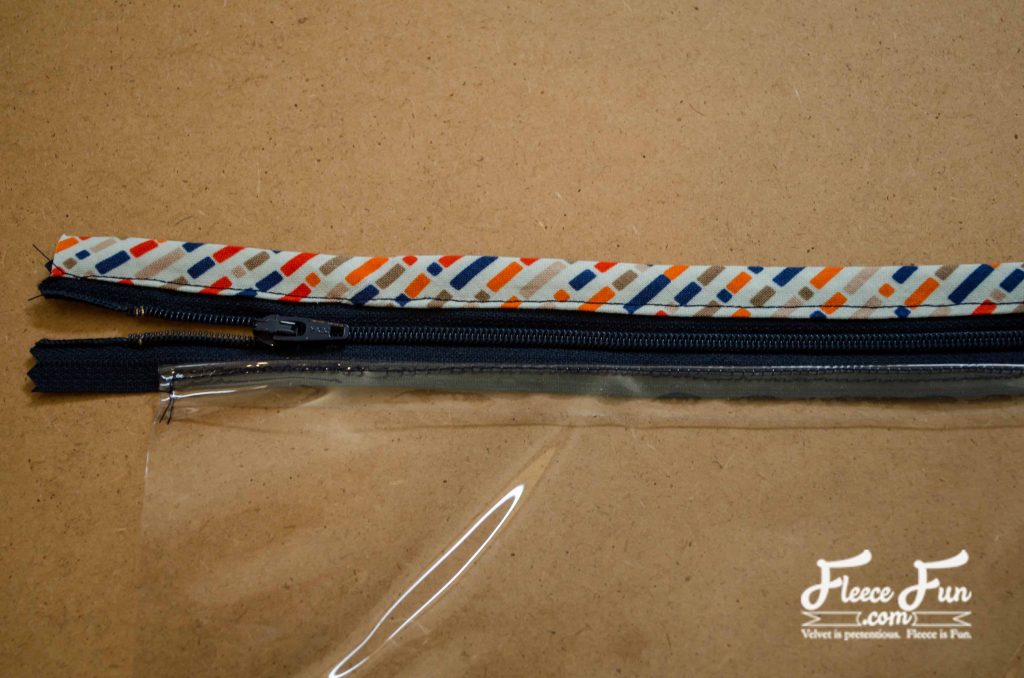
Sew the long edge of the vinyl to the left side, right side of the zipper facing the vinyl. Topstitch. This will make the vinyl pocket for the travel shaving kit.
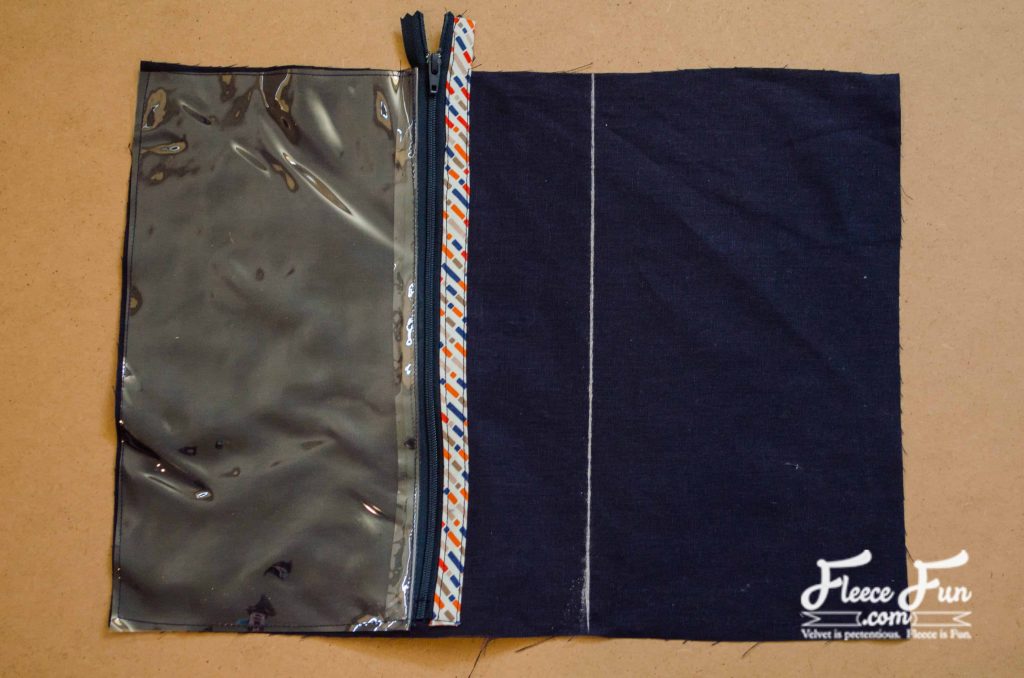
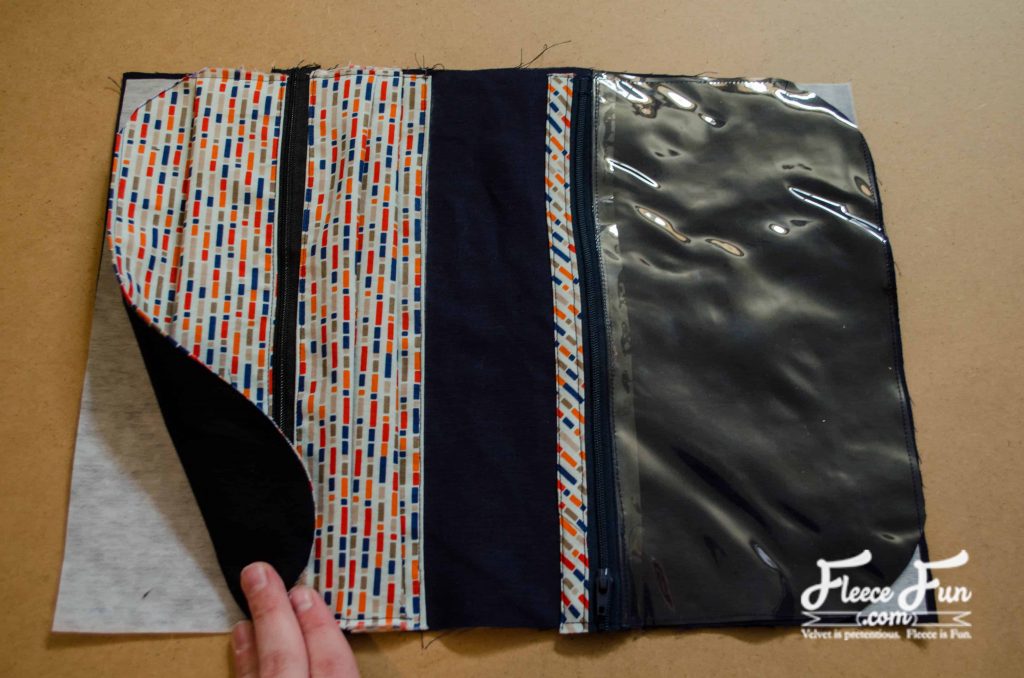
Step 3 – Secure the Vinyl Pocket to the Lining

Pin the vinyl with the attached zipper to the lining with the raw edges matching. Sew along the outer edge of the bias tape to secure and baste the other 3 sides in place.
Step 4 – Fold and Finish the Pocket Pieces
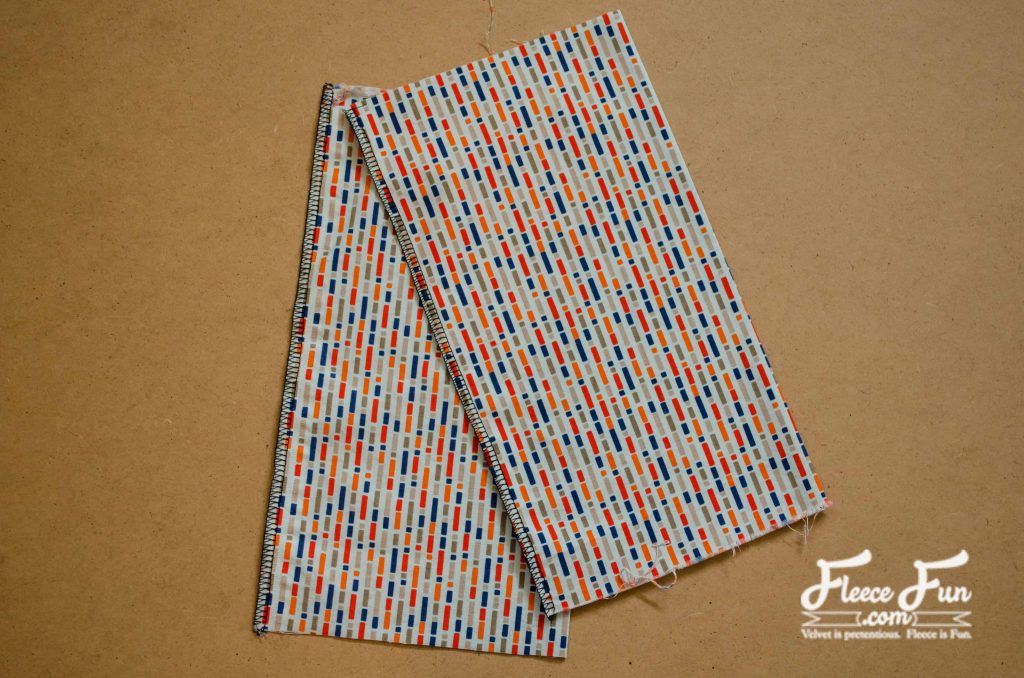
Fold the two pocket piece in half, wrong sides together, widthwise. Finish the vertical edge opposite the fold.
Step 5 – Sew Pockets to the Zipper
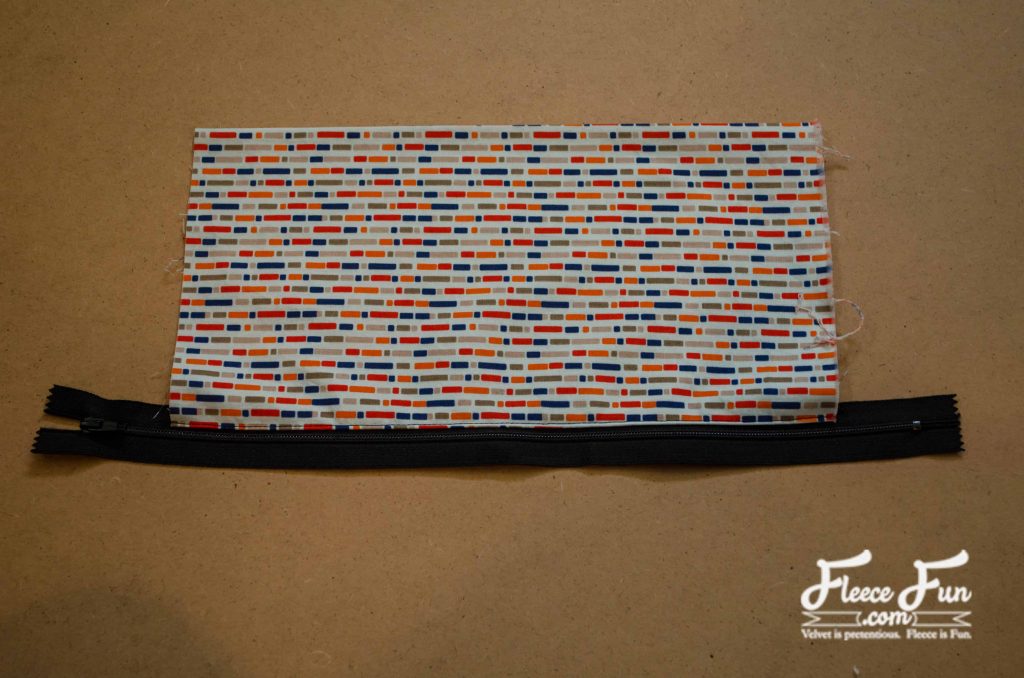
Place the zipper along the edge you just finished, right sides facing. Stitch zipper in place using a zipper foot and topstitch. Repeat with the second pocket piece.
Step 6 – Mark Placement for the Zipper Pocket
With chalk or a disappearing marker, draw a line 6″ away from the raw edge opposite the vinyl pocket. Next step is to attach the zipper pocket to the travel shaving kit.
Step 7 – Attach the TRAVEL KIT’S Zipper Pocket
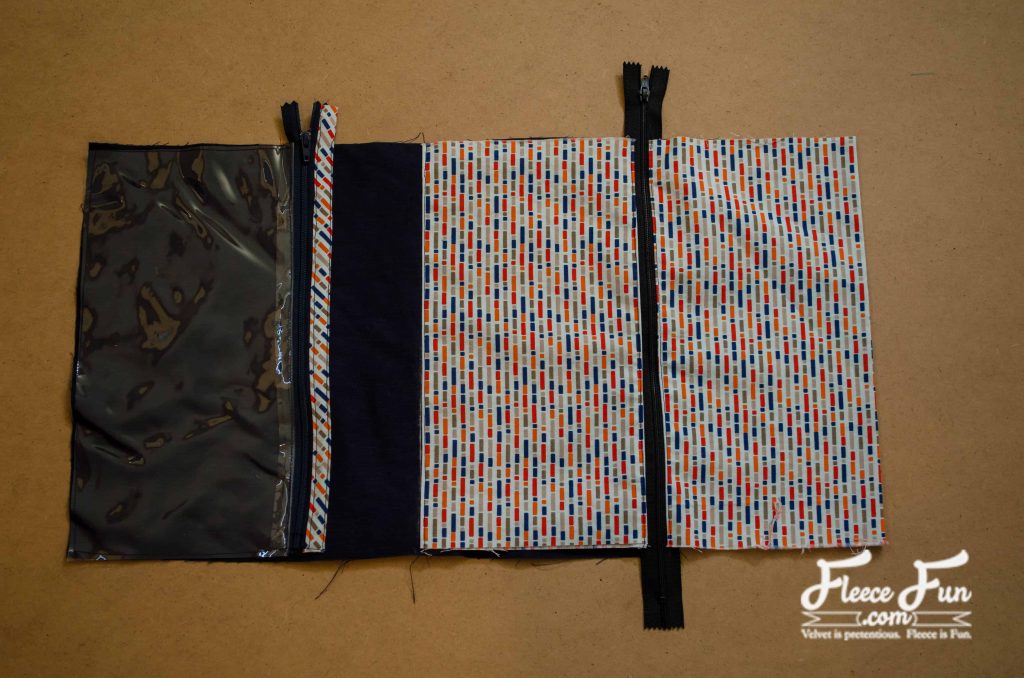
Place the edge of the zipper pocket along this line and stitch. The pocket will extend beyond the lining.
Step 8 – Create Pleats for a Roomy Pocket
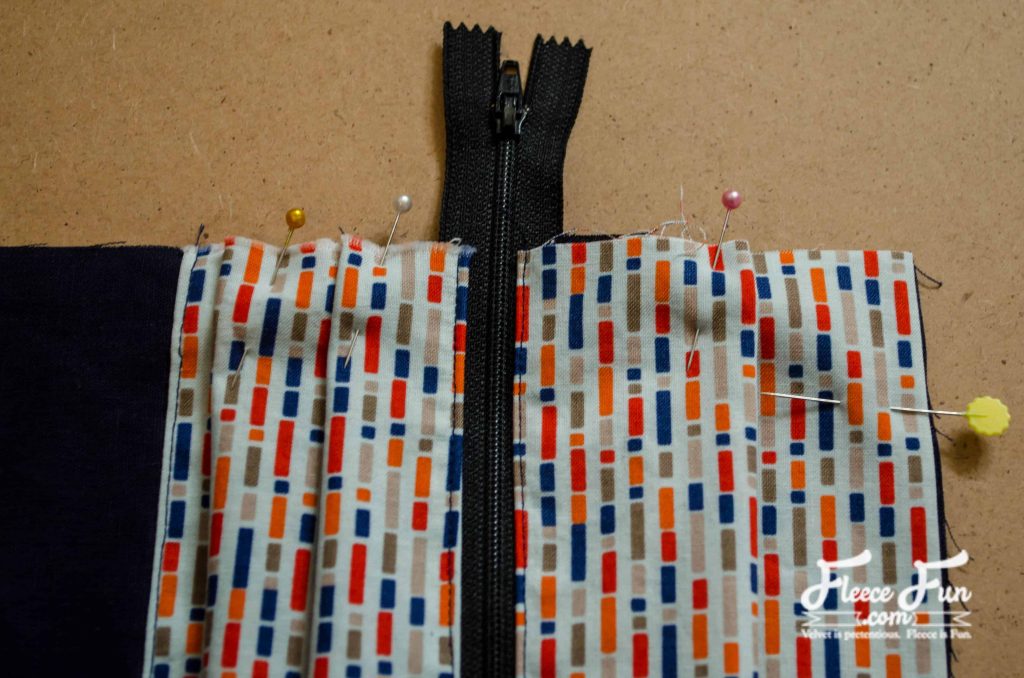
Fold 2-3 pleats on each side of the zipper so that the other fold edge matches up with the lining. Baste them in place.
Step 9 – Round Off the Corners OF THE shaving kit
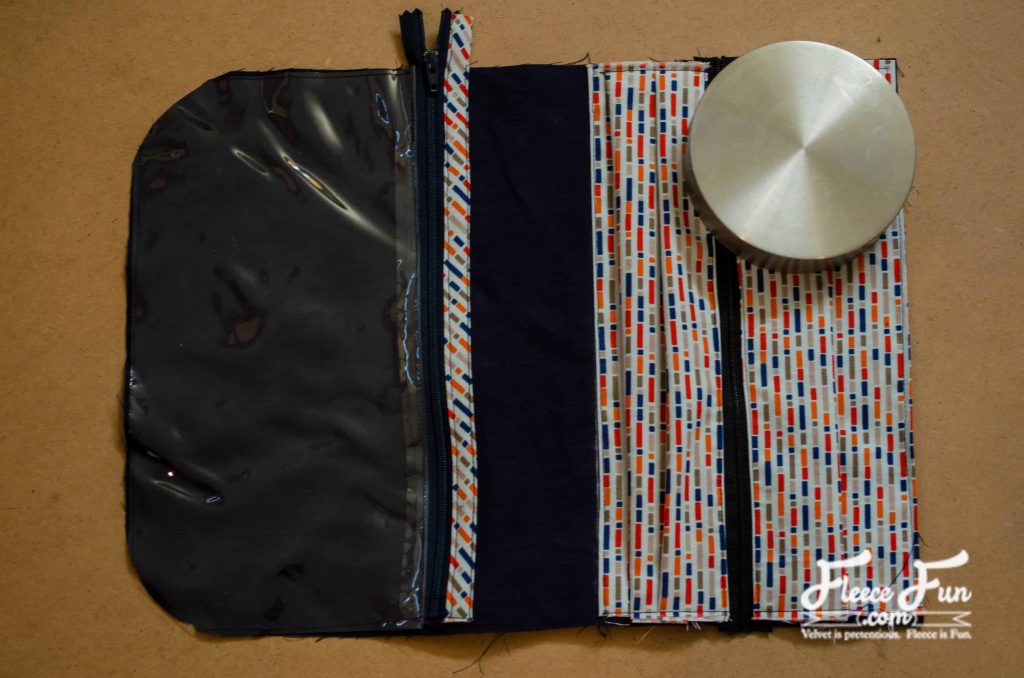
Trace around a small round object to round off the 4 corners and trim.
Step 10 – Layer and Trim the Outer Fabric
Place the lining piece on top of the outer, wrong sides together. Use the lining as a template to trim the corners of the outer.
Step 11 – Add the Ties
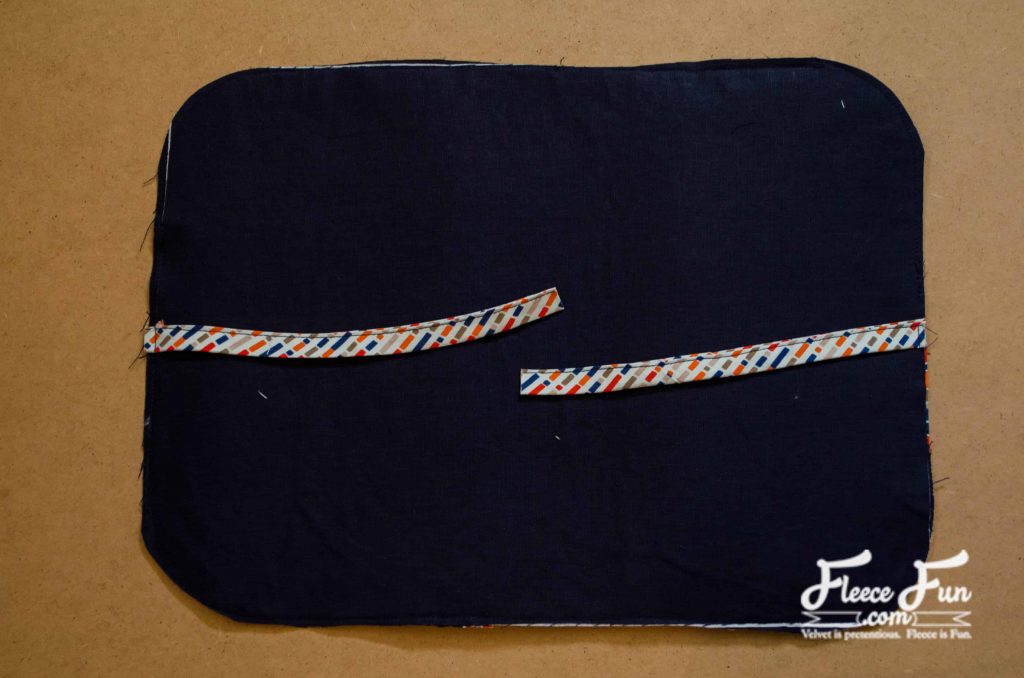
Cut a 12″ piece of bias binding and sew the edge together to form a tie. Cut into 2 equal pieces, and baste to the middle of the short edges of the outer fabric.
Step 12 – Bind the Edges to Finish THE travel shaving kit
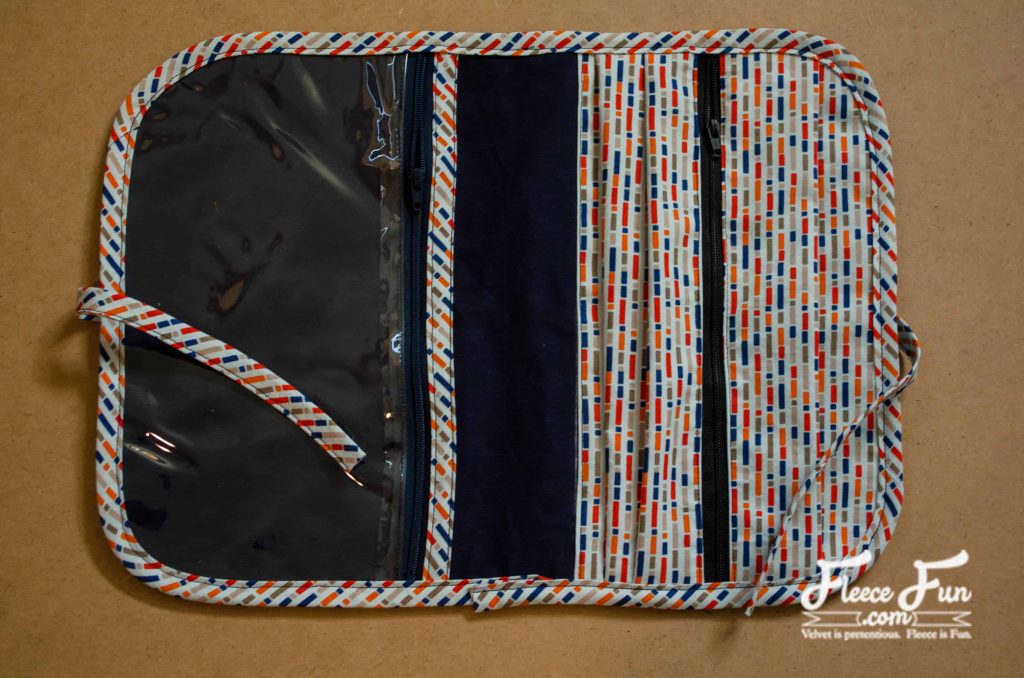
Finish the outer edge with bias binding.
LOVE THIS travel shaving kit TUTORIAL? SEE MORE BAG Patterns:
- All of the Free Bag and Purse Patterns available
- How to Make a Binder Pouch Tutorial
- Pokeball Toddler Backpack
- Pumpkin Tote Bag
- No Sew Hobo
- The Blogger Bag
- Leather Tote Bag
- Quick Sew Hobo
- Wine Bottle Gift Bag
- The Easy Book Bag
- Diaper Bag Tutorial
- The Man Satchel
- The Tablet Cover
- Quilted Leather Clutch
- Little Purse Tutorial
- Child Sheep Purse Tutorial
- Drawstring Backpack Tutorial
- Sleeping Bag Pack