How to Make a Binder Pouch Tutorial
This content contains affiliate links or sponsored elements, read our Disclosure Policy.


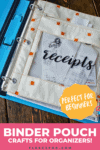
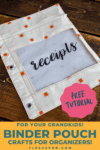
Perfect for using up scraps of cotton, not mention having some of that beautiful fabric in your stash brighten up work, this how to make a binder pouch tutorial sews up quickly! Great for Organizing and adding a touch of homemade to your binder.

I need to keep all my receipts for my small business, but am naturally not a very organized person and usually have receipts stashed all over my sewing room, computer desk, and purse.
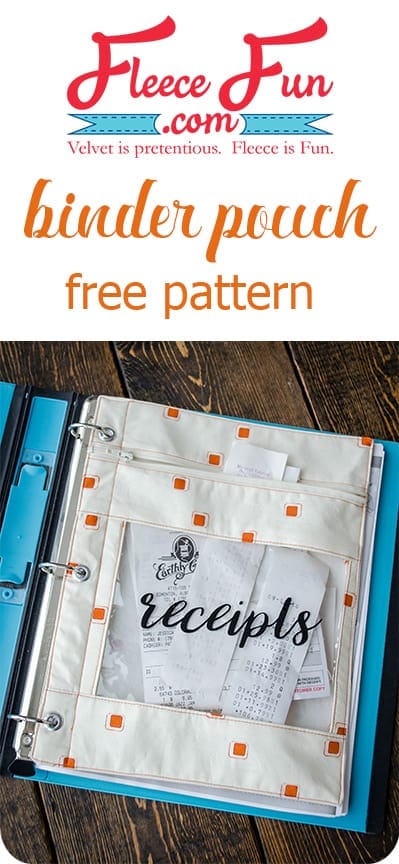
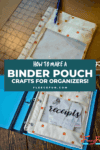
This year, to make things easier once tax time rolls around, I designed a pouch that snaps into my business binder to keep them all collected in one place.
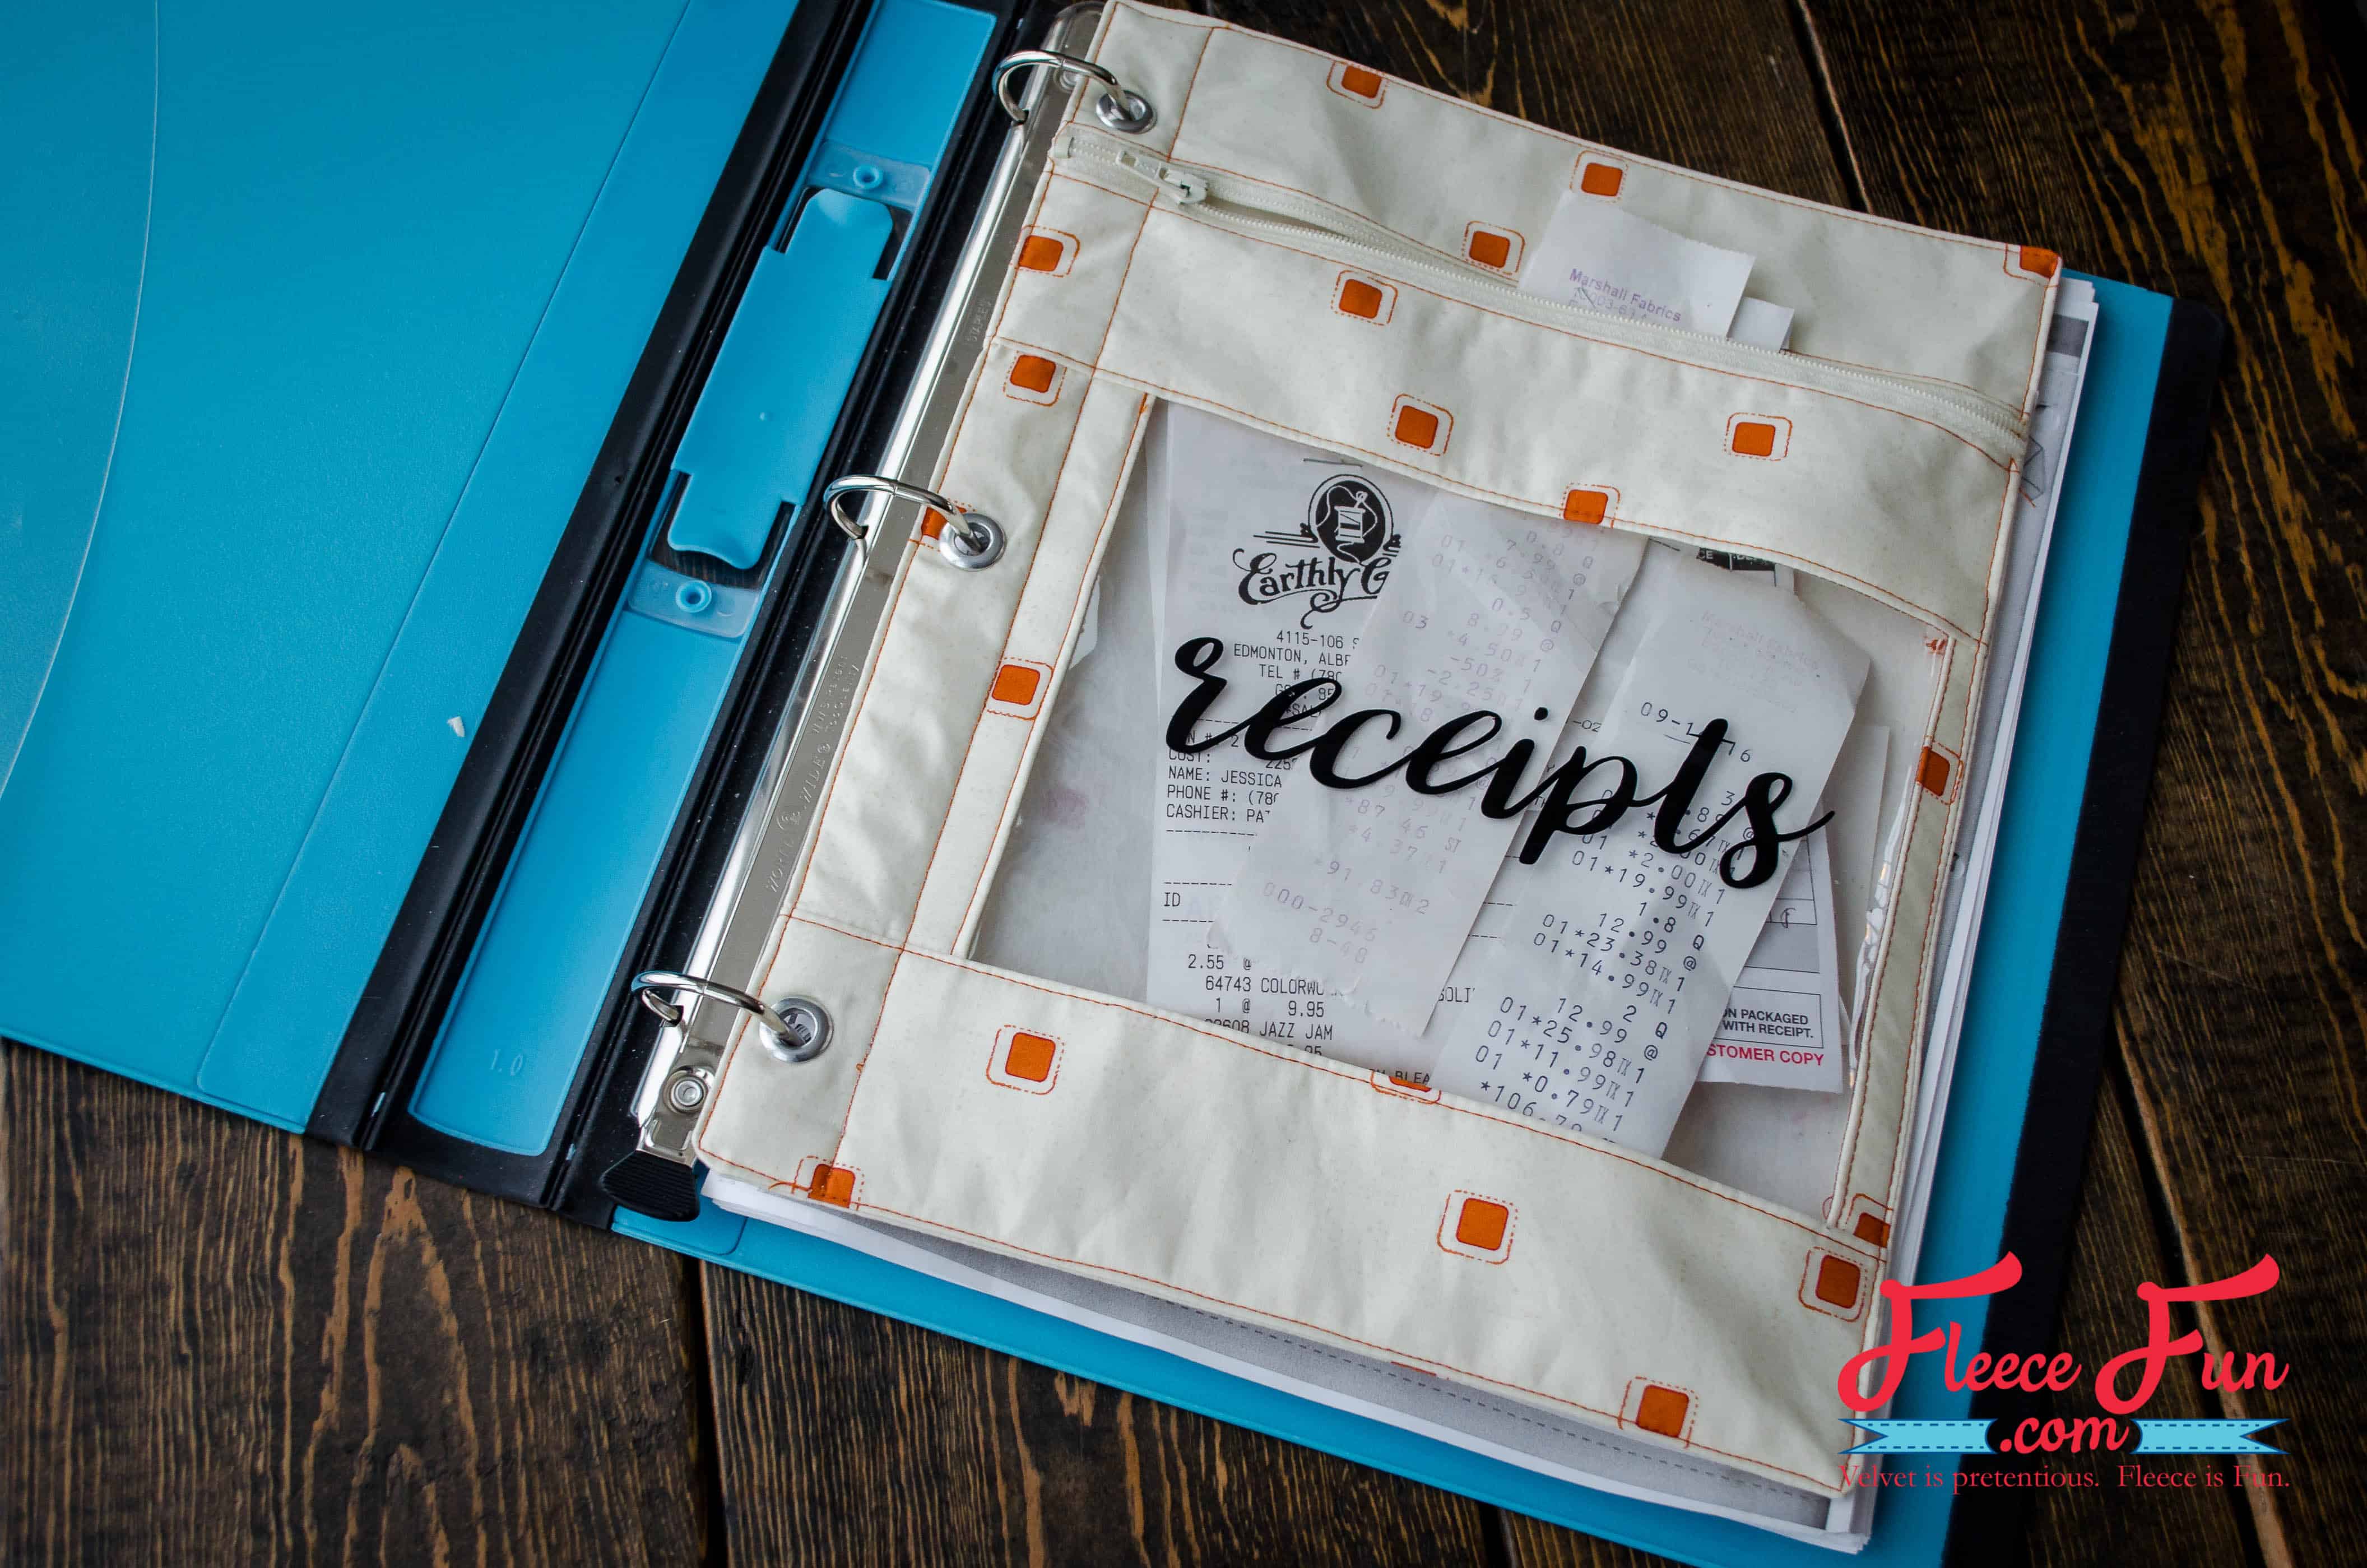
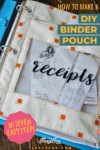
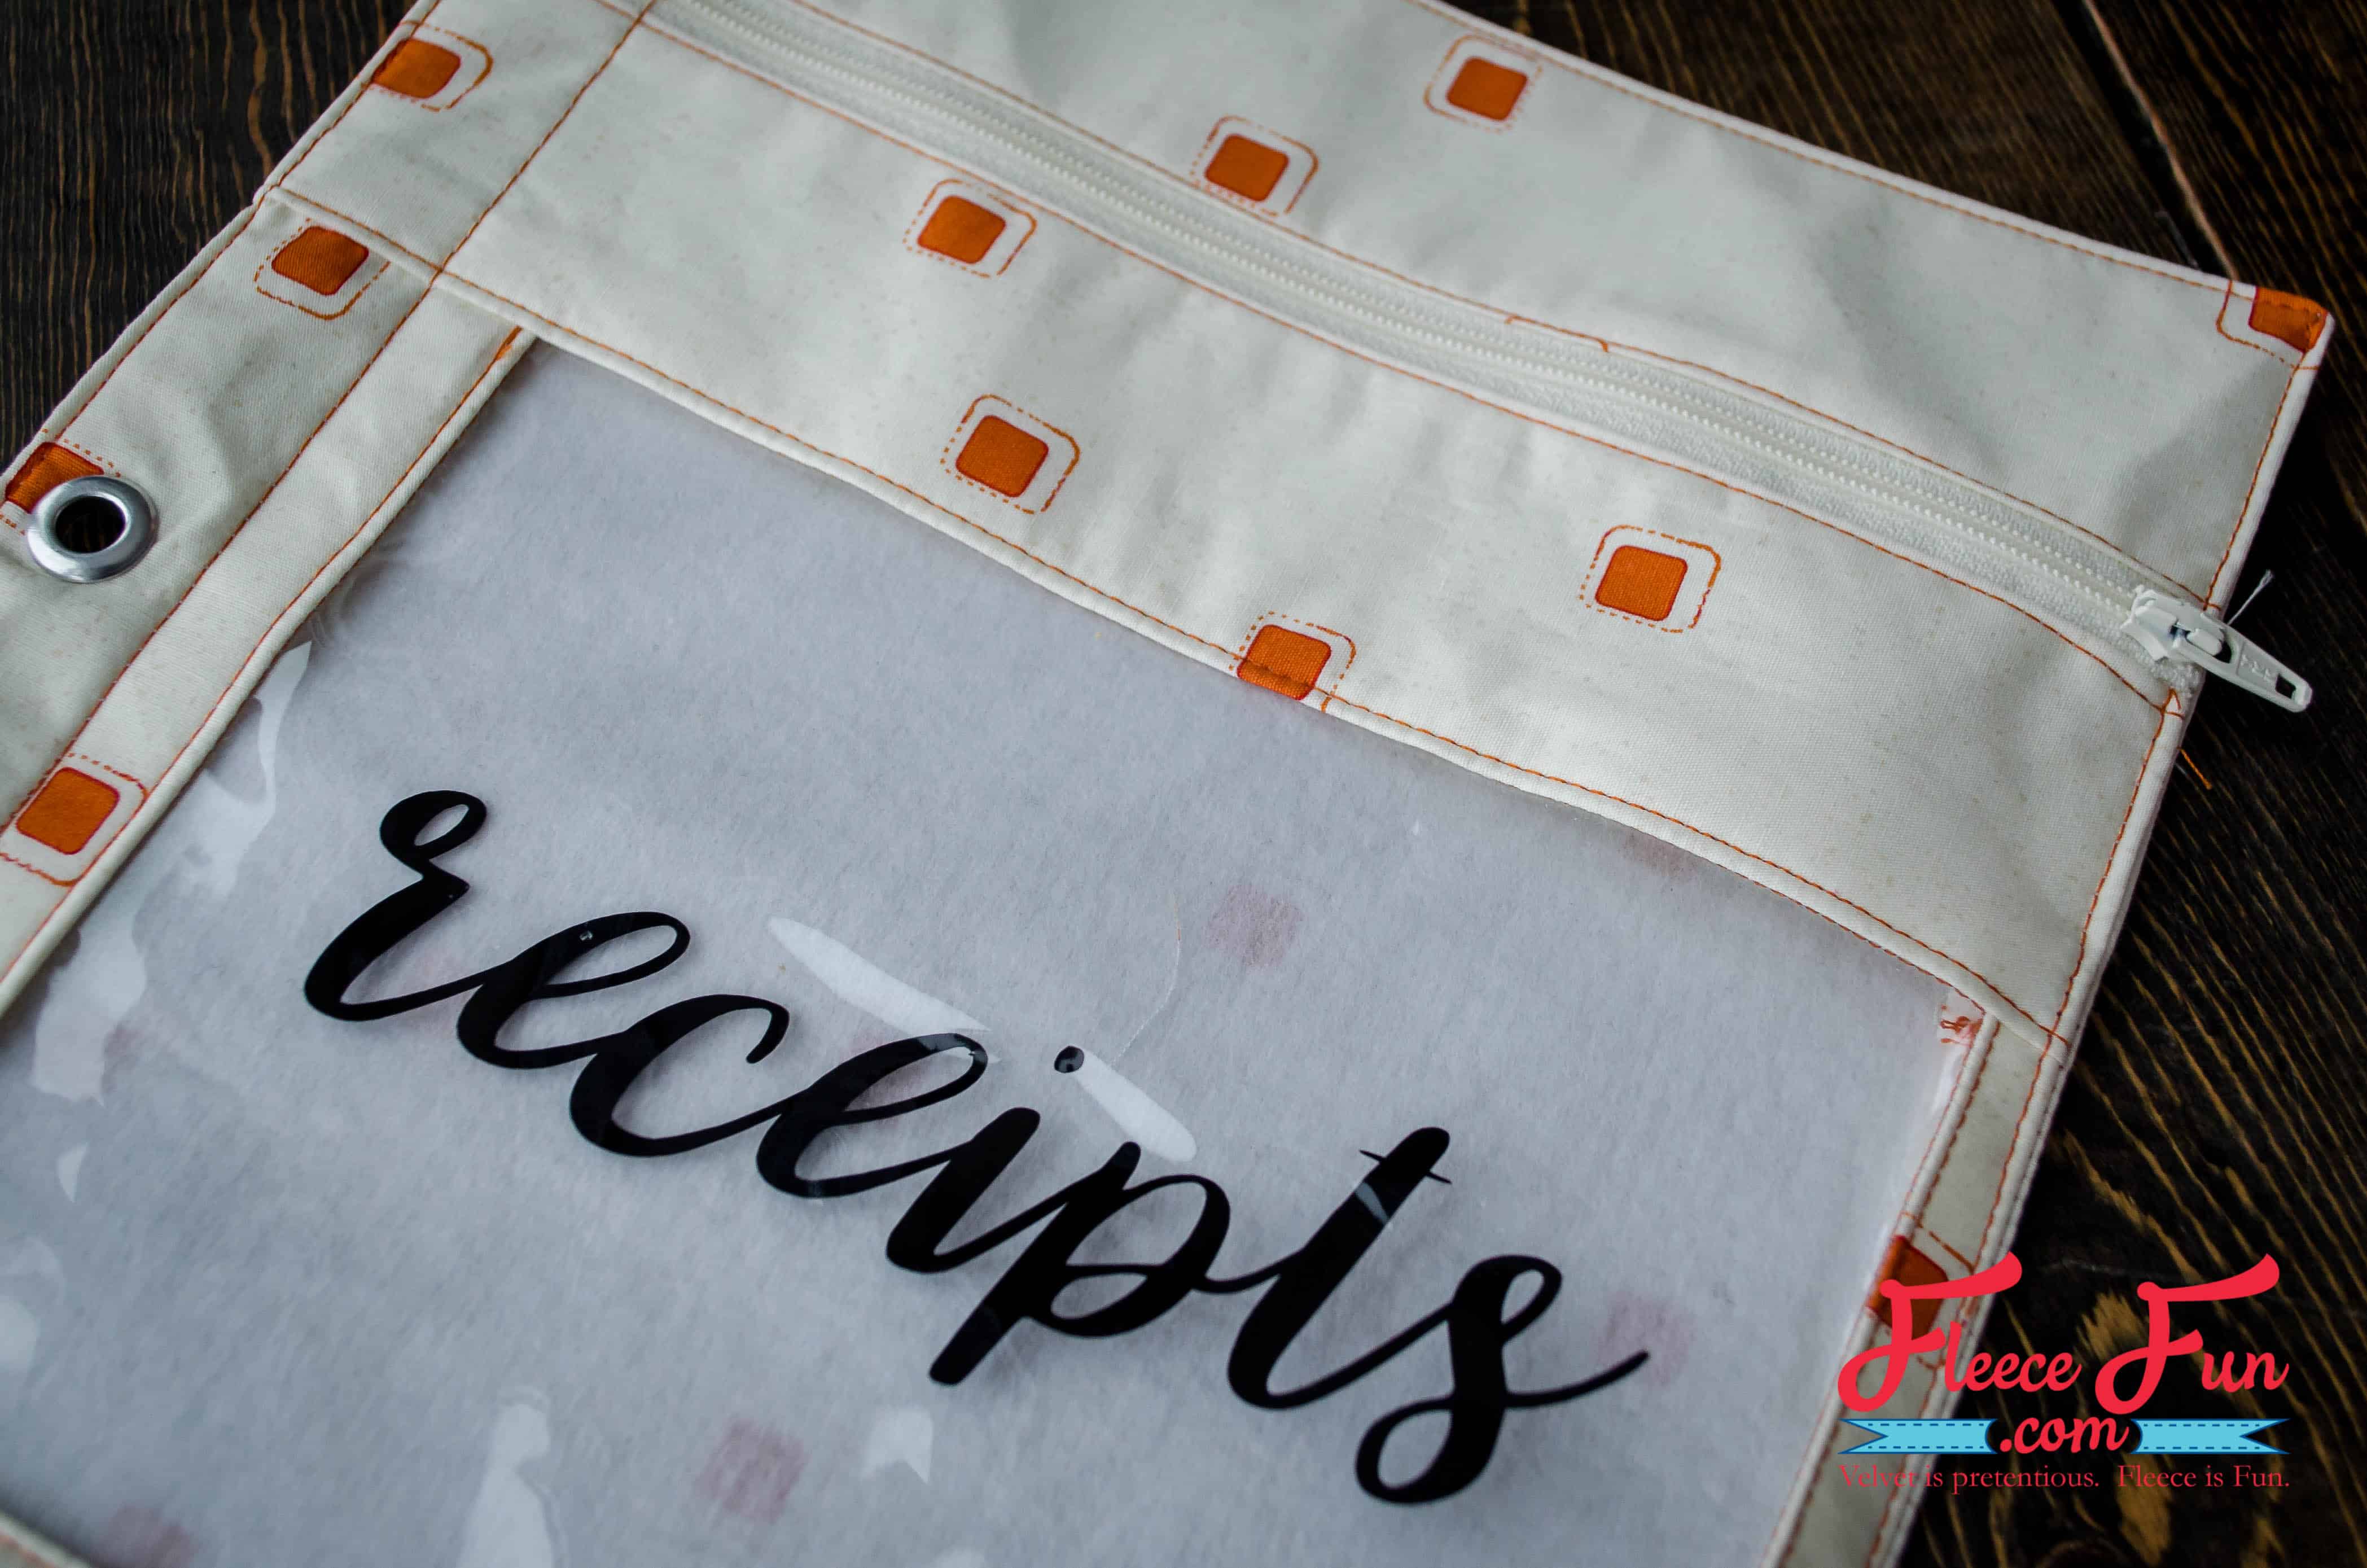
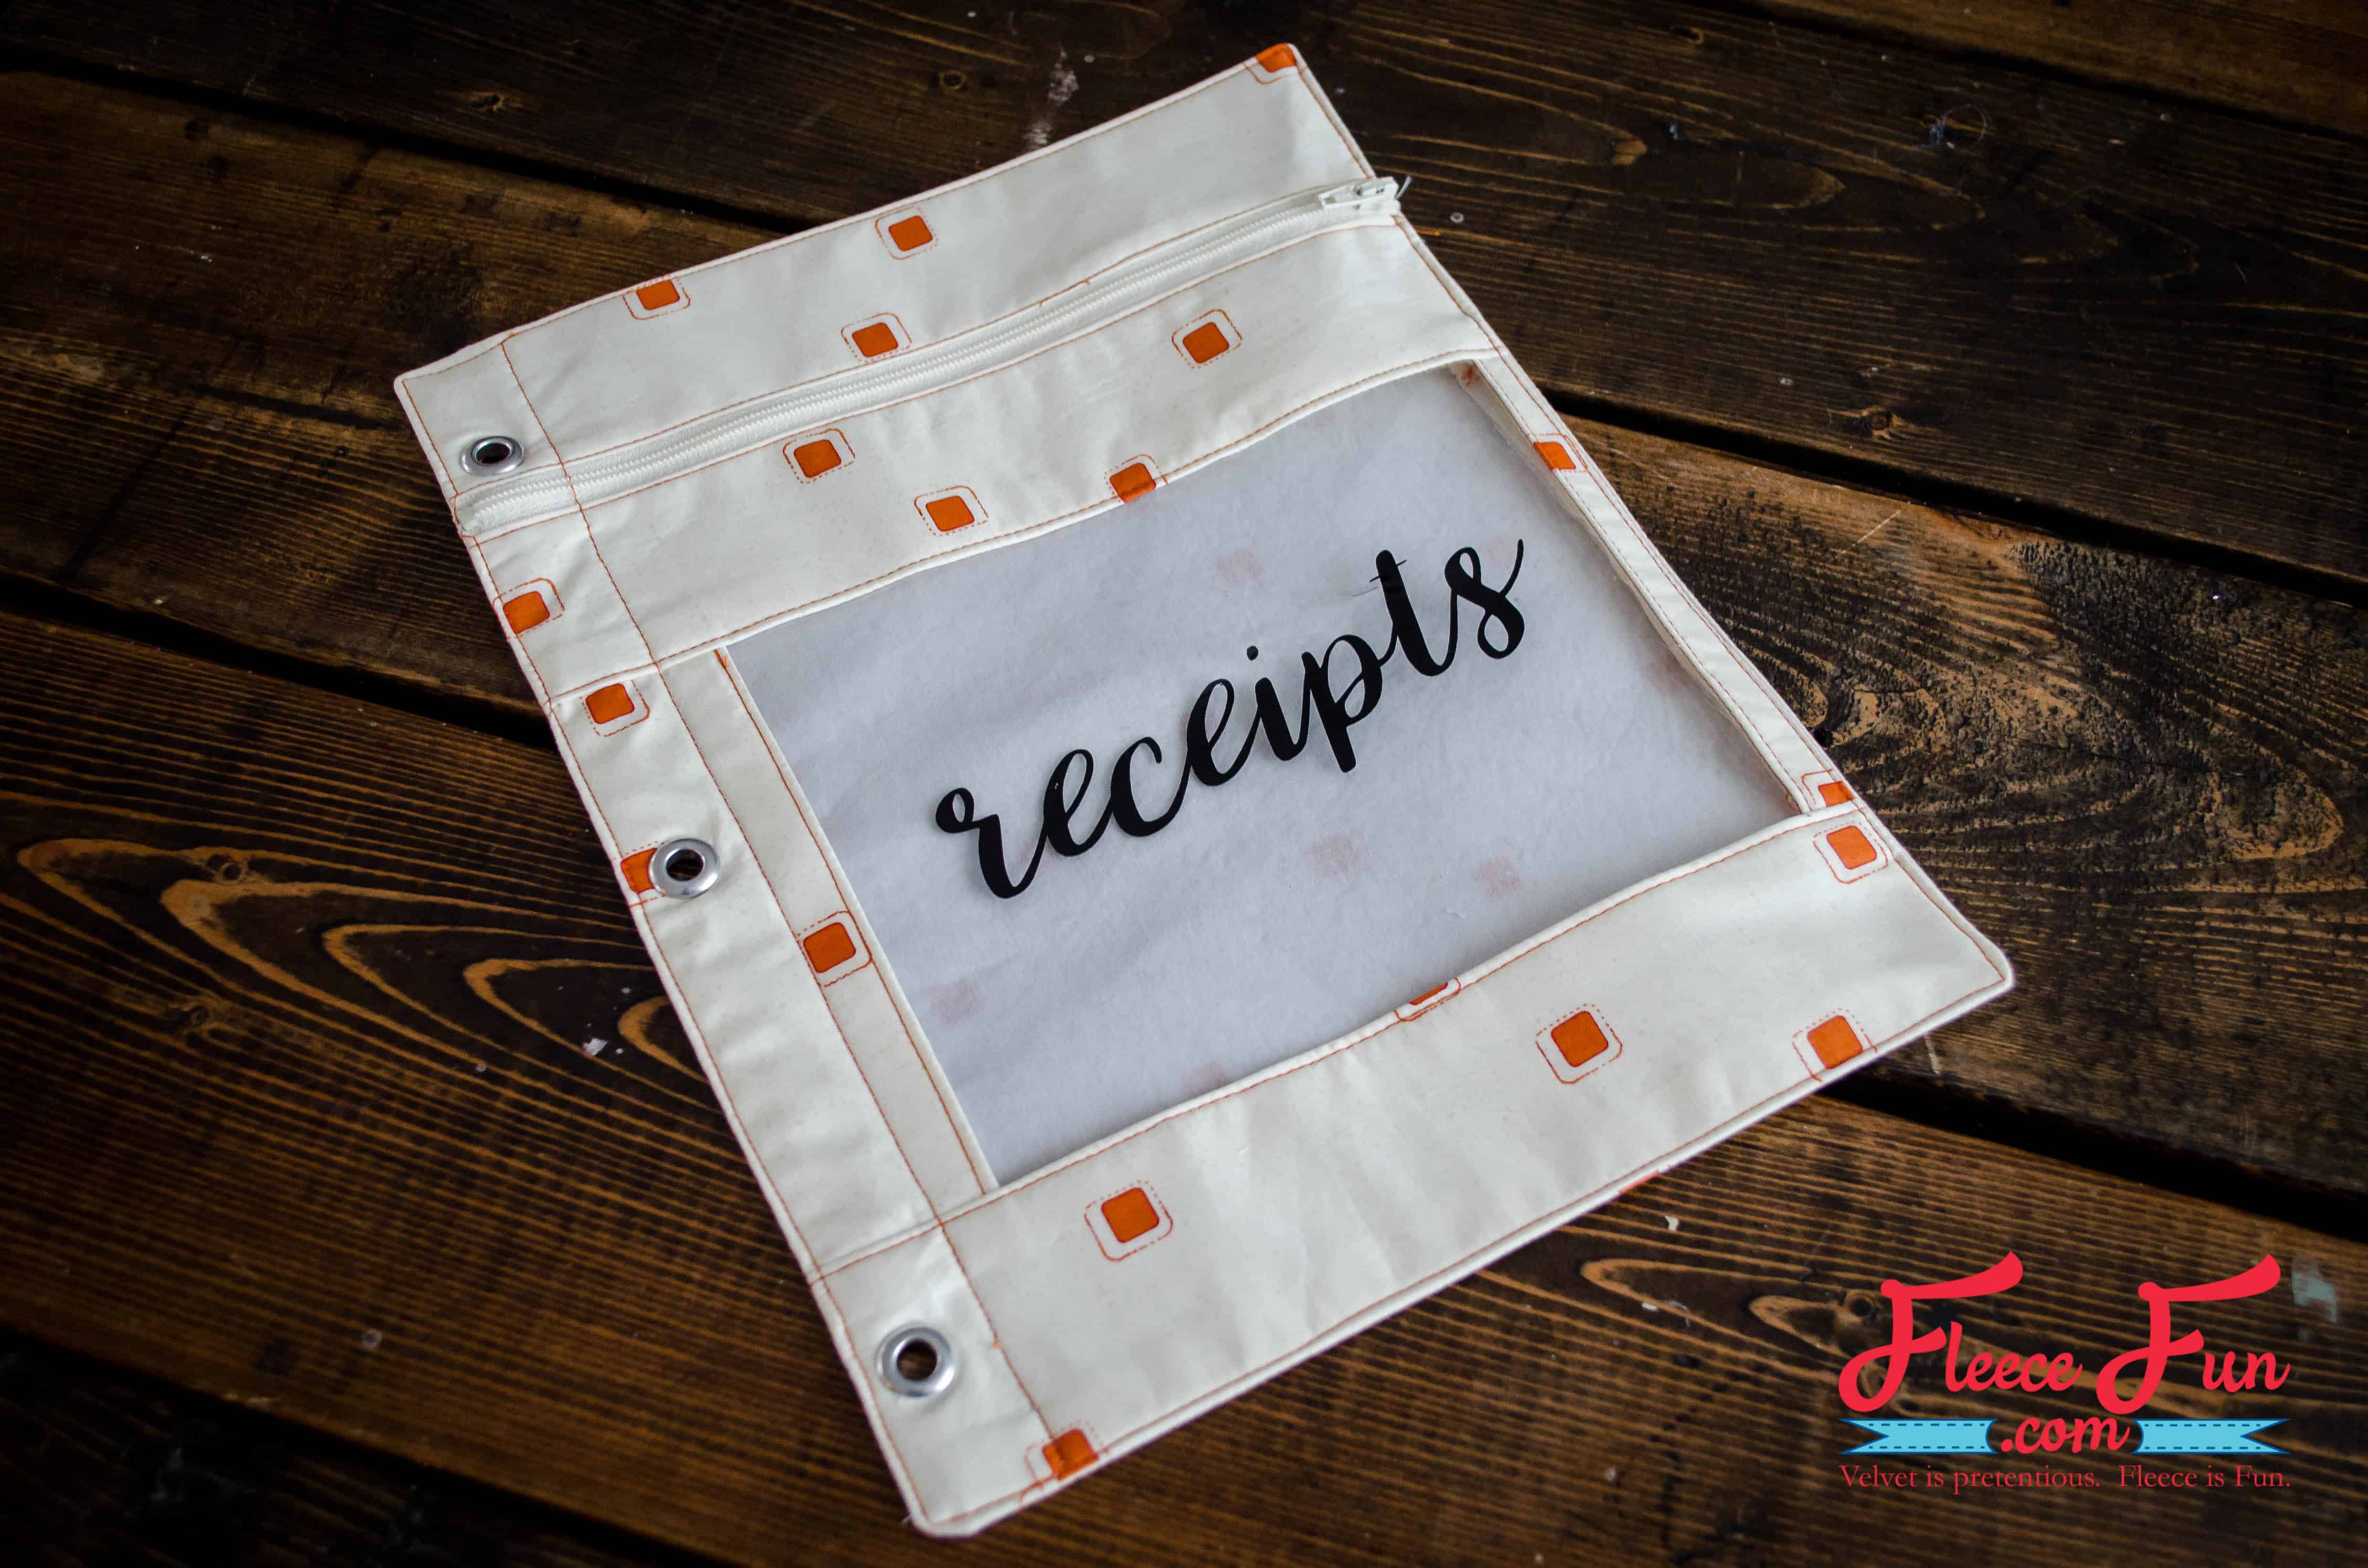
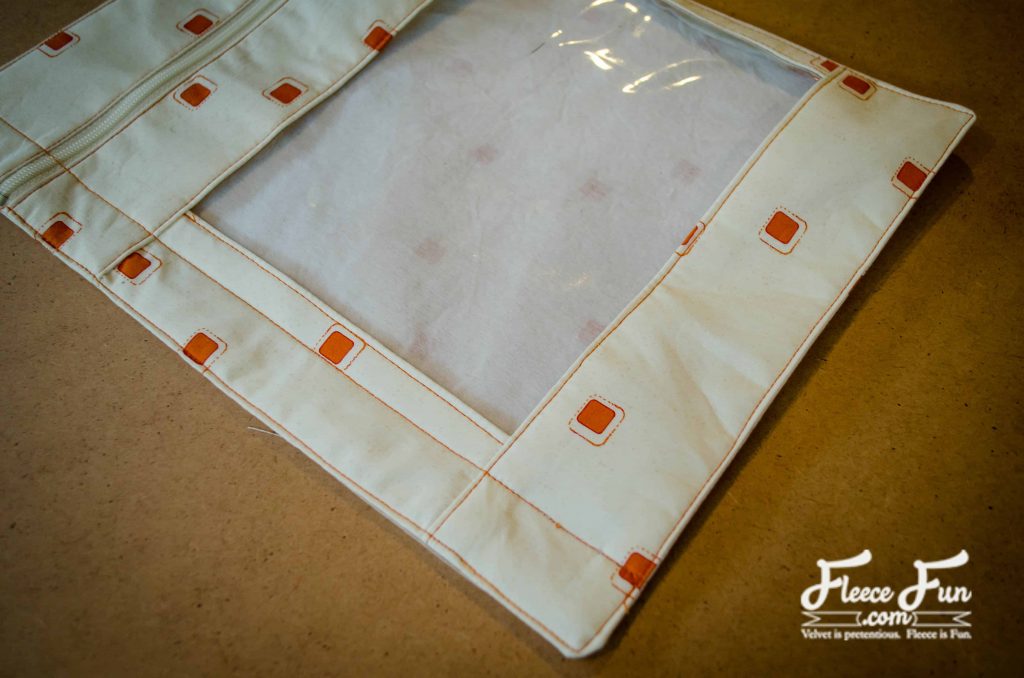
The zipper keeps everything secure and the vinyl window lets me know at a glance what it is inside. I used grommets to create holes for the binder rings, but you can also sew buttonholes if you’d rather not mess with grommets.
I’ve designed the pouch to measure 8 1/2 x 11″ for a standard size binder, but it can easily be customized to fit in a day planner as well. The word on the vinyl window is done with adhesive vinyl cut with my Silhouette, but you can leave it off or write on the vinyl with a paint marker.
These zippered binder pouches can be just as useful at school as in the home office. My daughters have requested ones to hold their pencils, erasers, and other small school supplies.
YOU WILL NEED:
I salvaged Clear Vinyl from a bag that a duvet set came in, but you can also purchase clear vinyl in various thicknesses from most fabric stores.
- 1/3 yard quilting cotton
- 1/3 yard medium weight interfacing
- 9″ zipper
- Small piece of clear vinyl
- 3 sets of grommets (or you can sew buttonholes instead)
- Optional: adhesive vinyl lettering
- Sewing Essentials (pins, thread, scissors)

How to Make a Binder Pouch Tutorial:
Step 1 – cut the following
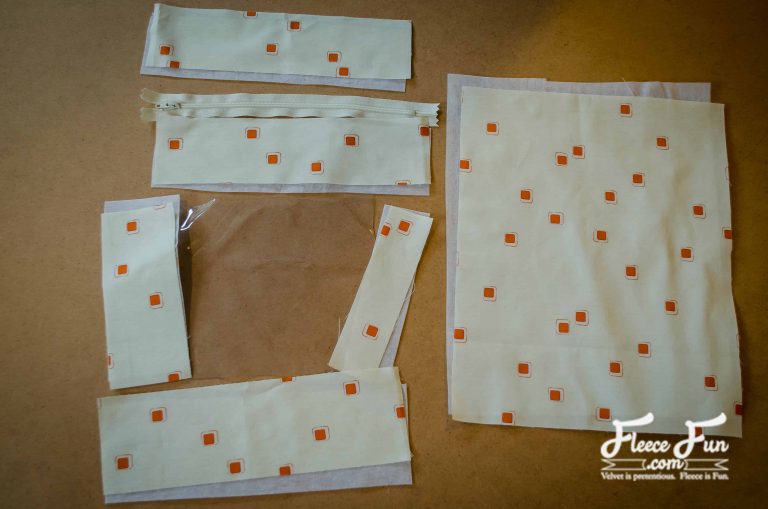
vinyl – 6 1/2″ x 7 1/2″
zipper pieces (X 2) – 2 1/2″ x 9 1/2″
left side – 6″ x 2 1/2″
right side – 6″ x 1 1/2″
bottom – 3″ x 9 1/2″
back – 9 1/2″ x 12″
Step 2 – Begin to Sew the binder pouch
Seam allowance is 1/2″.
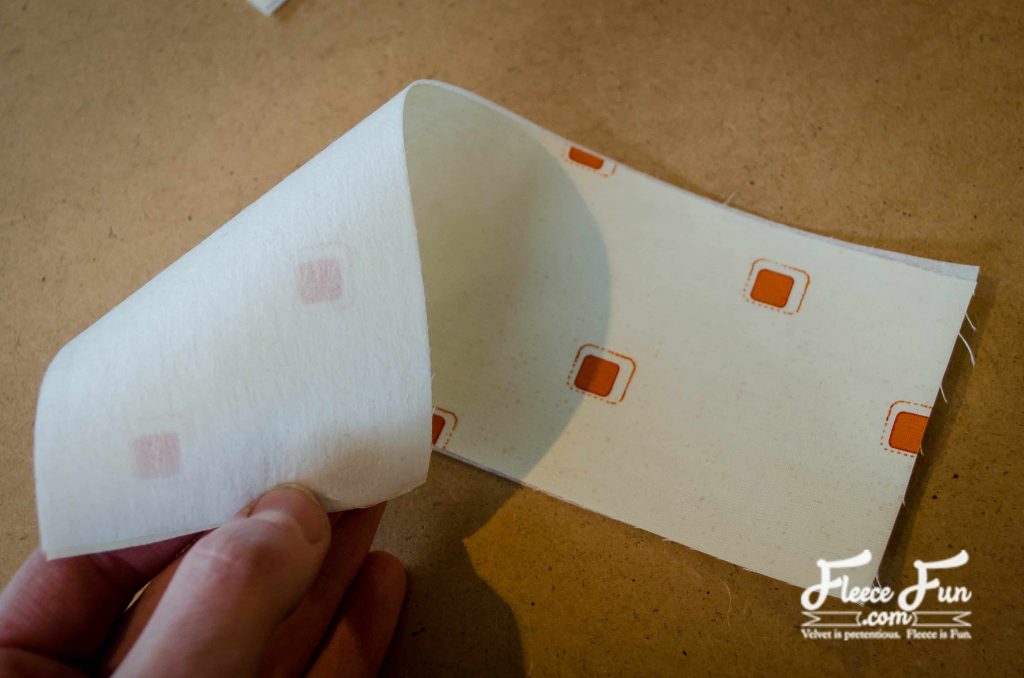
Apply interfacing to the wrong side of all the pieces except for the vinyl.]
Step 3 – Add the zipper
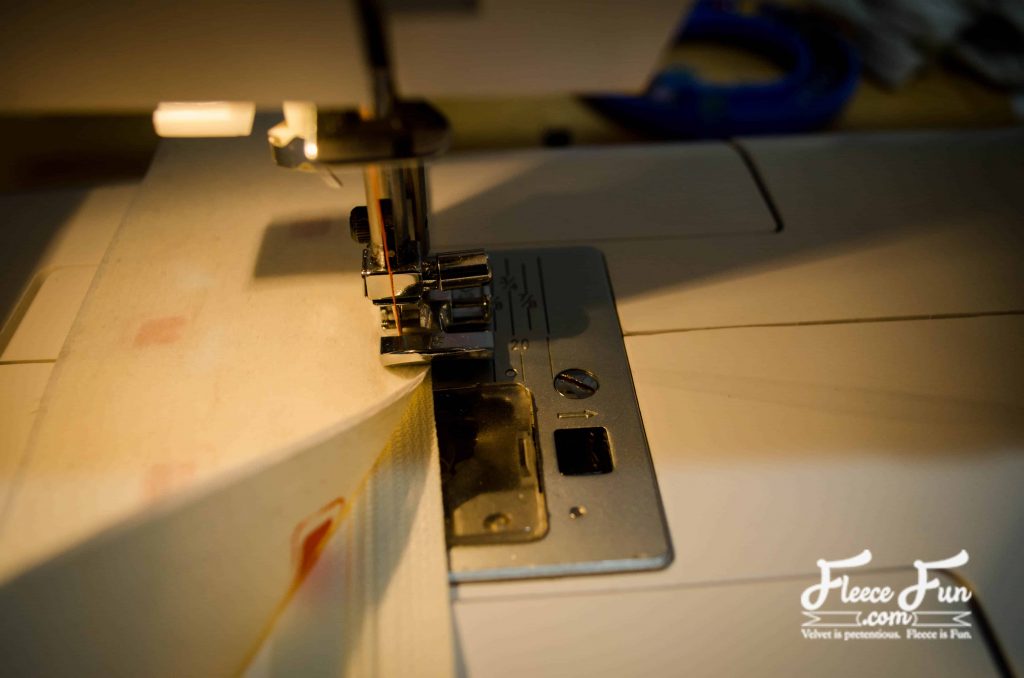
Using a zipper foot, stitch the zipper tape to one of the zipper pieces, right sides facing.
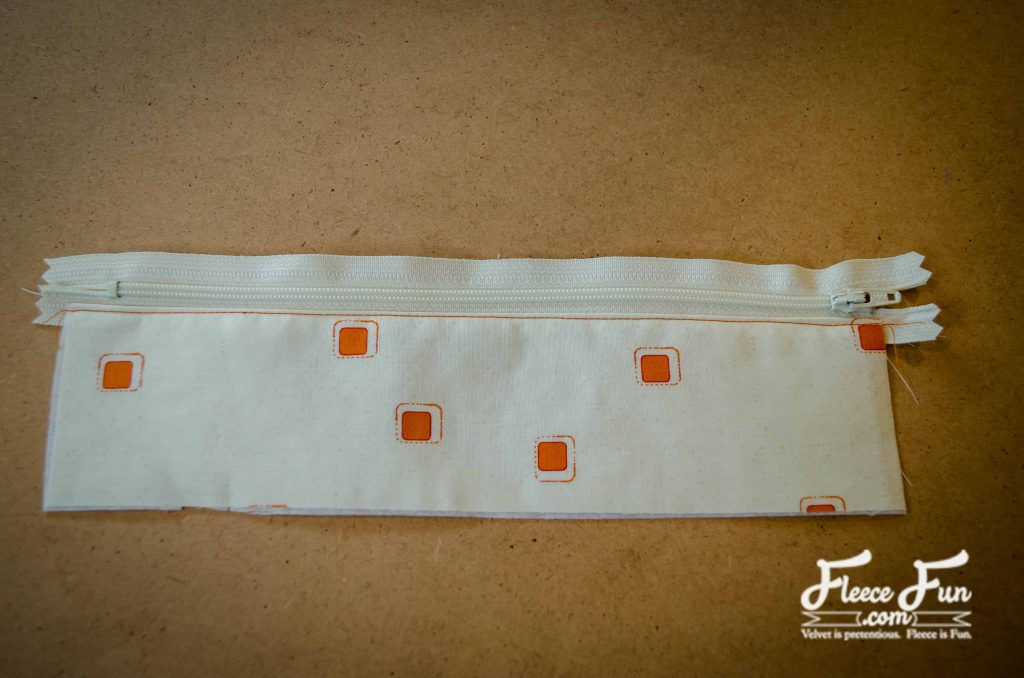
Press the zipper piece away from the zipper and topstitch. (a zipper foot is helpful for this step too!)
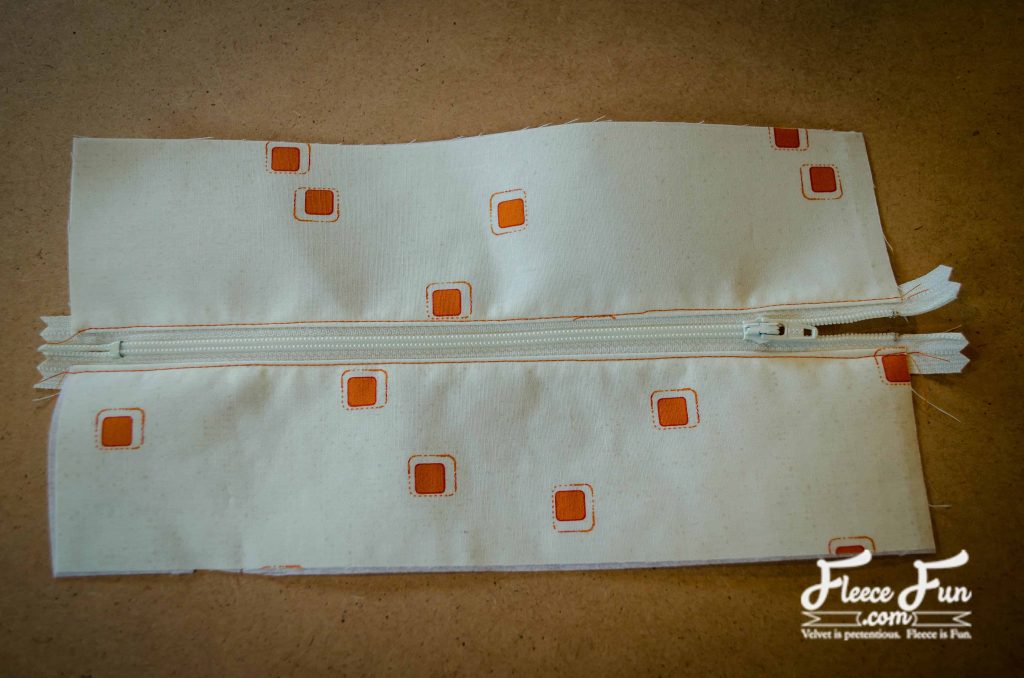
Repeat with the second zipper piece. Next step for this binder pouch tutorial is adding the small piece of vinyl.
Step 4 – Add the vinyl
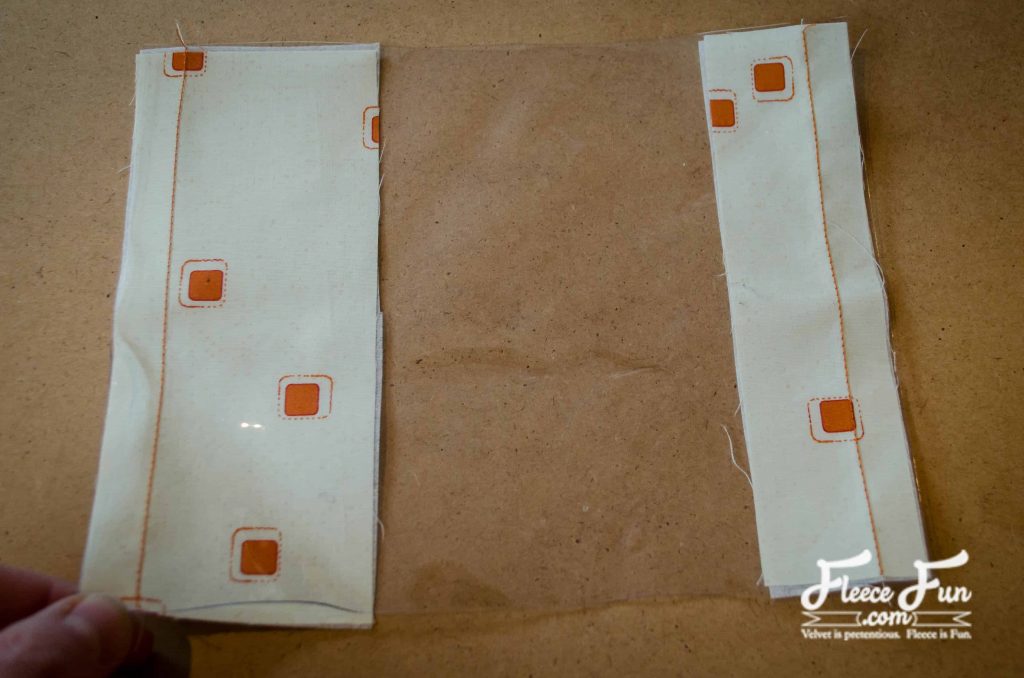
With right sides together, sew the left and right sides to the short ends of the vinyl. Sometimes the vinyl can stick to the pressure foot, causing it to be difficult to sew. I suggest either using a teflon foot (mine came with my machine) or sticking a piece of clear tape to the bottom of your regular pressure foot.
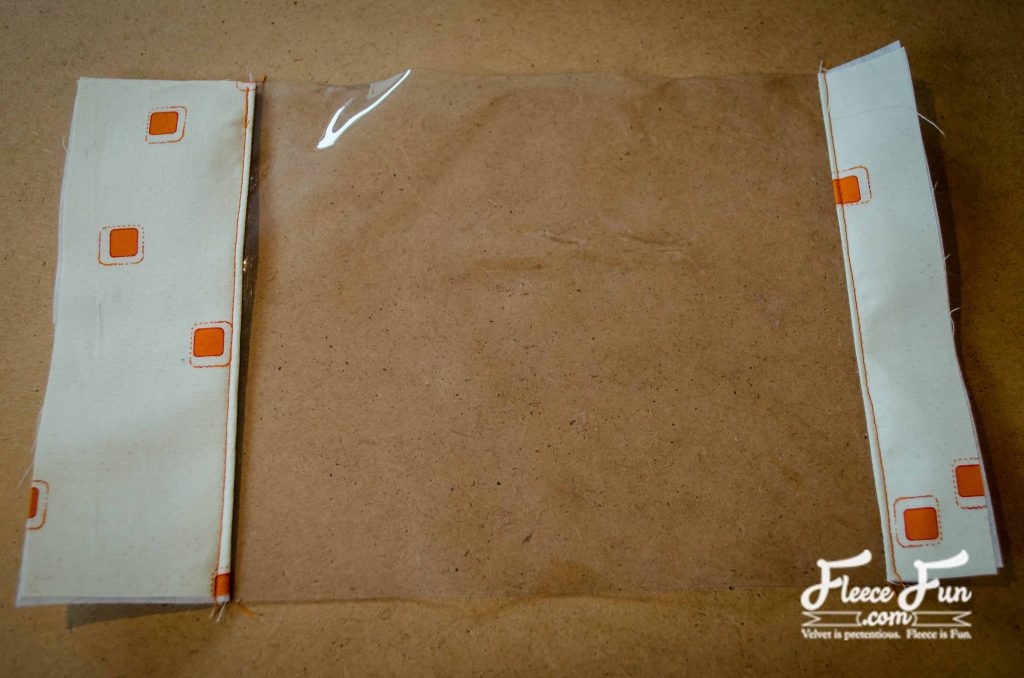
Carefully press the left and right sides away from the vinyl and topstitch. Don’t let the iron touch the vinyl or it will melt.
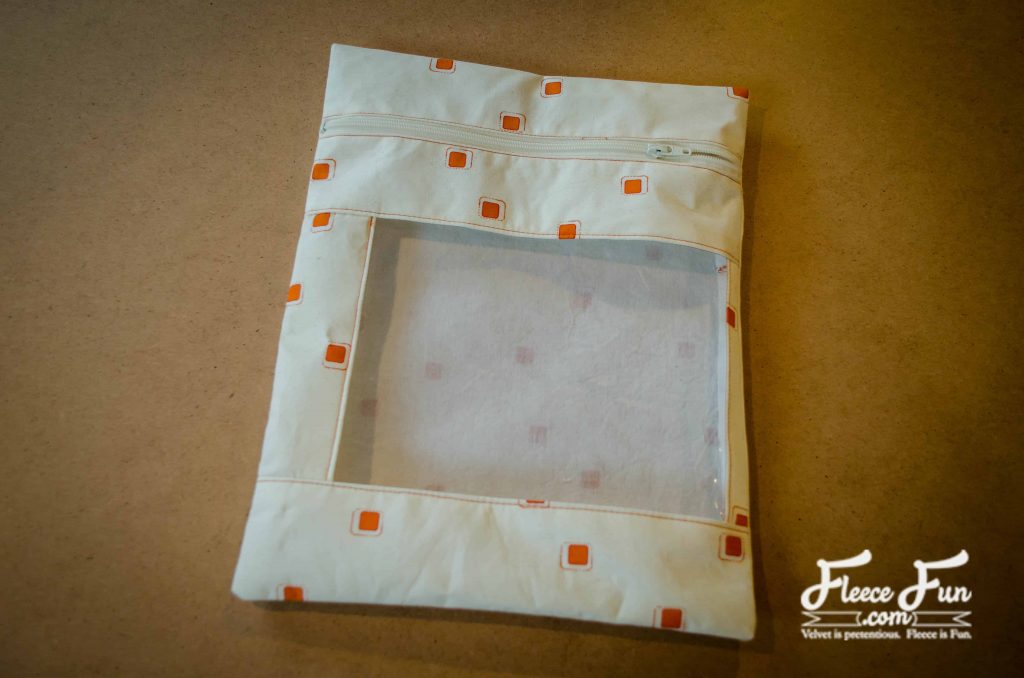
Step 5 – Finish the front of the binder
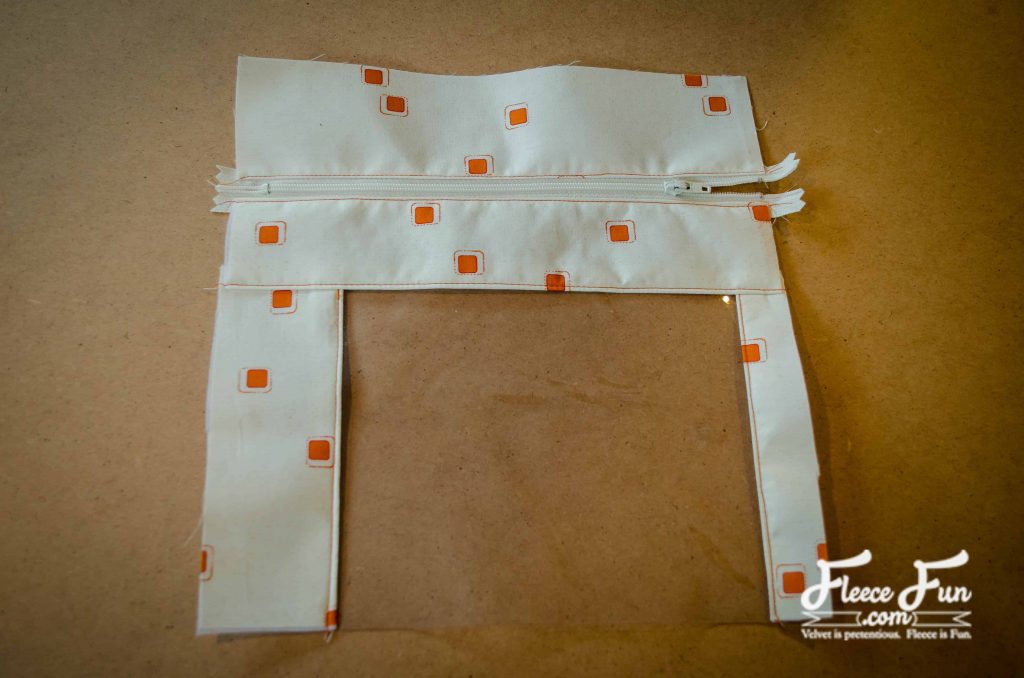
Attach the zipper piece in the same way.
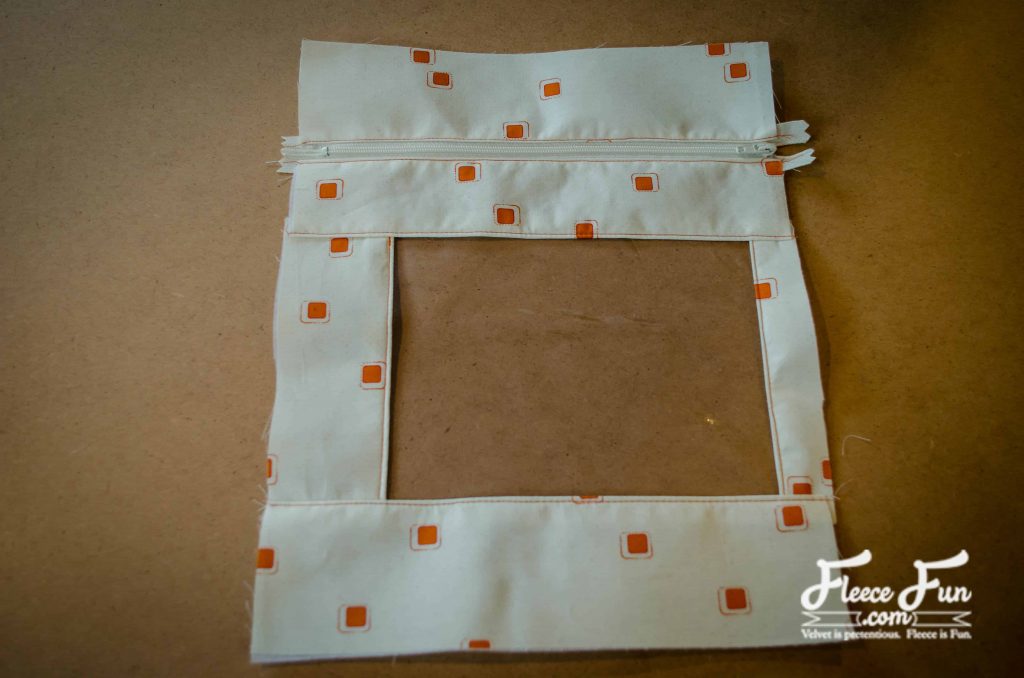
Repeat with the bottom piece.
Step 6 – Add the back
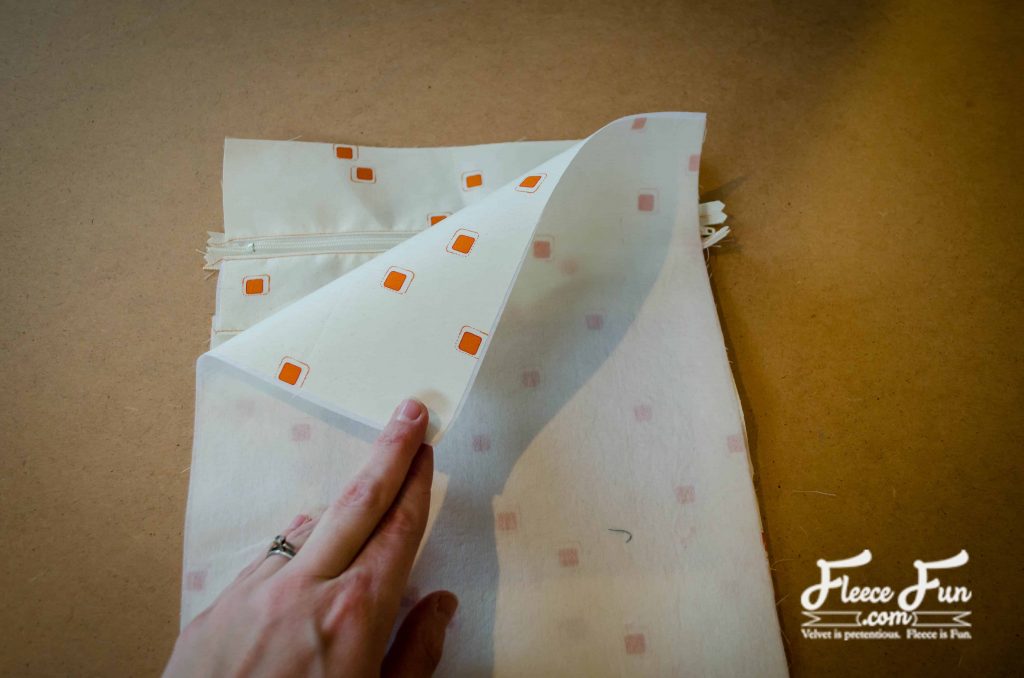
Pin the back to the completed front, right sides together.
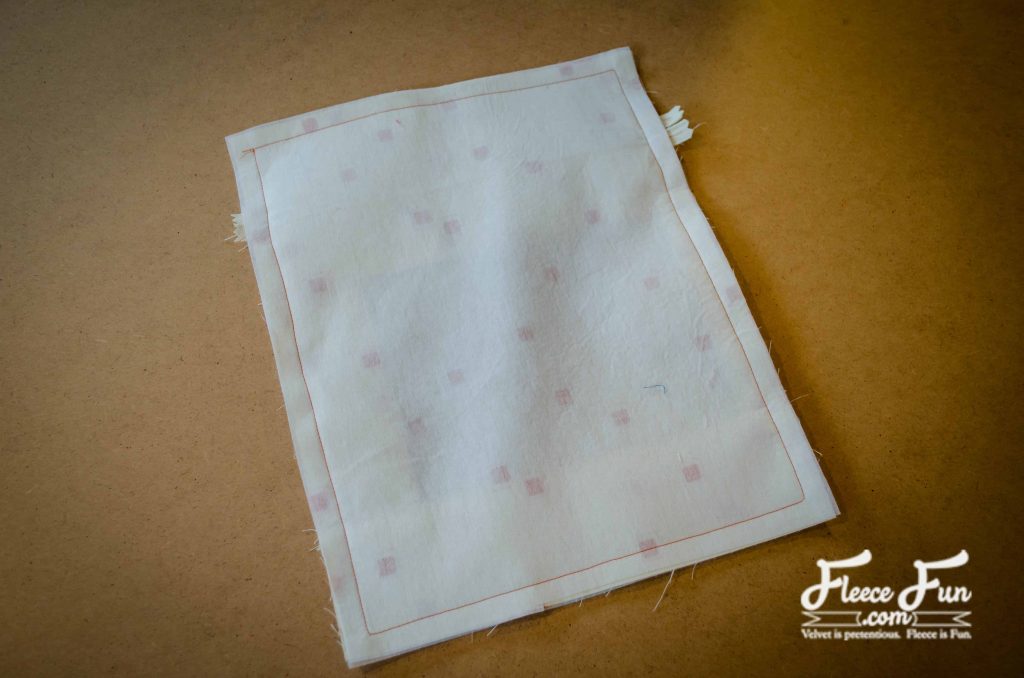
Stitch around the entire perimeter.

Clip the corners.
Press carefully (don’t get too close to the vinyl).
Step 7 – Finish up the binder pouch
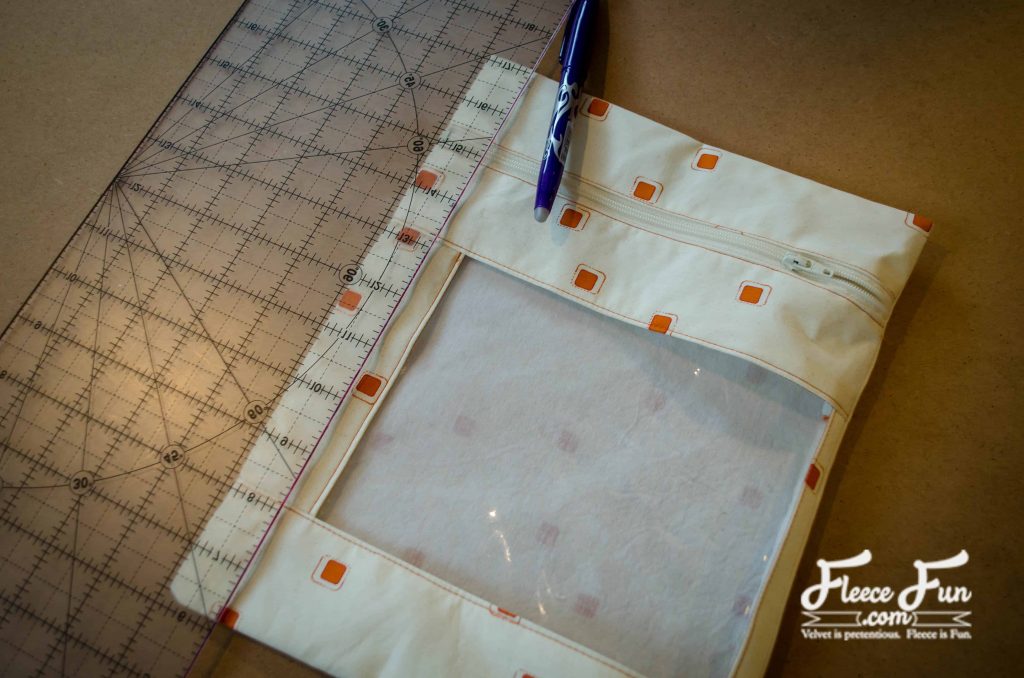
Mark a line 1″ from the left side with a disappearing marker or chalk.
Topstitch along this line. Also topstitch close to the edge around the entire perimeter.
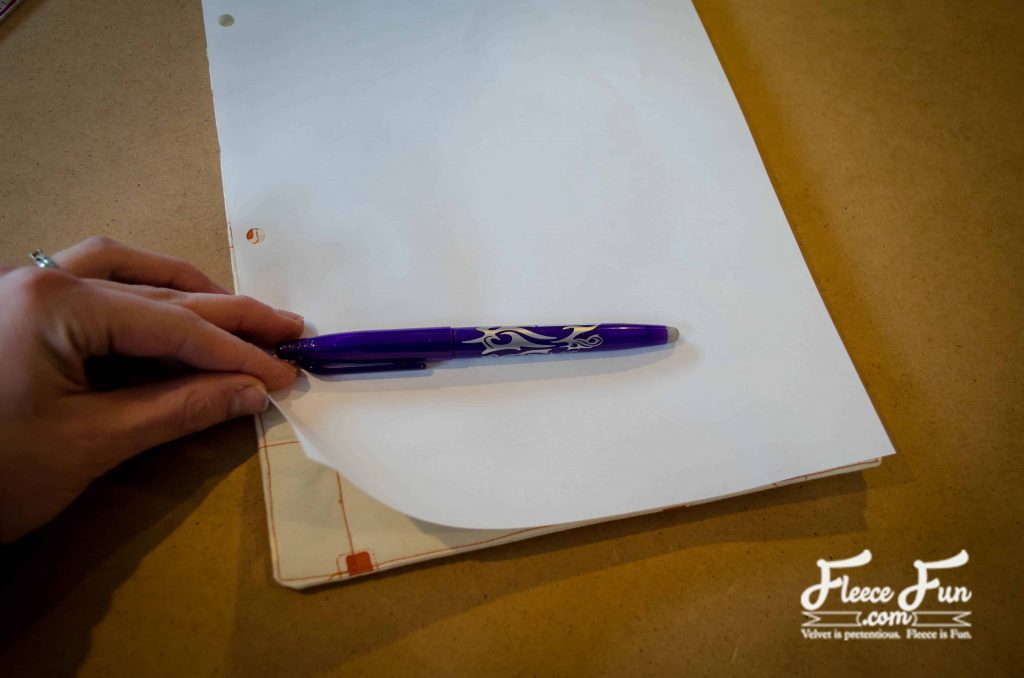
Use a hole punched sheet of paper to mark the placement for the grommets or buttonholes.

Install the grommets or stitch the buttonholes.
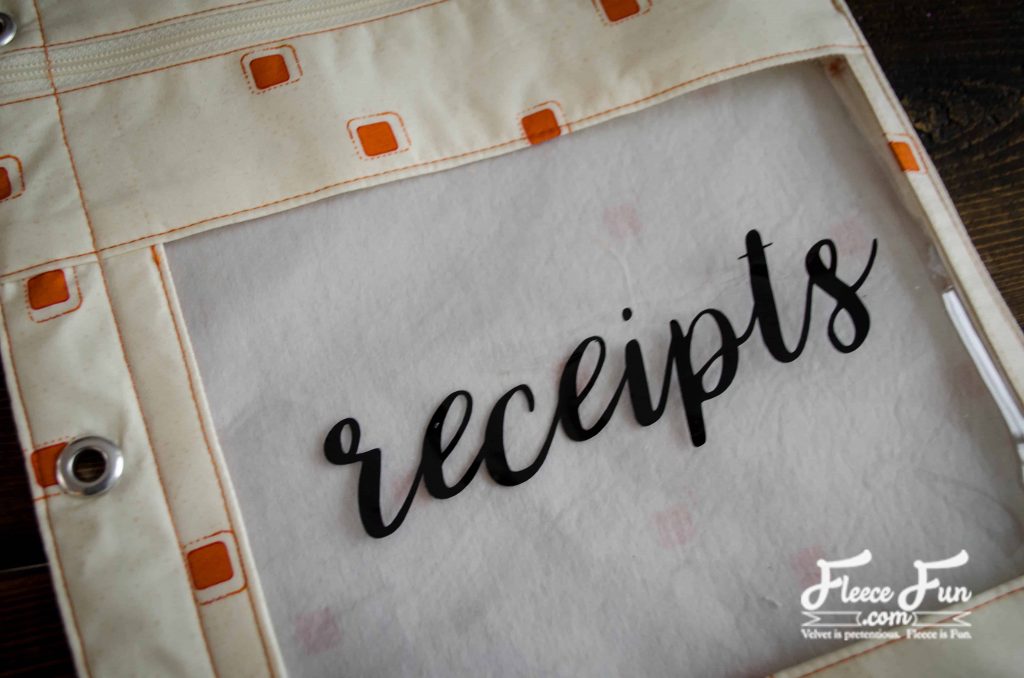
Optional: apply the adhesive vinyl lettering.
More ideas for this binder pouch:
Perfect for teens to slide lip gloss and other sundry items into for school.
Add frosted vinyl to the clear pouch for more privacy.
This is a great scrap buster and makes a nice handmade gift for anyone who’s trying to stay organized!
love this binder pouch? More tutorials for Organizers!
- Origami Fabric Basket Tutorial
- IKEA Fabric Stool
- Sewing Machine Mat Tutorial
- Craft Room Hanging Organizer Tutorial
- How to Make a Giant Pegboard for Your Craft Room
- Cricut Maker Cover Tutorial
- How to Make a Pin Cushion Tutorial (Bracelet Style)
- Cute Trash Can DIY Craft Room Decor
- Make Giant Buttons Wall Decor
- How to make a Pin Cushion
- Honest Craft Room Tour!
- See all of our Organizer Tutorials
Other Free Bag Patterns:
- All of the Free Bag and Purse Patterns available
- No Sew Hobo
- The Blogger Bag
- Leather Tote Bag
- Quick Sew Hobo
- Wine Bottle Gift Bag
- The Easy Book Bag
- Diaper Bag Tutorial
- The Man Satchel
- Shave Kit Case
- The Tablet Cover
- Quilted Leather Clutch
- Little Purse Tutorial
- Child Sheep Purse Tutorial
- Drawstring Backpack Tutorial
- Sleeping Bag Pack