Easy Apron Tutorial (perfect for beginners)
This content contains affiliate links or sponsored elements, read our Disclosure Policy.


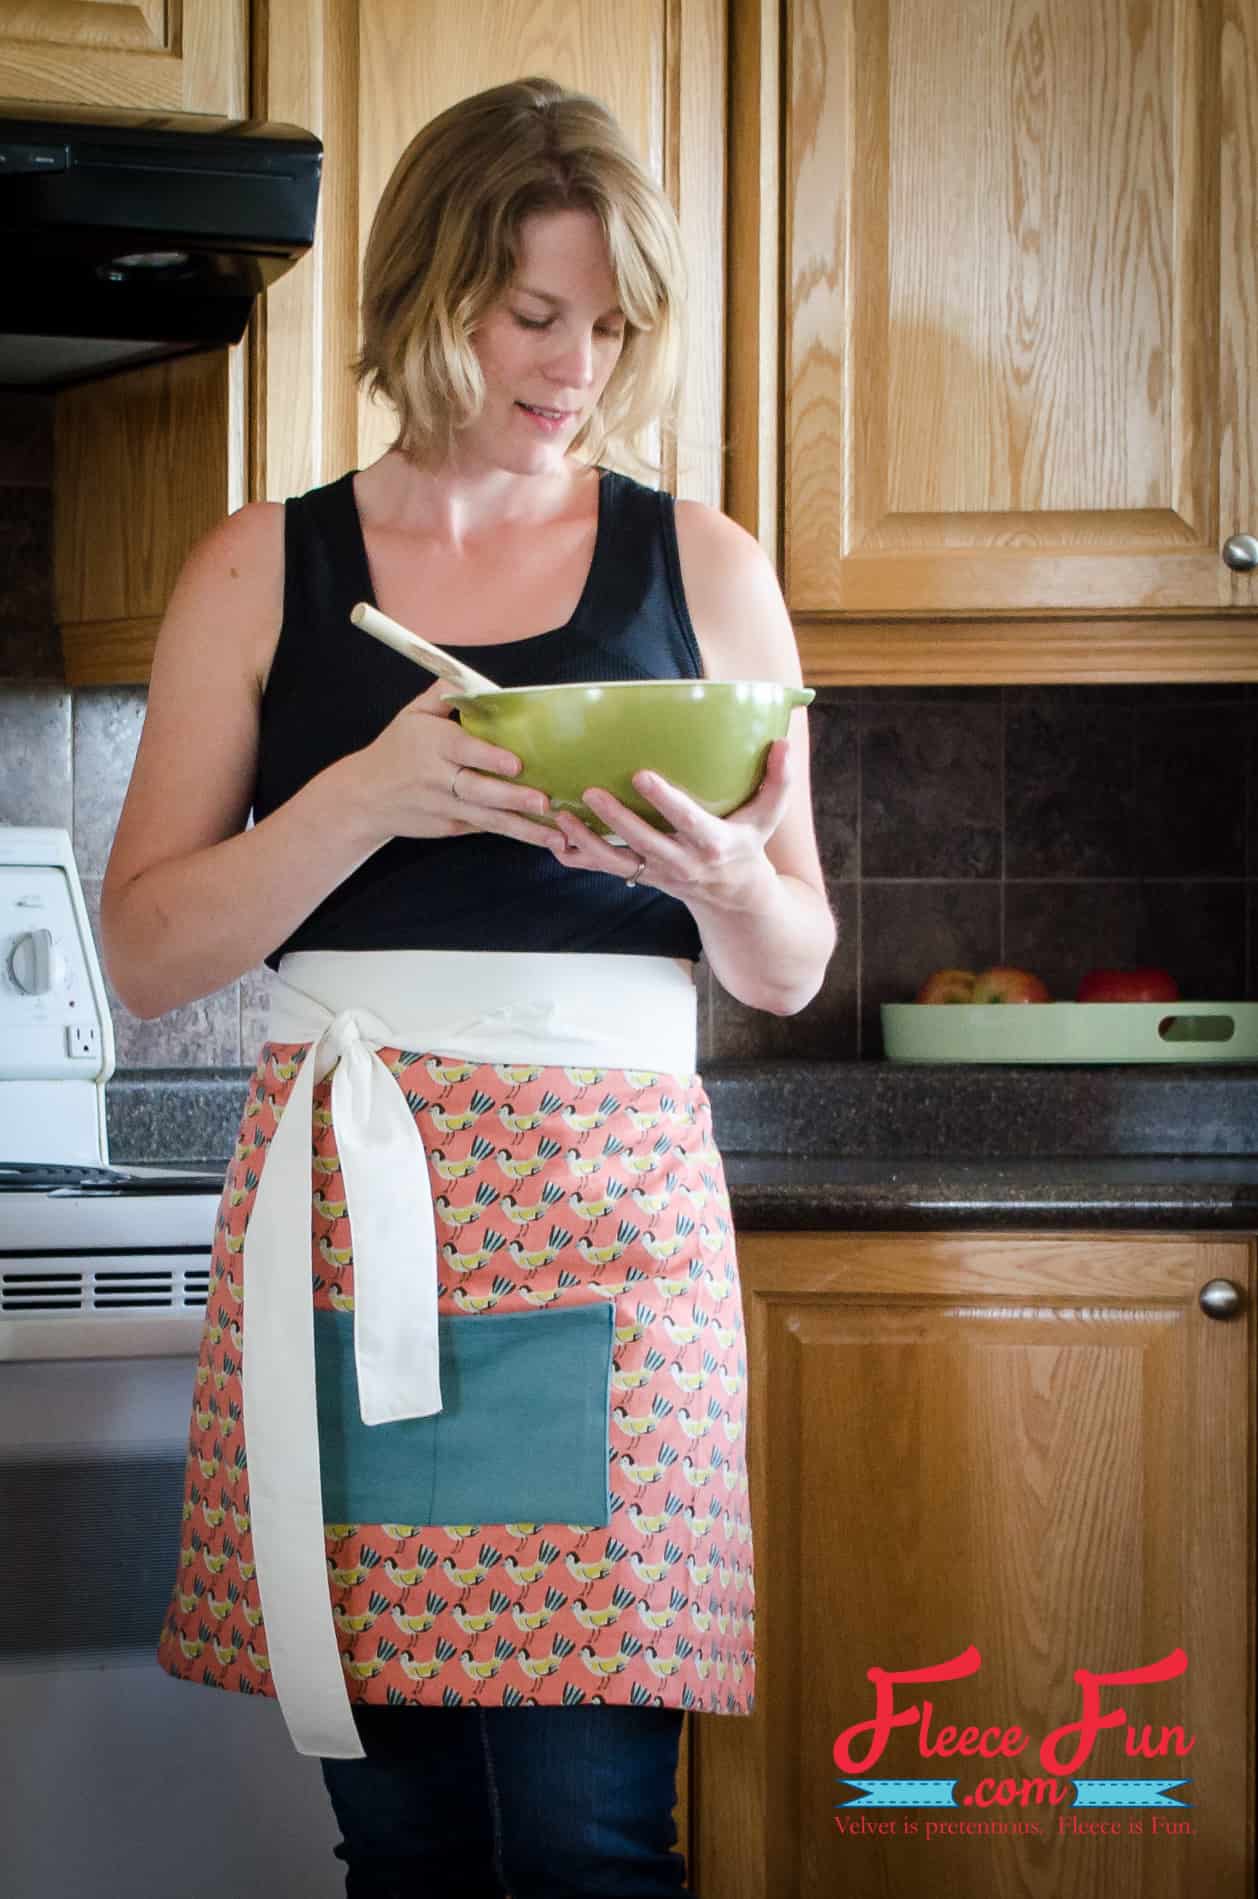
This Easy Apron Tutorial is perfect for beginners. Each simple step takes you closer to a completed hostess apron perfect for any cook!
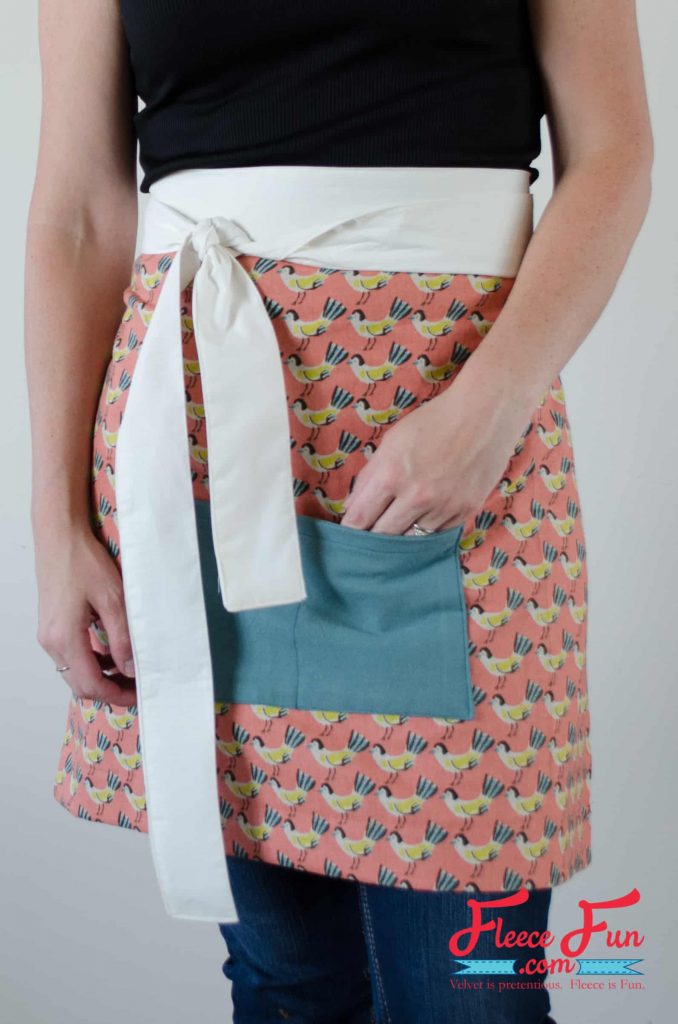
Use personalized fabrics to express the personal style of the chef! The wide waist band is flattering and covers more than the average half apron.

Whether you are hosting a holiday party, or want to bring along a gift for the hostess, this half easy apron is a perfect last minute sew. The design is simple and features a large obi-style wrap around tie with a large front pocket. I wrote the tutorial with beginners in mind, so this project is great for those new at sewing.

You don’t need to worry about sizing; the apron is one size fits most. It is equally suited for men and women and would make a great bbq apron too!
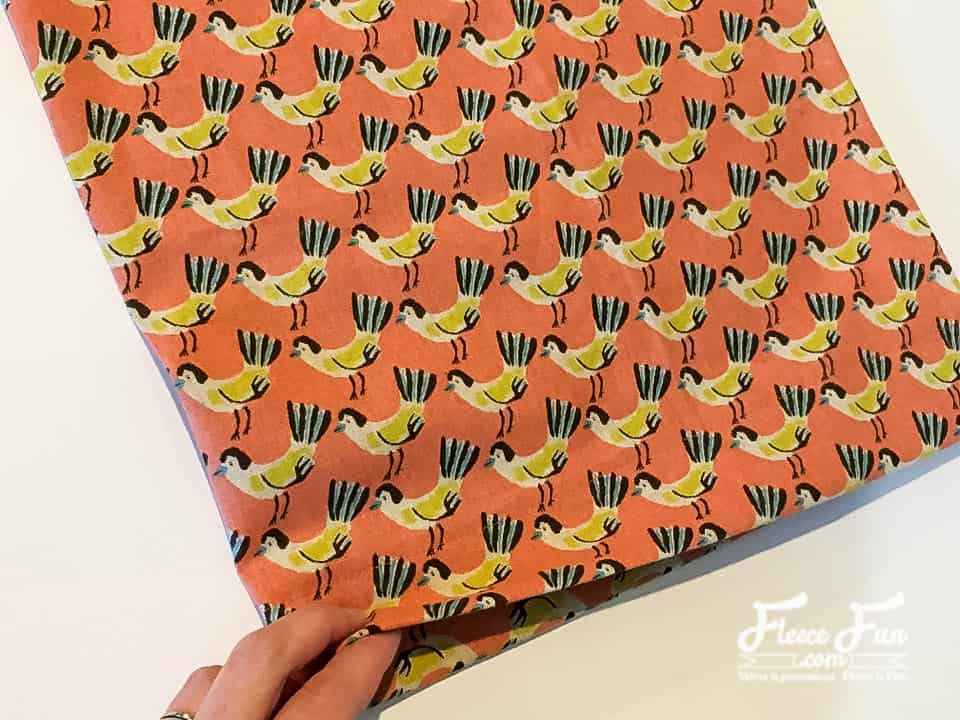
Since the design for this Easy Apron Tutorial is simple, the star of this project is the fabric. I chose a hand printed linen that I bought years ago at a local market. I just love the chicken print and was able to find a solid color linen that coordinated for the pocket. The tie is some cream colored cotton, actually an old sheet that I upcycled! You can use any light to medium weight woven fabric for this project.
YOU WILL NEED:
- 2/3 yard main fabric (cotton)
- 1/4 yard contrast fabric for pocket
- 1/2 yard fabric for ties*
- Cut
- width x length
- main apron: 30″ x 21″ – cut 1
- pocket: 11″ x 7″ – cut 2
- ties: 100″ x 6″ – cut 2 *(I suggest piecing this long strip with several shorter lengths)
- Sewing Essentials (scissors, pins, etc.)
Easy Apron Tutorial
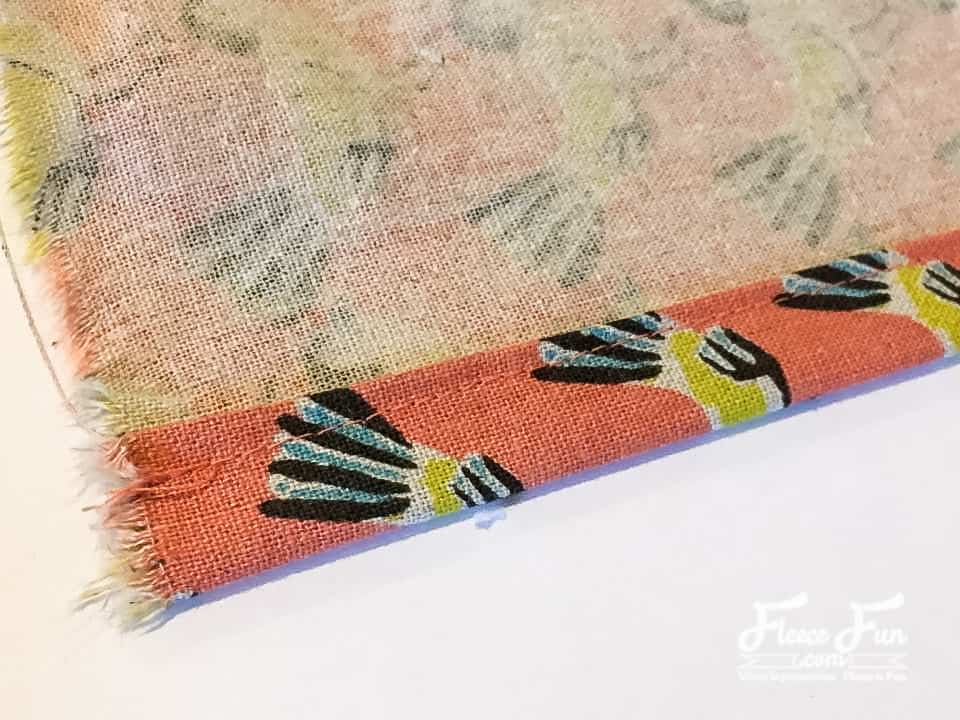
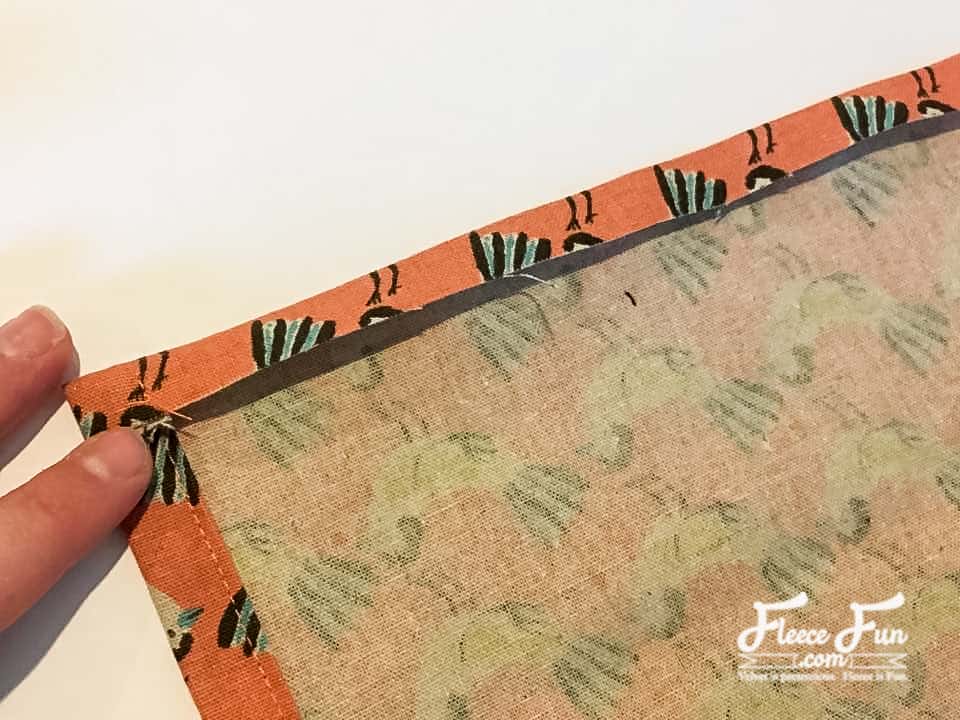
Step 1 – Fold and sew the Apron Sides
All seam allowances are 1/2″.
Fold side of apron 1/2″ to wrong side and press. Fold 1/2″ again and press. The raw edge is now enclosed.
Stitch close to edge. Repeat with other side.
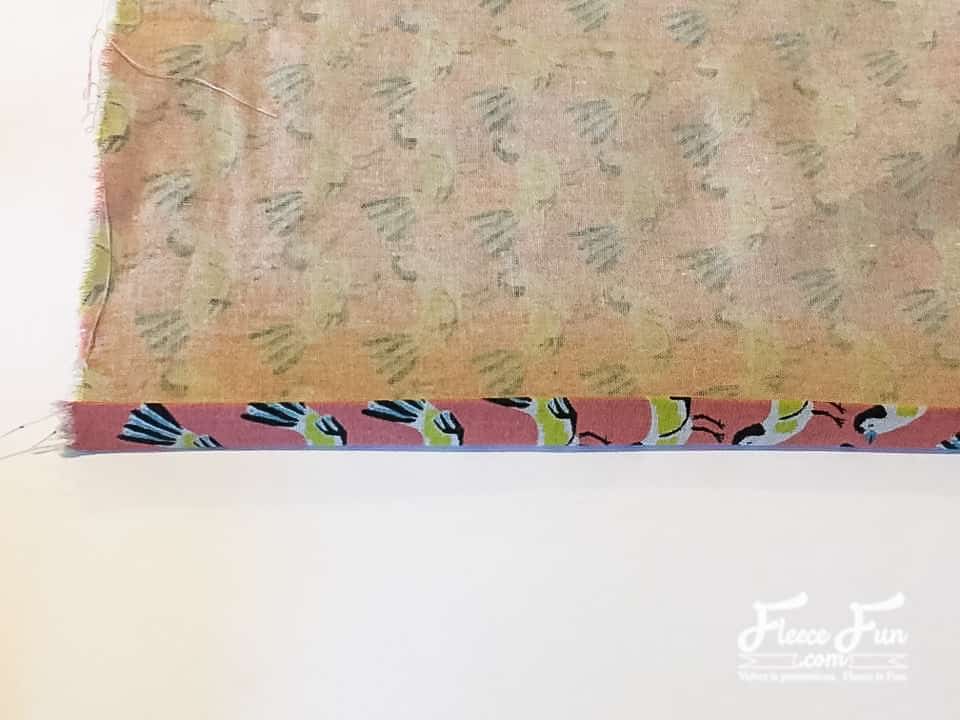
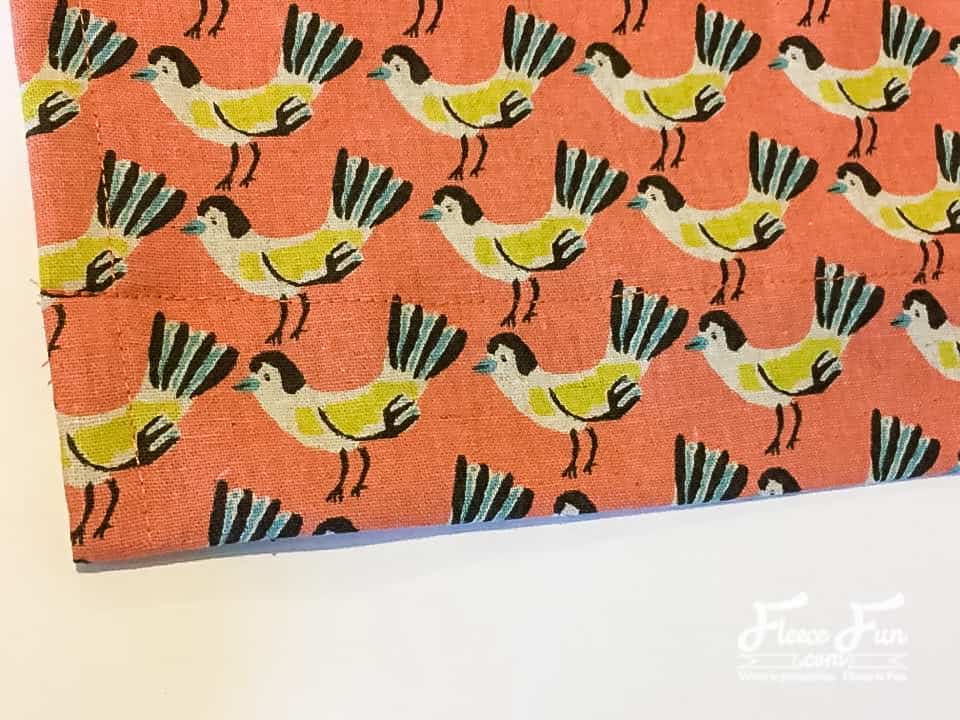
Step 2 – Hem the Bottom of the easy Apron
Fold up bottom of apron 1/2″ to wrong side and press.
Fold up again 2″ to wrong side and press.
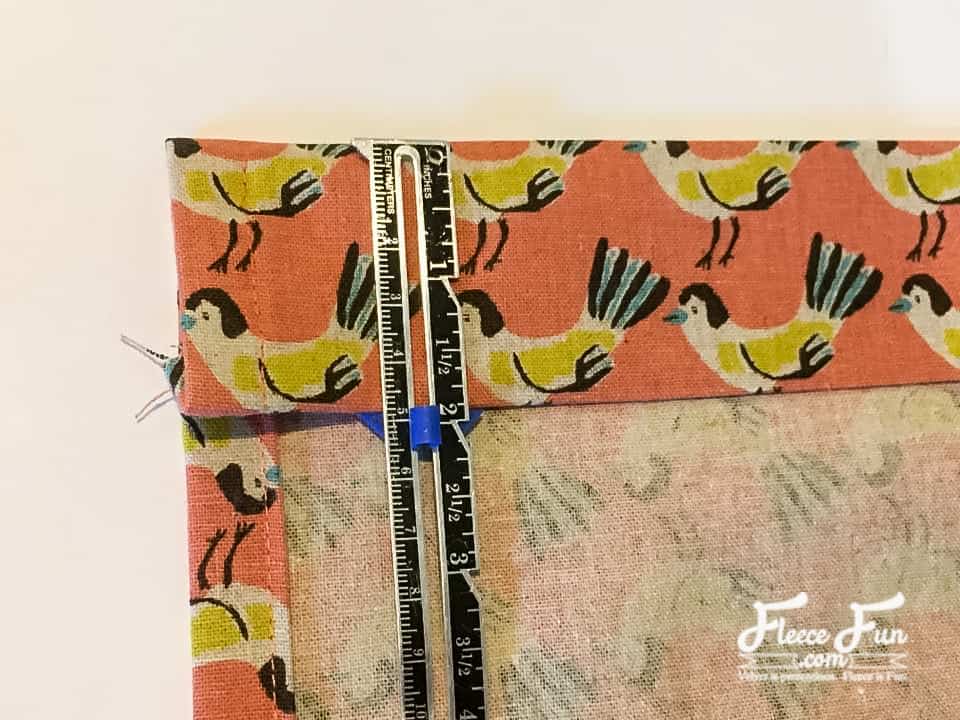
Stitch.
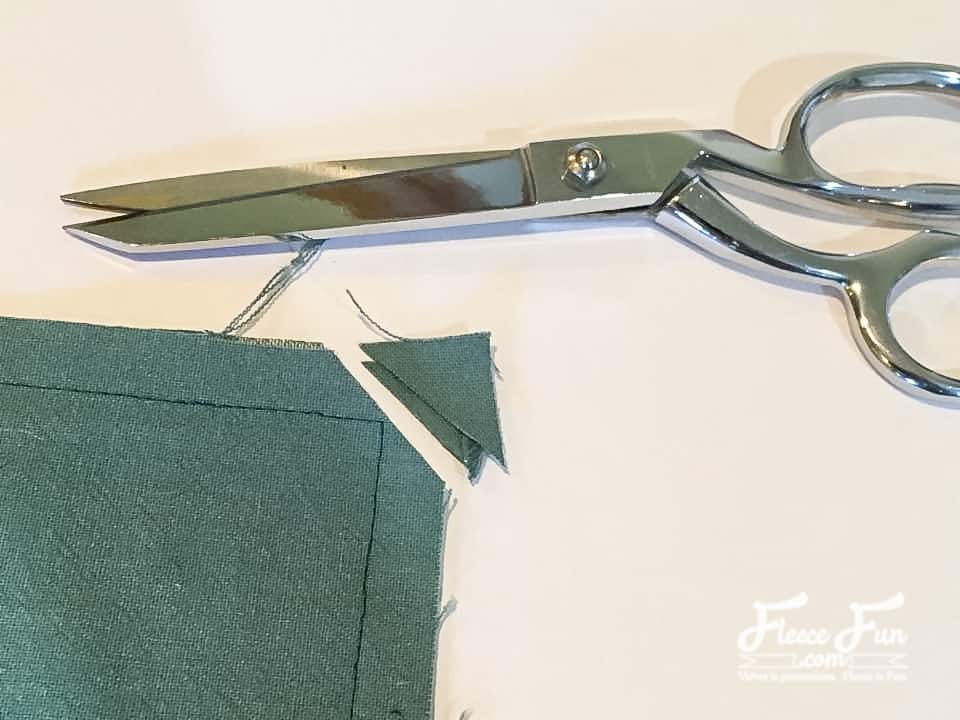
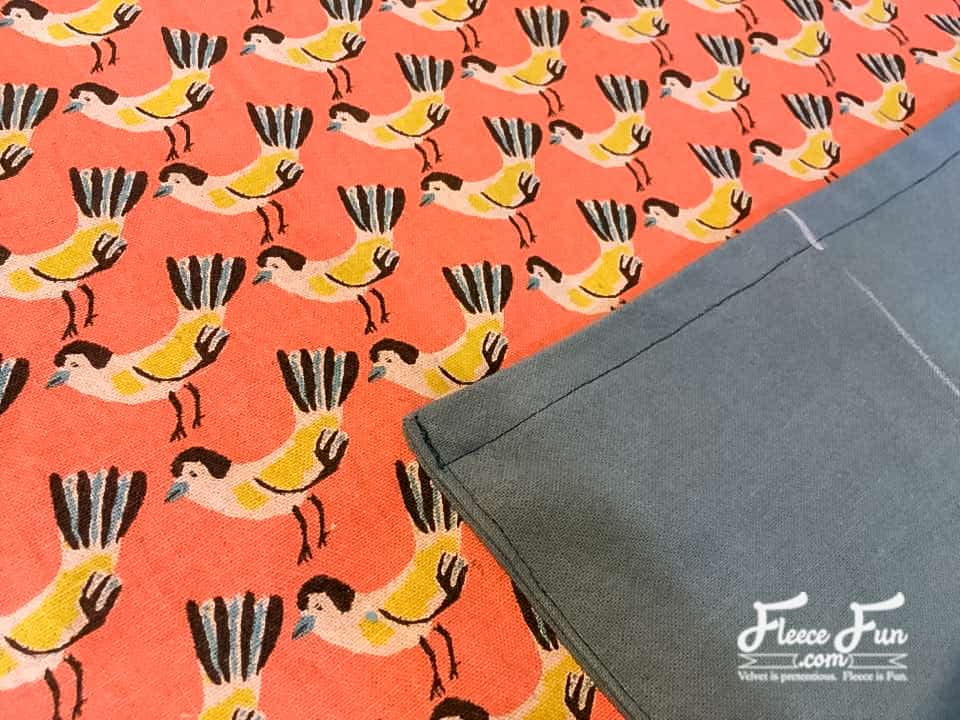
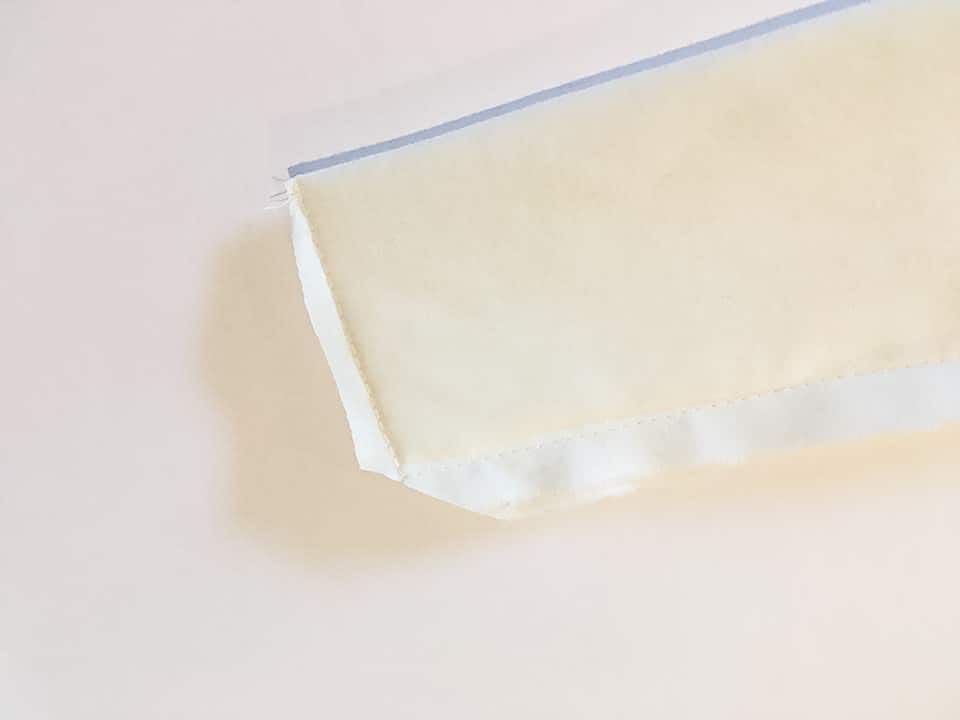
Step 3 – Sew and Prepare the Pocket
Pin pocket pieces together with right sides facing and stitch around outside edges, leaving a 2″ opening for turning. To get a neater opening, stitch though the seam allowance to the raw edge as shown.
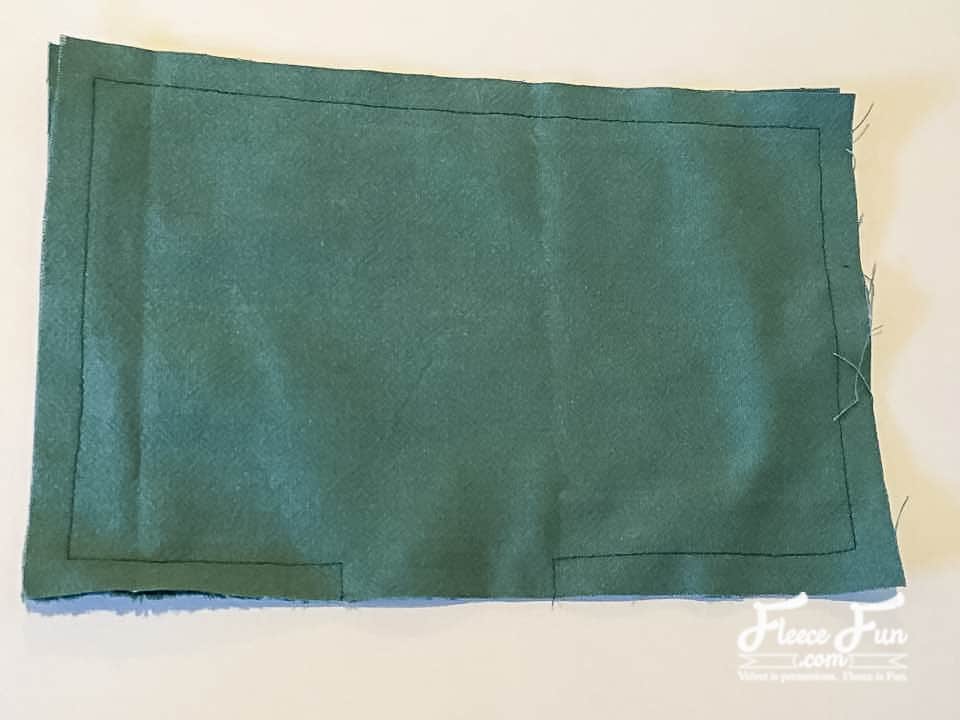
Clip the corners.
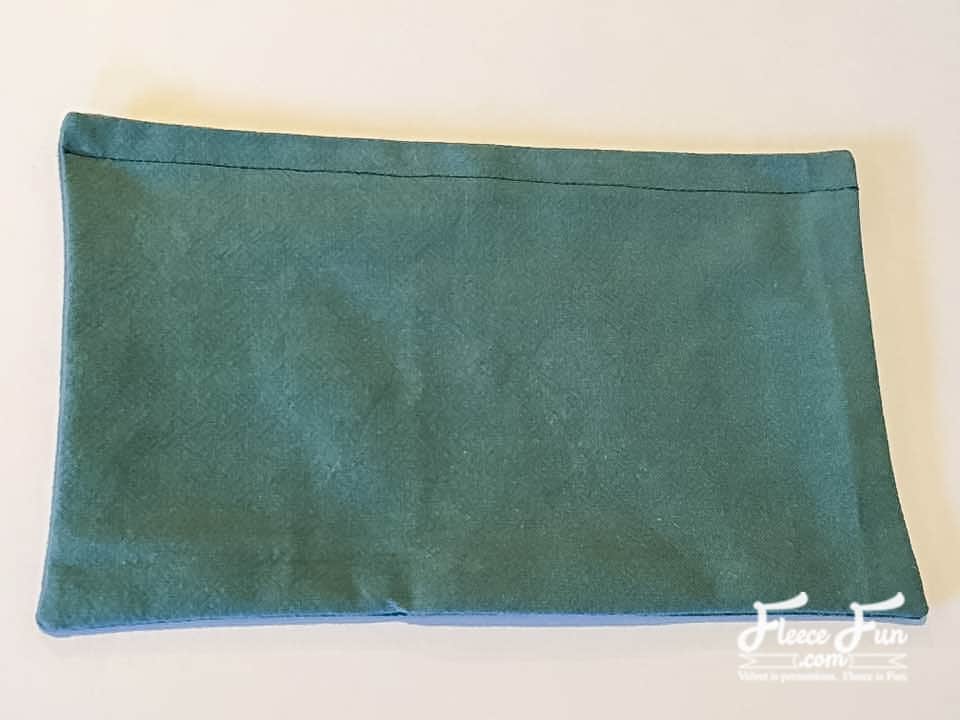
Turn right side out and press.

Topstitch 1/2″ away from the top edge (the edge that does NOT have the opening).
Next, we mark and place the pocket. We’re halfway through our Easy Apron Tutorial!
Step 4 – Mark and Place the Pocket
Fold the pocket in half to find the center.
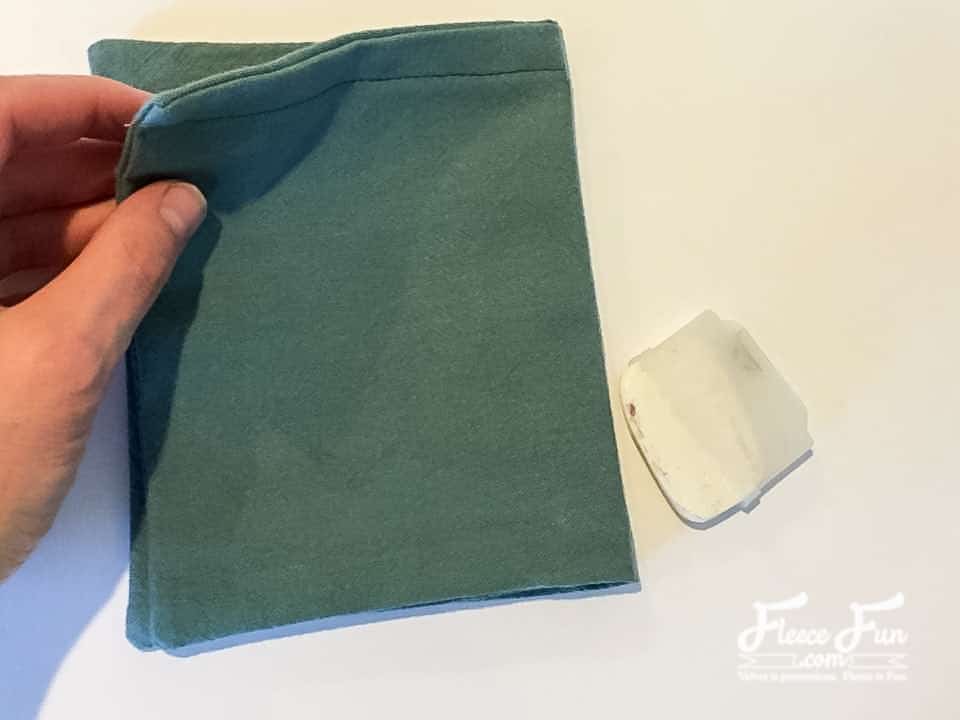
Use a ruler to draw a straight line through the center.
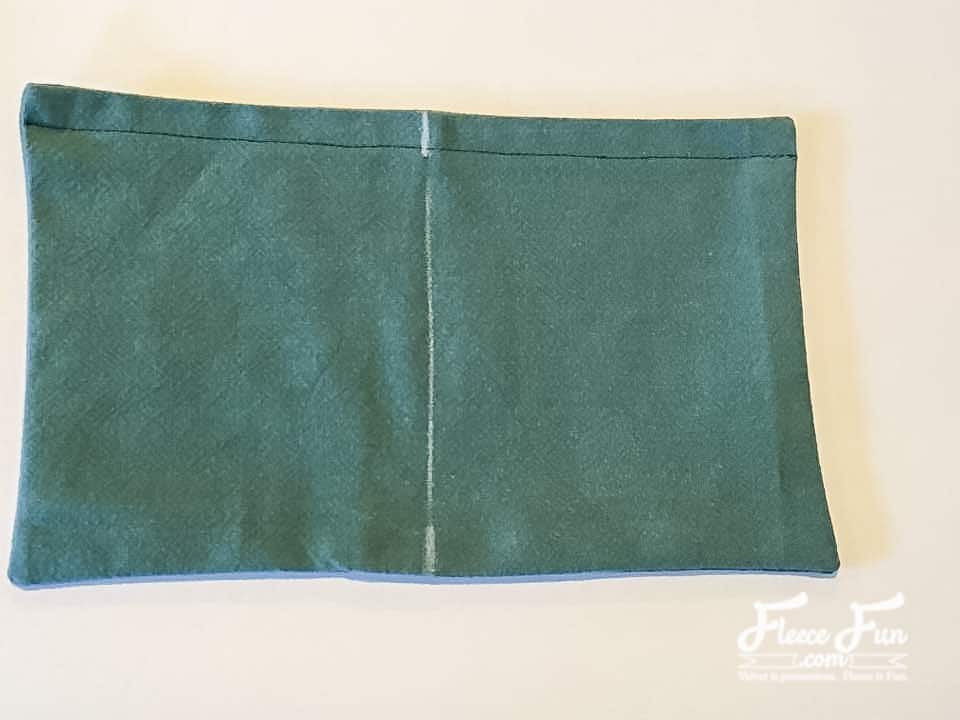
Find the center of the apron by folding in half.
Place the pocket on the apron, matching center lines and having the bottom edge of the pocket 5″ from the bottom edge of the apron.
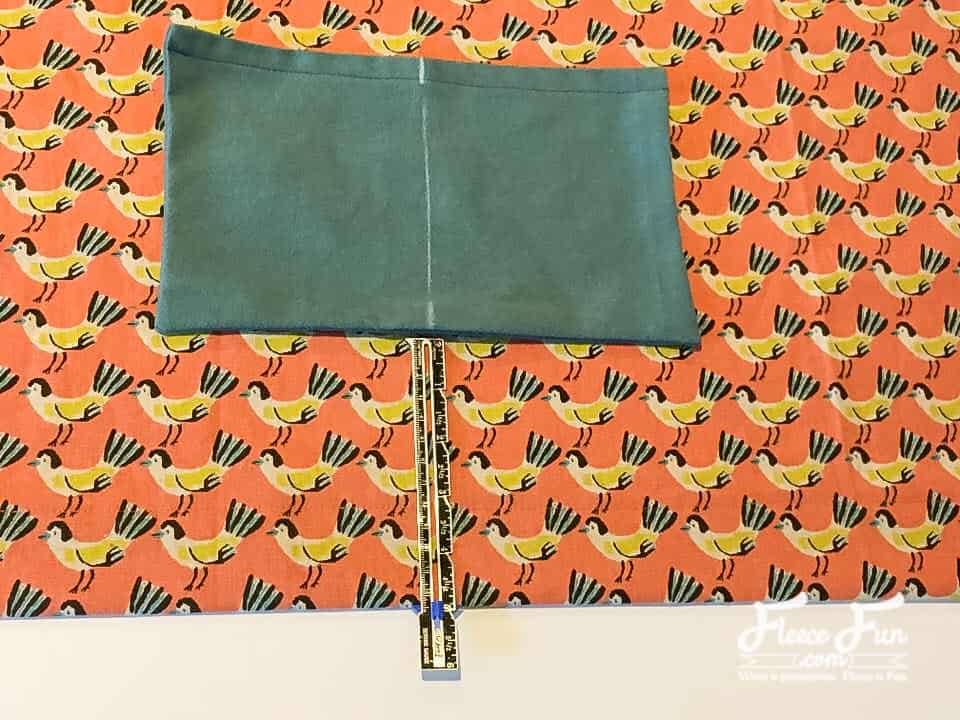
Pin in place. Next step for this Easy Apron Tutorial to attach the pocket.

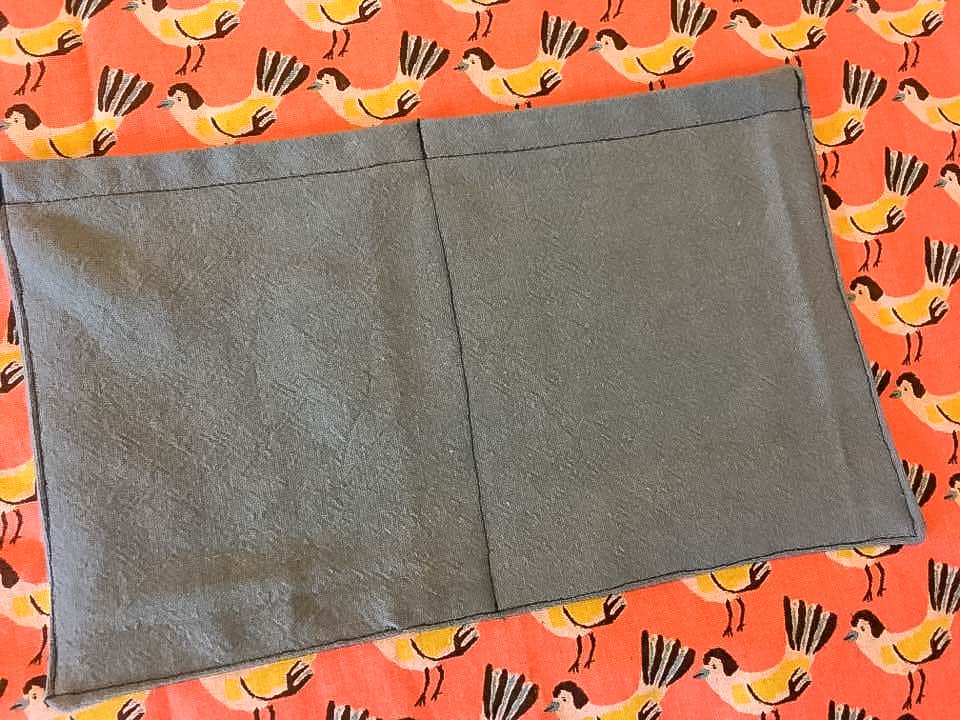
Step 5 – Attach the Pocket to the Apron
Stitch close to the edge along the sides and bottom.

Be sure to backstitch well at the top corners.
Stitch along the center line to form two pockets.
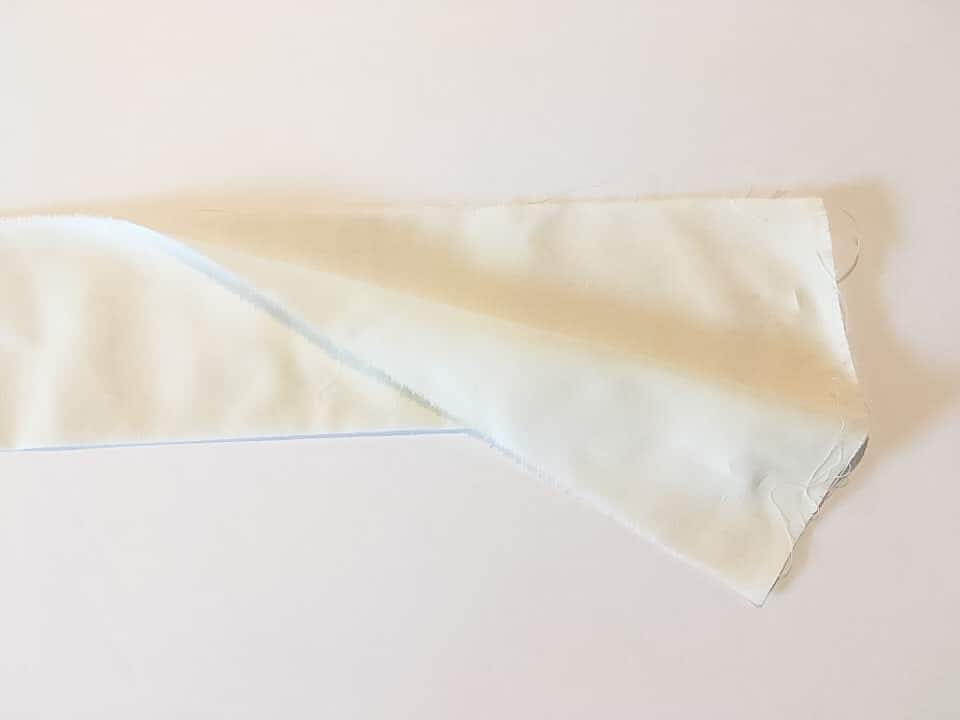
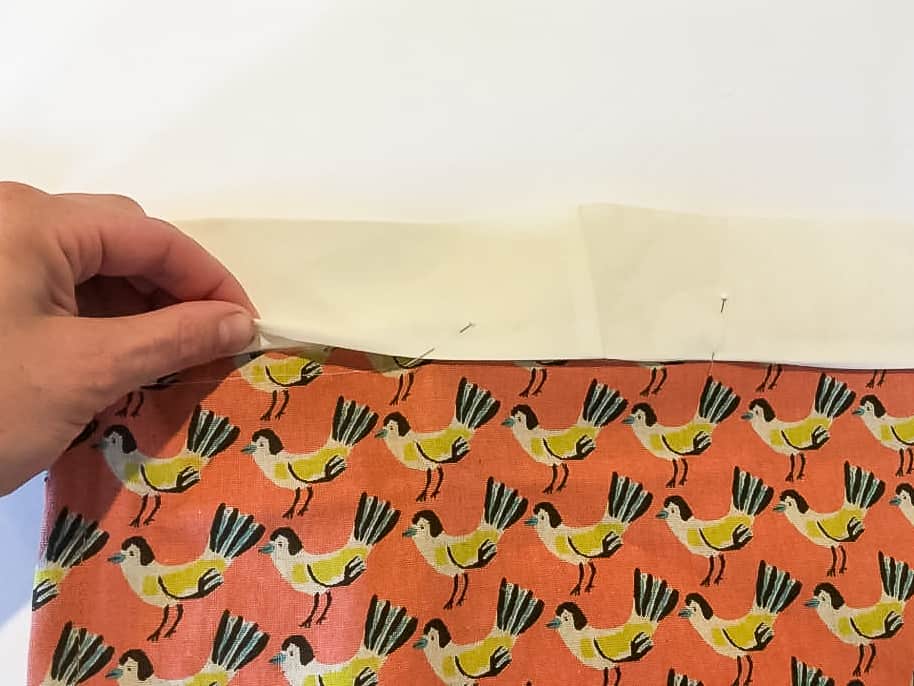
Step 6 – Prepare and Attach the Strap
With right sides facing, fold the strap in half so that the long edges meet. Press. (If your material is thin, iron on interfacing to half the strap.)
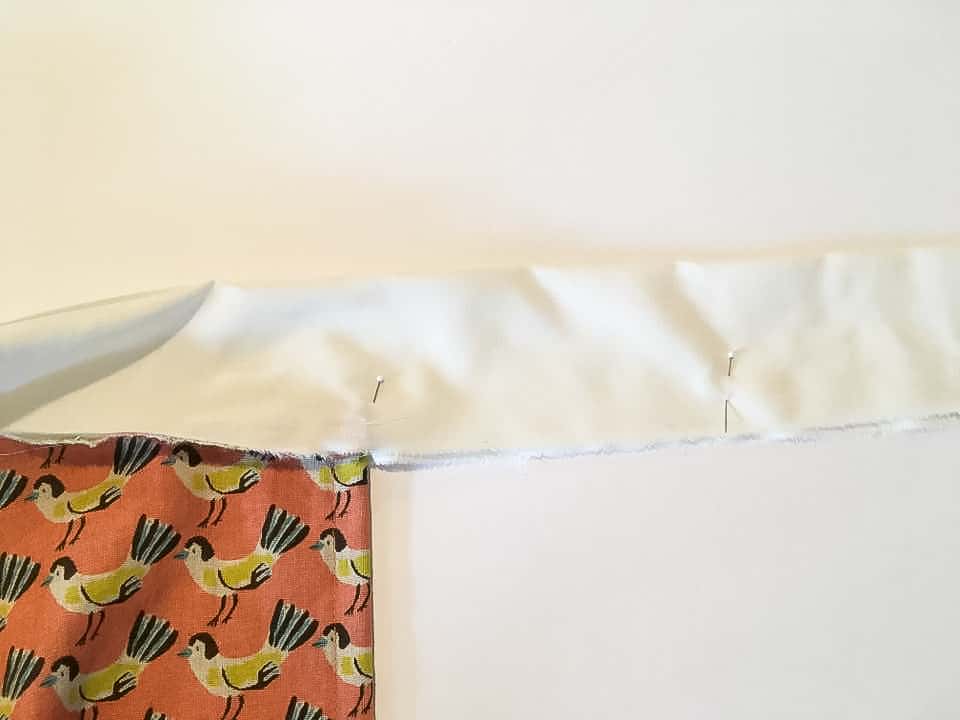
Center the apron on the strap (right side of strap to wrong side of apron) and stitch.
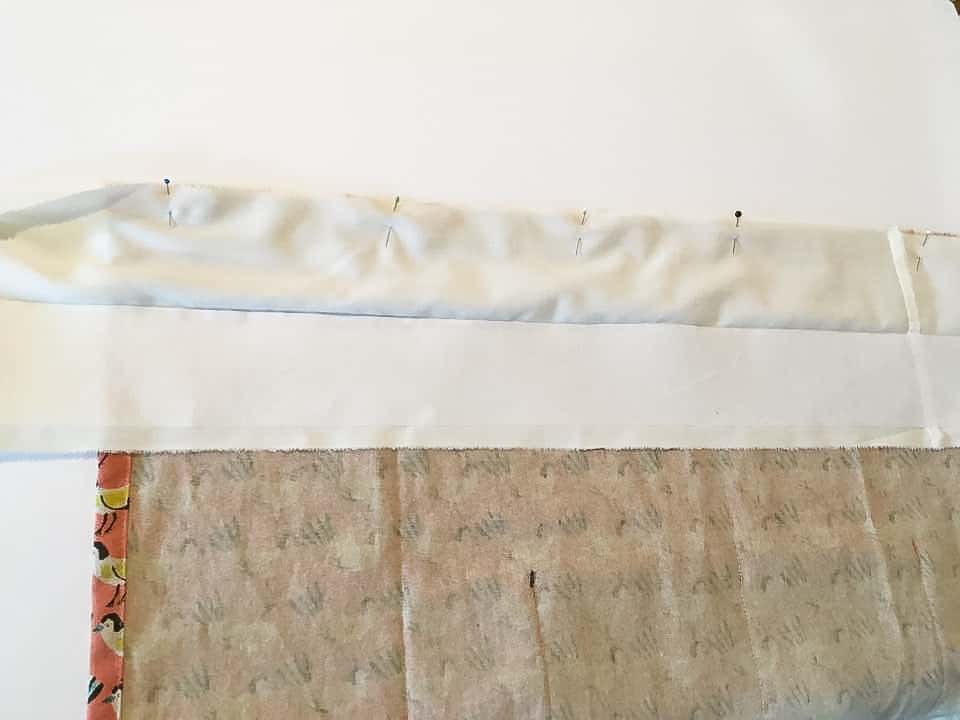
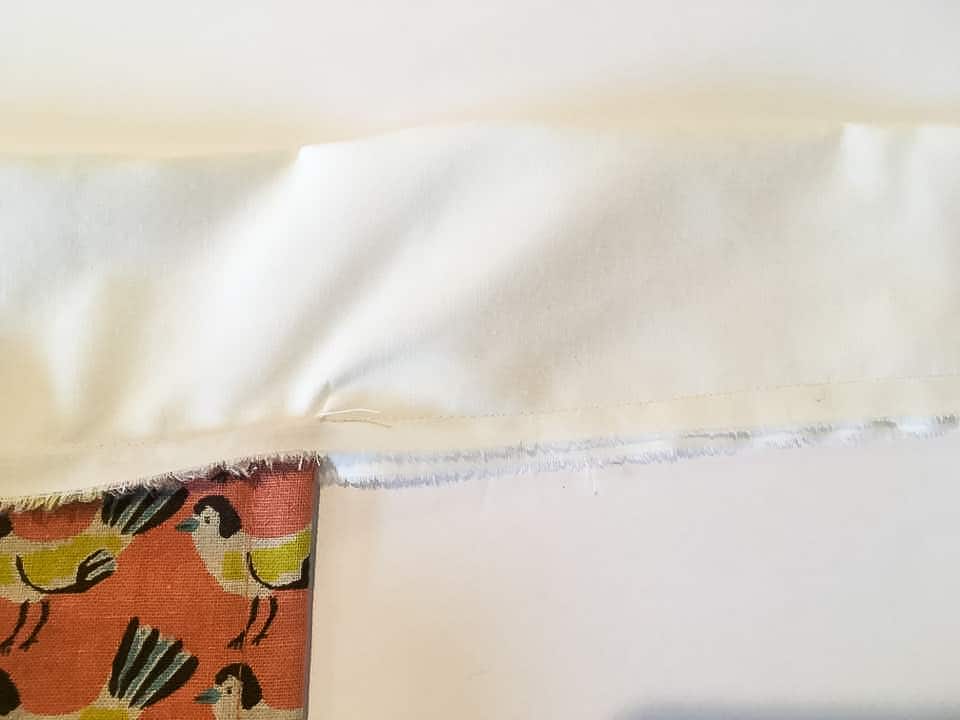
Press seam allowance up towards strap.

Step 7 – Finish the strap for this Easy Apron tutorial
Fold strap in half with right sides facing so that raw edges meet.
Begin stitching where the strap meets the apron and stitch raw edges, the long edge of the strap and the short edge.
Repeat on the other side. Do not do any sewing where the apron meets the strap.
Clip corners.
Turn the strap right side out and press. Pin the remaining loose edge of the strap to the front of the apron, covering up your previous stitching line.

Stitch close to the folded edge and continue around, topstitching the rest of the strap. You just completed the Easy Apron Tutorial.
other easy apron tutorials:
Thanksgiving tutorials you might like:
- Giant Maple Leaf Template DIY
- Fall Tier Tray Décor (free SVG)
- Give Thanks Platter Decor
- Gather Banner DIY (Free SVG Files)
- Giant Paper Sunflowers
- Felt Sunflower DIY
- Free “Thankful” printable banner
- Thankful for Cake Toppers
- Autumn Leaves Pillow
- Fall Topiary Trees Craft
- Thanksgiving Printable to frame
- See All of the Thanksgiving Projects Here
love this Easy Apron Tutorial? see more Fall Sewing Projects you might like:
- Upcycled Sweater Skirt
- Flannel Nightgown Pattern
- Fall Cape for Girls Free Pattern and Tutorial
- Patchwork Fabric Pumpkin
- Fall Cardigan for Girls
- Pin the Tail on the turkey game DIY
- Thankful Apron Free Pattern
- See more Fall Sewing Projects here!